To install RabbitMQ on AlmaLinux 10, follow the steps below.
Step 1 : Update the system

Step 2 : Import RabbitMQ and Erlang signing keys

Step 3 : Add RabbitMQ and Erlang repository
Create the repository file:
Add the following content:
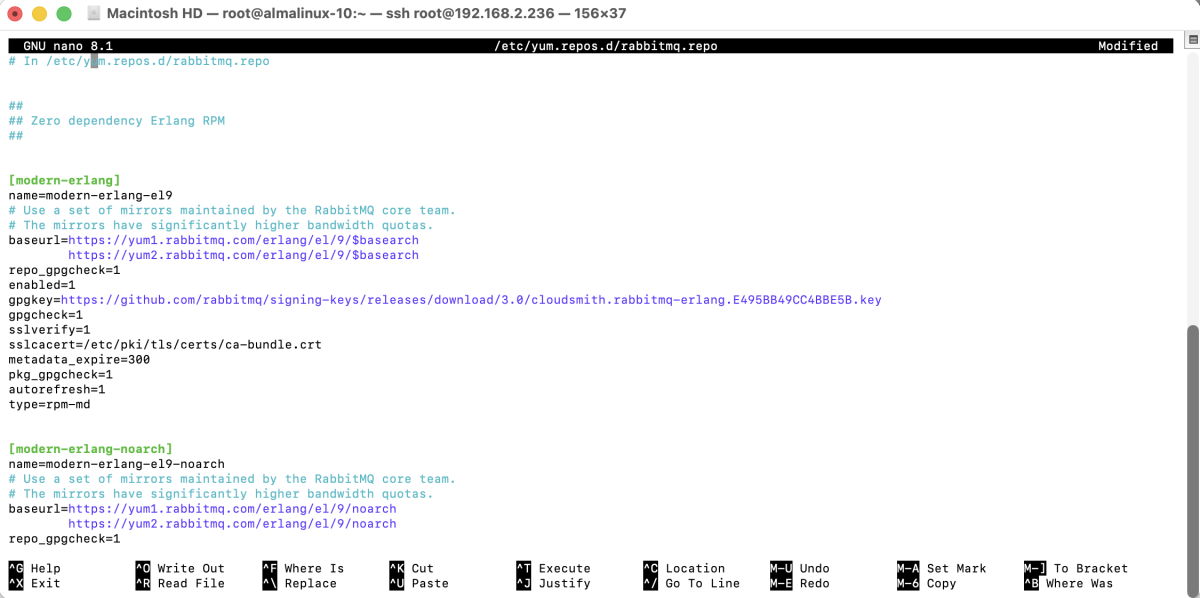
(*) The latest available repositories are for RHEL 9 but are compatible with RHEL/AlmaLinux 10. This guide will be updated when RabbitMQ provides official support for RHEL 10.
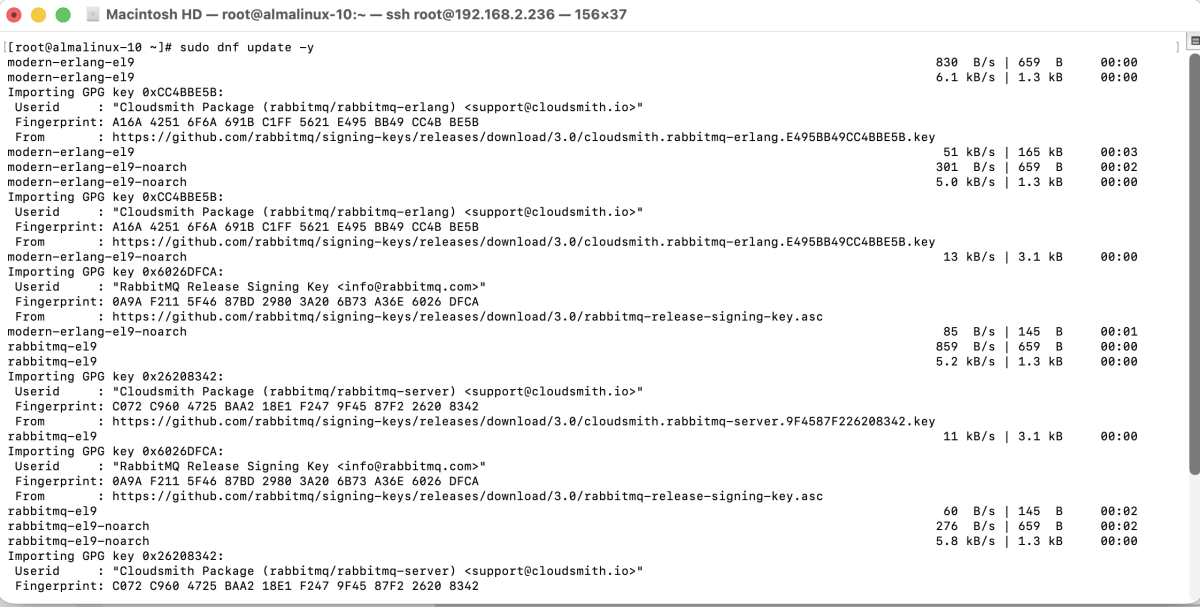
Step 4 : Update repositories
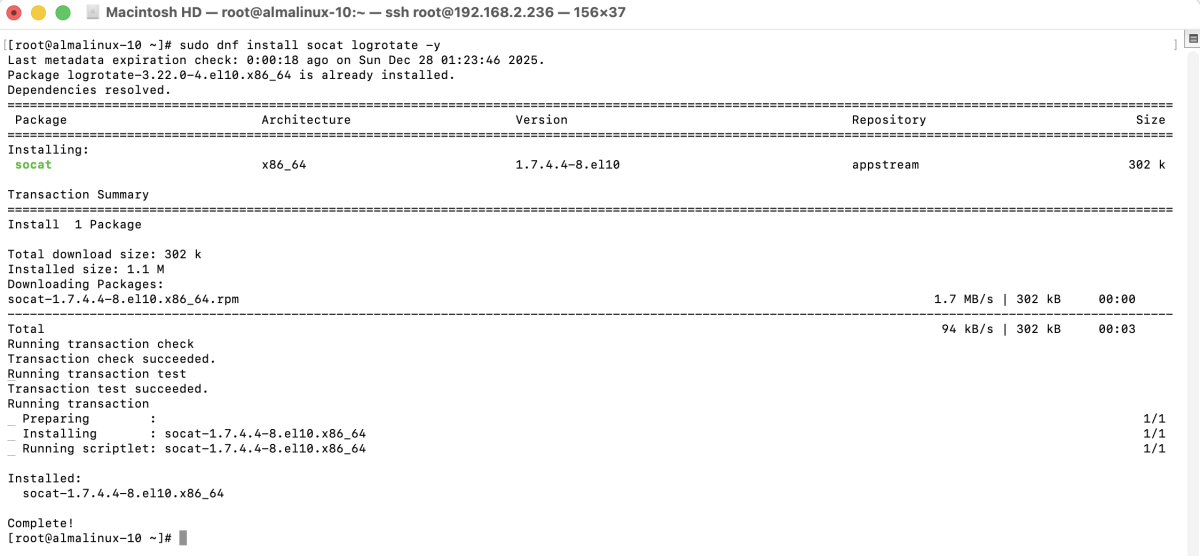
Step 5 : Install dependencies
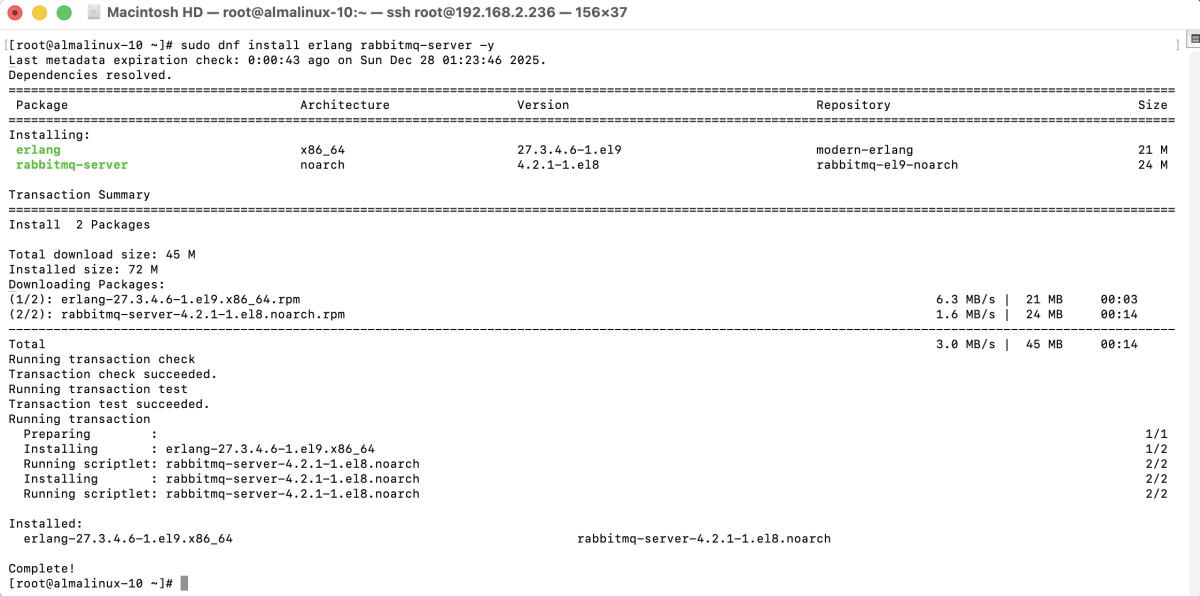
Step 6 : Install RabbitMQ
Step 7 : Start RabbitMQ

Step 8 : Enable RabbitMQ on boot

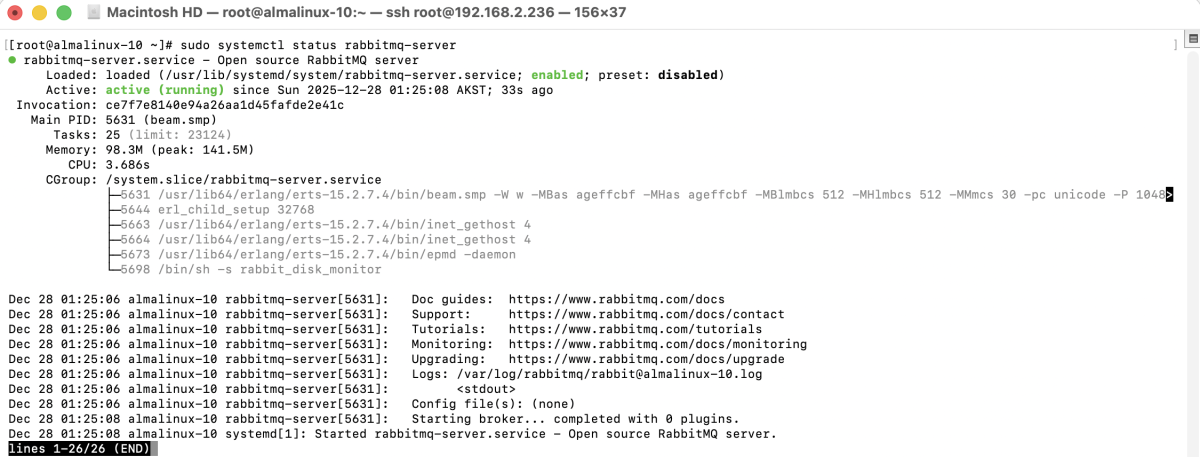
Step 9 : Check RabbitMQ status
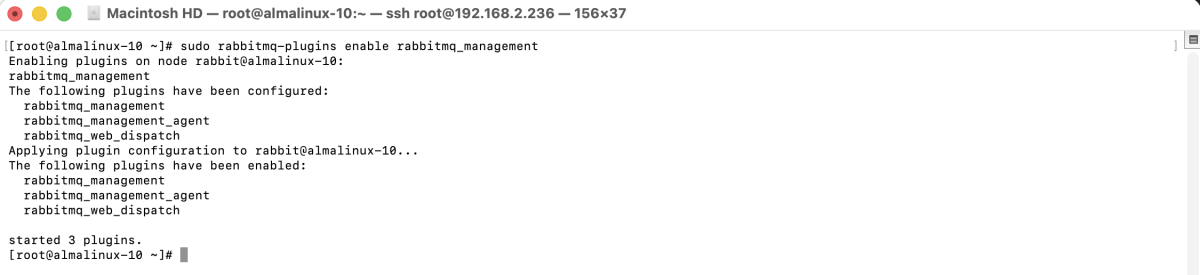
Step 10 : Enable RabbitMQ management plugin
Step 11 : Create an admin user

Step 12 : Configure firewall

Step 13 : Open your browser and go to:
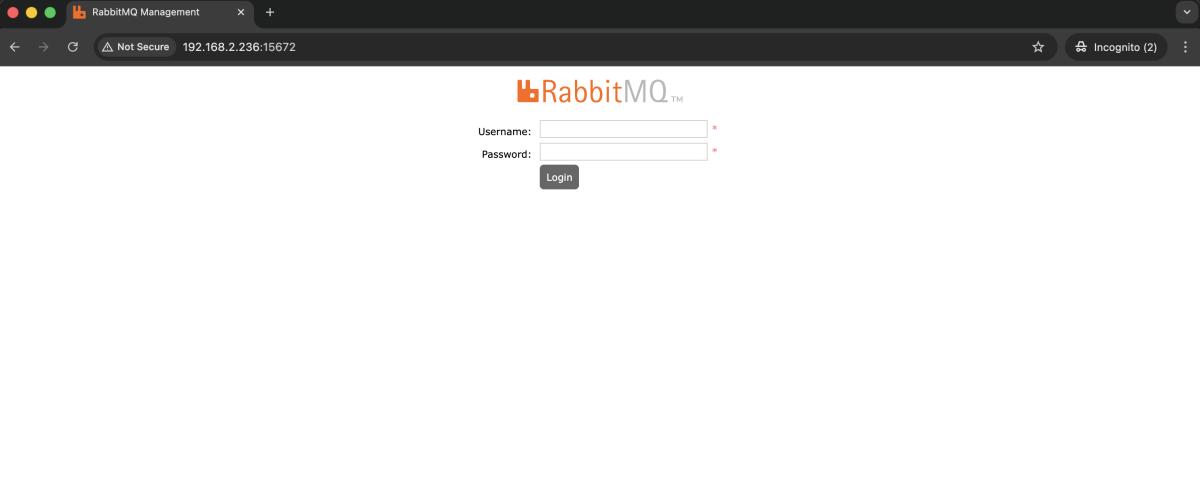
Log in with the admin user you created.
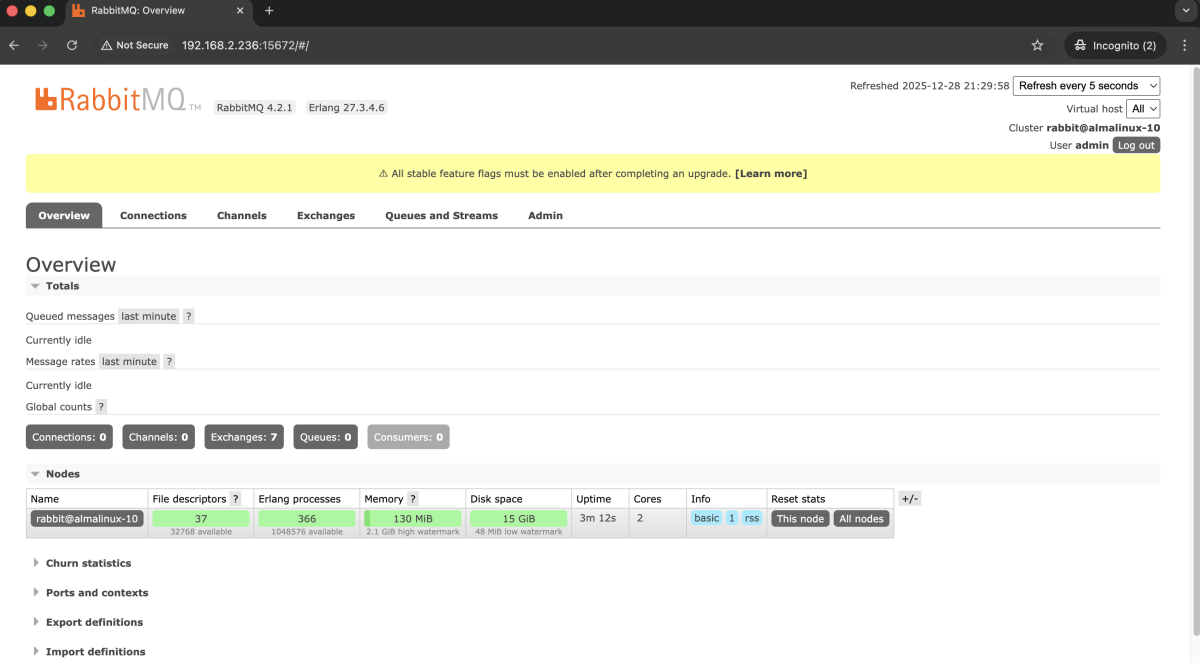
Congratulations! You have successfully installed RabbitMQ on AlmaLinux 10.