To install Let's Encrypt SSL on Nginx on AlmaLinux 10, follow the steps below:
Step 1 : Make sure the domain name is already pointed to the server's public IP address. This is required for Let's Encrypt to verify domain ownership.
Step 2 : Update system packages.

Step 3 : Install Certbot and the Nginx plugin.
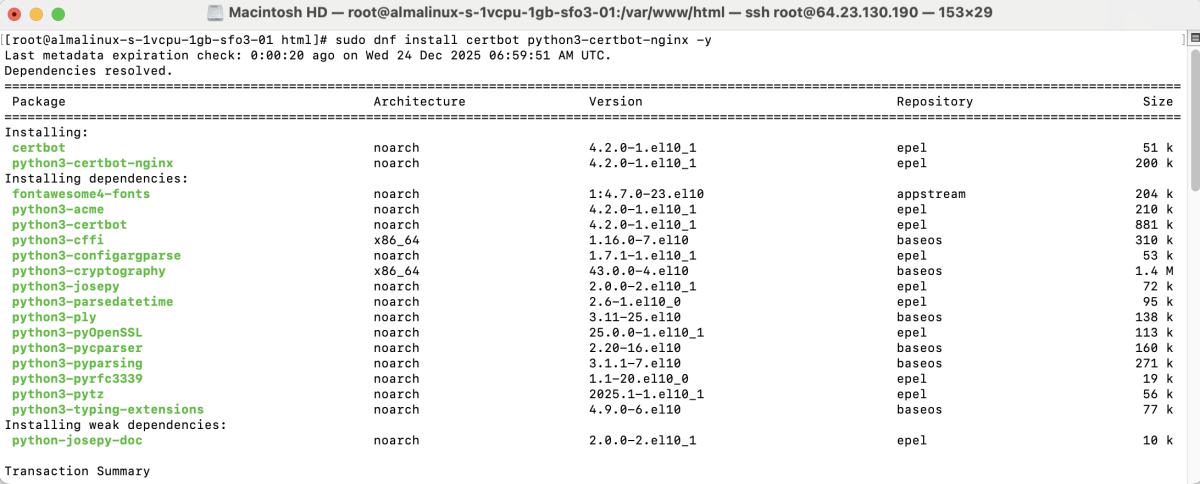
Check the installed version:

Step 4 : Create a configuration file for the domain.
Example configuration:
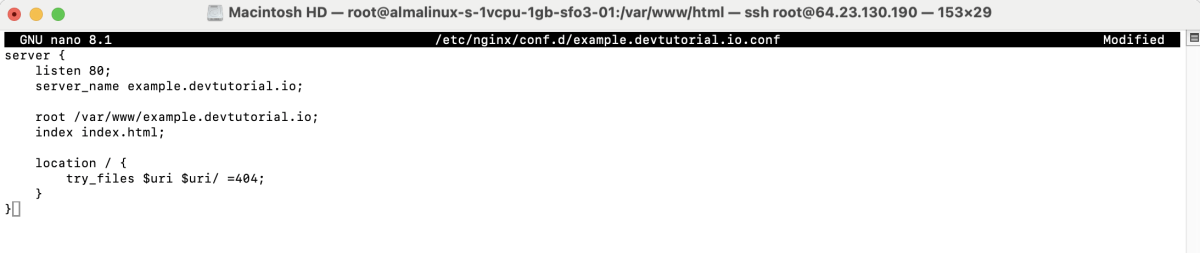
Save and close the file.
Step 5 : Create the website directory:
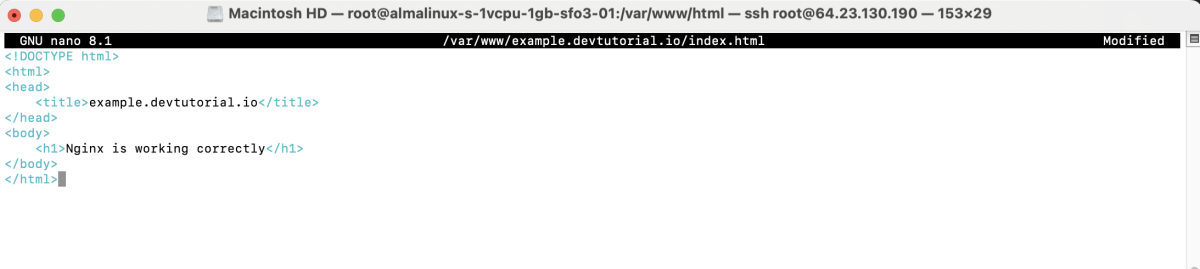
Create an index.html file:
Example content:
Set ownership:

Step 6 : Check the configuration syntax.

Step 7 : Apply the configuration changes.

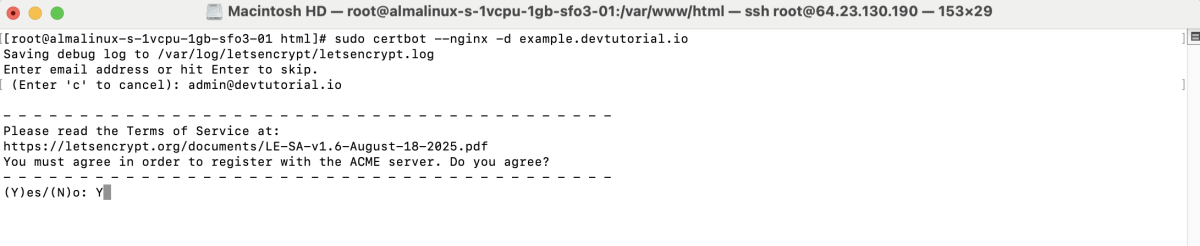
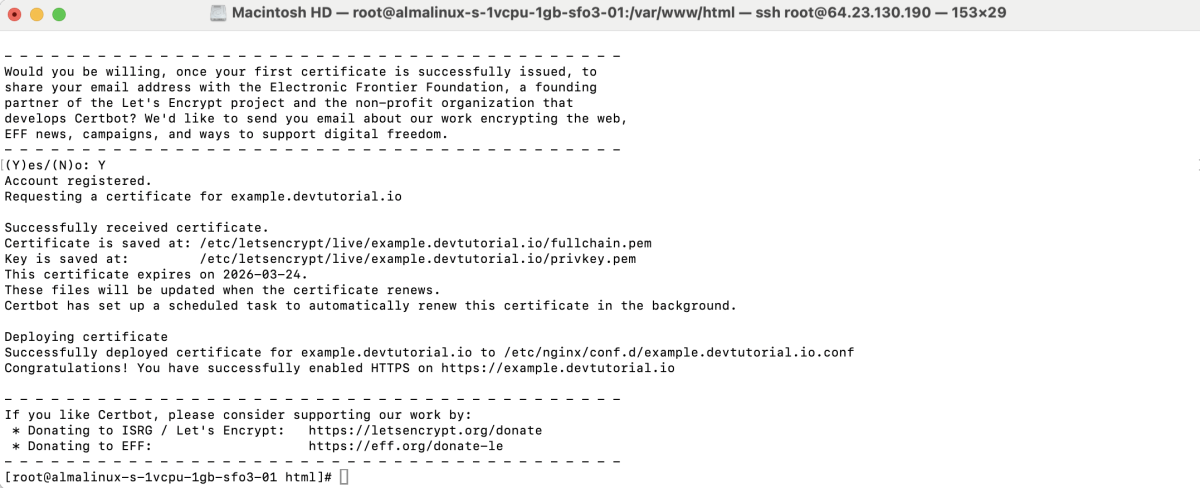
Step 8 : Request and install the SSL certificate.

During the process:
- Enter email address : Enter a valid email address.

- Agree to the Terms of Service : Type y.
- Share your email address : Type y or n.

- Successful installation : Certbot displays a message confirming the certificate was issued and installed.
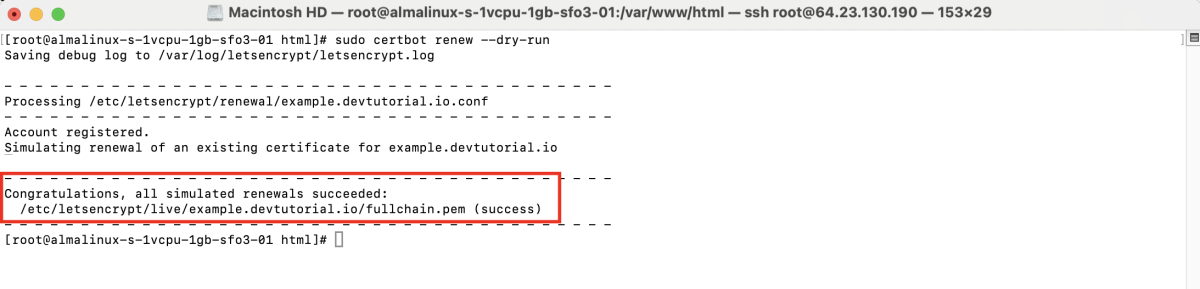
Step 9 : Test the automatic renewal process.
Step 10 : Open a browser and access:
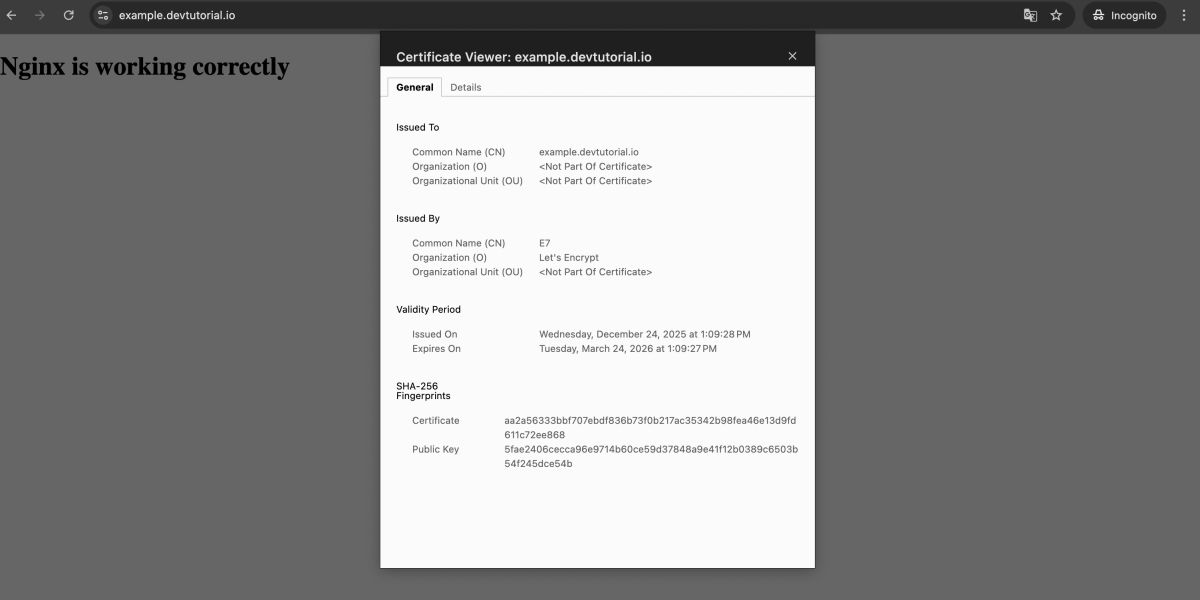
The website should load with HTTPS enabled.
Congratulations, you have successfully installed a Let's Encrypt SSL certificate on Nginx running on AlmaLinux 10.