To create a bootable USB installer for AlmaLinux 10, follow the detailed steps below to prepare your USB drive using Rufus.
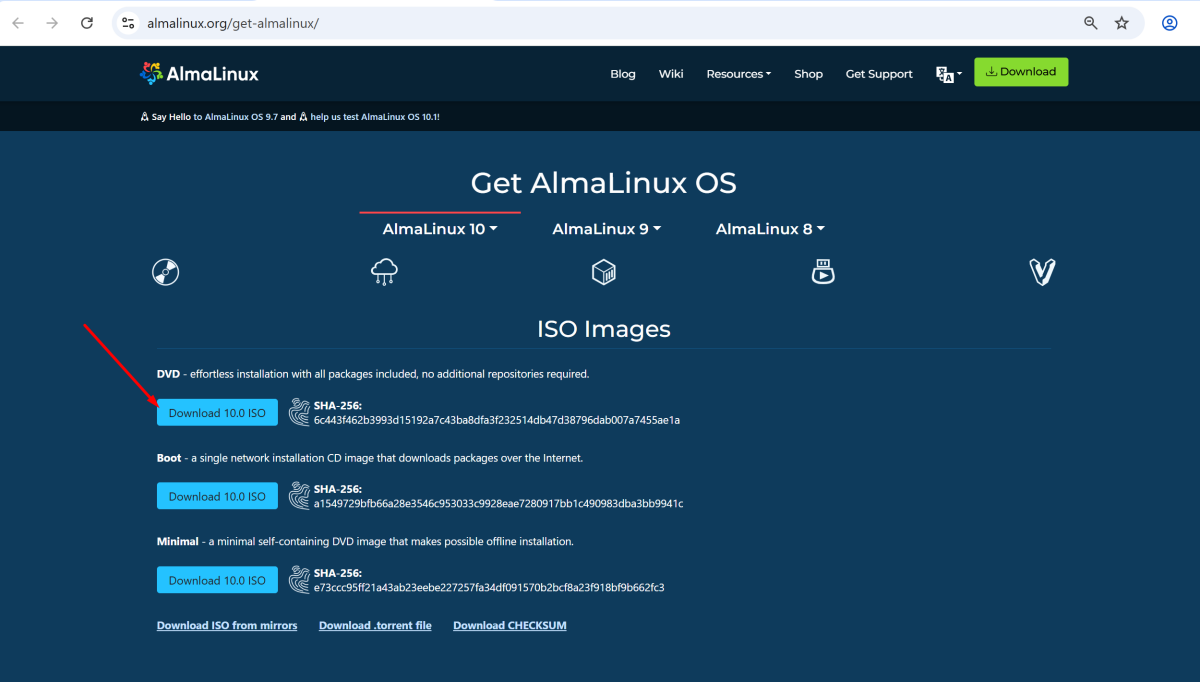
Step 1 : Download AlmaLinux 10 ISO
Download the AlmaLinux 10 ISO file from: https://almalinux.org/get-almalinux/
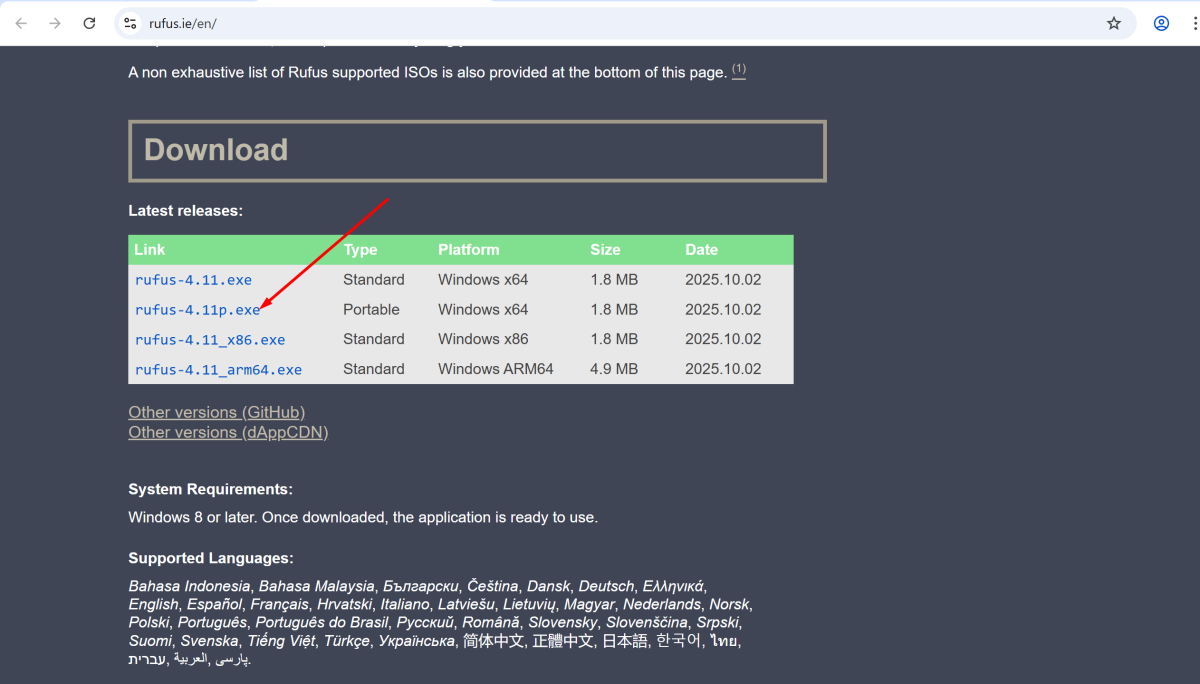
Step 2 : Download Rufus
Get the latest version of Rufus from: https://rufus.ie
Step 3 : Plug In Your USB Flash Drive
Insert your USB flash drive into your computer (8 GB or larger recommended).
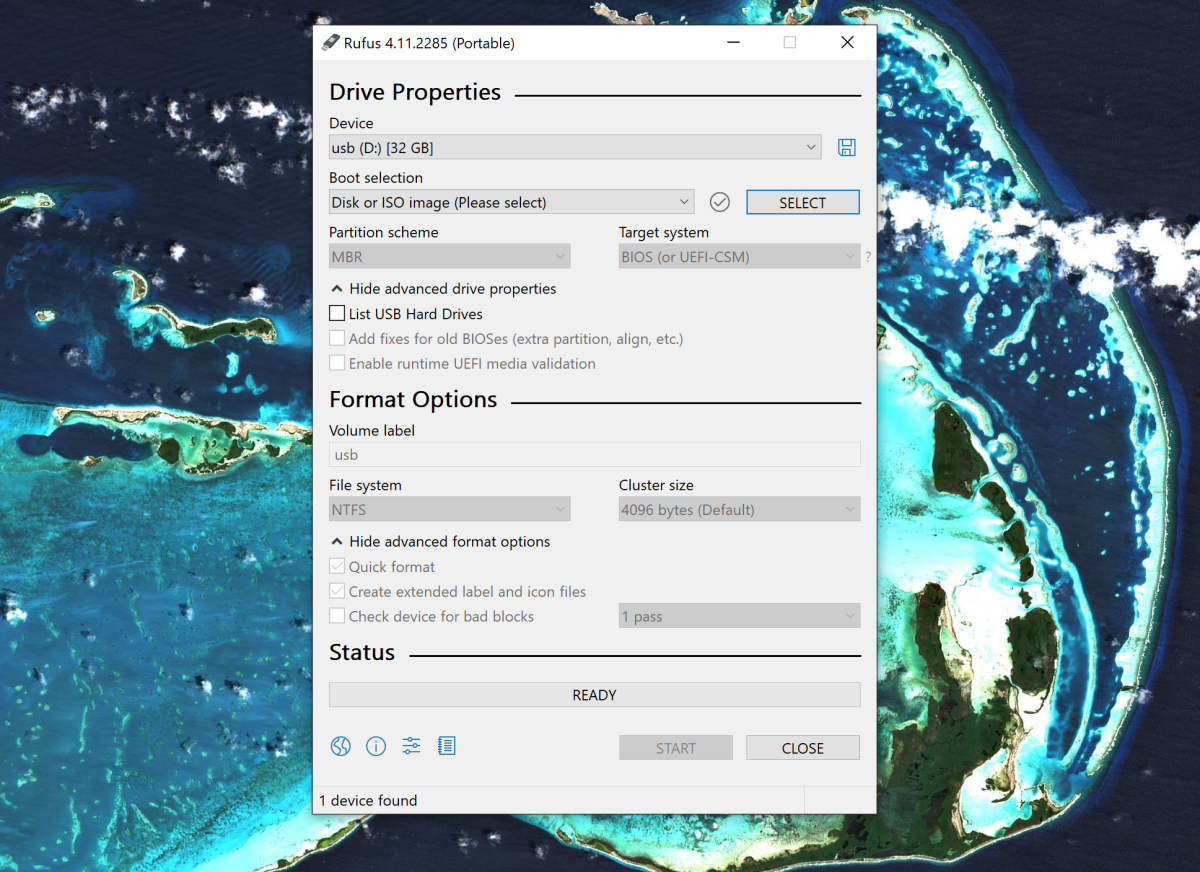
Step 4 : Open Rufus
Launch the Rufus application. It runs without installation.
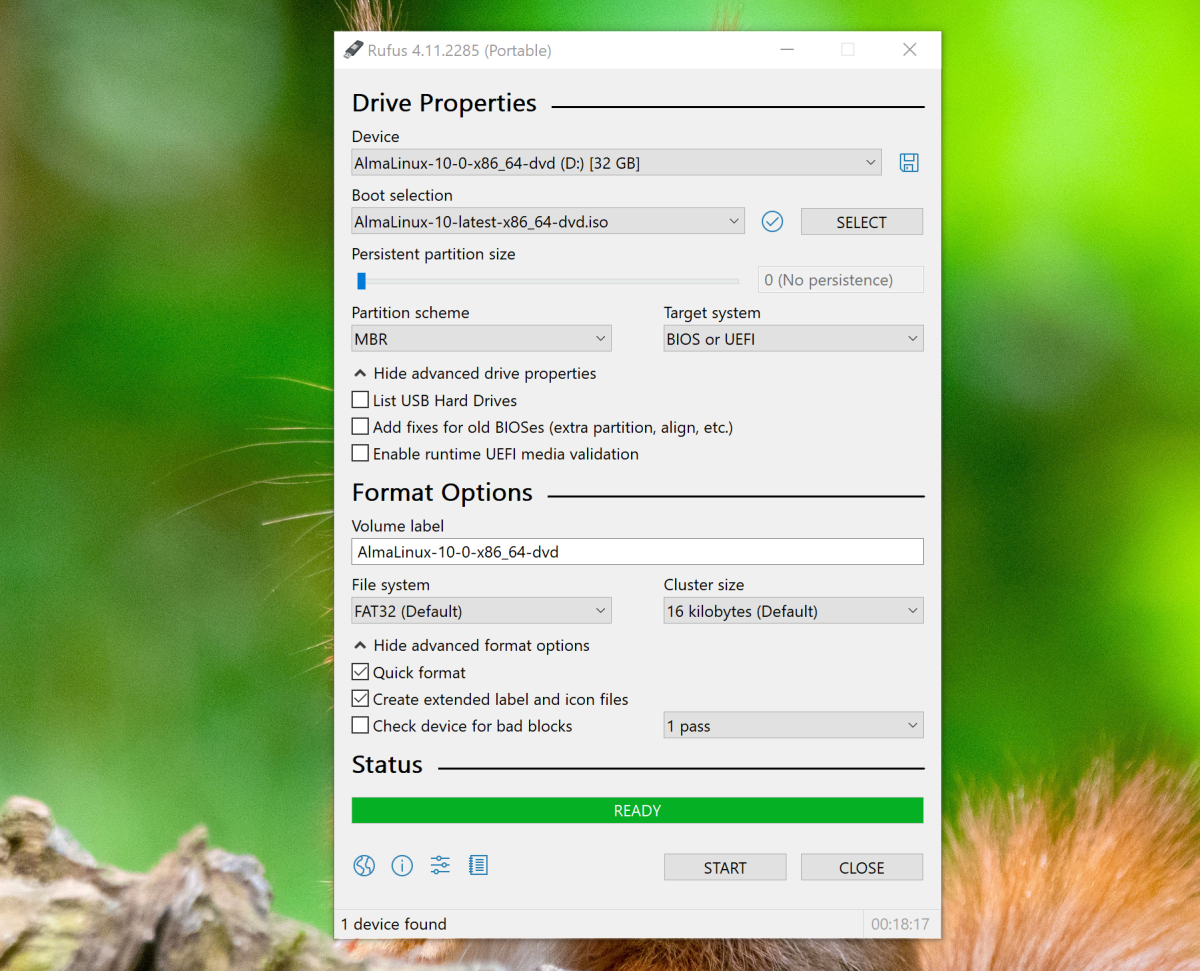
Step 5 : Configure Rufus
Follow the sub-steps to configure the tool:
- Select USB Drive – Choose your USB device from the Device dropdown.
- Select ISO File – Click SELECT and browse to the AlmaLinux 10 ISO you downloaded.
- Partition Scheme – Choose MBR for BIOS/UEFI or GPT for UEFI systems.
- File System – Leave it as FAT32 (default).
- Keep other options at their default settings unless you need custom configurations.
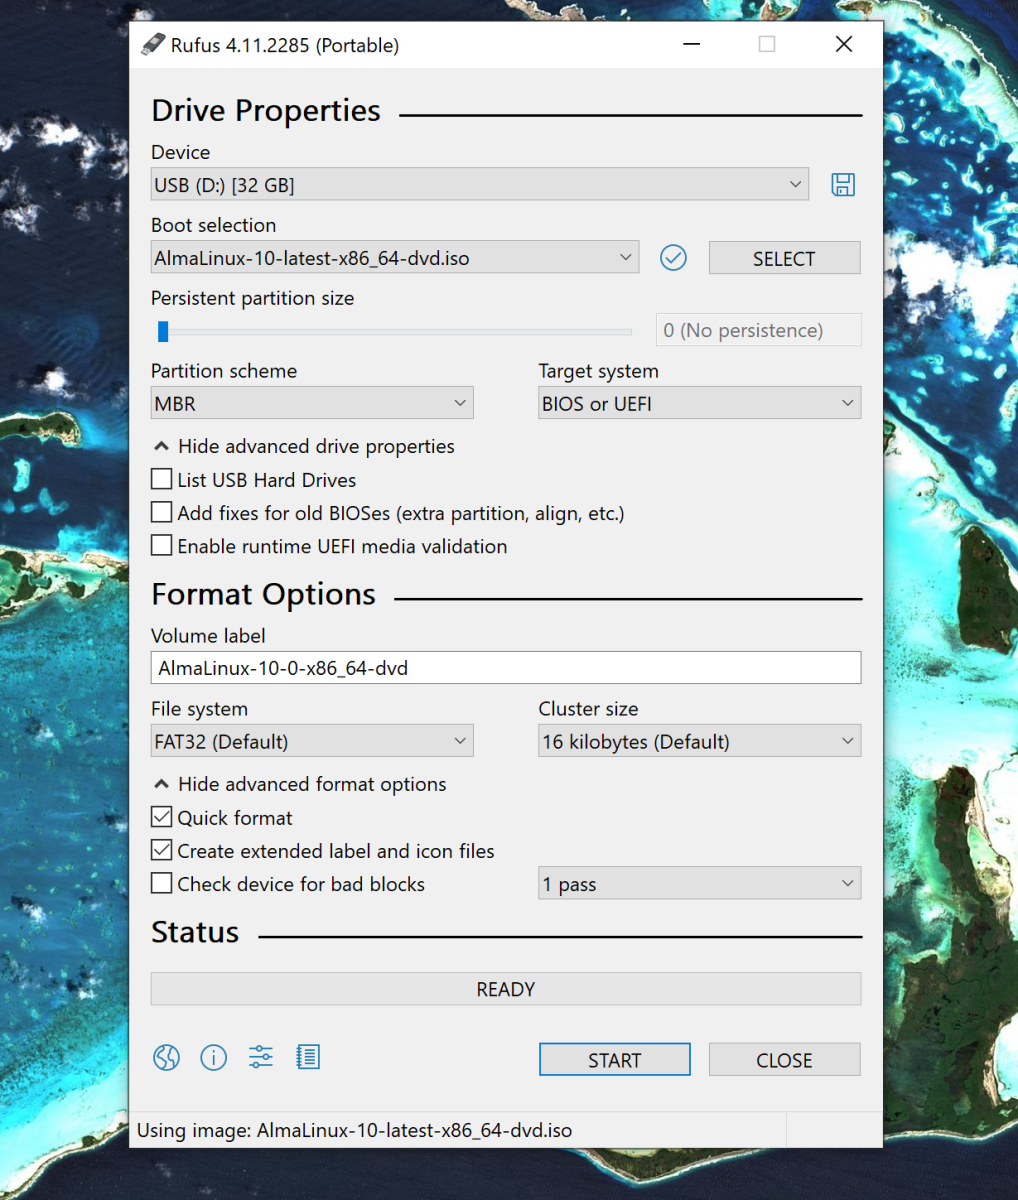
Step 6 : Click Start
Press the Start button to begin creating the bootable USB.
Step 7 : Choose Write Mode
When prompted, select Write in ISO Image Mode (Recommended).

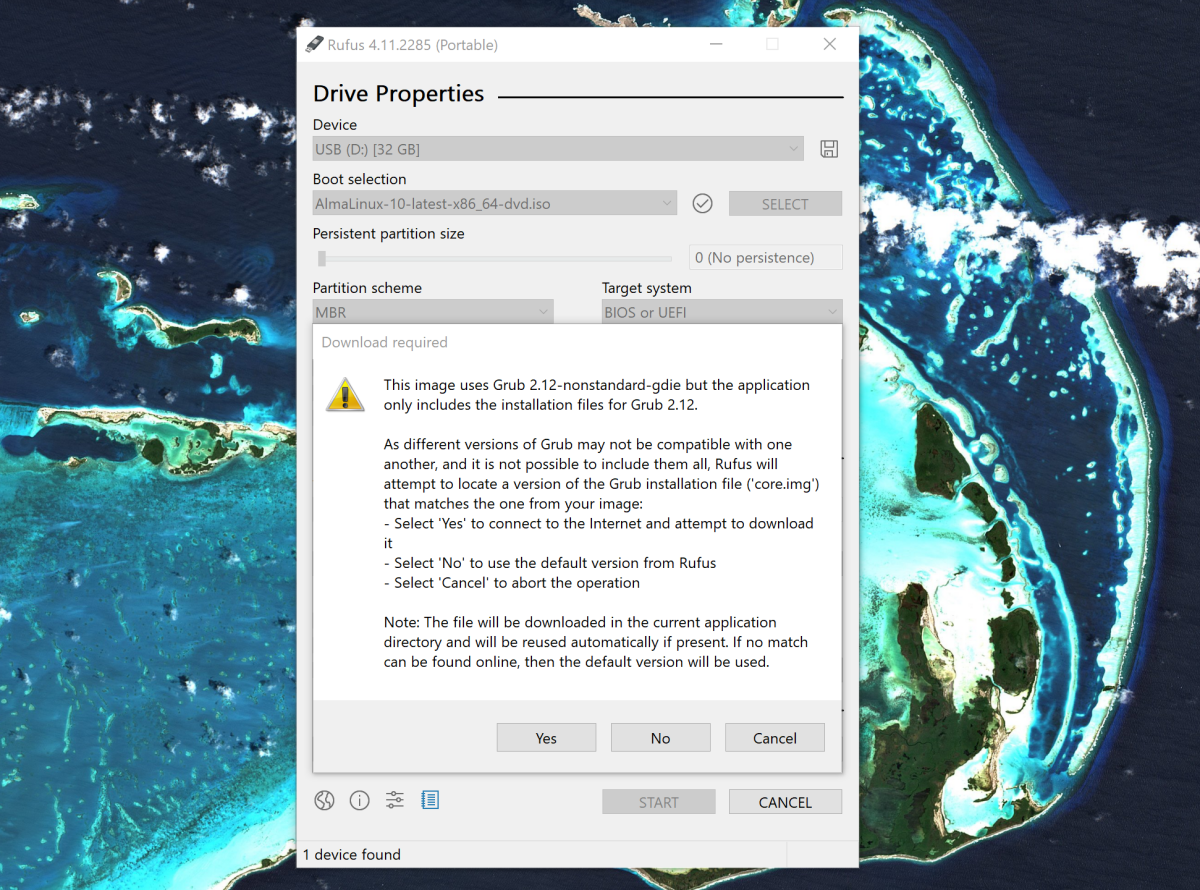
Step 8 : Download Required Files
If Rufus asks to download updated Syslinux files, click Yes.
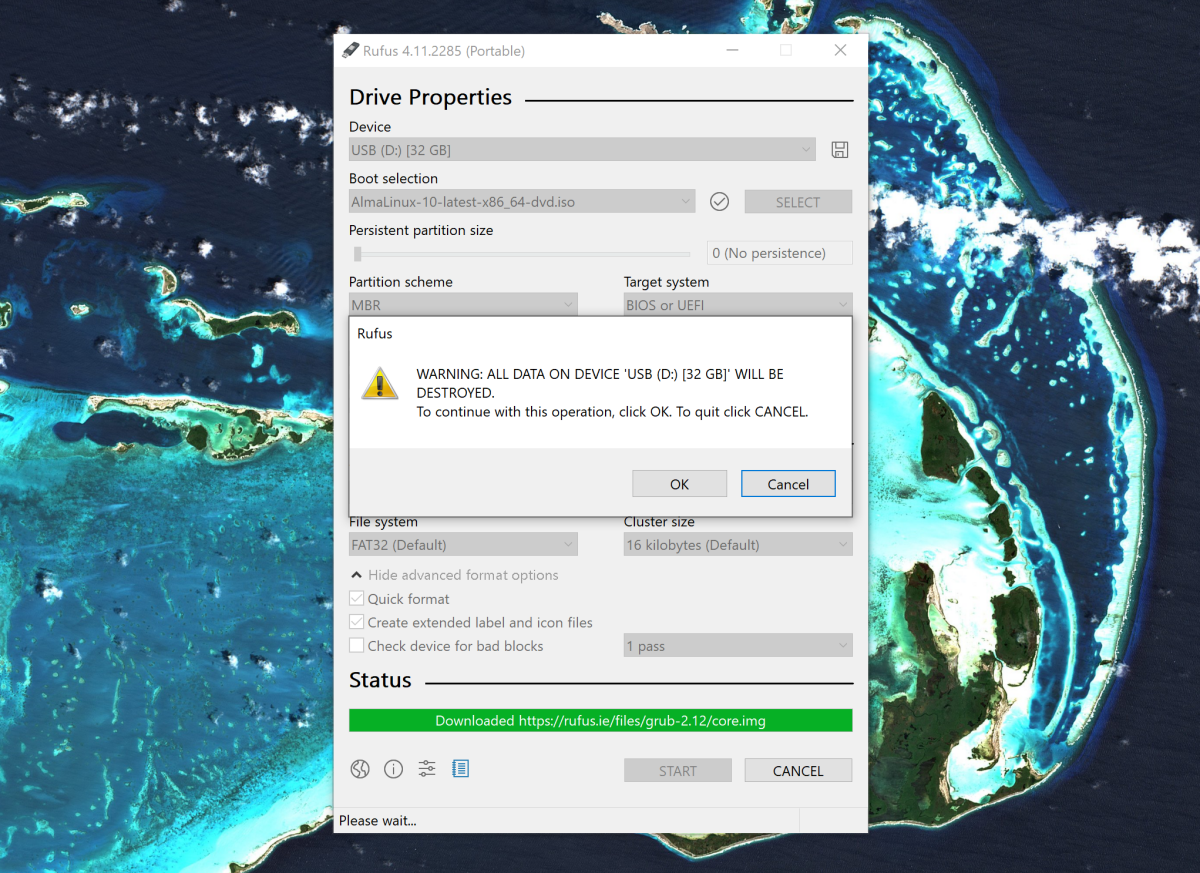
Step 9 : Confirm Formatting
A warning will appear about erasing all data on the USB. Click OK to confirm.
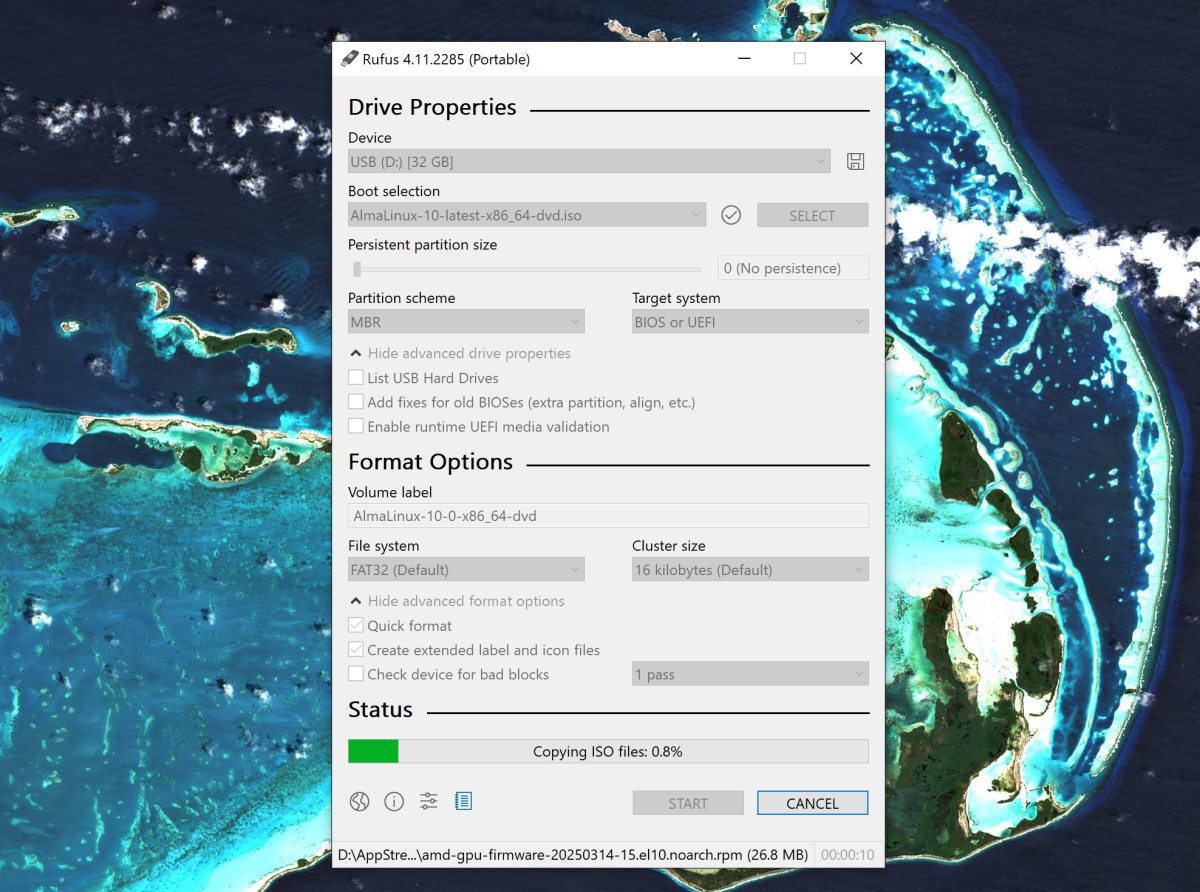
Step 10 : Wait for the Process to Finish
Rufus will write the ISO to the USB. This may take a few minutes.
Step 11 : Eject the USB Drive
Once Rufus shows READY, safely eject your USB flash drive.