To install RabbitMQ on Debian 13, follow the steps below.
Step 1 : Update the package index to make sure you are using the latest repository information.

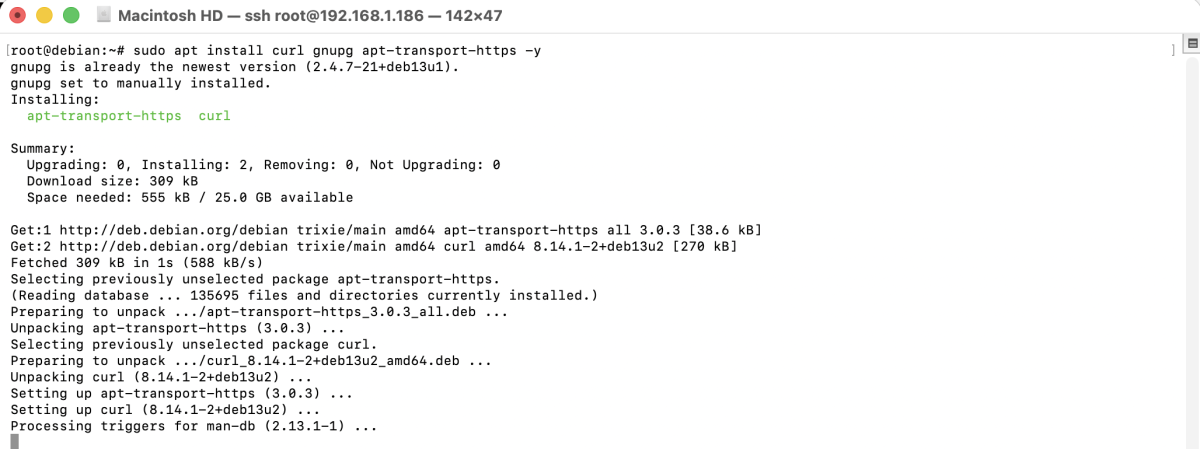
Step 2 : Install the required tools for adding external repositories and keys.
Step 3 : Import the official RabbitMQ signing key so that packages can be verified.

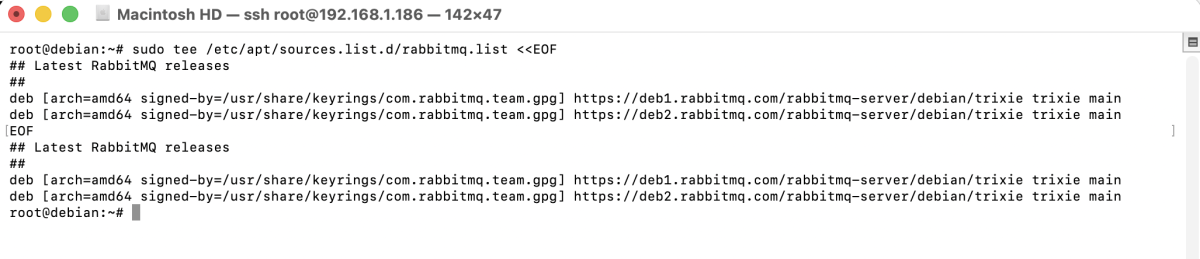
Step 4 : Add the official RabbitMQ and Erlang repositories.
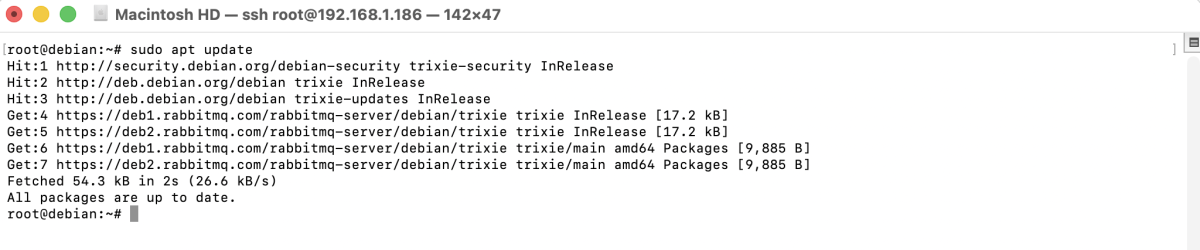
Step 5 : Reload the package list to include the new repositories.
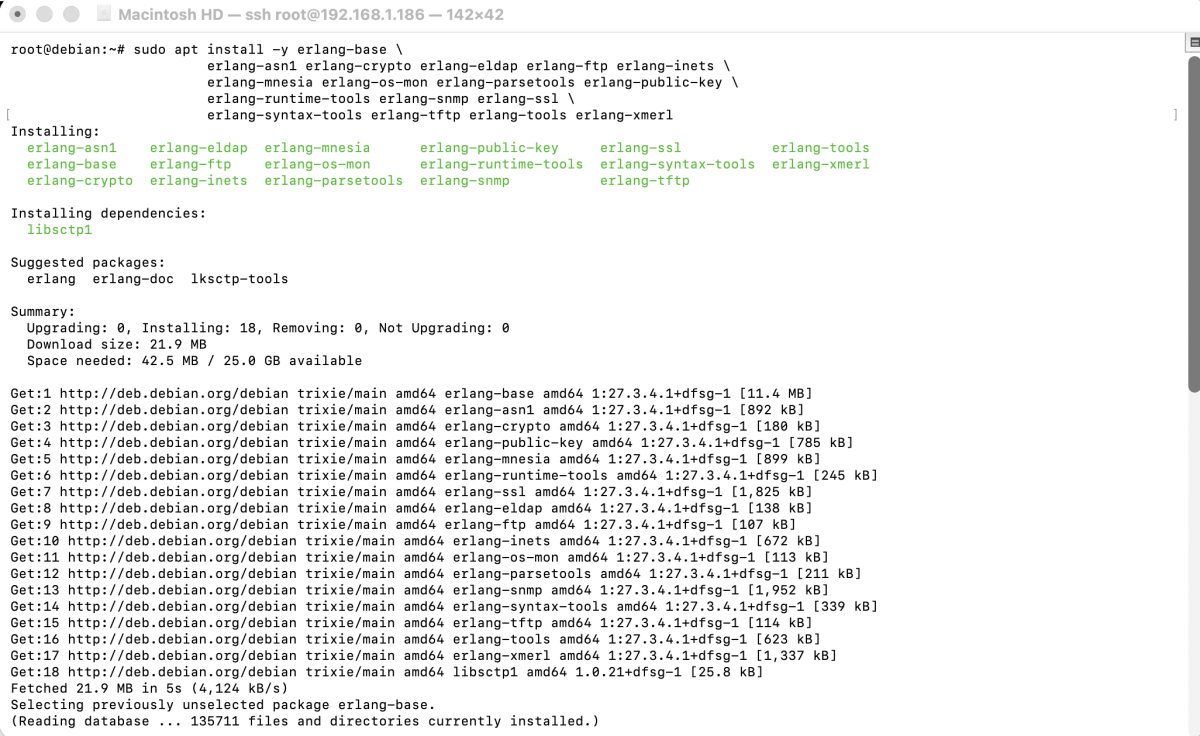
Step 6 : Install Erlang packages
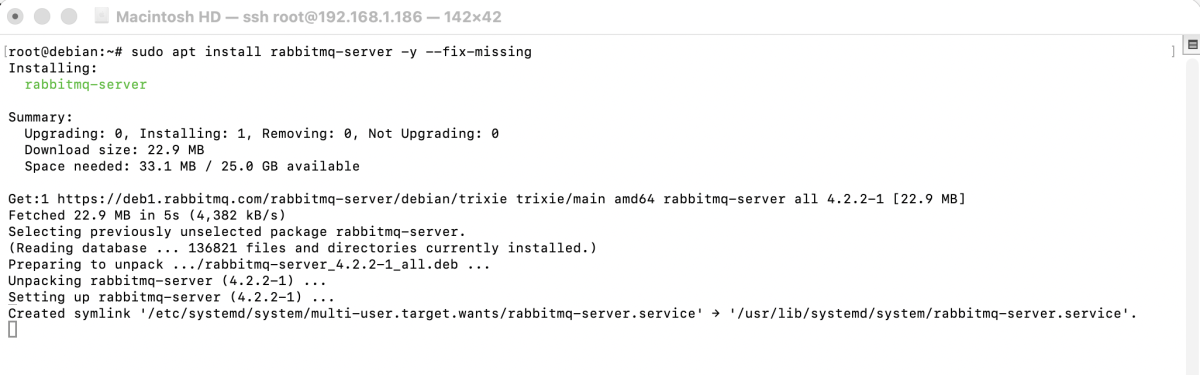
Step 7 : Install RabbitMQ from the official repository.
Step 8 : Start the RabbitMQ service.

Step 9 : Ensure RabbitMQ starts automatically after reboot.

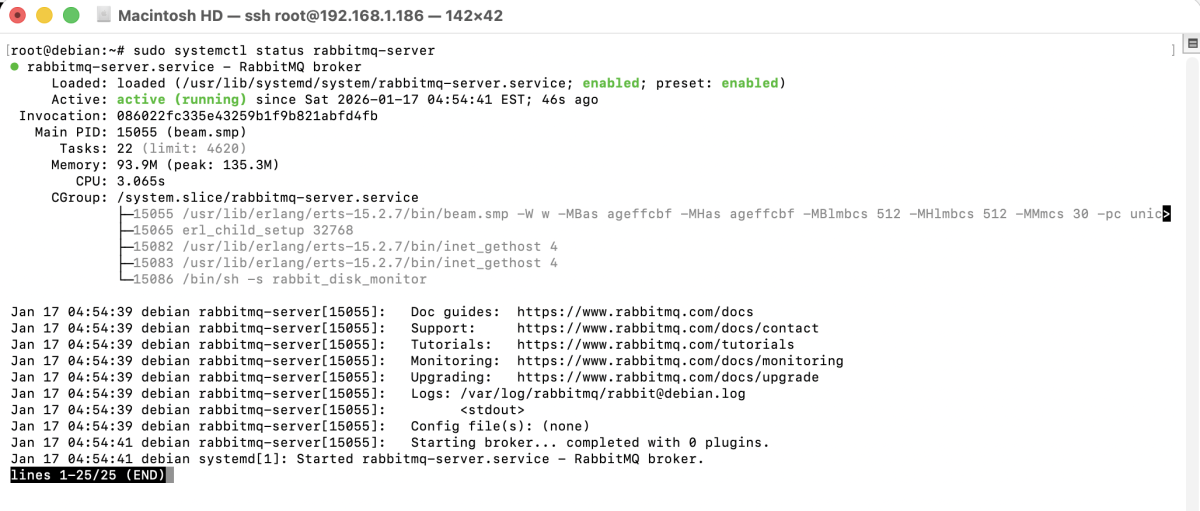
Step 10 : Verify that RabbitMQ is running correctly.
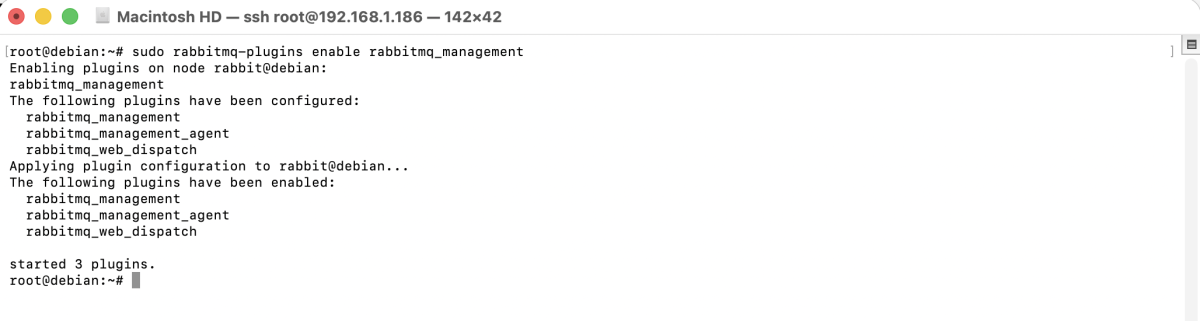
Step 11 : Enable the web-based management interface.
Step 12 : Restart the service to apply changes.

Step 13 : Create a new admin user and assign administrator privileges.

Step 14 : If you are using UFW, allow access to the RabbitMQ management port.

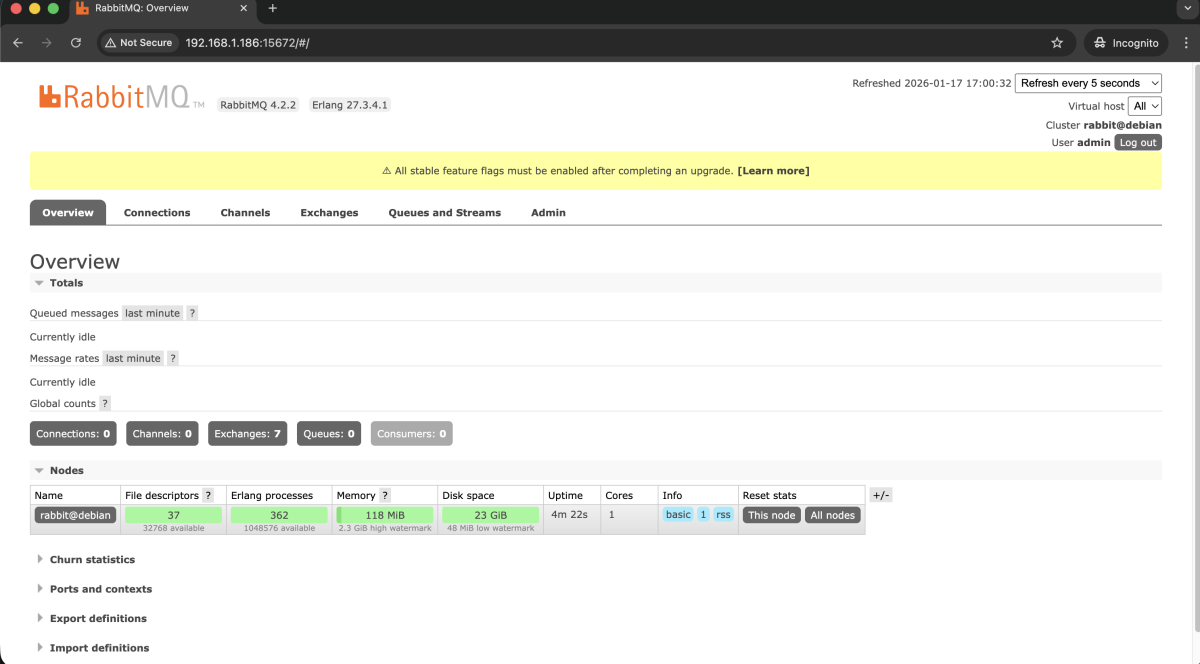
Step 15 : Open a web browser and access:
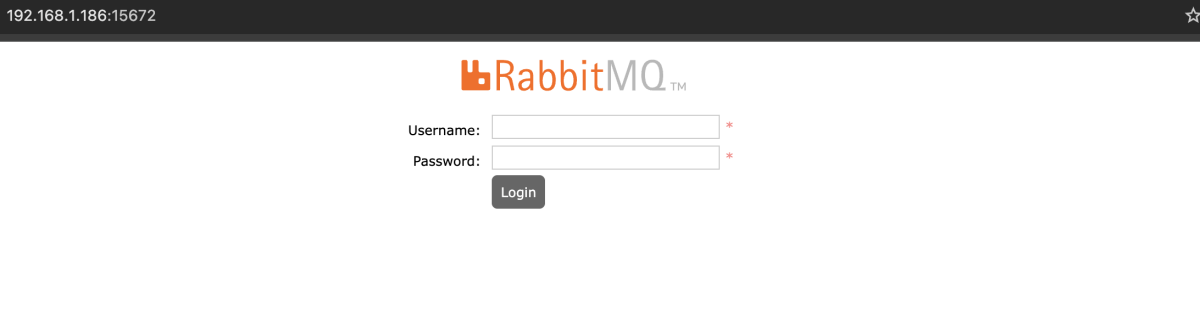
Log in using the administrative user you created.
Congratulations, you have successfully installed and configured RabbitMQ on Debian 13.