To install and configure Postfix on Debian 13, follow the step-by-step instructions below.
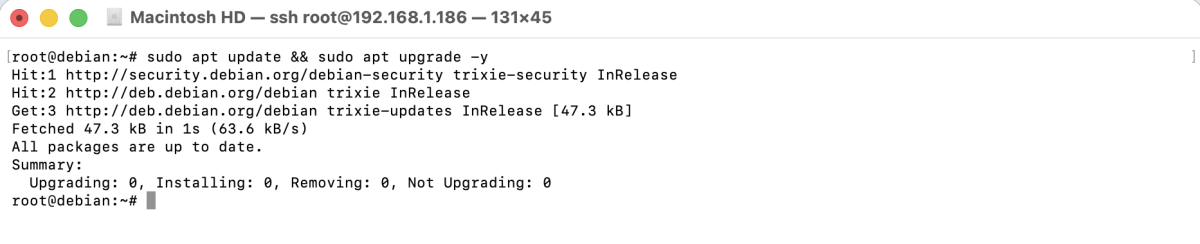
Step 1 : First, update your package list and upgrade existing packages.
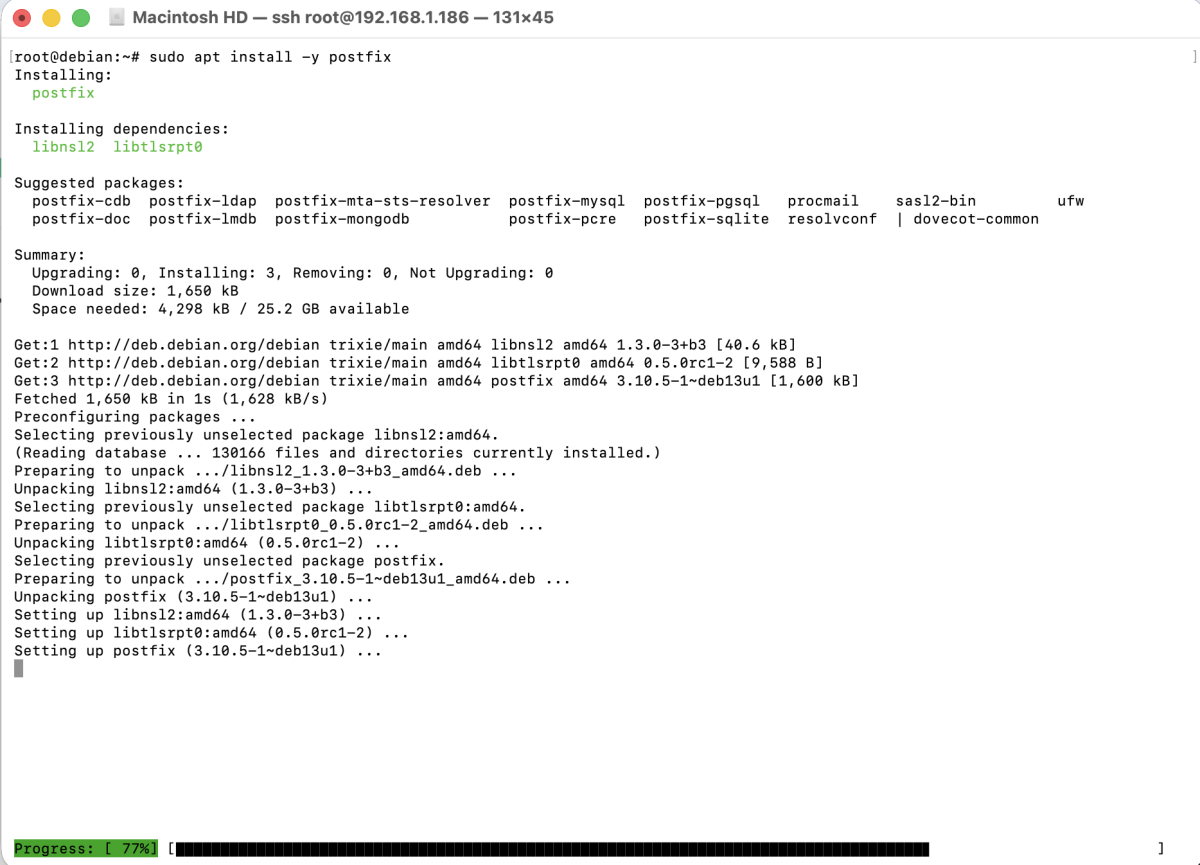
Step 2 : Install Postfix using APT.
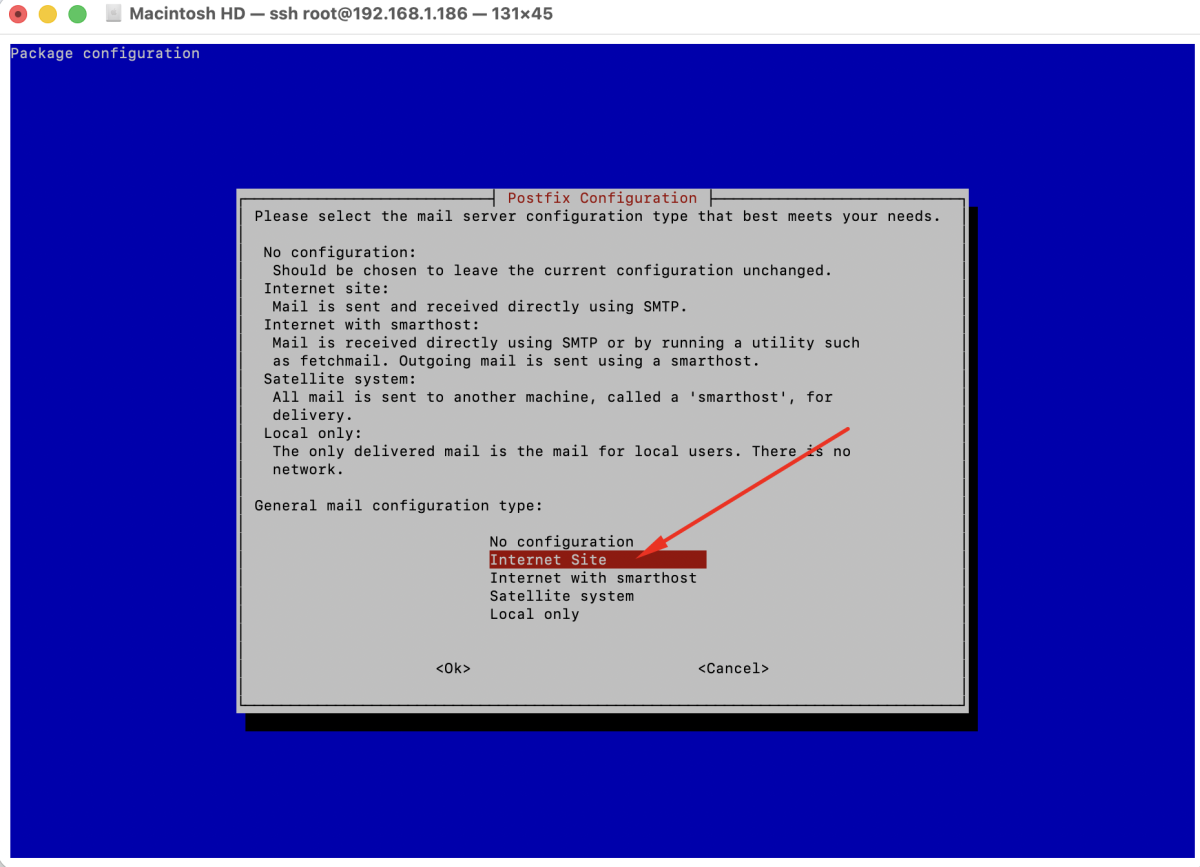
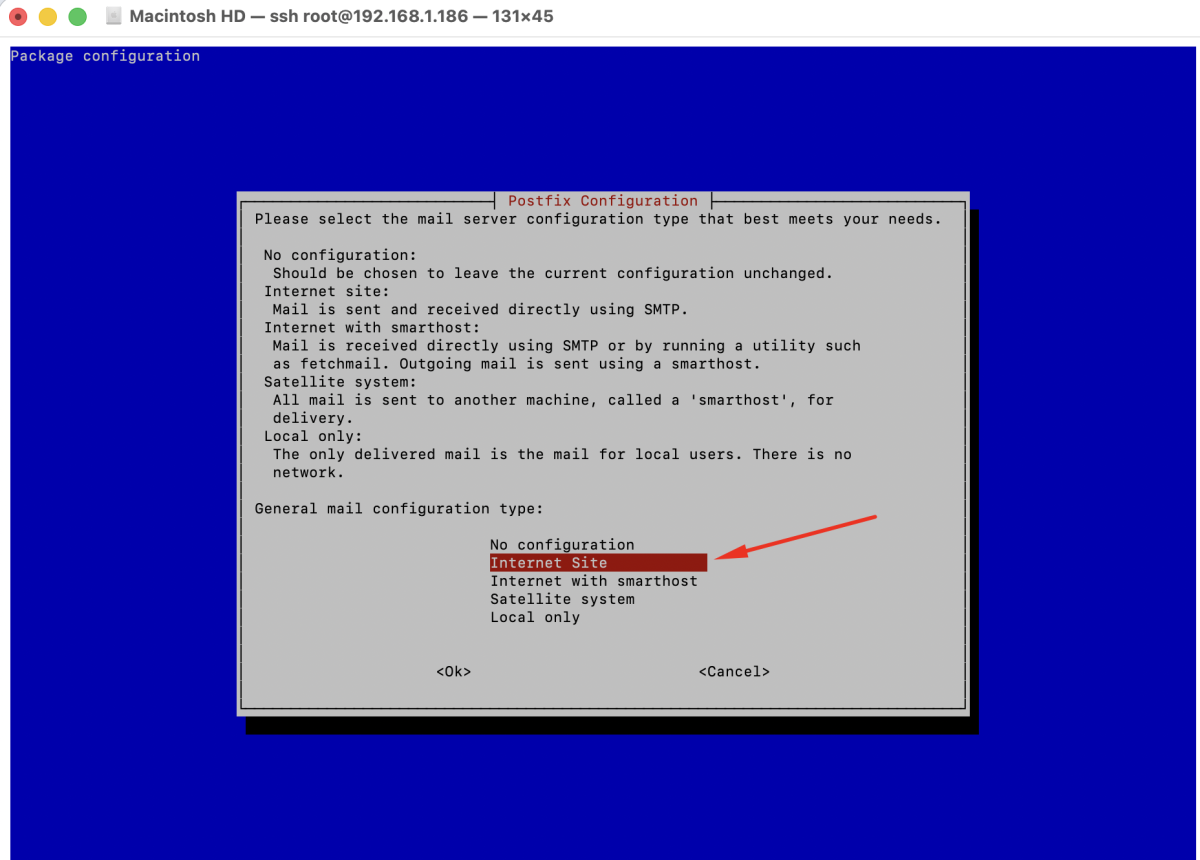
During the installation, you will be prompted with configuration options:
- General type of mail configuration: Select Internet Site
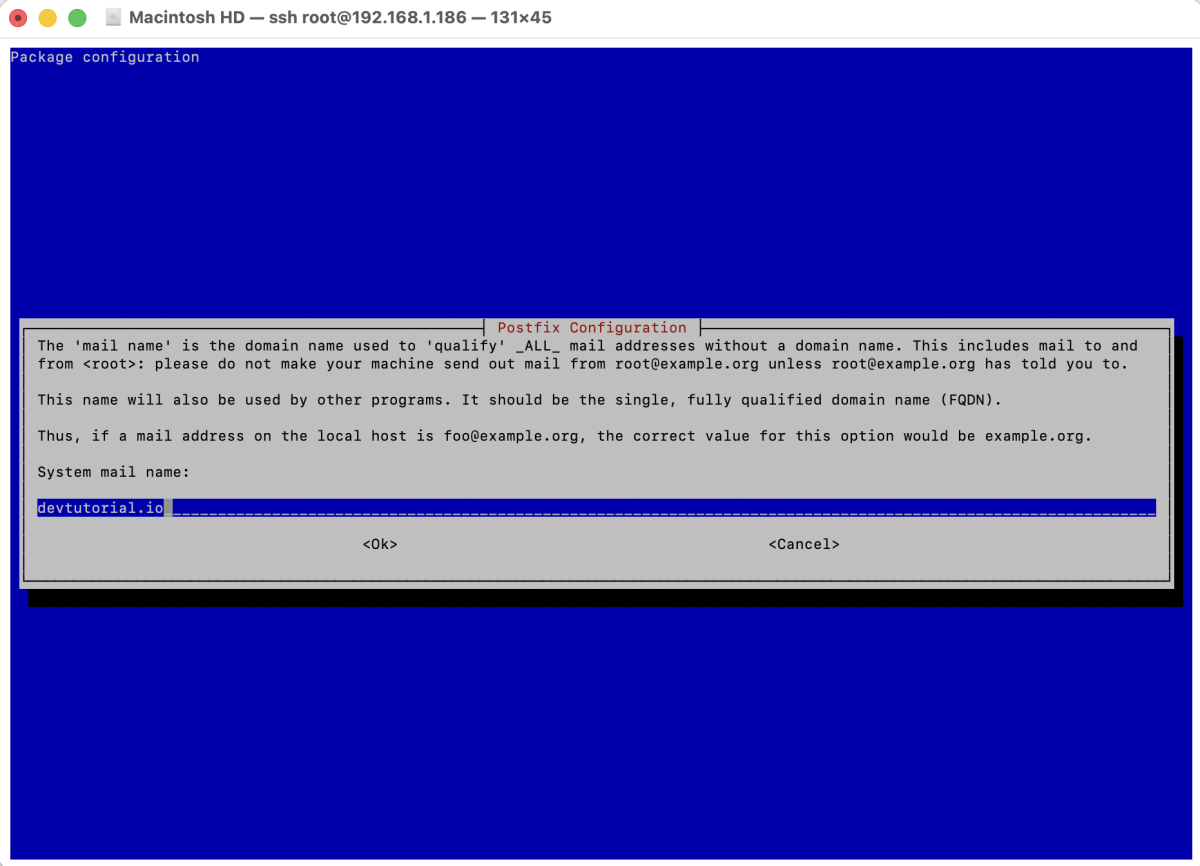
- System mail name: Enter your domain name (for example:
example.com)
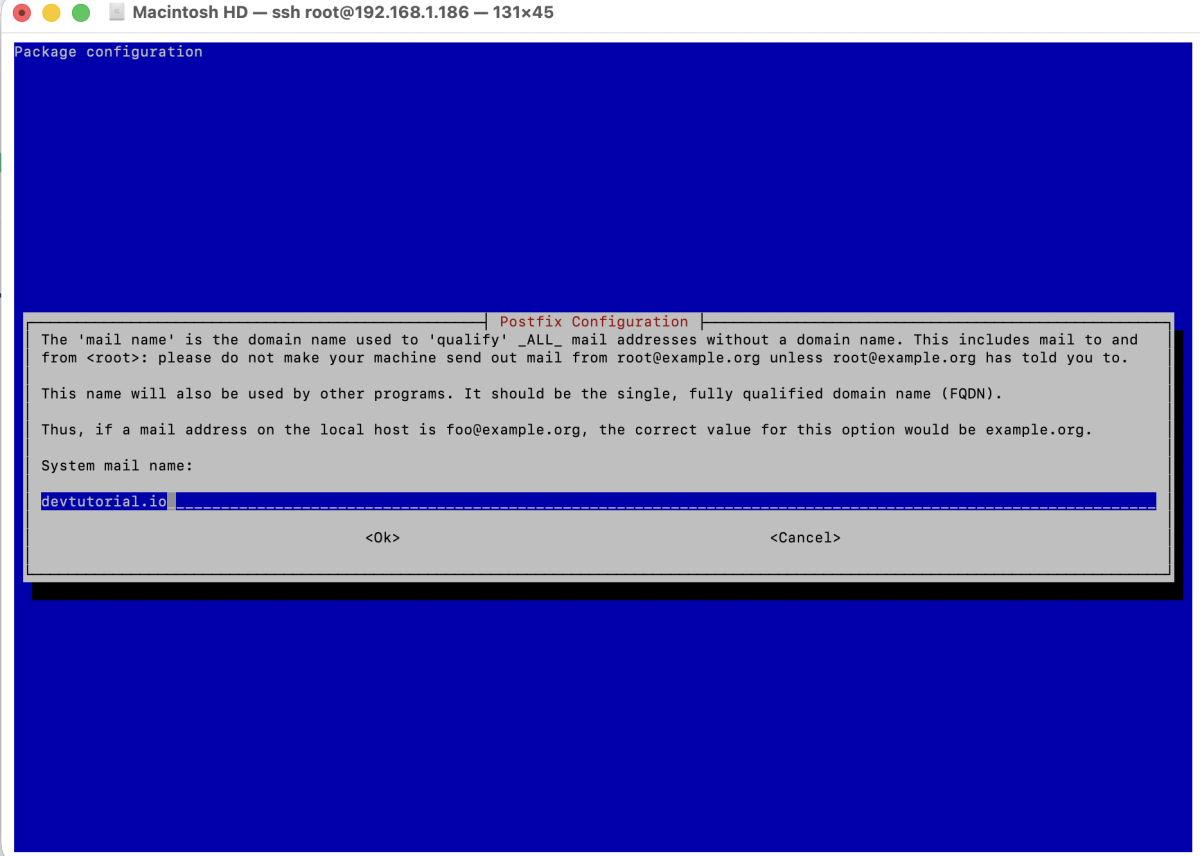
This domain will be used as the default domain for outgoing emails.
Step 3 : After installation, reconfigure Postfix to review and adjust settings.
You will be asked several questions. Recommended answers for a basic setup:
- General type of mail configuration: Internet Site
- System mail name: your domain name (e.g.
example.com)
- Root and postmaster mail recipient: your local user or email address

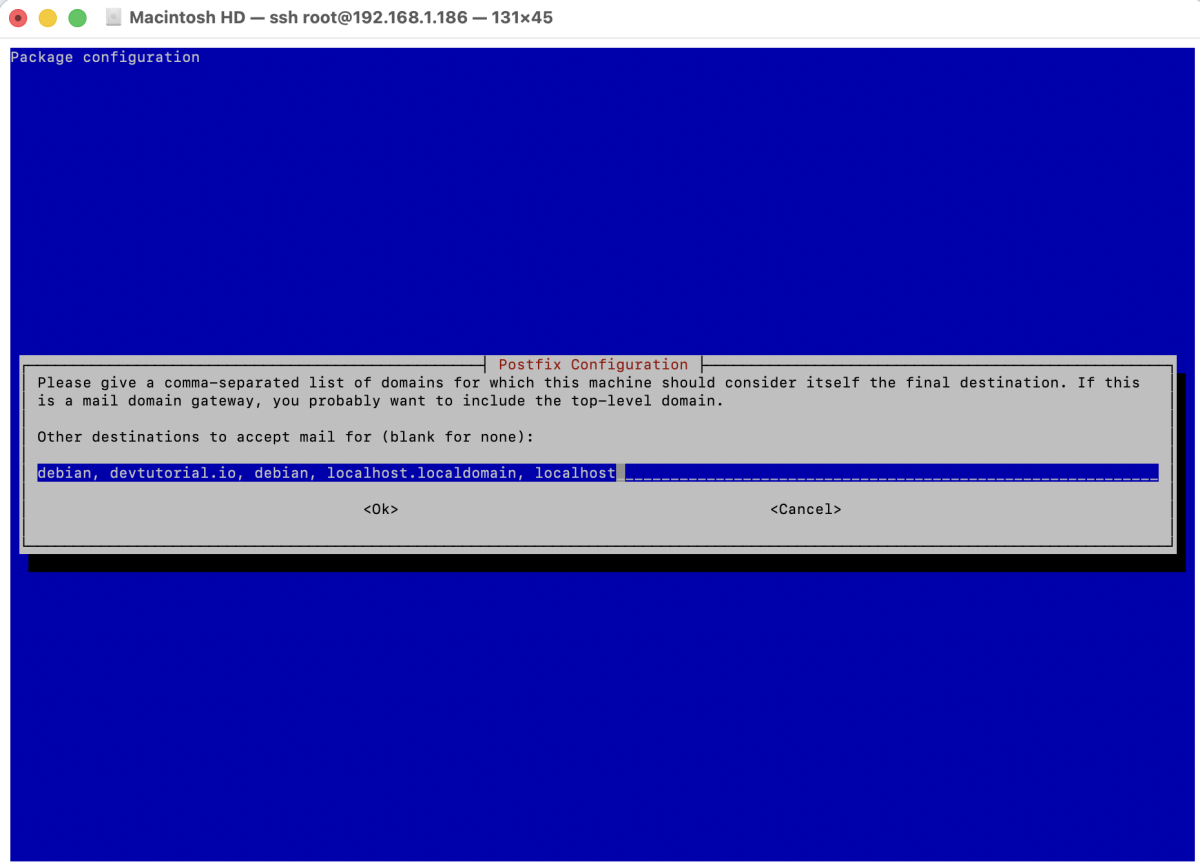
- Other destinations to accept mail for: keep default
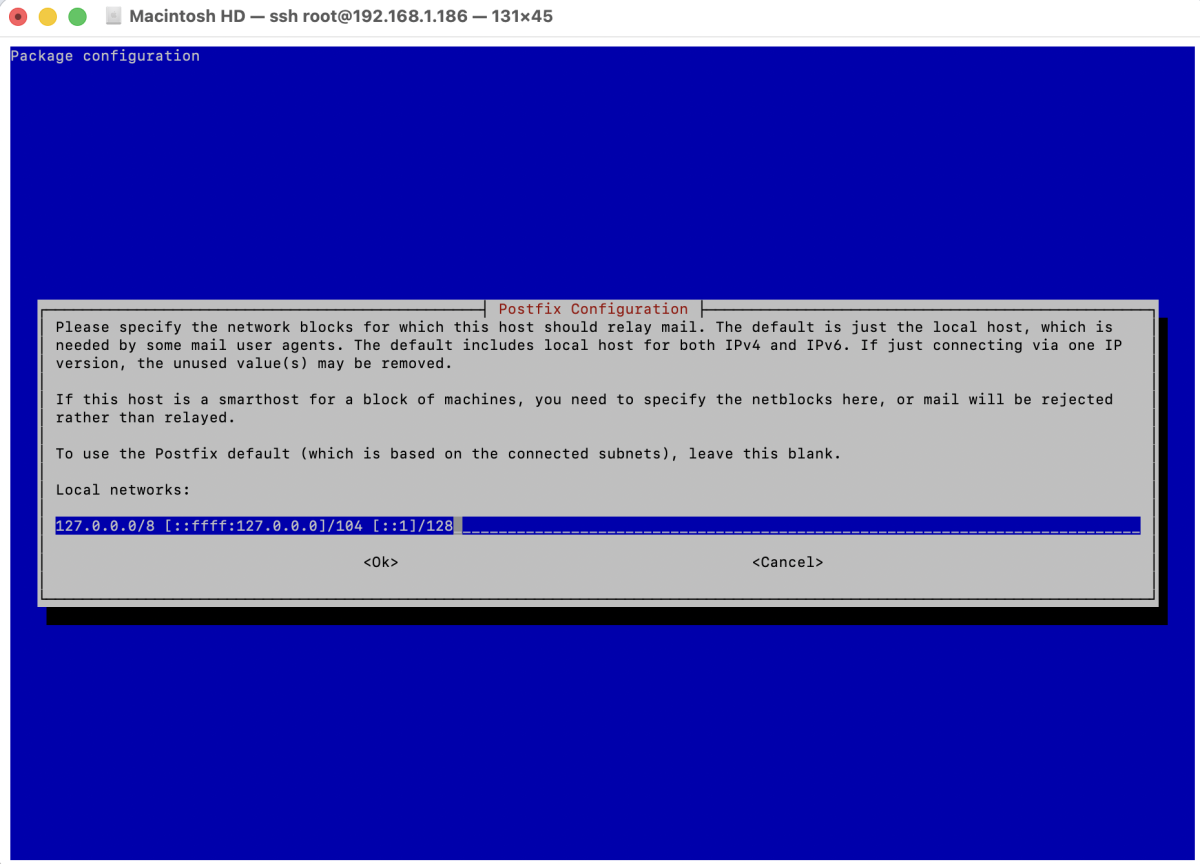
- Local networks: keep default (usually
127.0.0.0/8)
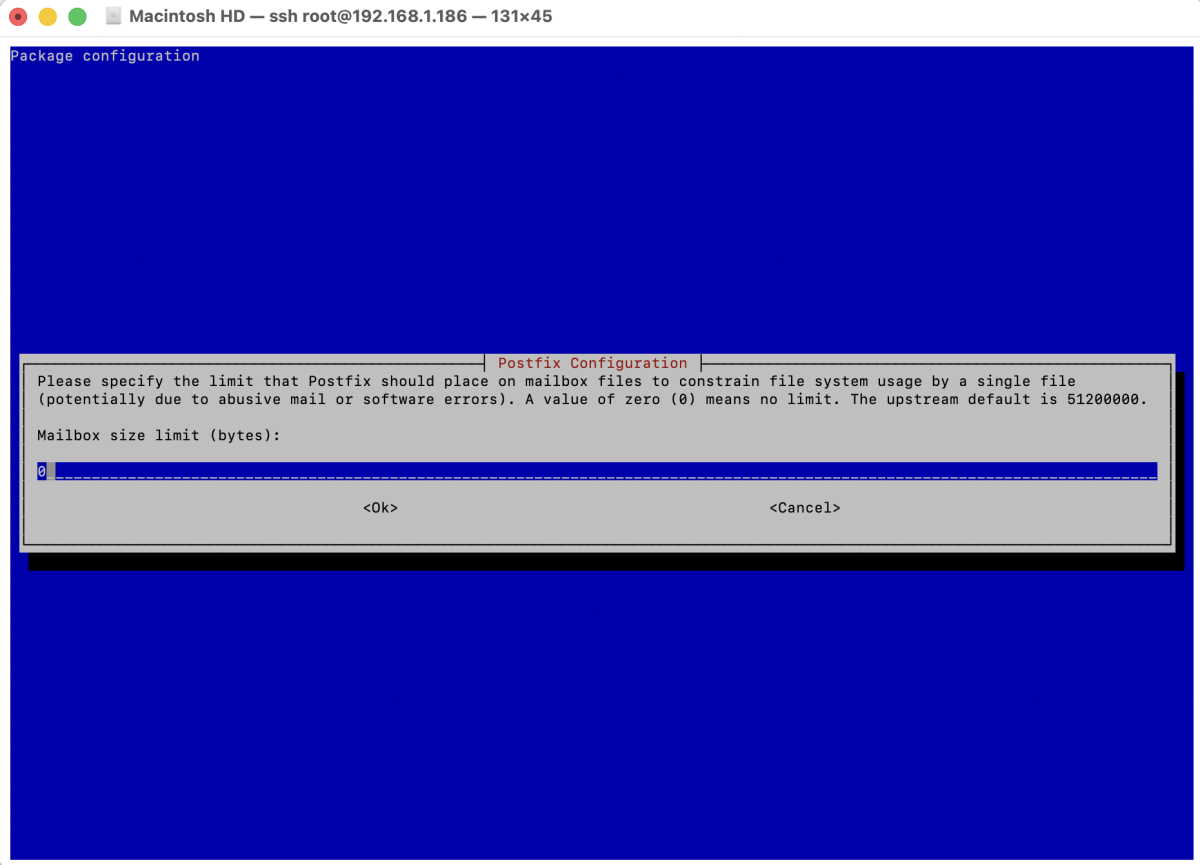
- Mailbox size limit: 0 (unlimited)
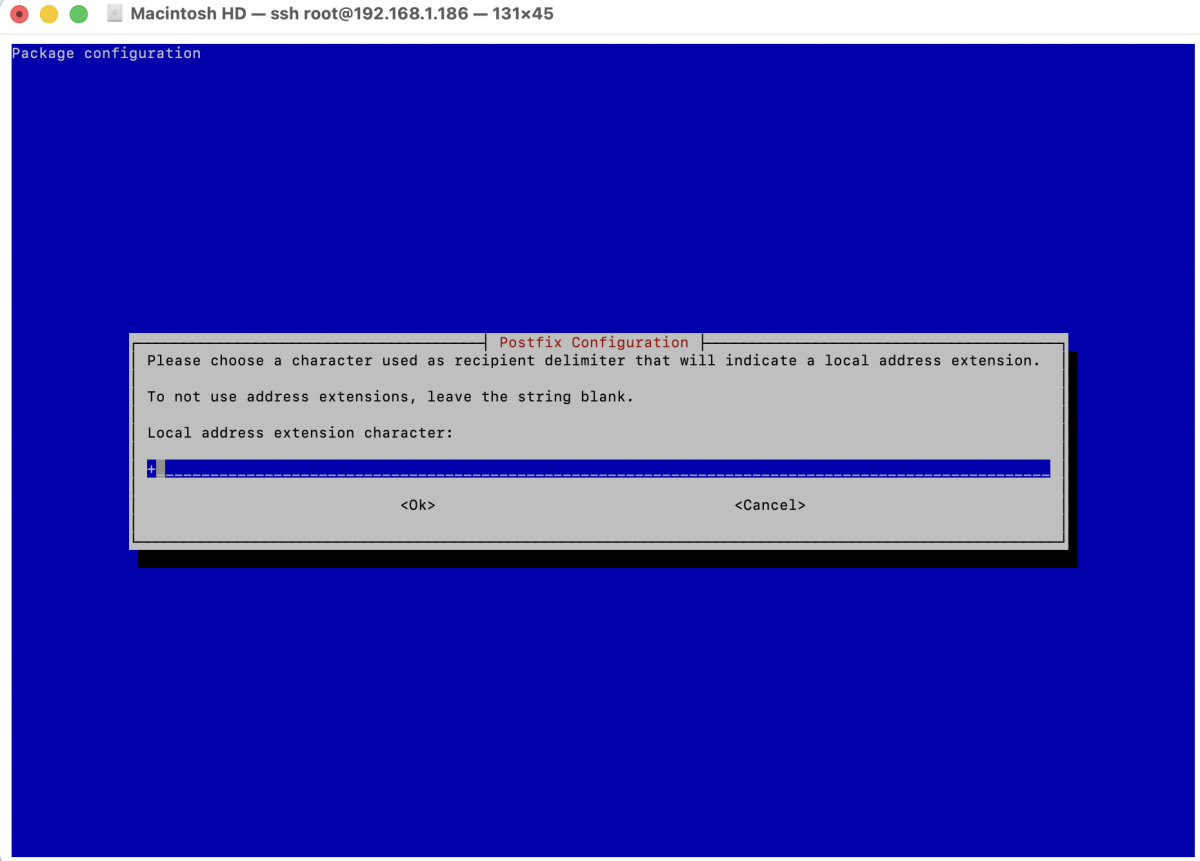
- Local address extension character:
+
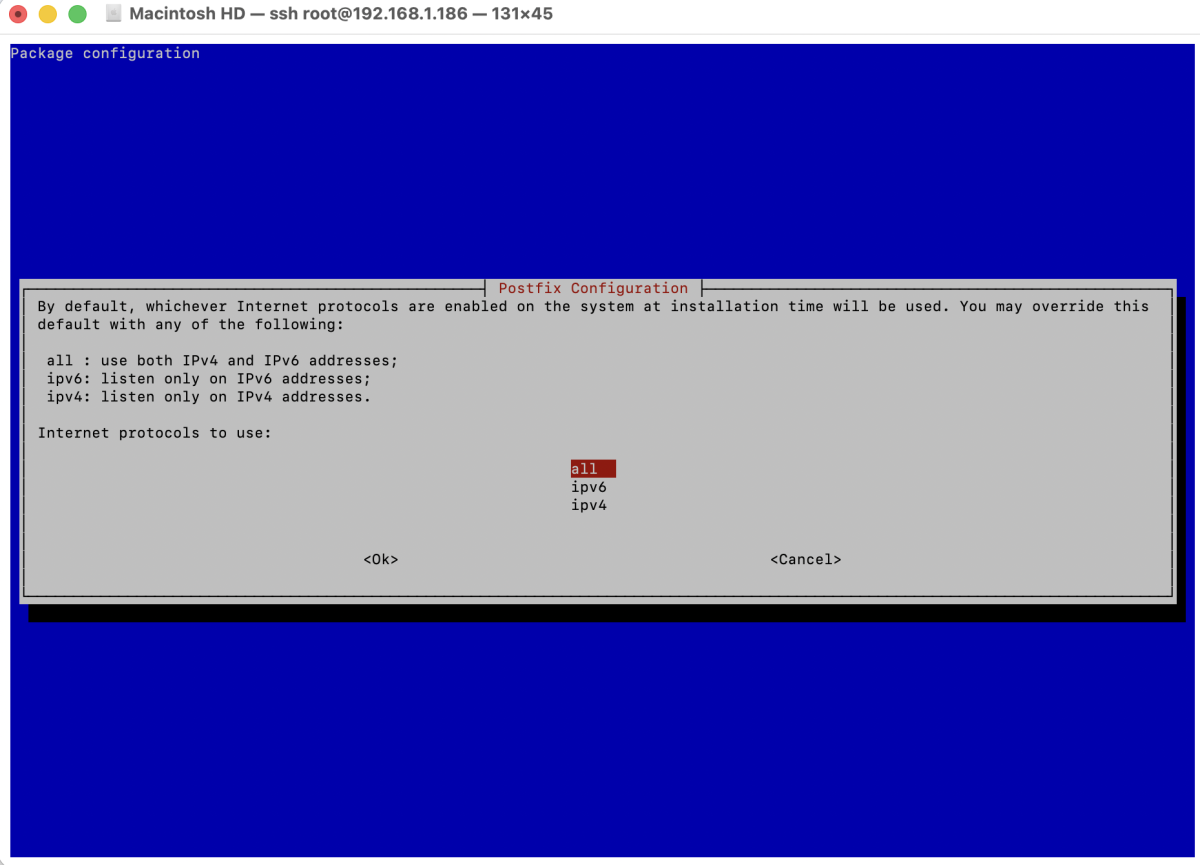
- Internet protocols to use: all
Once completed, Postfix will apply the new configuration.
Step 4 : Check whether the Postfix service is running.
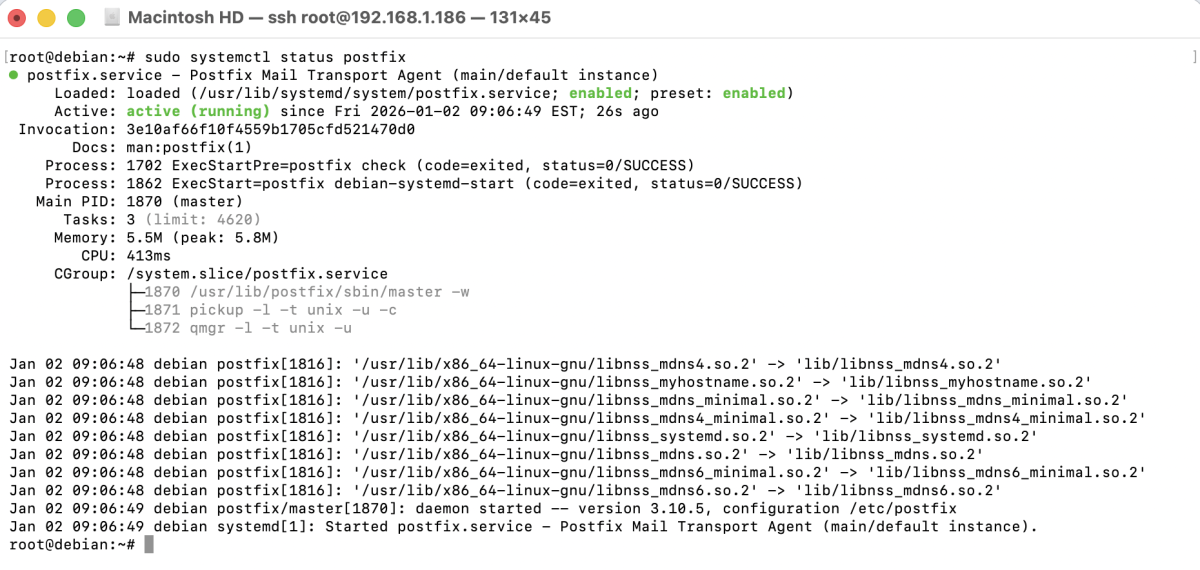
If Postfix is working correctly, you should see active (running) in the output.
Step 5 : Test Postfix
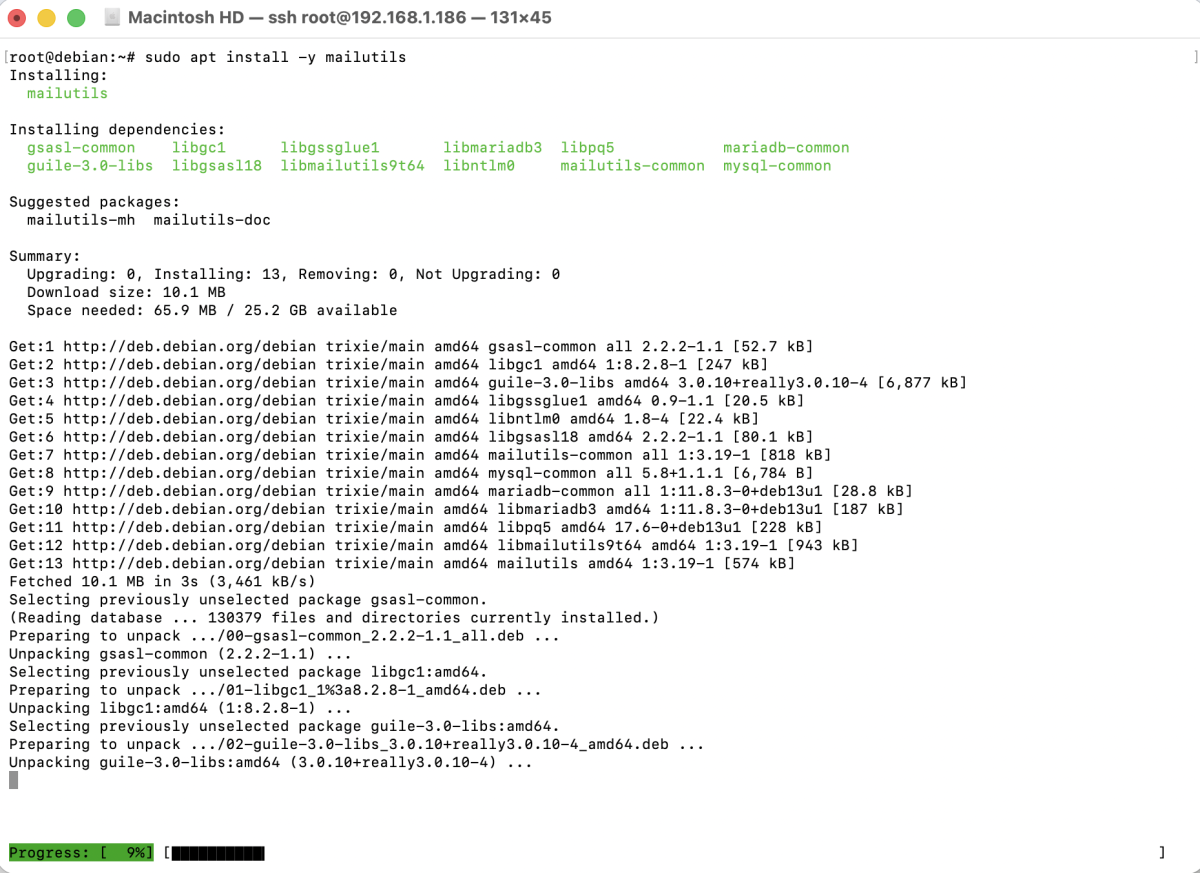
- Install mailutils to send test emails from the command line.
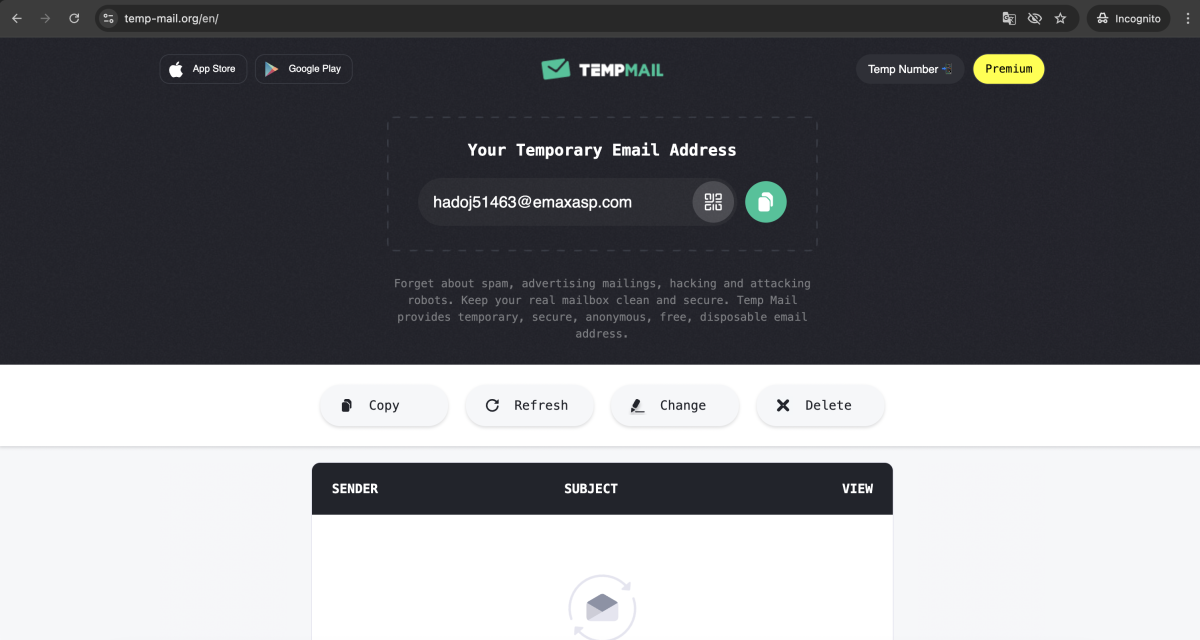
- Open a temporary email service such as temp-mail.org in your browser and copy the generated email address.
- Send a test email from your server to the temporary email address.

Replace test@temp-mail.org with your actual temporary email address.
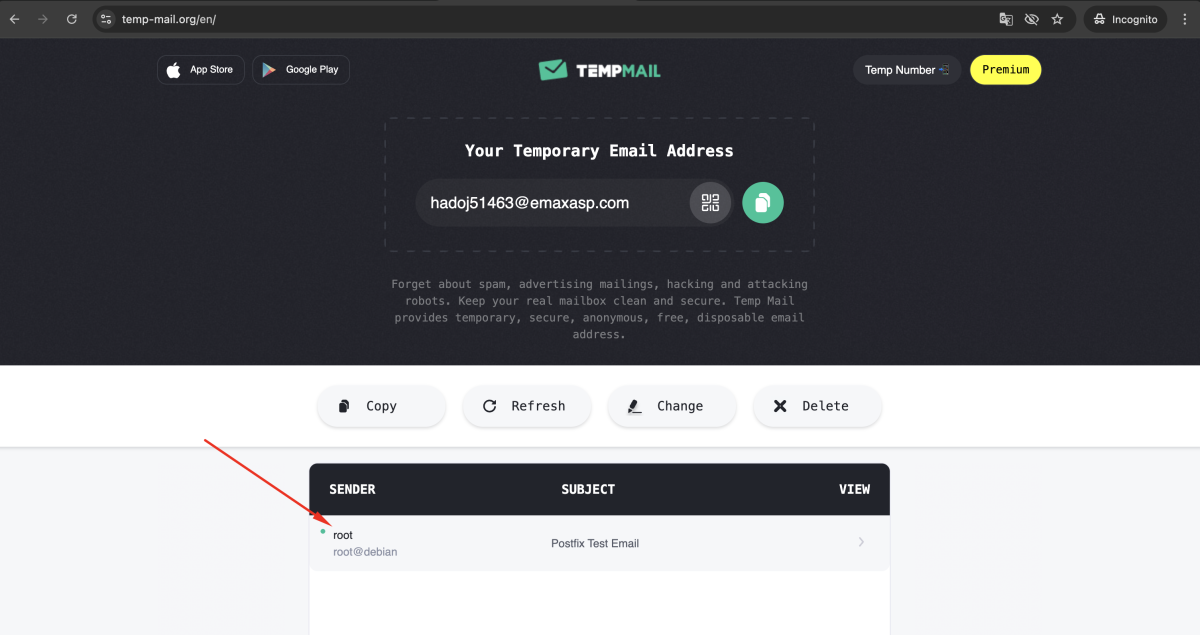
- Go back to the temporary email website and verify that the email has been received successfully.
Step 6 : Check Postfix logs using journalctl.
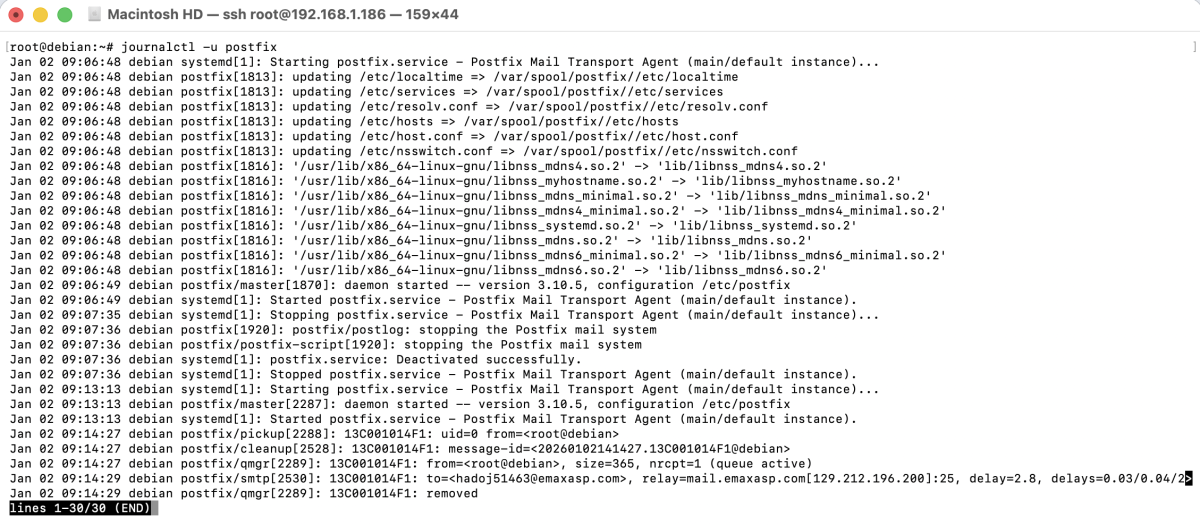
Review the log entries to confirm successful email delivery or troubleshoot any issues.
Congratulations! You have successfully installed and configured Postfix on Debian 13.