To install Ubuntu Server 24.10, follow these step-by-step instructions to guide you through the process from booting your device to the final reboot. This guide will help you set up Ubuntu Server on your system quickly and efficiently.
Step 1 : Boot from DVD or USB
Begin by inserting the bootable DVD or USB drive containing the Ubuntu Server 24.10 ISO file into your computer. Power on your system and select the boot option for your DVD or USB drive from the BIOS/UEFI menu.
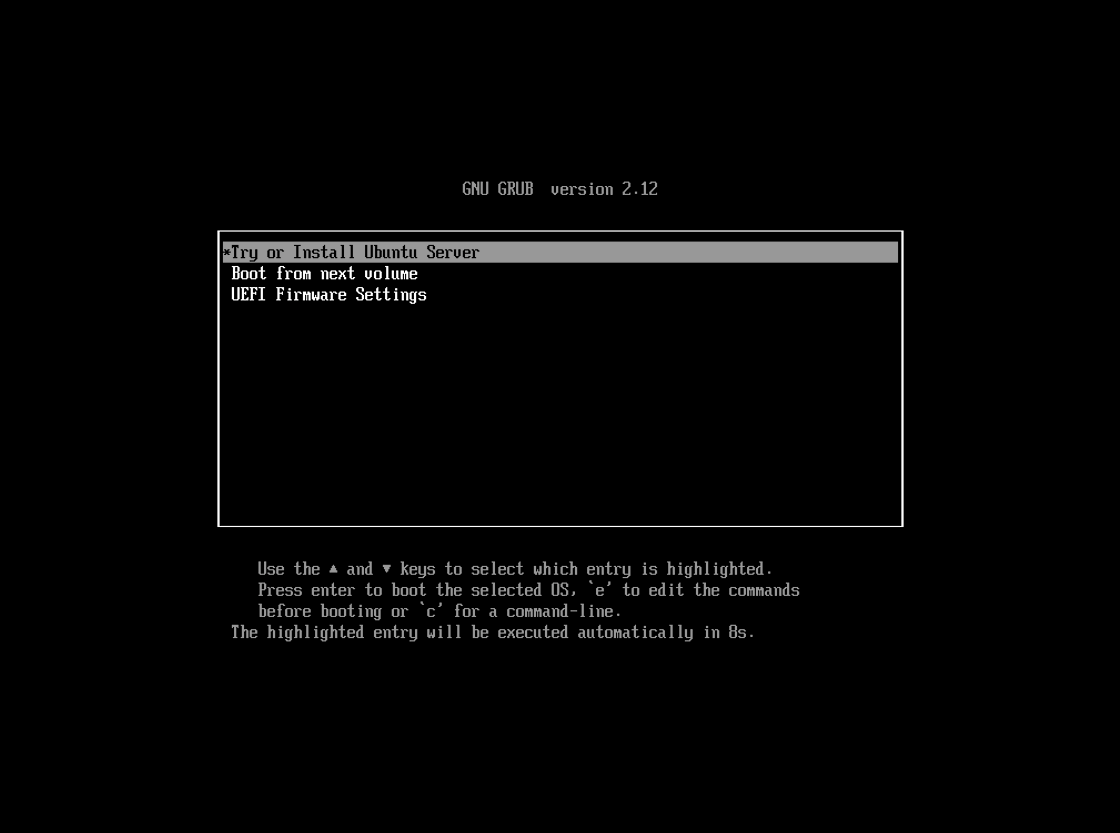
Step 2 : Select "Try or Install Ubuntu Server"
Once the system boots, you will see the option to either "Try" or "Install" Ubuntu. Select Install Ubuntu Server to begin the installation process.
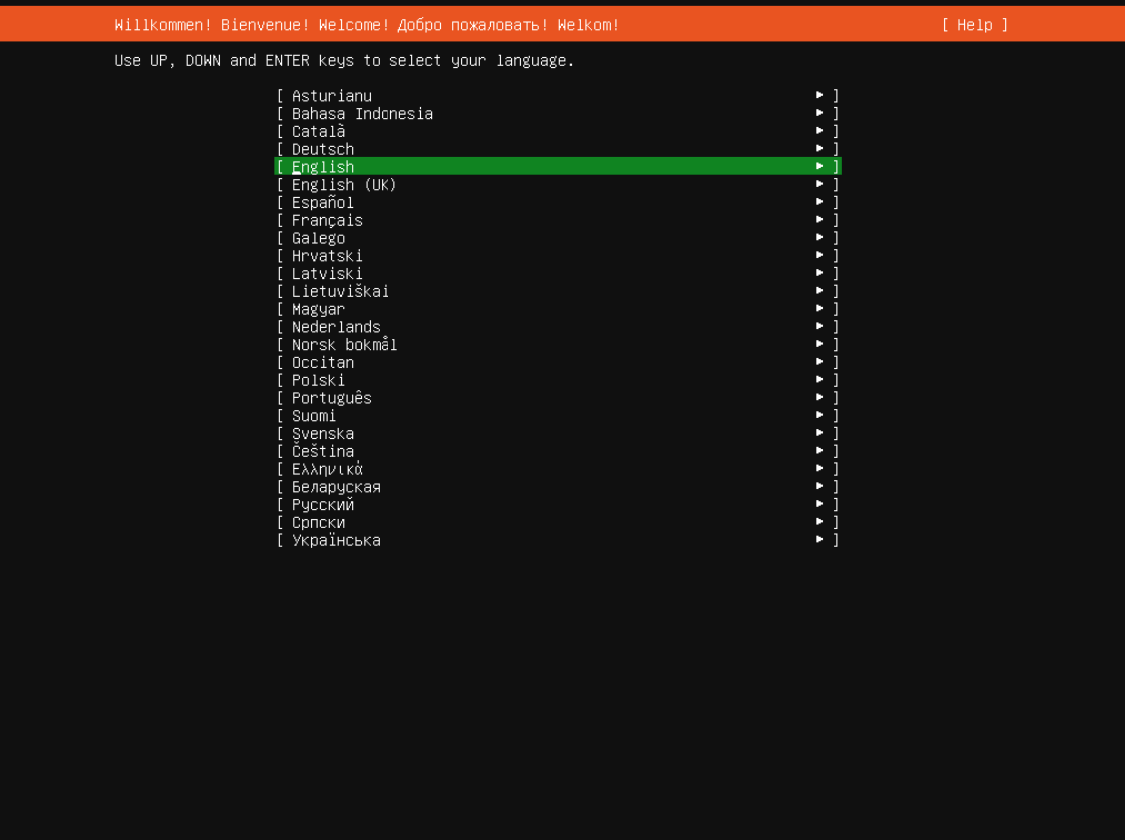
Step 3 : Choose Language
Next, you'll be prompted to choose your preferred language for the installation. Select the appropriate language for your environment and press Enter to continue.
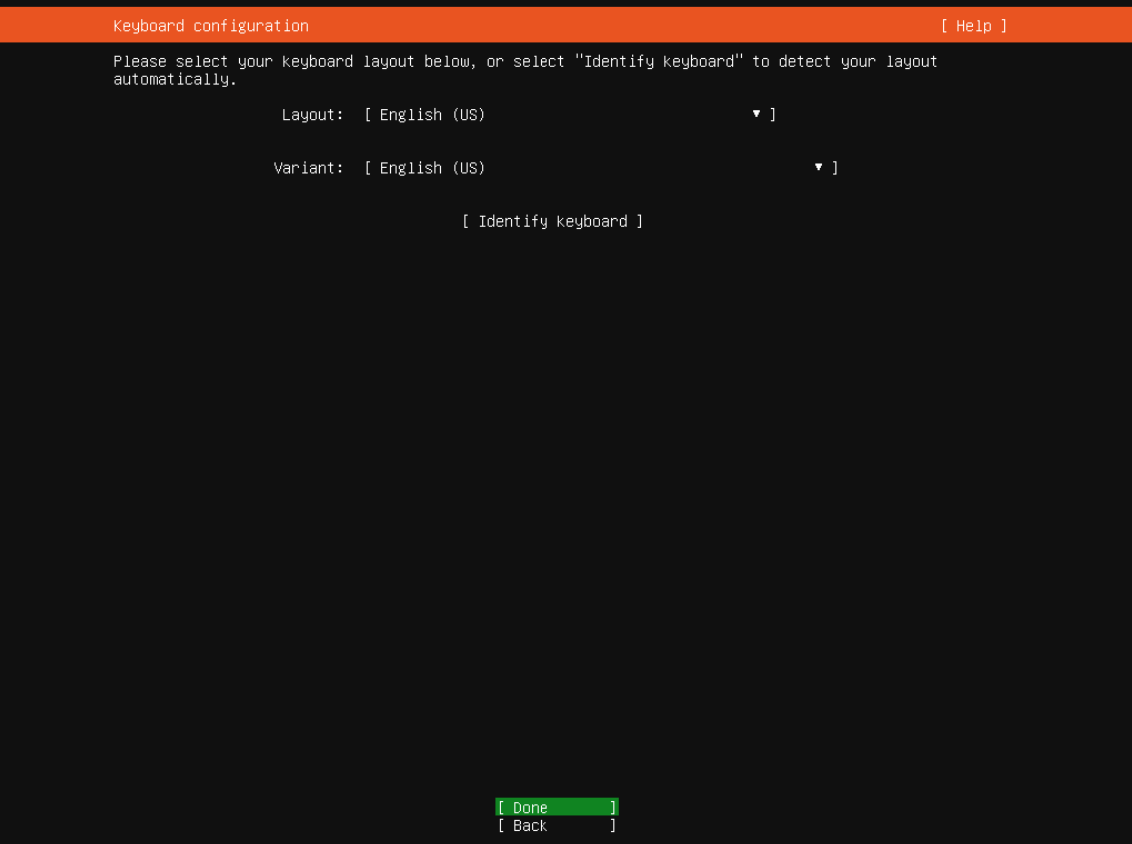
Step 4 : Select Keyboard Layout
You will then be asked to choose a keyboard layout. Select the appropriate keyboard for your setup and press Enter to confirm.
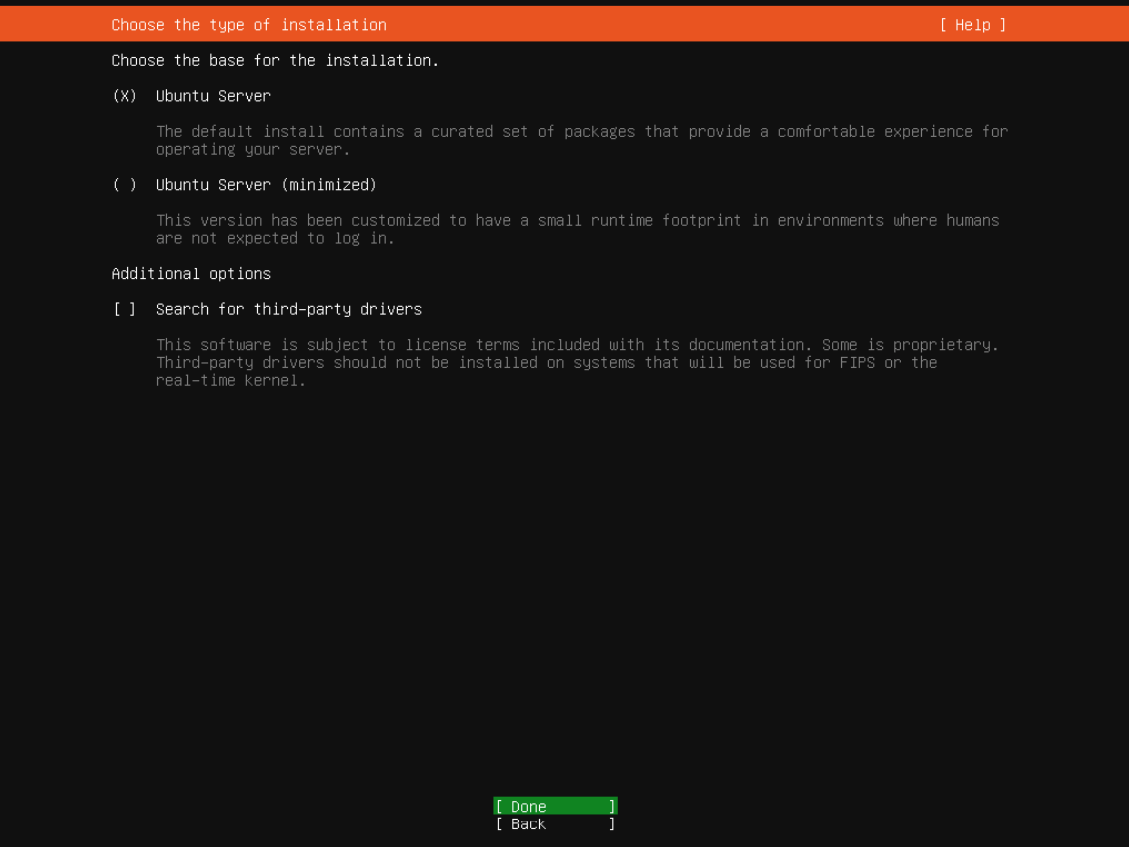
Step 5 : Choose Type of Installation
In this step, you will choose the type of Ubuntu Server installation. The options typically include "Ubuntu Server" and "Minimized Installation." Select Ubuntu Server to install the full version of the server.
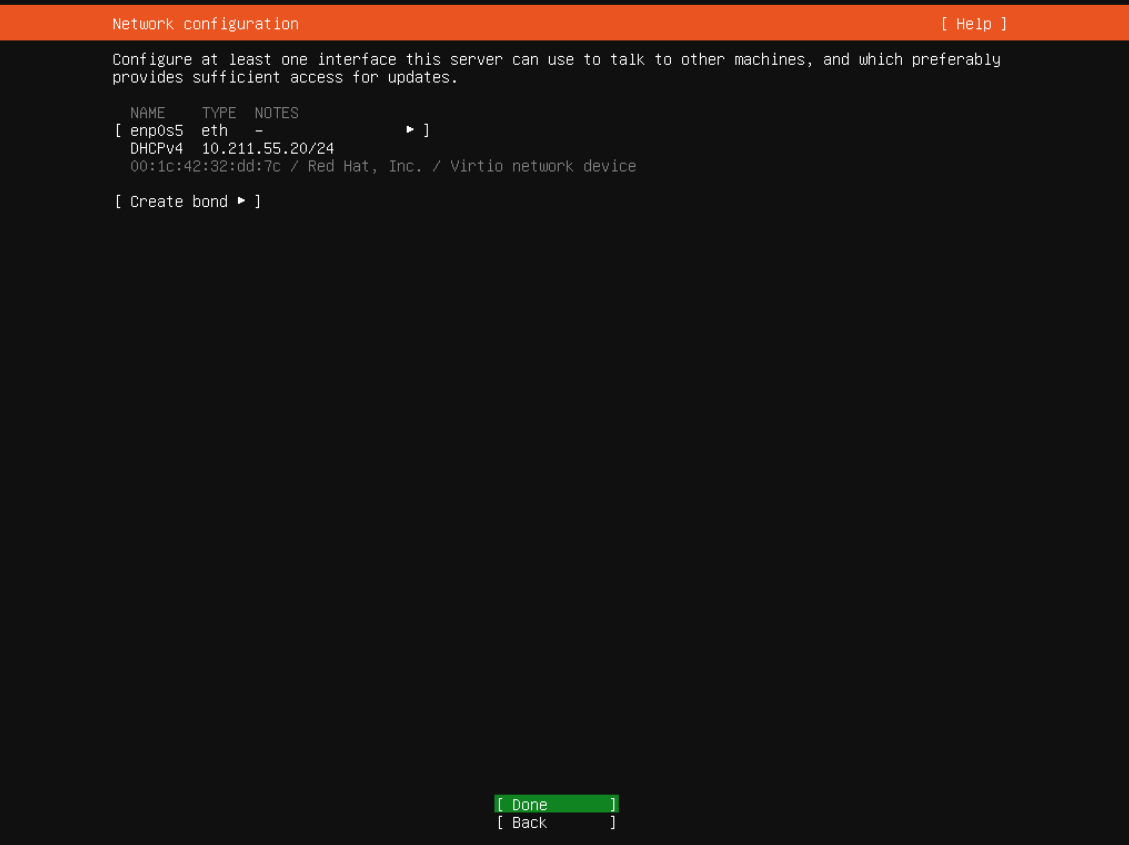
Step 6 : Configure Network
Next, you'll need to configure your network settings. You can choose to automatically configure via DHCP or manually set up your network settings. Make sure the network configuration is correct before proceeding.
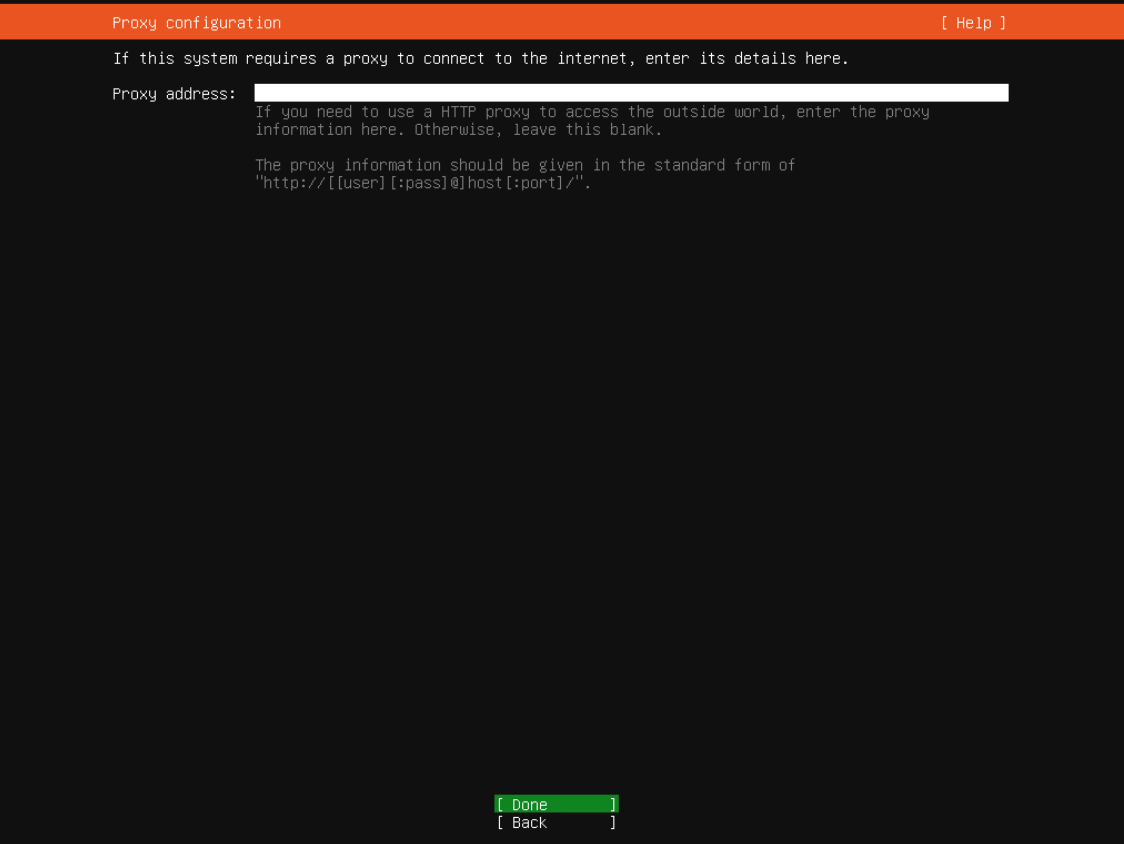
Step 7 : Configure Proxy Address
If your system uses a proxy to connect to the internet, enter the proxy address here. If not, leave this field empty and continue.
Step 8 : Select Mirror Address
In this step, the installer will ask you to confirm or change the default mirror address for downloading packages. Select the mirror closest to your region for faster downloads.
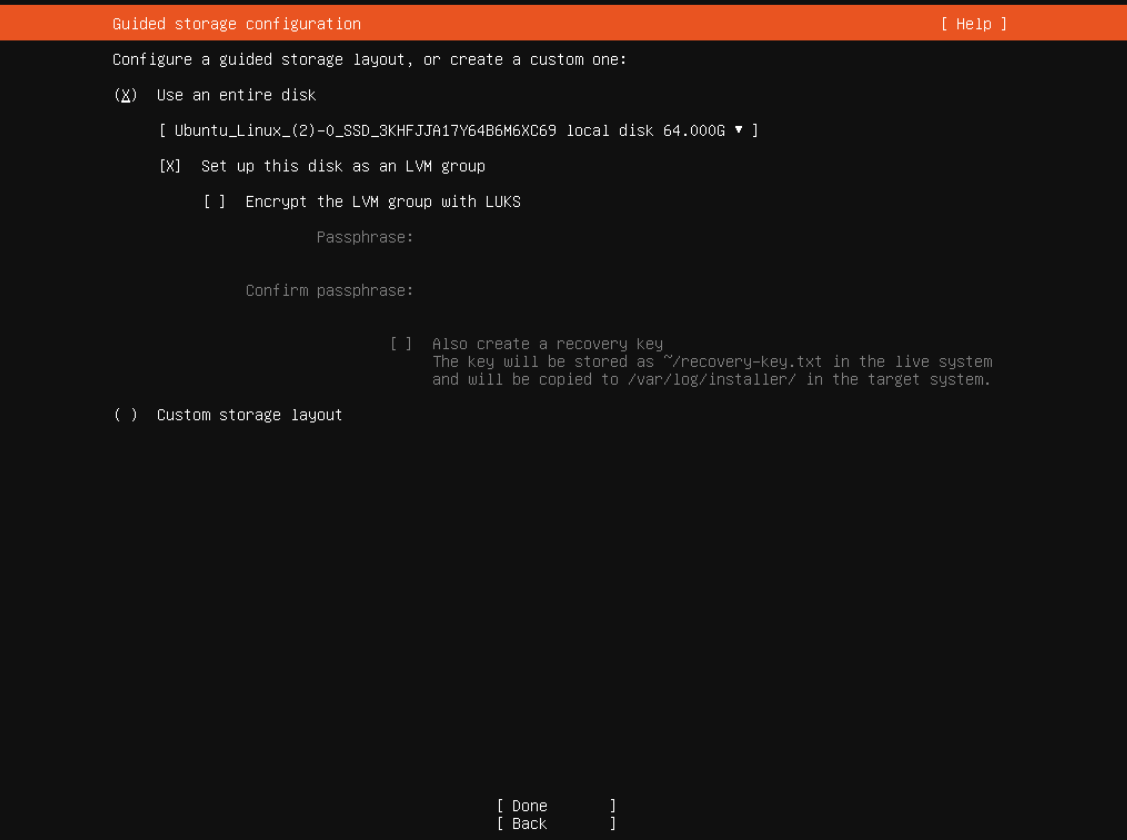
Step 9 : Choose "Use an Entire Disk"
Here, you'll be asked how you want to partition your disk. Select Use an entire disk to automatically partition the full disk for the installation. Note: This will erase all data on the selected disk, so ensure you've backed up any important files.
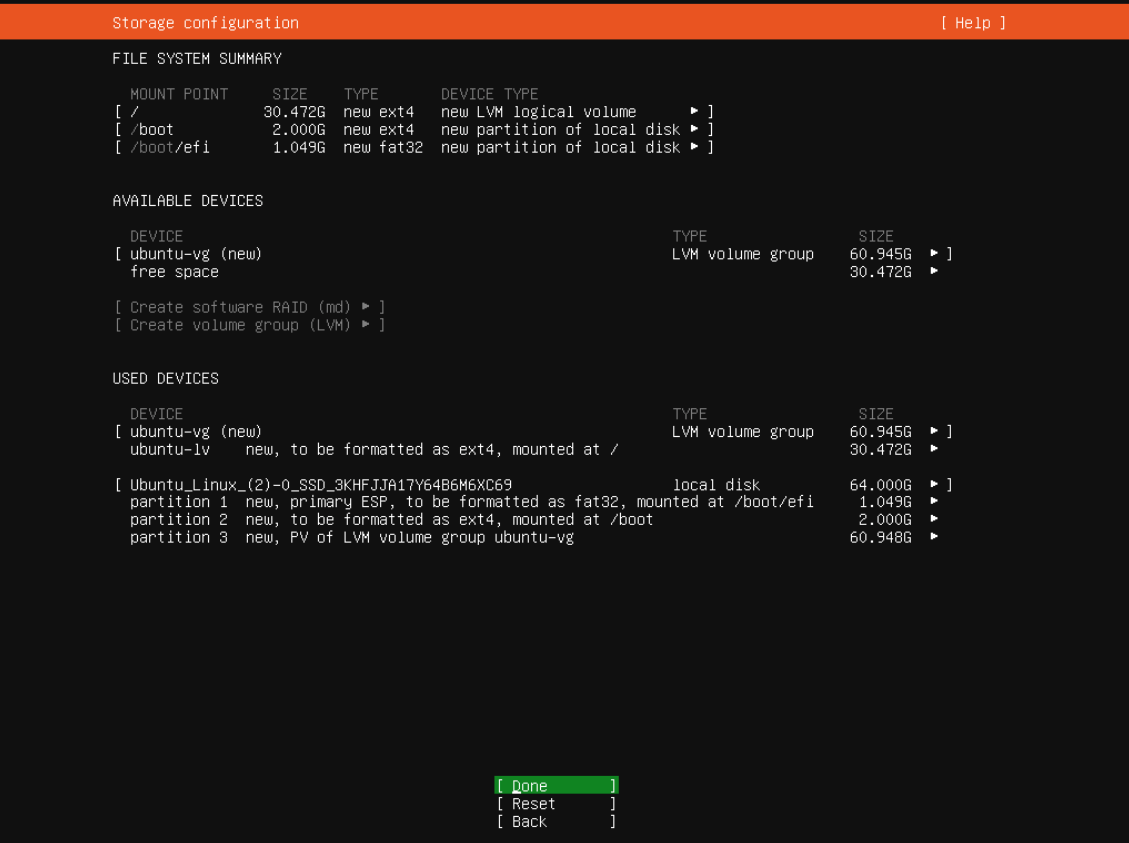
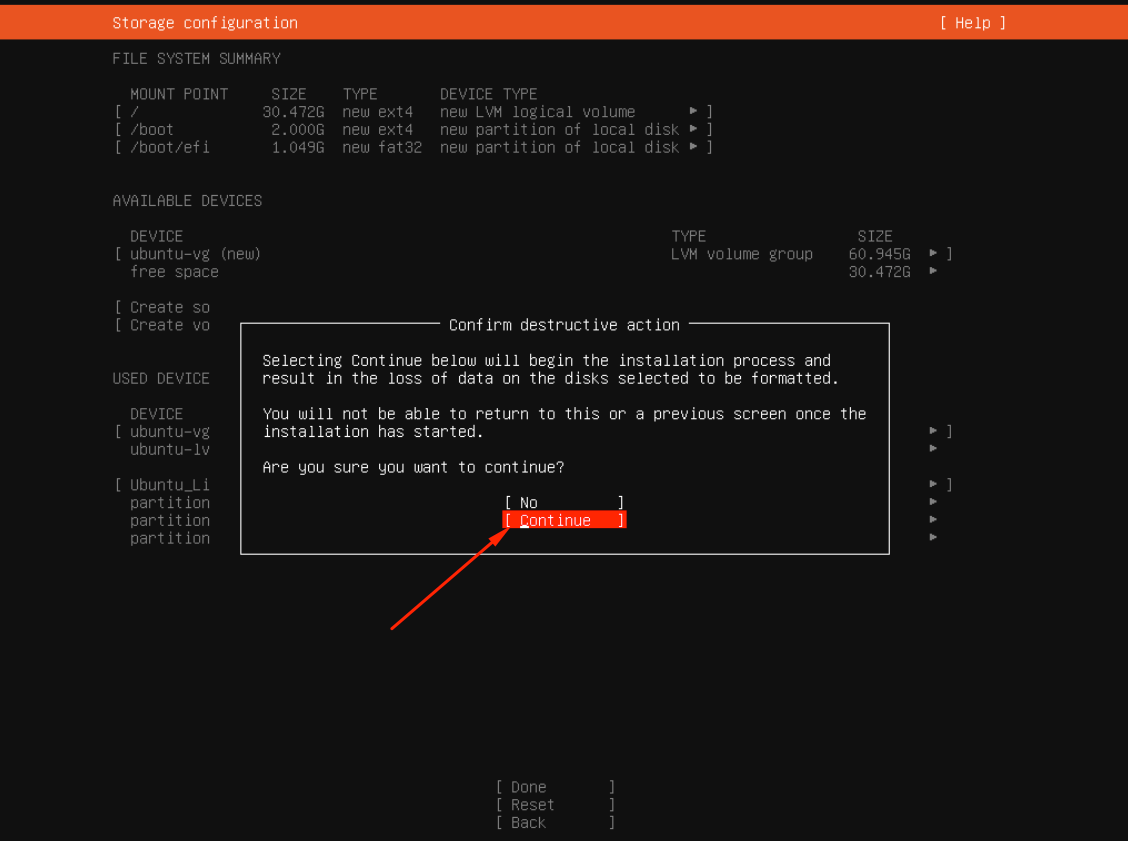
Step 10 : File System Summary
The system will show a summary of how it will partition the disk. Review the partitioning scheme to ensure it meets your needs, then continue.
Step 11 : Confirm Installation
Confirm the installation settings and select Continue to start the installation process. The system will begin writing changes to the disk and installing Ubuntu Server.
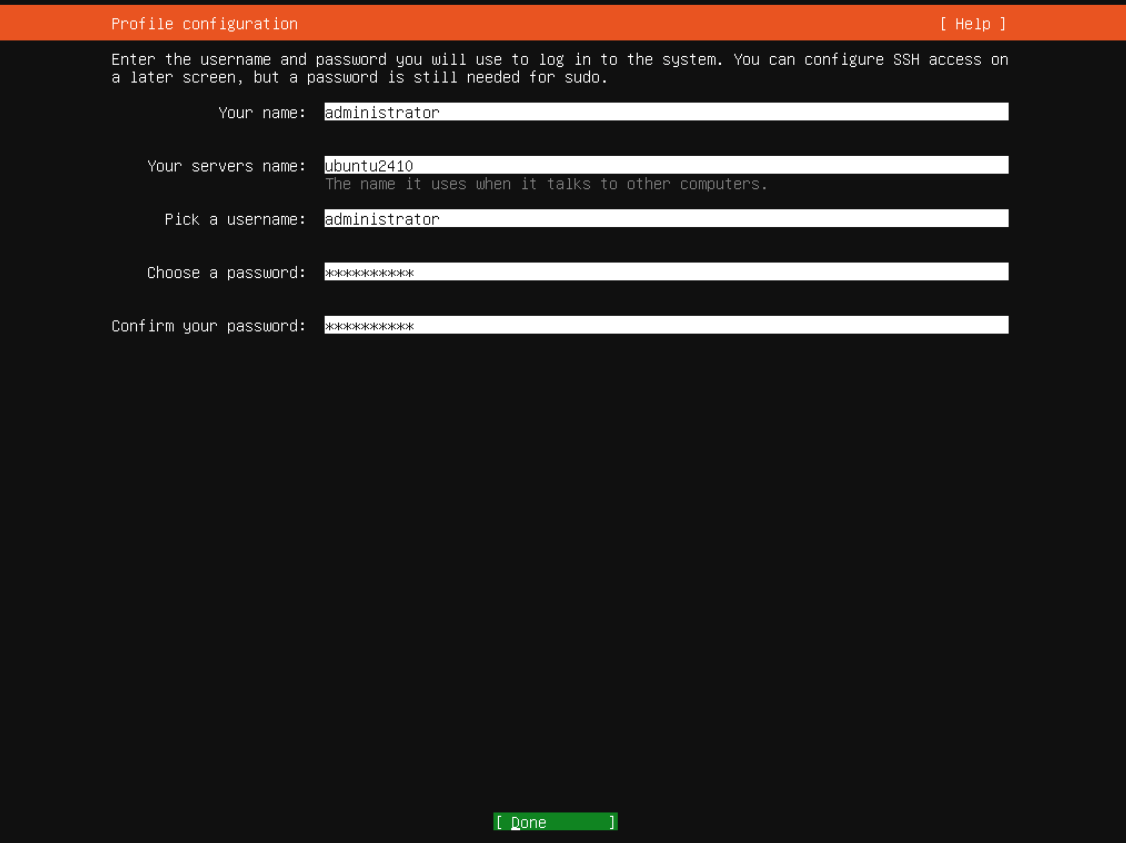
Step 12 : Enter Profile Information
You will now be asked to create a user profile. Enter your username, password, and any other required details for the primary user account.
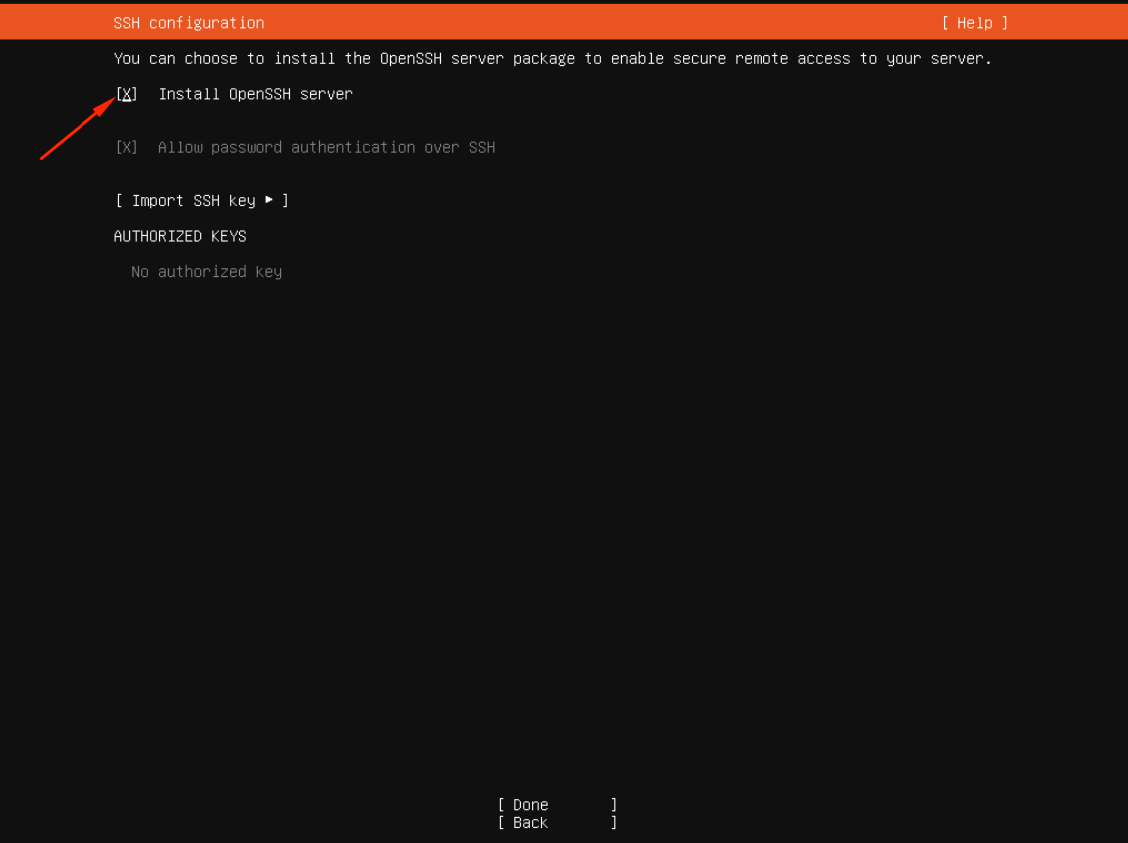
Step 13 : Select OpenSSH Installation
During the installation, you can choose to install OpenSSH, which allows remote login to your server. If you need this feature, check the Install OpenSSH box.
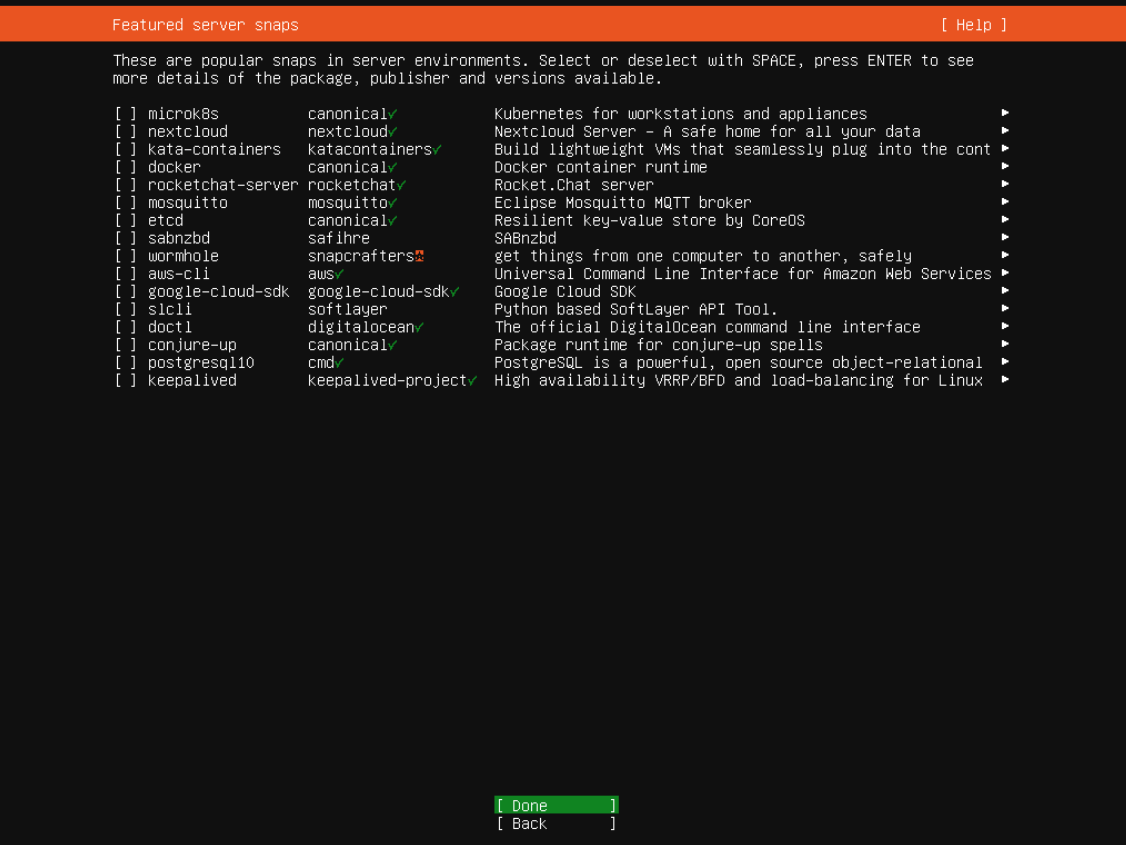
Step 14 : Choose Additional Apps (Optional)
You may be presented with a list of additional applications or services you can install, such as Docker or Kubernetes. Either select these now or leave them unselected to install later.
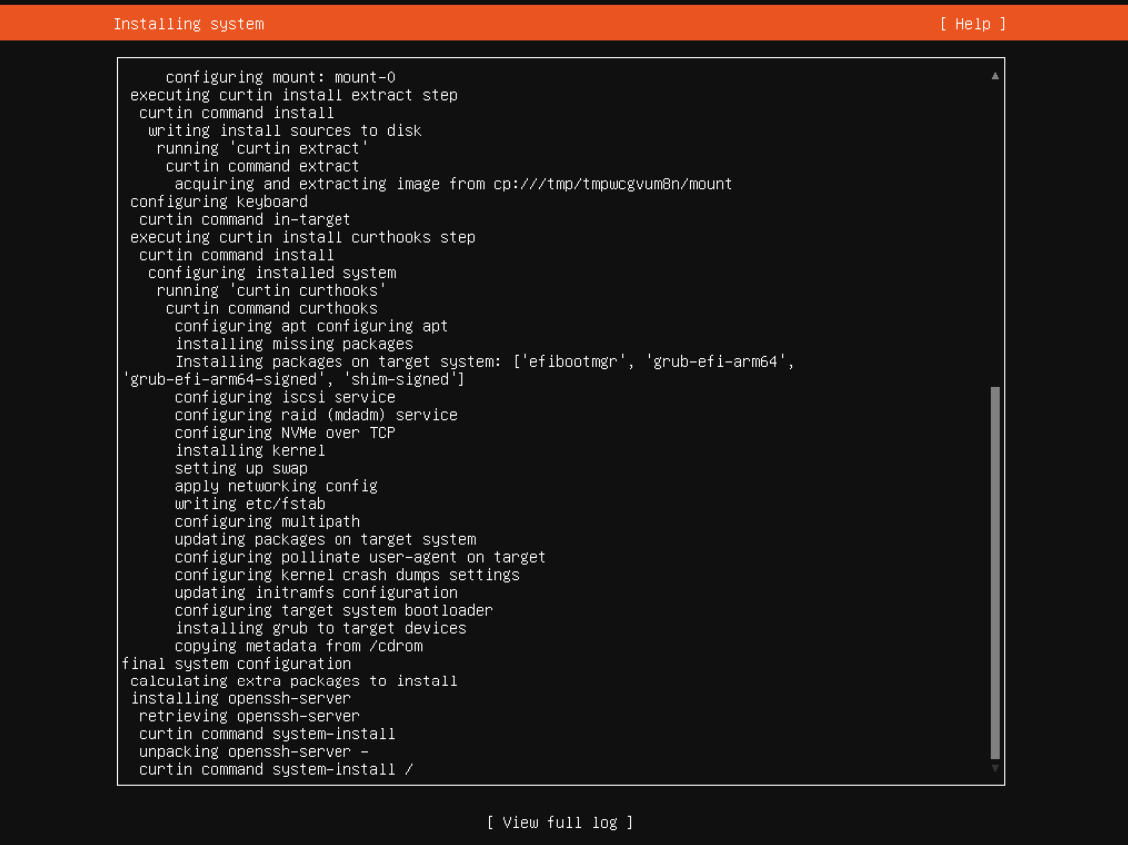
Step 15 : Wait for Installation
The installer will now complete the installation. This process may take some time depending on your hardware. Be patient and wait for it to finish.
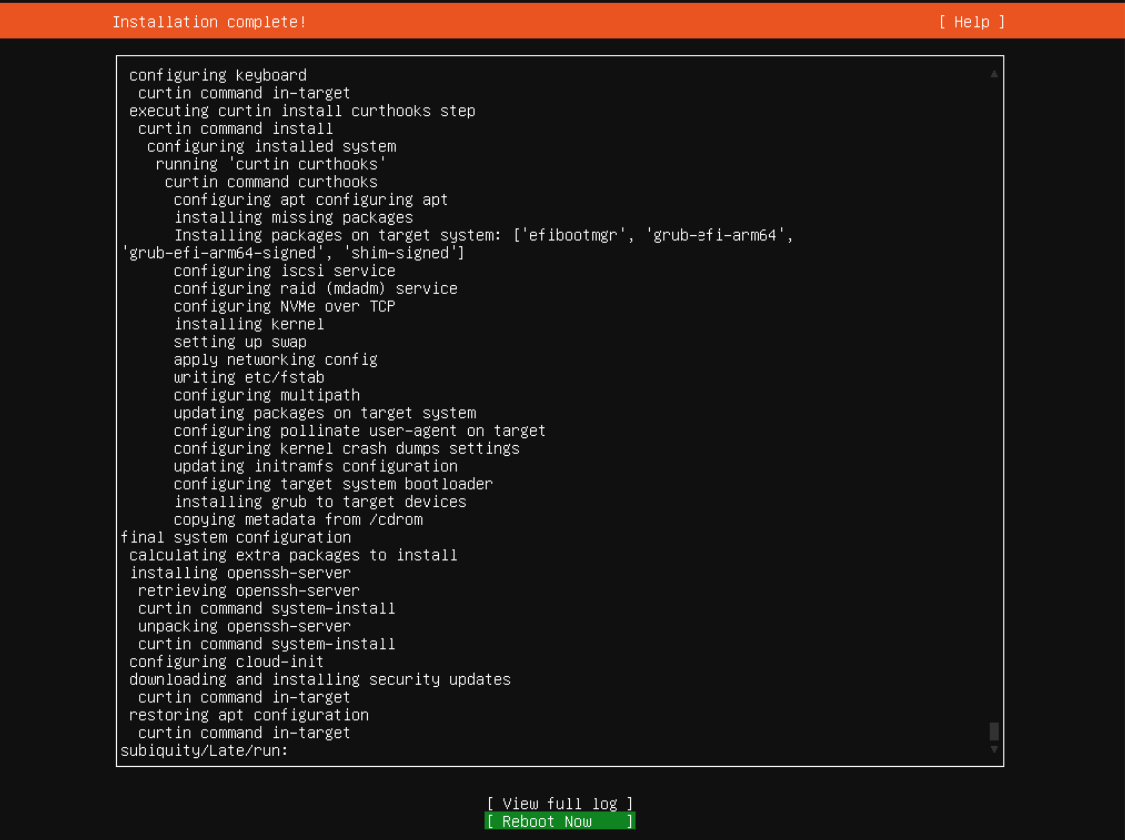
Step 16 : Reboot Now
Once the installation is complete, you'll be prompted to reboot your system. Remove the installation media (DVD/USB) and select Reboot Now to boot into your new Ubuntu Server system.
Congratulations! You have successfully installed Ubuntu Server 24.10 on your system. You can now begin configuring and using your server for your projects and needs.