To enable SSH on Ubuntu 24.10, follow these steps:
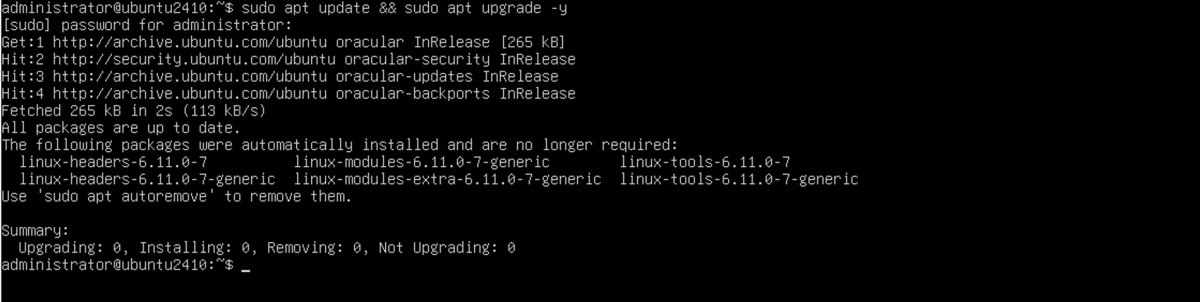
Step 1 : Update your system
First, make sure your system is up-to-date by running the following command:
Step 2 : Install OpenSSH Server
Install the SSH server package by using the following command:

Step 3 : Start the SSH service
After installation, start the SSH service:

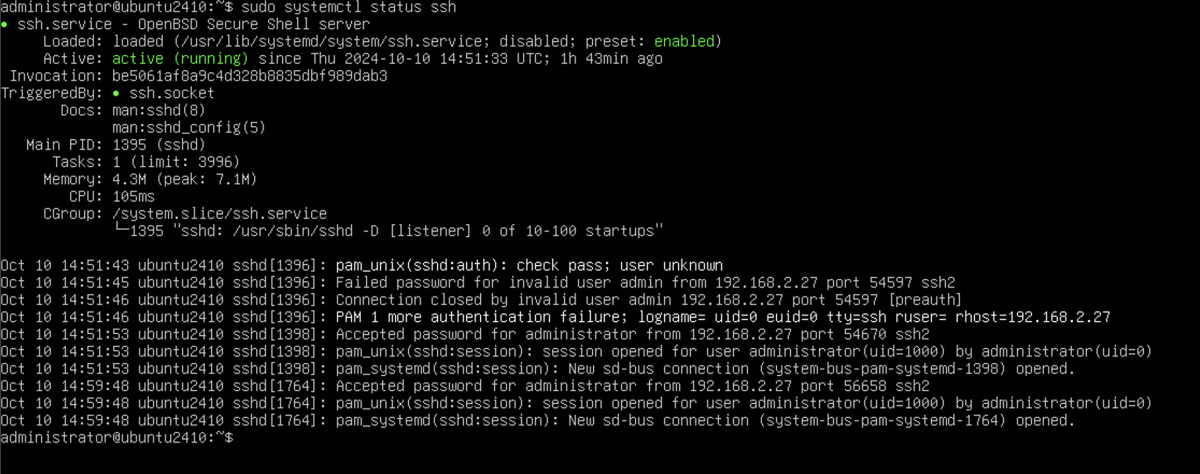
Step 4 : Check SSH status
Verify that the SSH service is running by checking its status:
Step 5 : Enable SSH to start on boot
Ensure SSH starts automatically on boot:

Step 6 : Allow SSH through the firewall
If you have UFW (Uncomplicated Firewall) enabled, allow SSH traffic:

Step 7 : Test your SSH connection
You can now test your SSH connection from another machine using the following command:
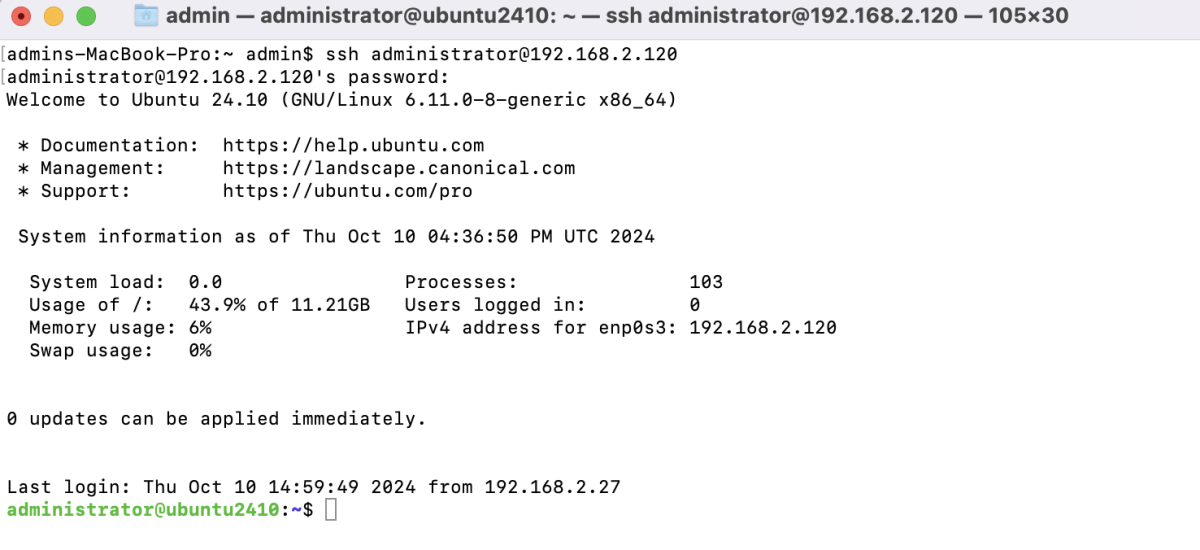
Congratulations! You've successfully enabled SSH on Ubuntu 24.10. You can now securely access your system remotely via SSH.