To install Jenkins on Ubuntu 24.10, follow the steps below:
Step 1 : Update the package index to ensure you have the latest package information. Run:

Step 2 : Jenkins requires Java. Install the default JDK by running:

Verify the installation:

Step 3 : Add the Jenkins GPG key to your system:

Step 4 : Add the Jenkins repository to your system:

Step 5 : After adding the Jenkins repository, update your package index:

Step 6 : Install Jenkins with the following command:
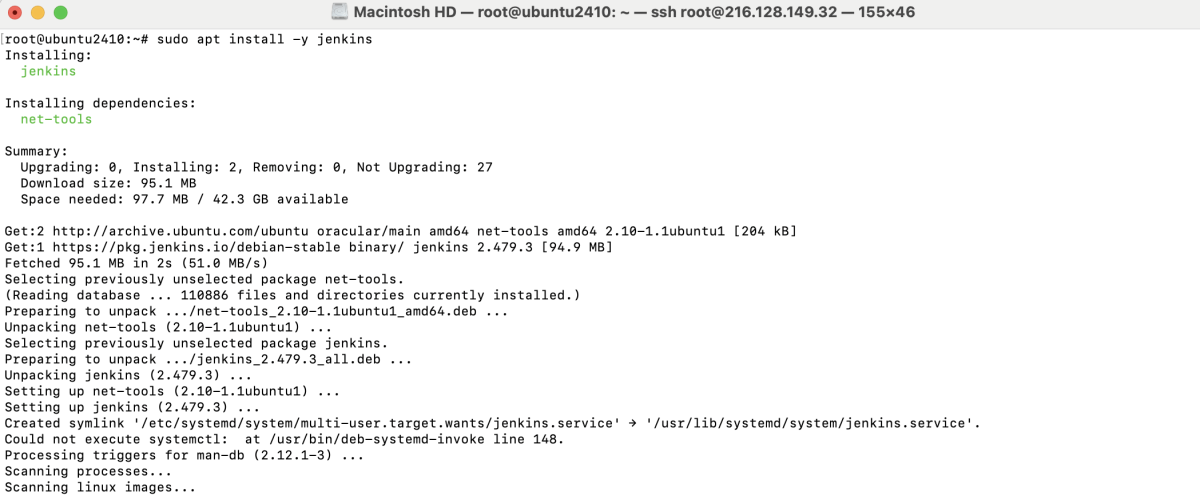
Step 7 : Start the Jenkins service:

Step 8 : Enable Jenkins to start on boot:

Step 9 : To unlock Jenkins, retrieve the initial admin password by running:

Step 10 : If the Uncomplicated Firewall (UFW) is active, allow traffic on port 8080, the default Jenkins port:

Step 11 : Open your web browser and access Jenkins using:
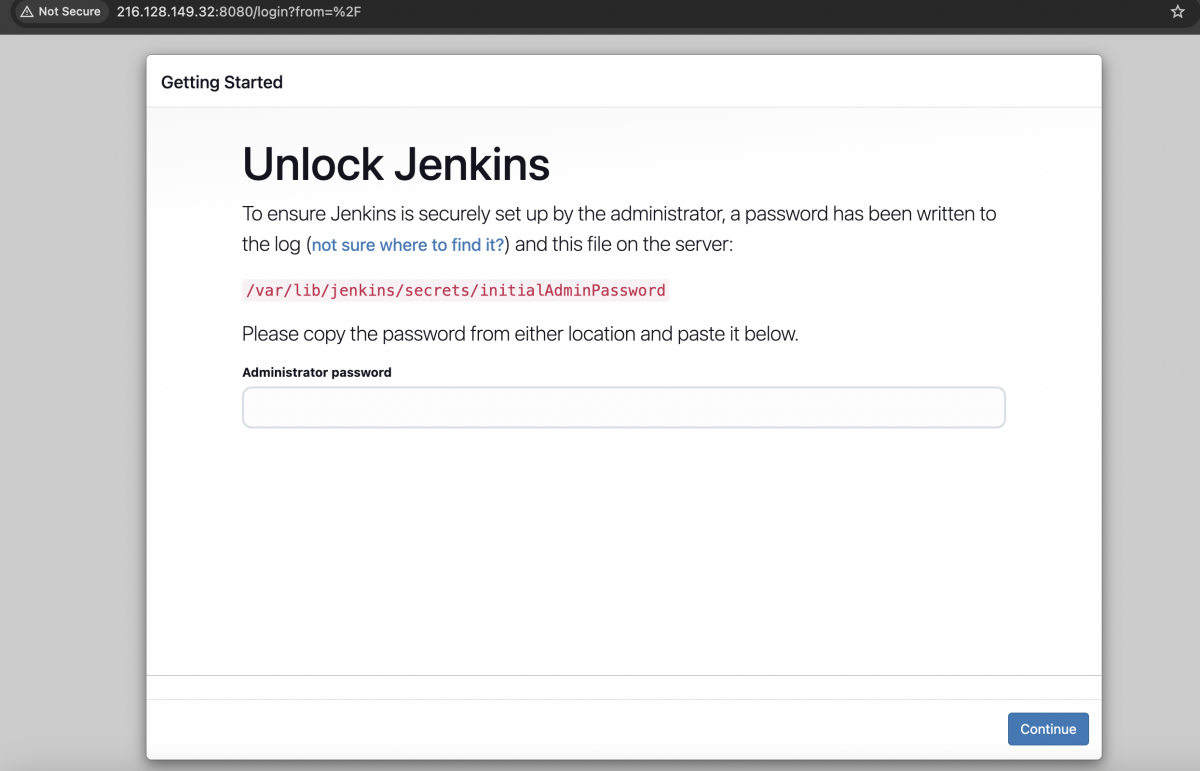
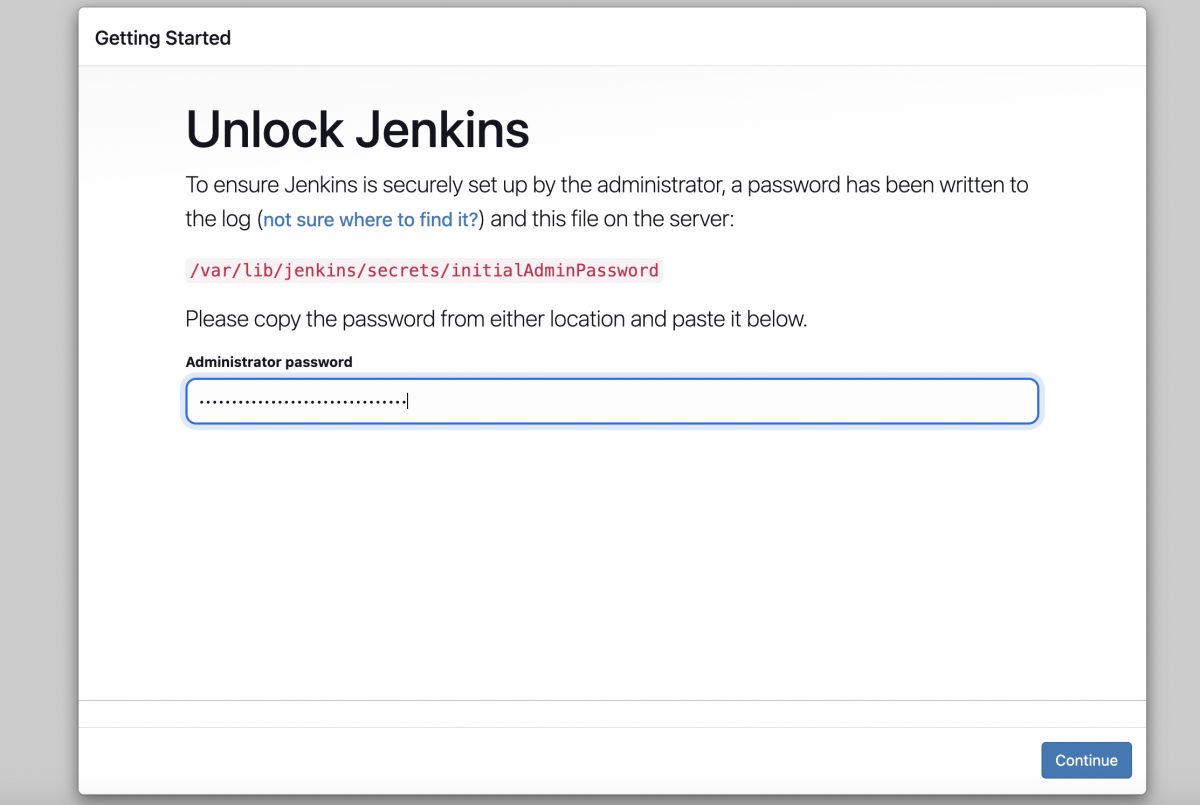
Step 12 : Paste the initial admin password retrieved earlier into the login form and click Continue.
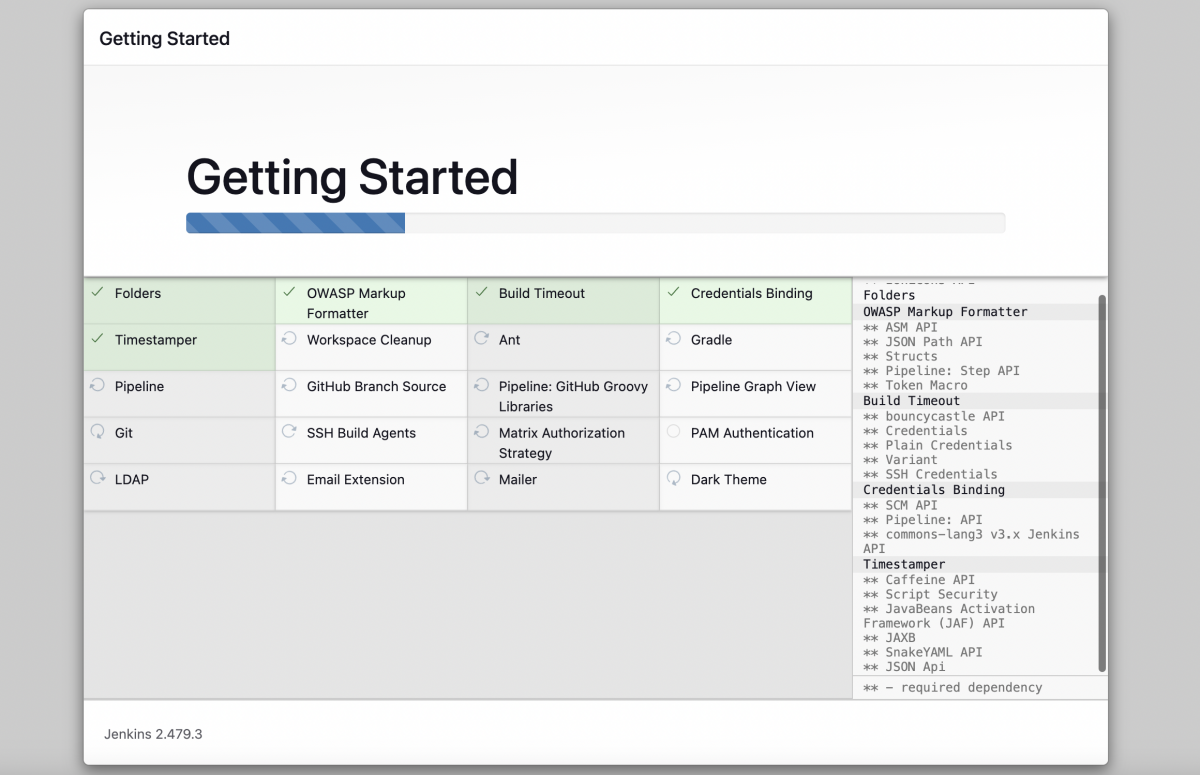
Step 13 : On the setup screen, choose Install suggested plugins. Jenkins will automatically download and install the most commonly used plugins.
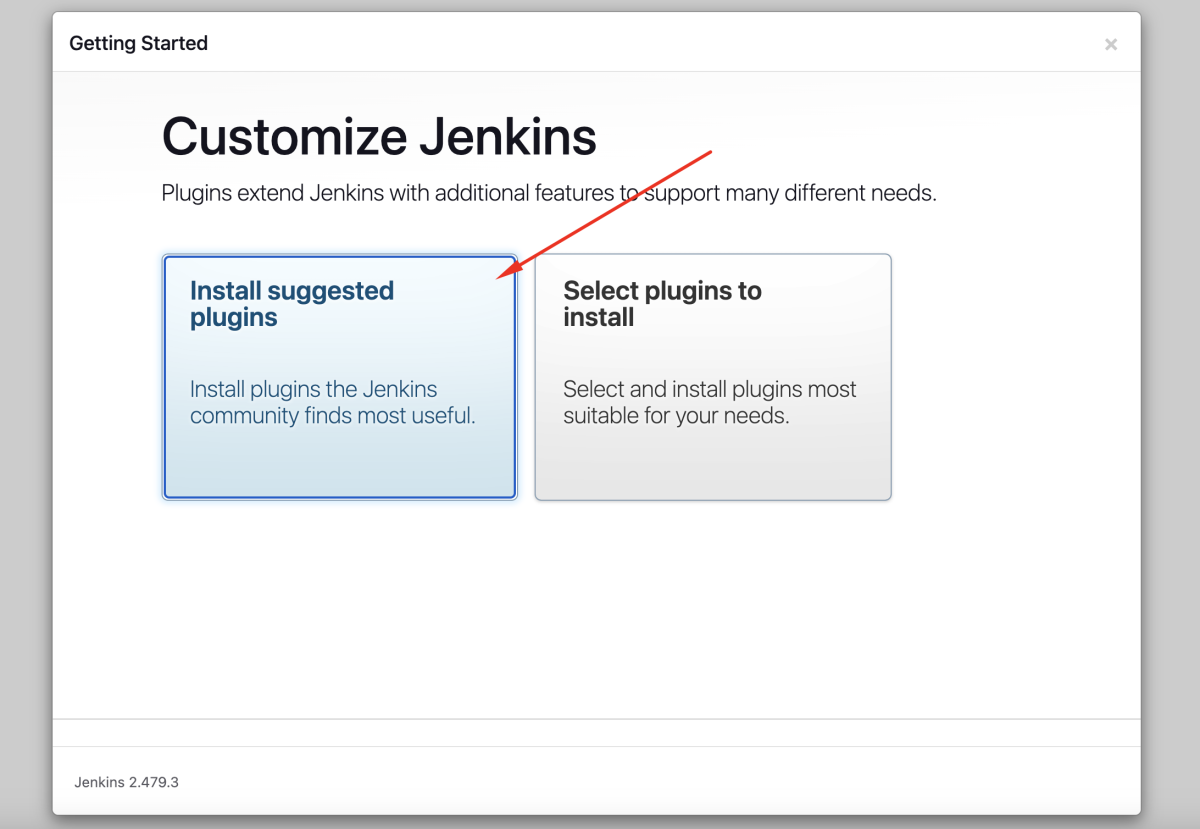
Step 14 : Allow the installation process to finish. This may take a few minutes.
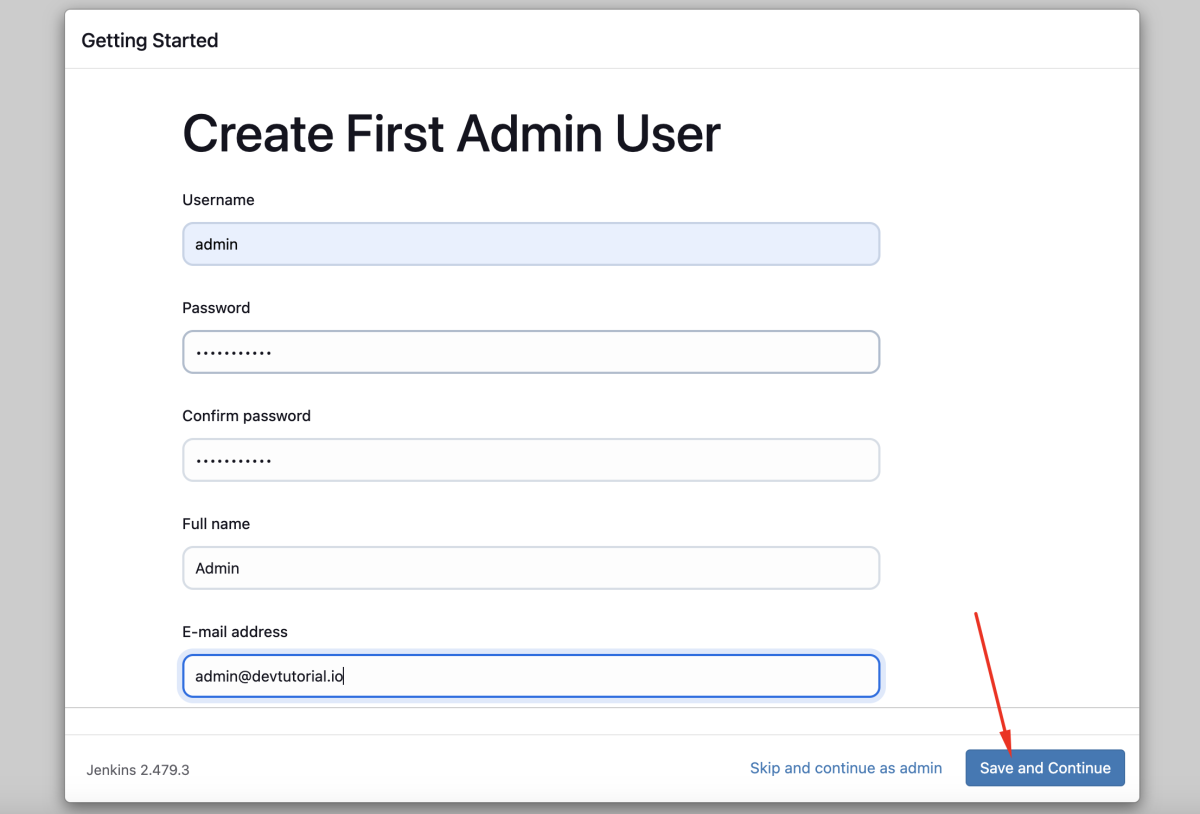
Step 15 : After the plugins are installed, create a new admin user by entering the required details. Click Save and Continue when done.
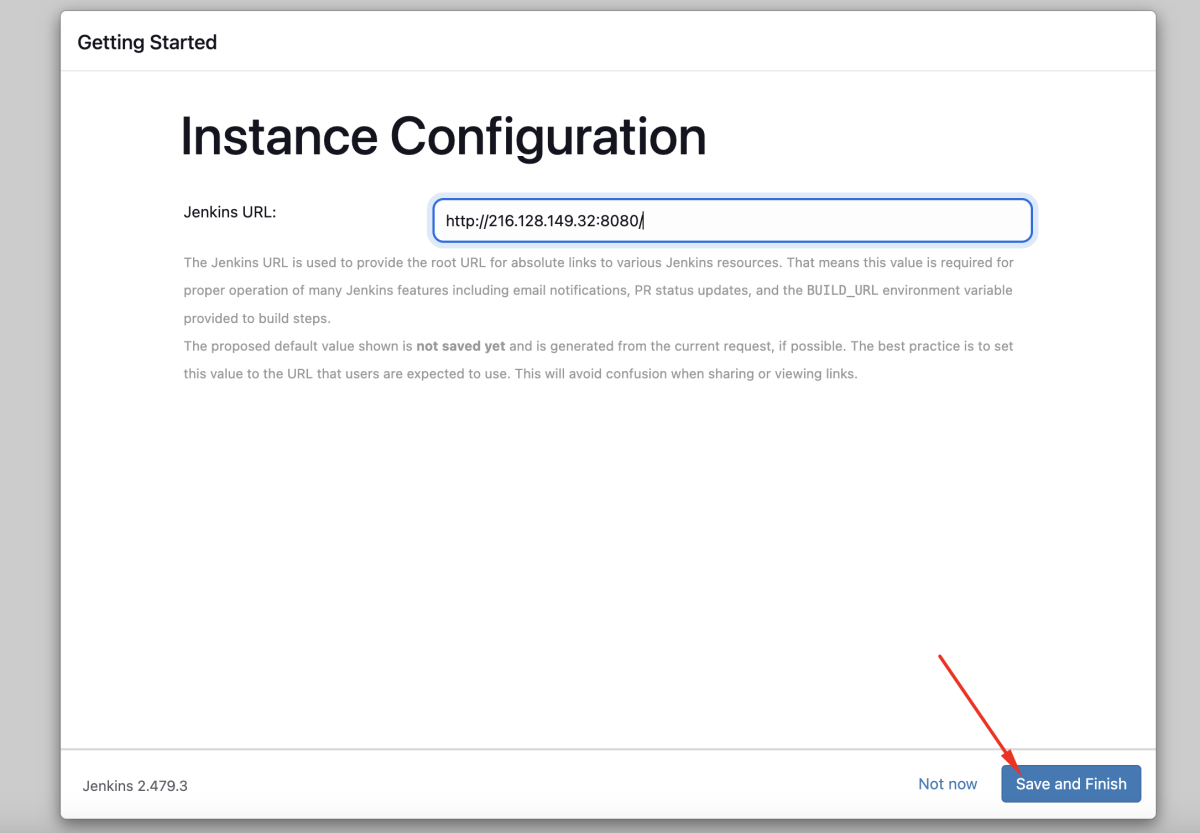
Step 16 : Set the Jenkins URL in the configuration step. Confirm the URL and click Save and Finish.
 Step 17 : Click Start using Jenkins to proceed to the Jenkins dashboard.

Congratulations! You have successfully installed and configured Jenkins on Ubuntu 24.10.