To install phpMyAdmin on Ubuntu 24.10 with Nginx, follow these steps:
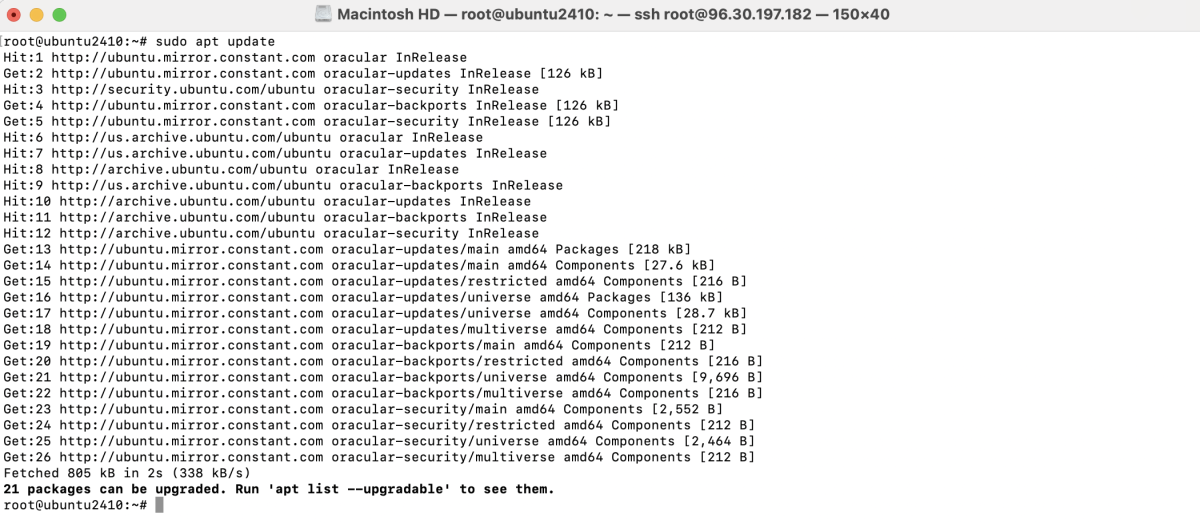
Step 1 : Run the following command to update your package list:
Step 2 : Install phpMyAdmin using the following command:
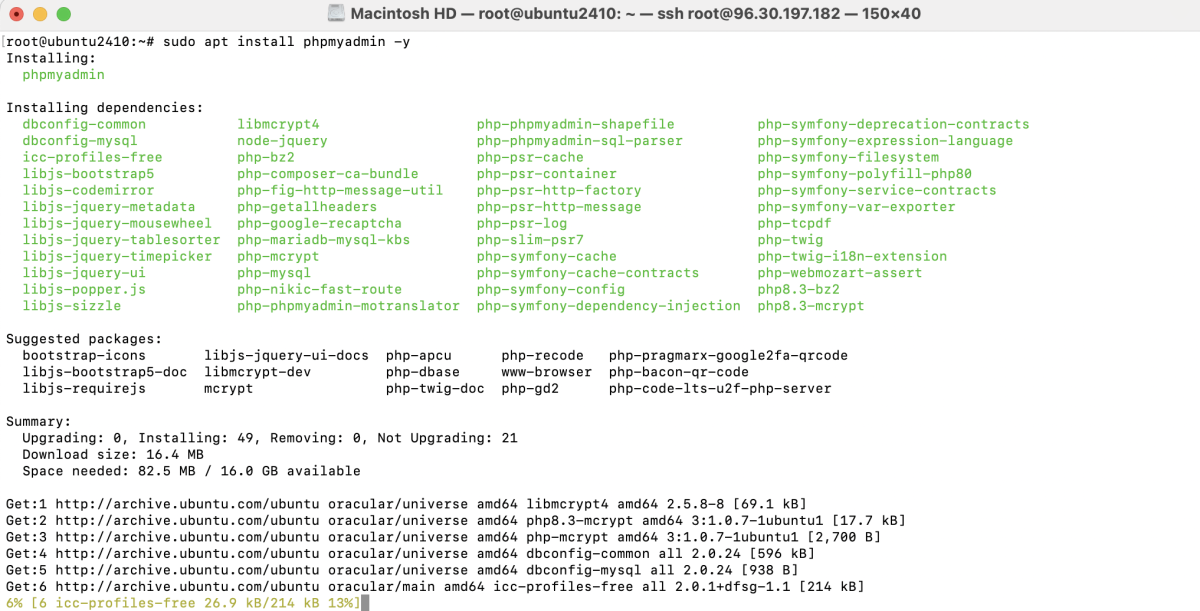
During installation:
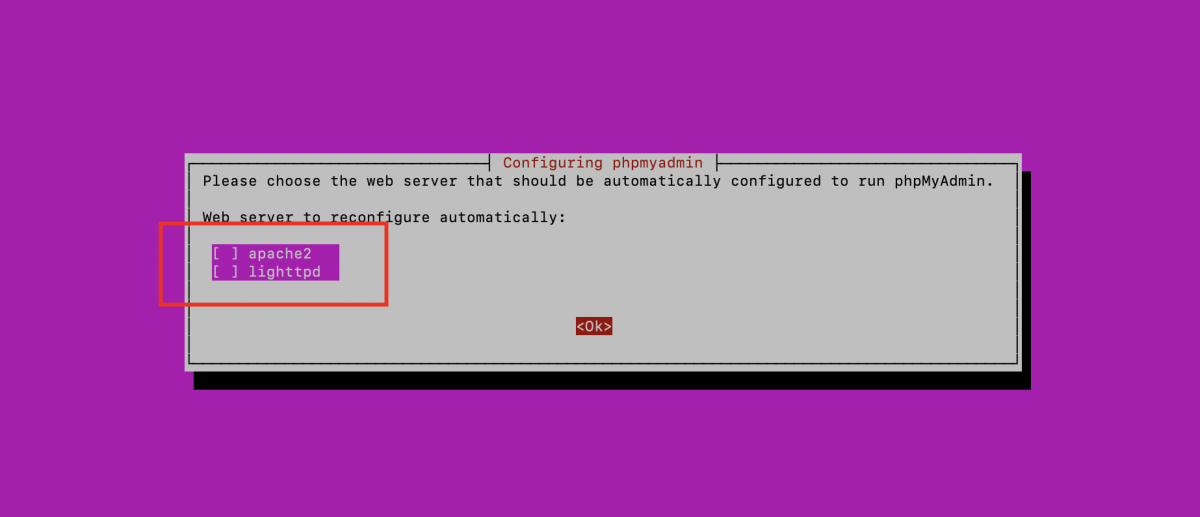
- Web server selection: Choose none when prompted.
- Configure database for phpMyAdmin with dbconfig-common: Enter Y.

- MySQL application password for phpMyAdmin: Set a password for phpMyAdmin.
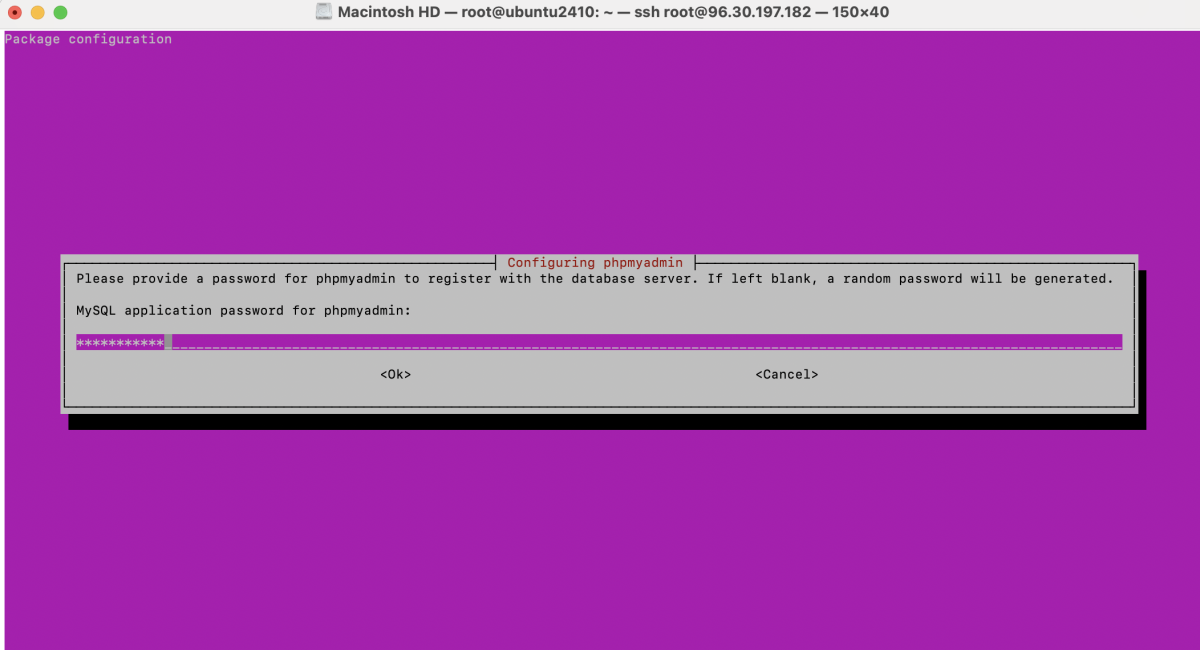
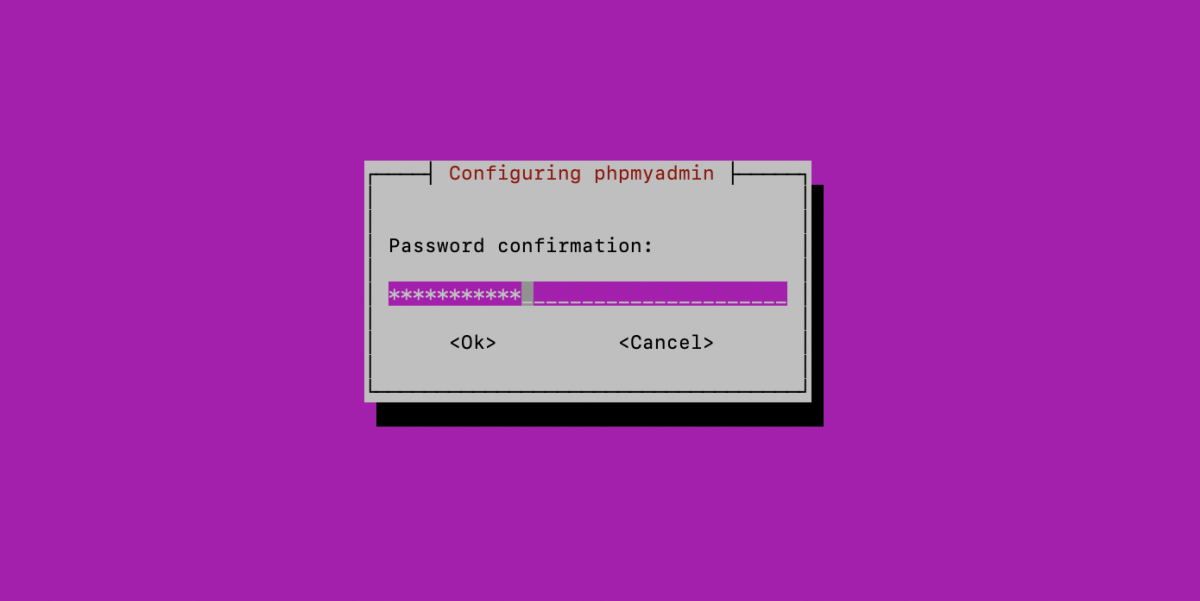
- Password confirmation: Confirm the password.
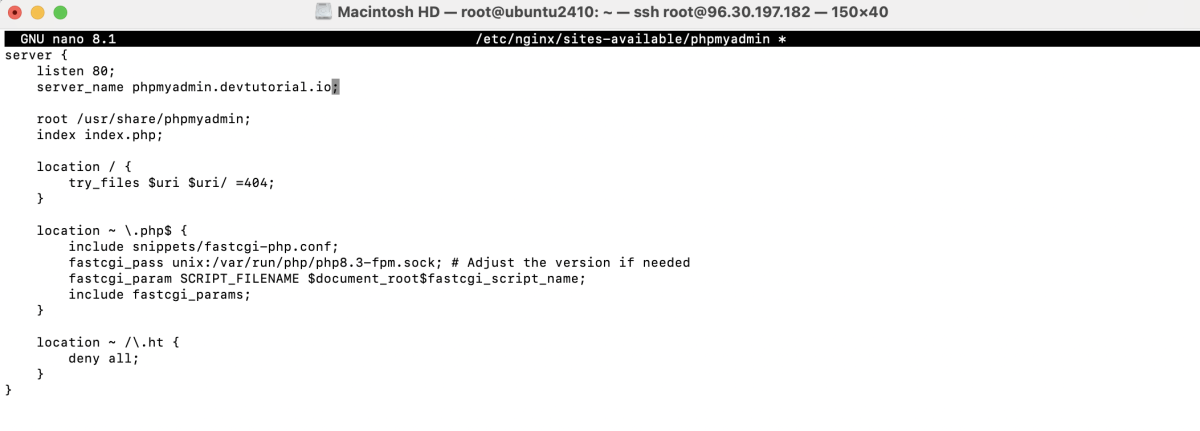
Step 3 : Create a new Nginx configuration file for phpMyAdmin:
Add the following content:
Step 4 : Ensure the configuration is enabled and properly linked:

Step 5 : Check for syntax errors in the Nginx configuration:

Step 6 : Restart Nginx to apply changes:

Step 7 : Open your browser and go to:
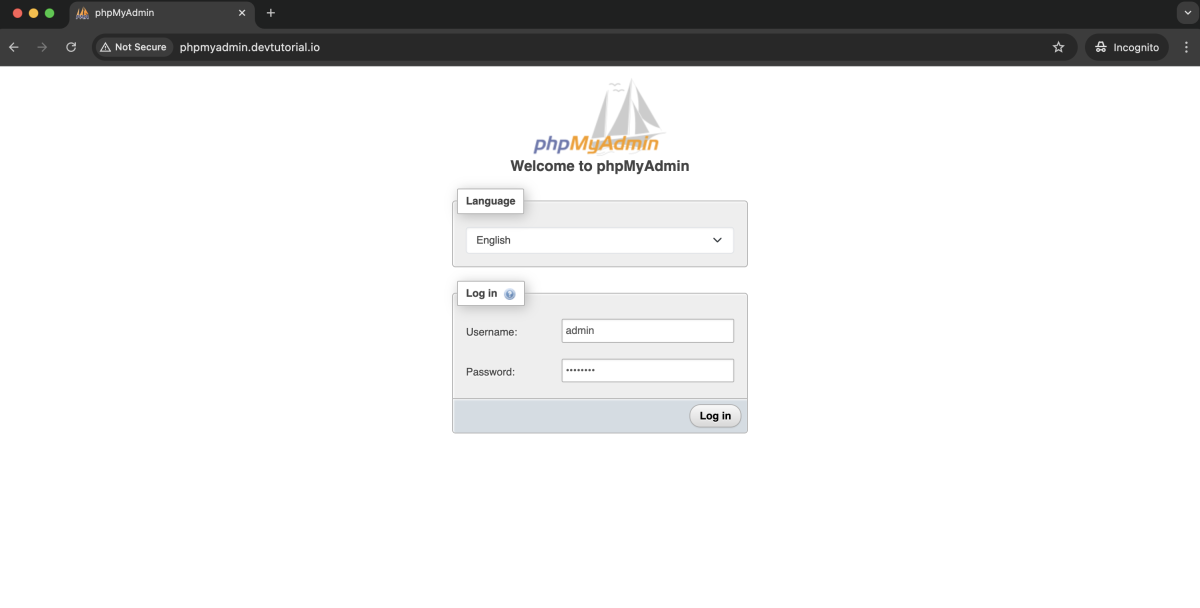
Log in using your MySQL username and password.
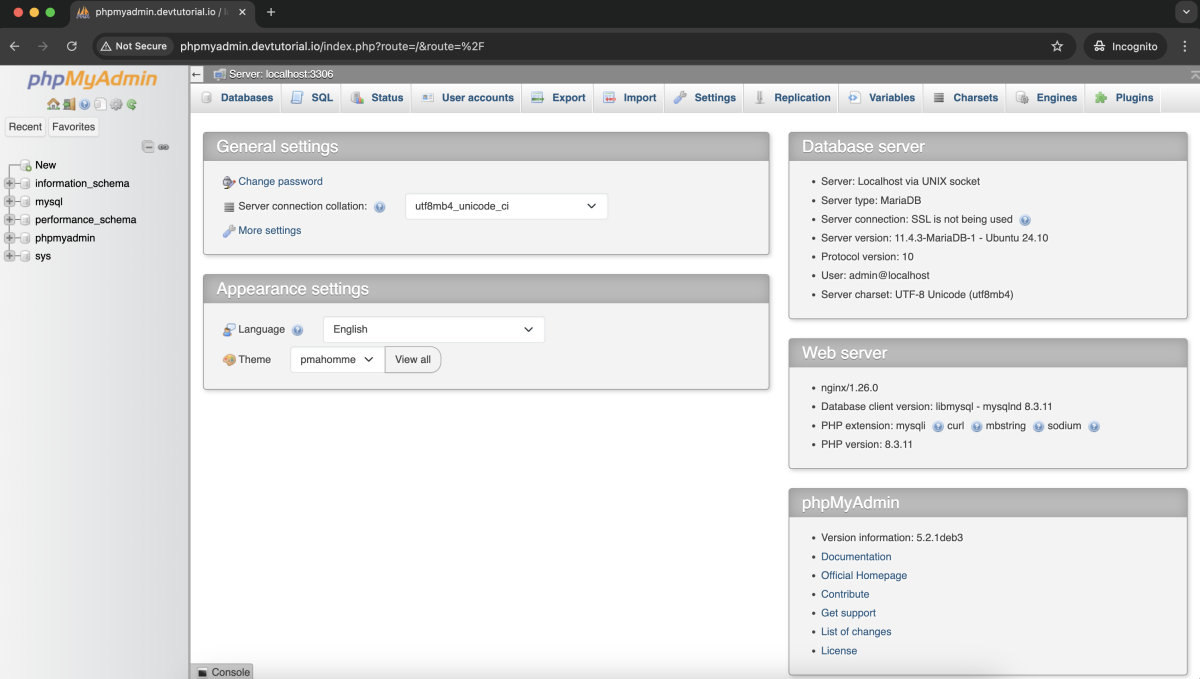
Congratulations! You have successfully installed and configured phpMyAdmin with Nginx on Ubuntu 24.10.