To install PHP 8.3 for Apache on Ubuntu 24.10, follow the step-by-step guide below.
Step 1 : First, ensure your system is up-to-date. Run the following commands to update the package index:

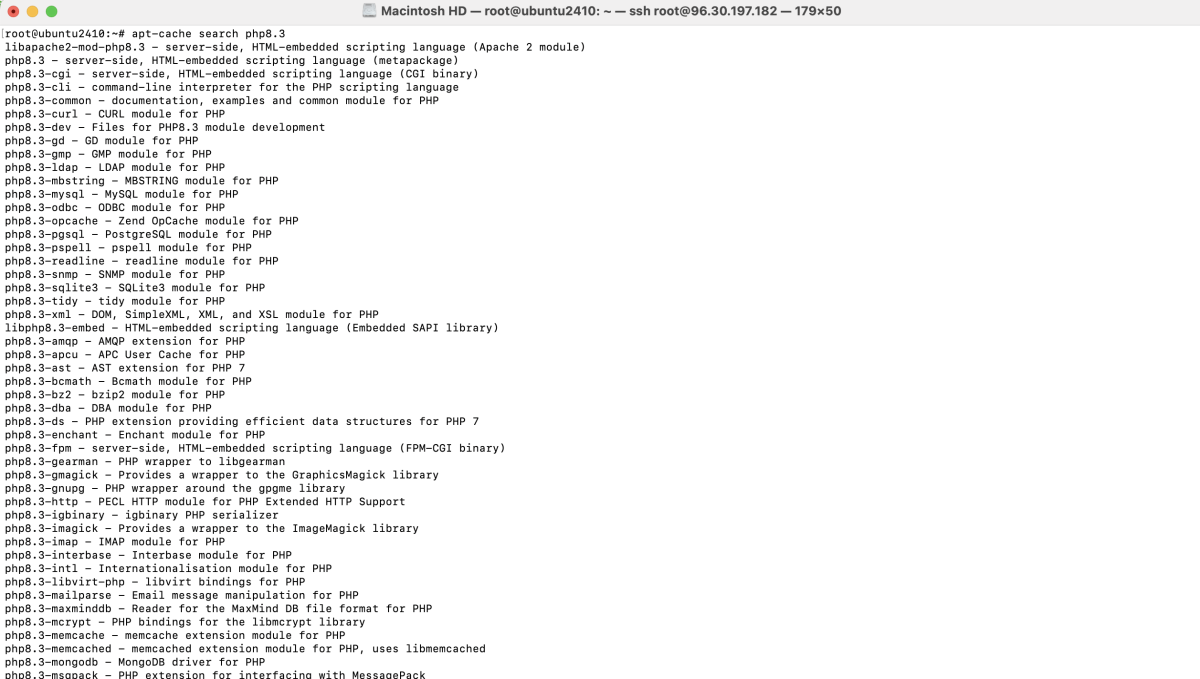
Step 2 : Use the apt-cache search command to find PHP 8.3 and related packages:

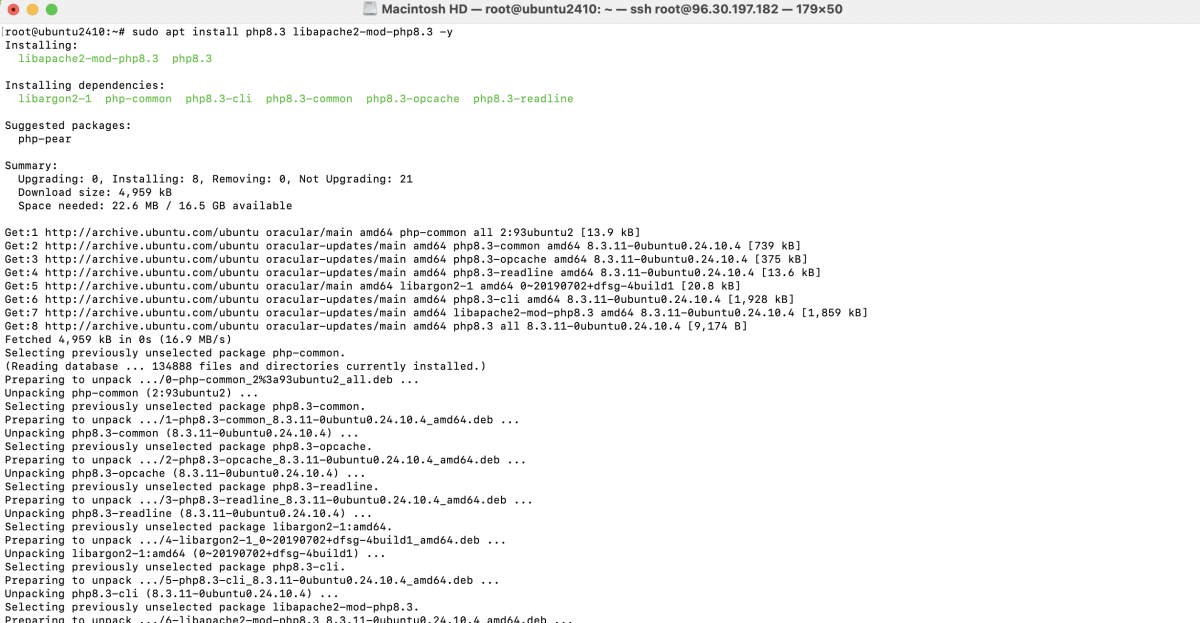
Step 3 : Install PHP 8.3 and the libapache2-mod-php8.3 module, which allows Apache to use PHP:

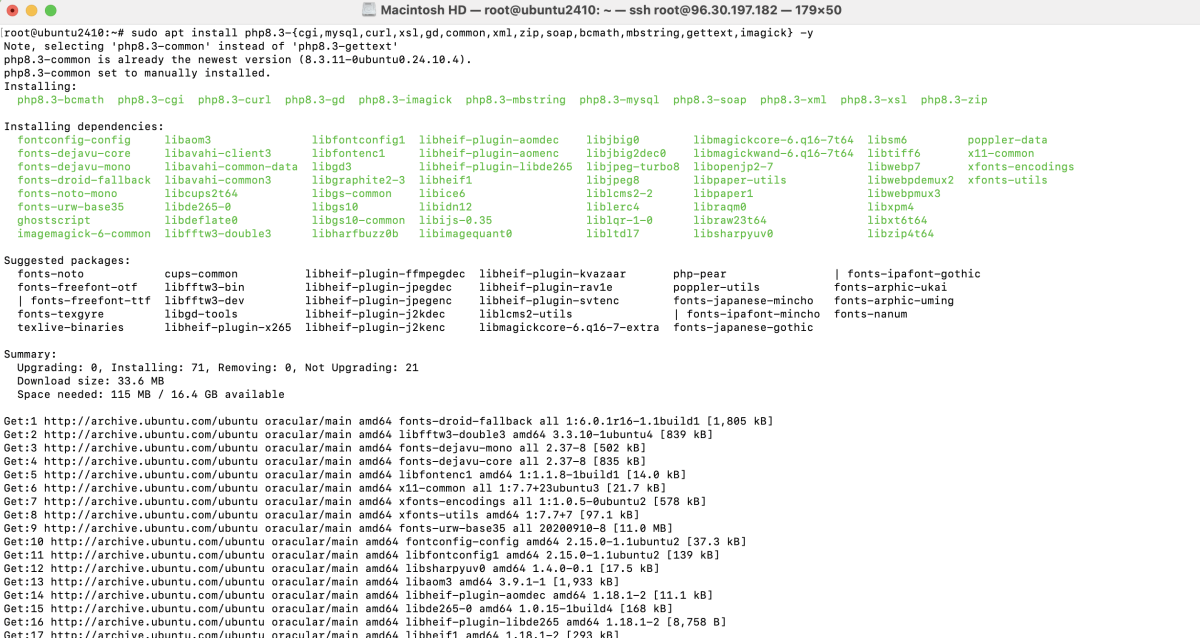
Step 4 : ITo enhance PHP functionality, install commonly used extensions with the following command:

- cgi: Support for the Common Gateway Interface.
- mysql: Enables PHP to interact with MySQL databases.
- curl: Handles URL transfers.
- xsl: Processes XML documents with XSL stylesheets.
- gd: For creating and manipulating images.
- common: General shared files used by PHP.
- xml: For XML data parsing and handling.
- zip: Handles ZIP file creation and extraction.
- soap: Enables Simple Object Access Protocol support.
- bcmath: Arbitrary precision mathematics support.
- mbstring: Multibyte string processing.
- gettext: For translations and localization.
- imagick: Handles image processing using ImageMagick.
Step 5 : Check if PHP 8.3 was installed successfully:

Step 6 : Enable the PHP module in Apache by running:

Step 7 : Restart Apache to apply the changes:

Step 8 : Create a test file to ensure PHP is running properly. Open your terminal and create the info.php file:

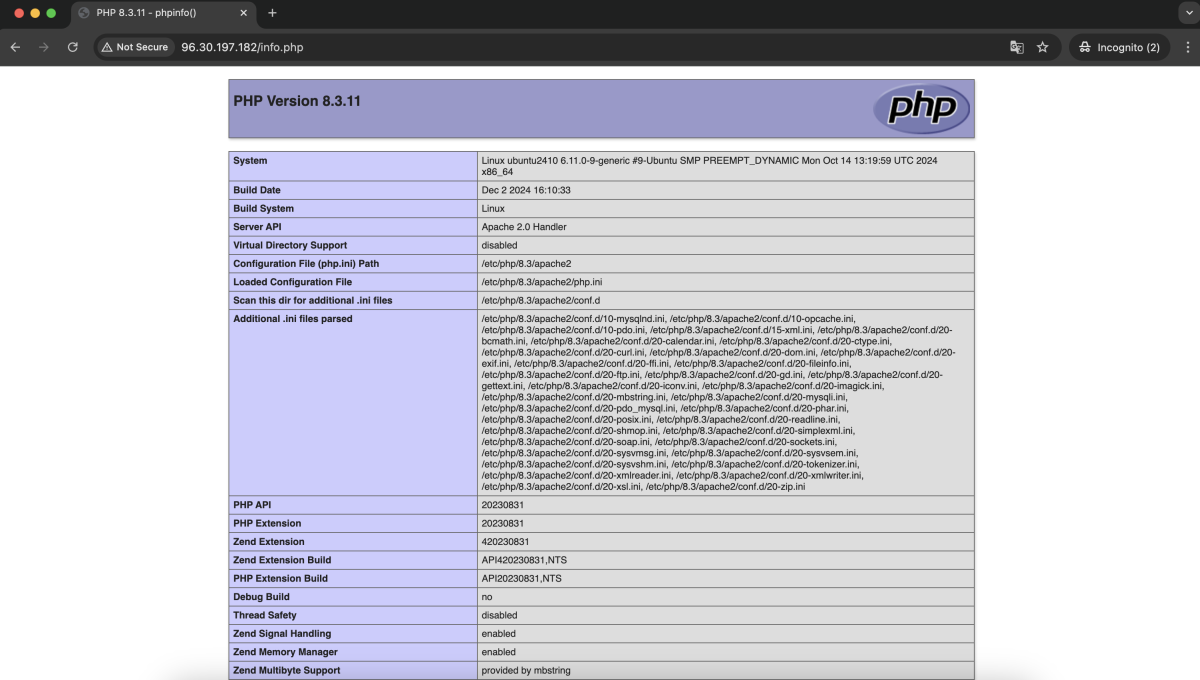
Step 9 : Open a web browser and navigate to your server's domain or IP address followed by /info.php. For example:
You should see a PHP information page confirming the installation.

Congratulations! You have successfully installed and configured PHP 8.3 for Apache on Ubuntu 24.10.