To install and configure a VNC Server on Ubuntu 24.10, follow these steps:
Step 1 : Ensure your system packages are up-to-date by running the following command:

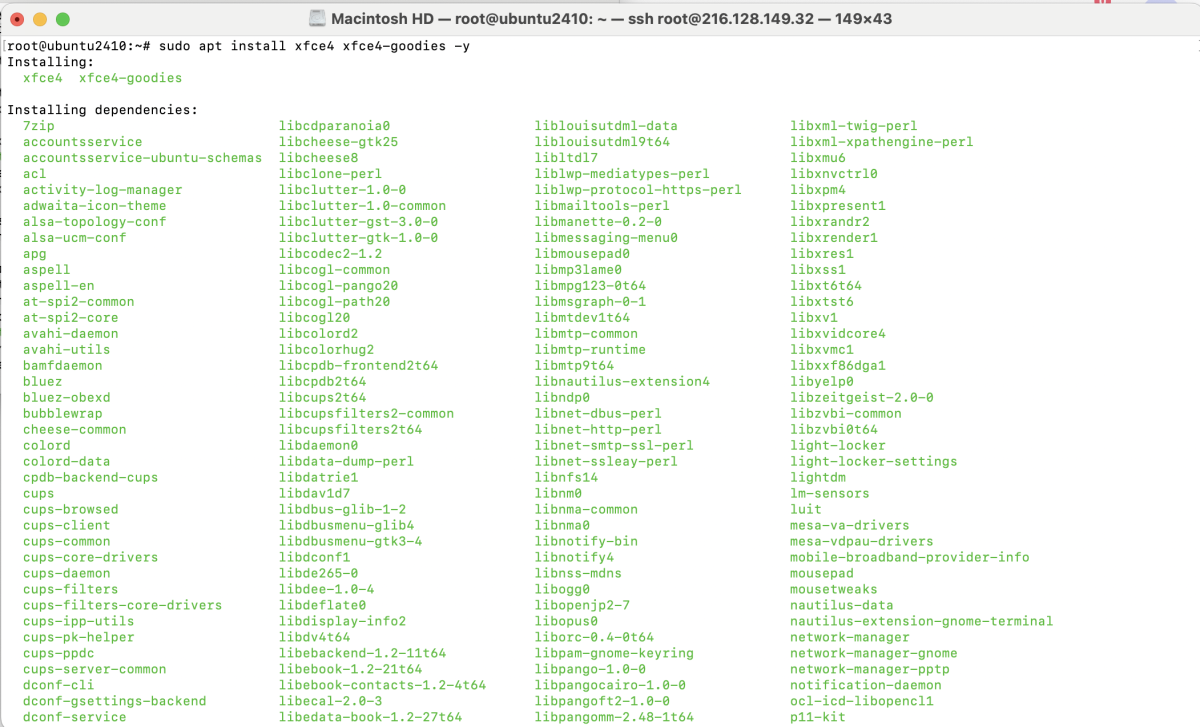
Step 2 : Install XFCE4 and XFCE4-goodies using the command below:
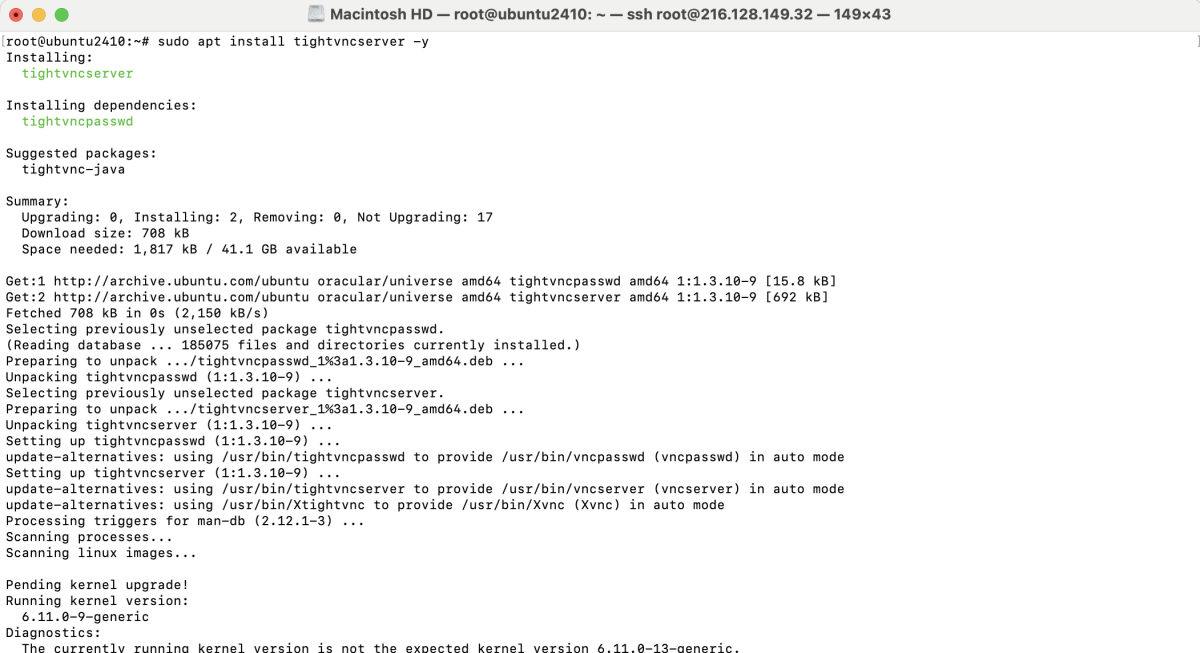
Step 3 : Install TightVNC Server by executing:
Step 4 : Set up your VNC Server password using:

You will be prompted to create and verify a password.
Step 5 : Stop the VNC Server to apply further configurations:

Step 6 : Create and edit the VNC configuration file by running:
- Add the following lines to the configuration file:

Save the file and exit (Ctrl+O, Enter, Ctrl+X).
Step 7 : Grant executable permissions to the file:

Step 8 : Restart the VNC server with:

Step 9 : Allow VNC through the firewall if it is enabled on your system:

Step 10 : Use a VNC viewer on your local machine to connect to the server.
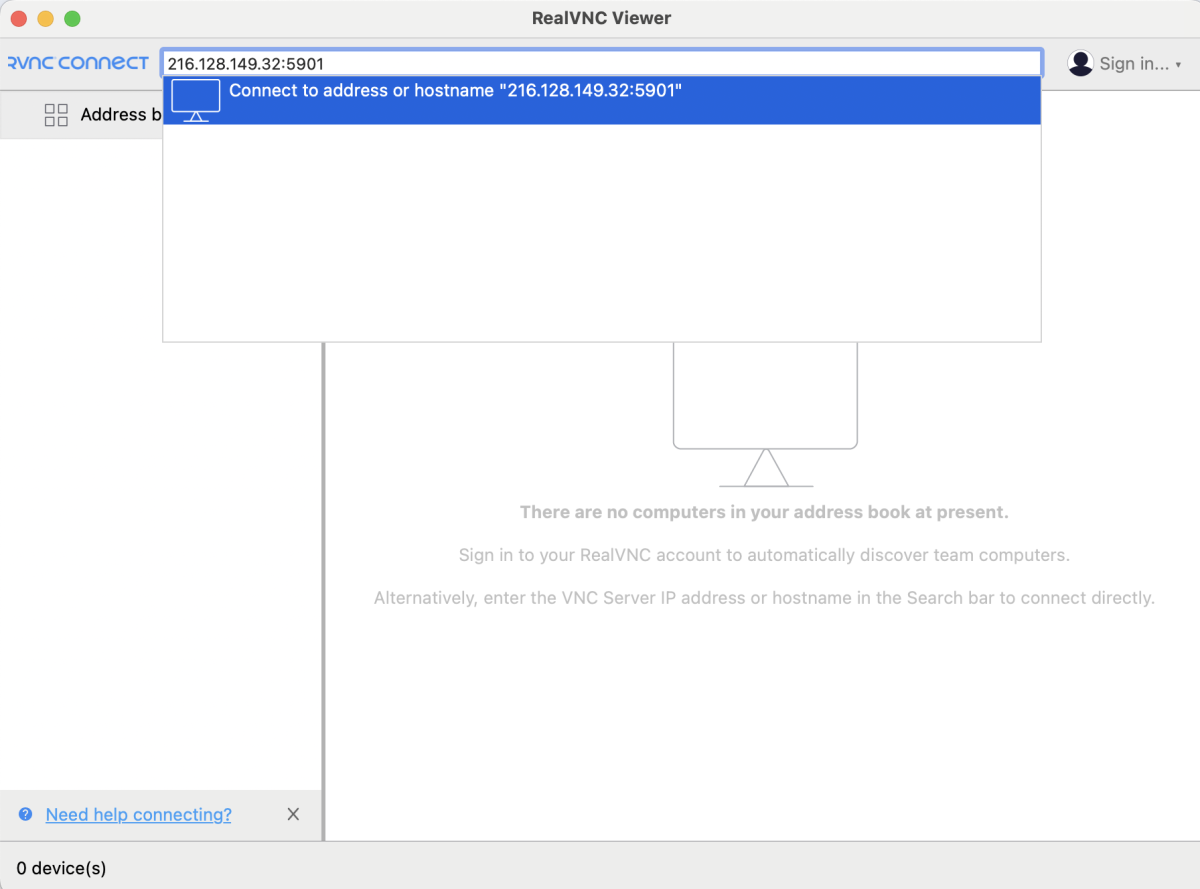
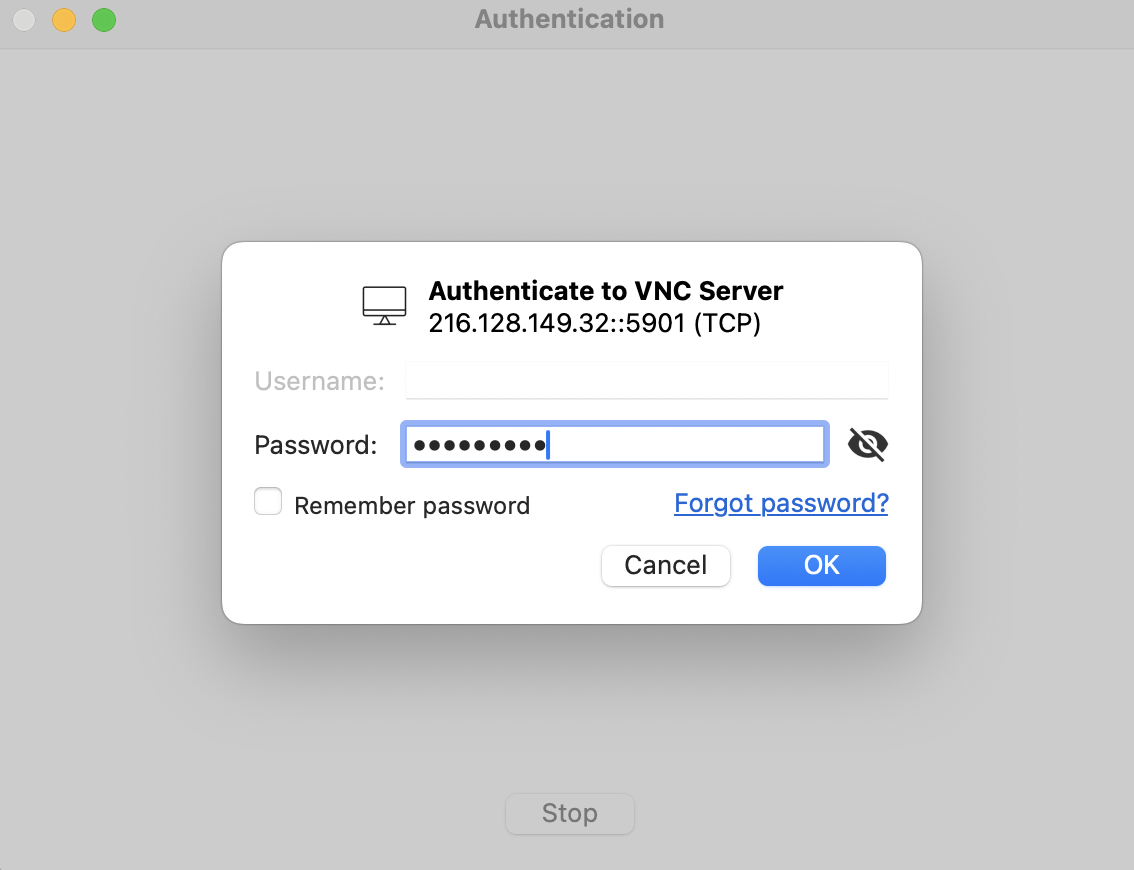
- In your VNC client, enter the IP address of your server followed by the port (e.g., 192.168.1.100:5901).
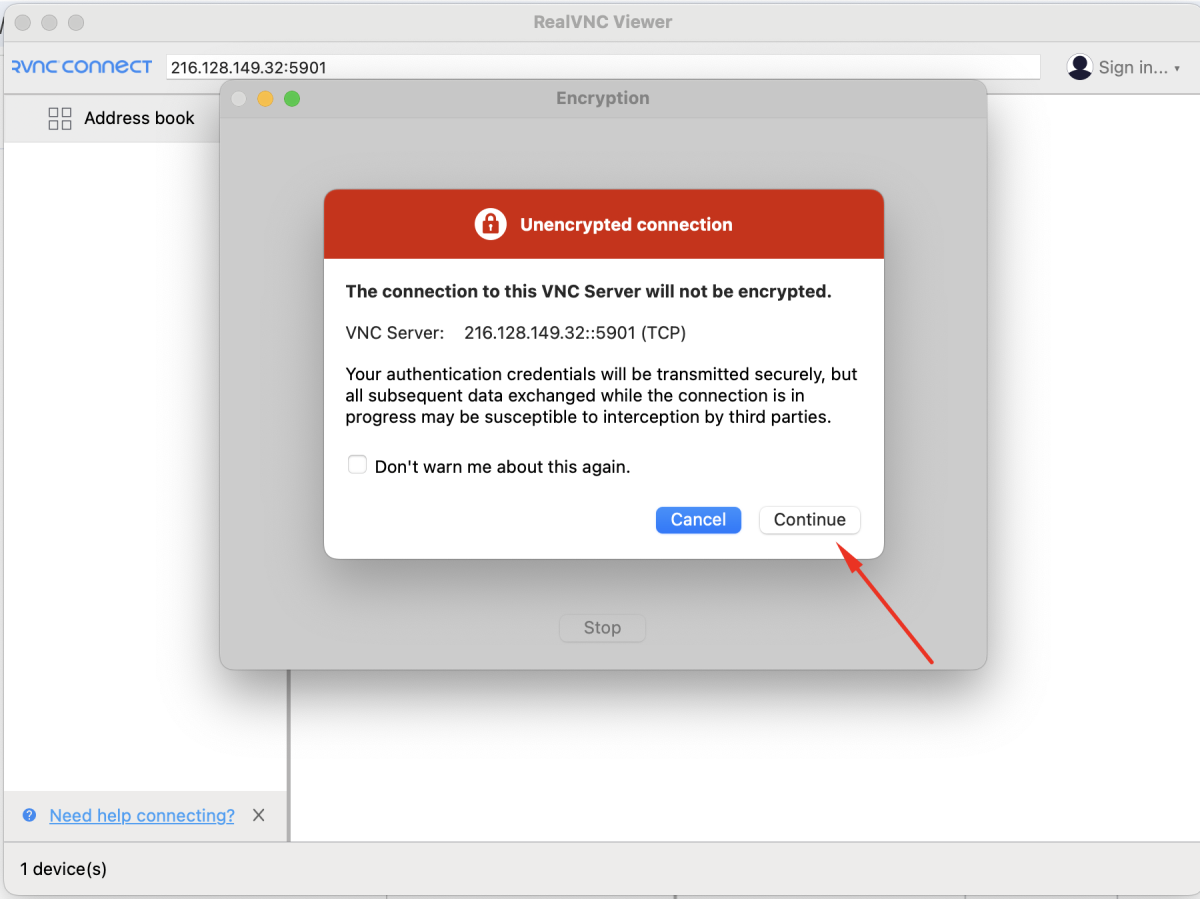
- If prompted about an unencrypted connection, proceed to connect.
- Input the password you created in Step 4.
- Once authenticated, you should see the remote desktop environment.
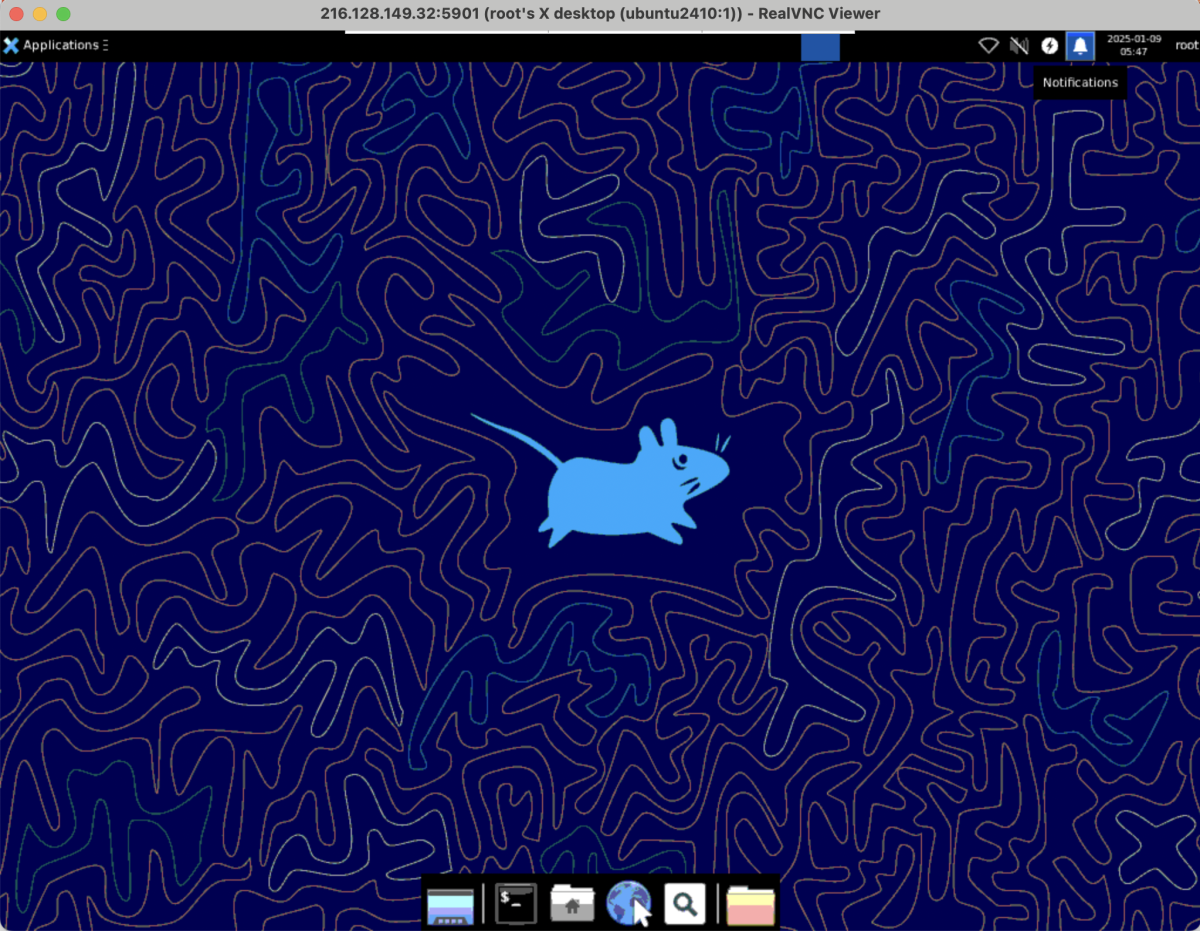
Congratulations! You have successfully installed and configured the VNC Server on Ubuntu 24.10.