To configure SSL for Apache on Ubuntu 24.10, follow these steps:
Step 1 : Update Your System
Start by updating your package list to ensure all software is up-to-date. Run:

Step 2 : Verify if OpenSSL is installed on your system:

If it's not installed, use the following command:
Step 3 : Generate a self-signed SSL certificate:

During this process, you'll be prompted to enter information such as the domain name (Common Name) and other optional details.
Step 4 : Create a new virtual host file or edit the default configuration file for your domain (e.g., example.com):
Add the following configuration:

Step 5 : Enable the Apache SSL module:

Step 6 : Enable your SSL site configuration:

Step 7 : Check for syntax errors in your configuration:

If everything is correct, you'll see:
Step 8 : Restart the Apache service to apply the changes:

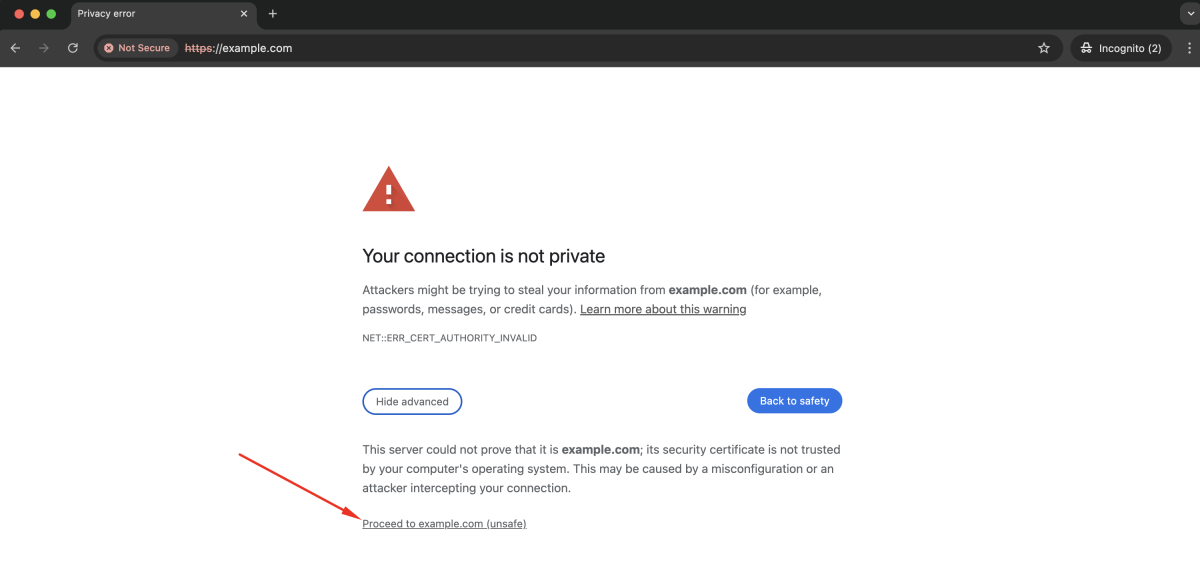
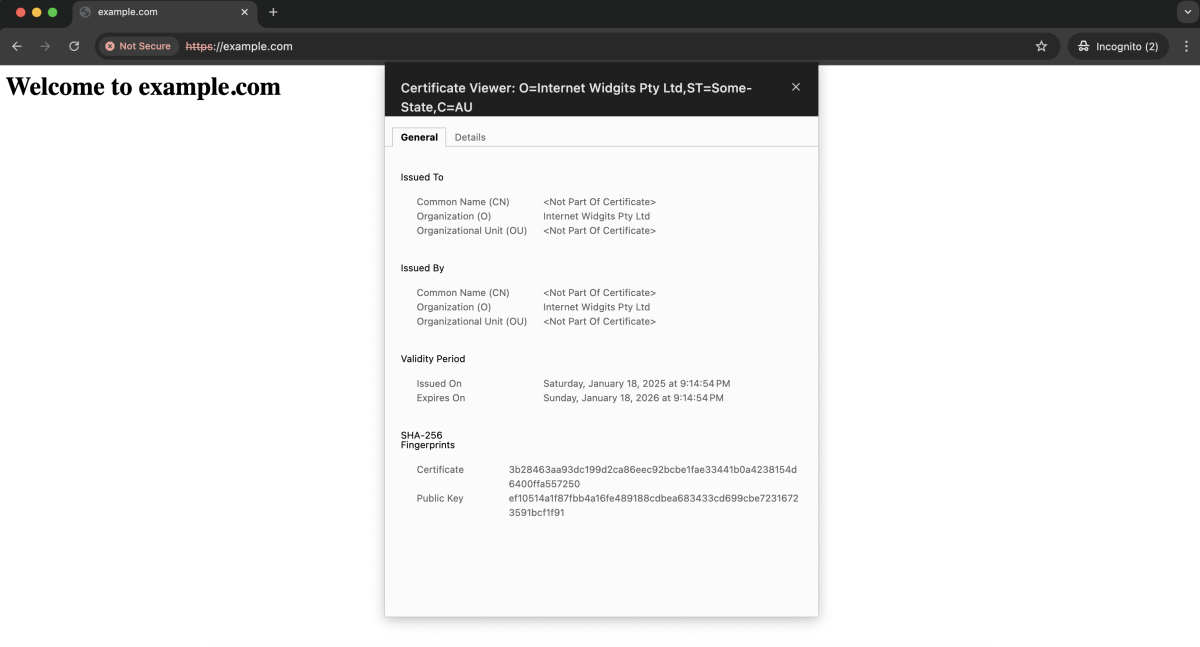
Step 9 : Open your web browser and visit your domain using https://example.com.

You may encounter a warning about the certificate being self-signed. This is normal for self-signed certificates.

Congratulations! You have successfully configured SSL for Apache on Ubuntu 24.10.