To install RabbitMQ on Ubuntu 24.10, follow these steps:
Step 1 : First, update your system packages to ensure everything is up to date:

Step 2 : Install the required dependencies and tools:
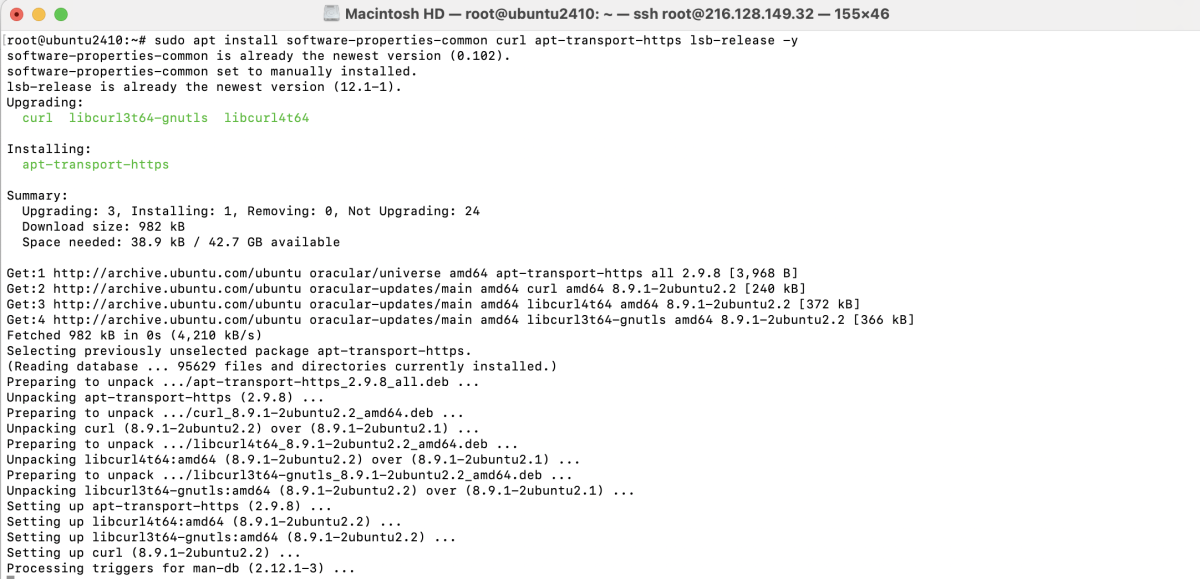
Step 3 : RabbitMQ requires Erlang to be installed. To add the Erlang repository, run the following commands:

Step 4 : Update the repository information to include Erlang:

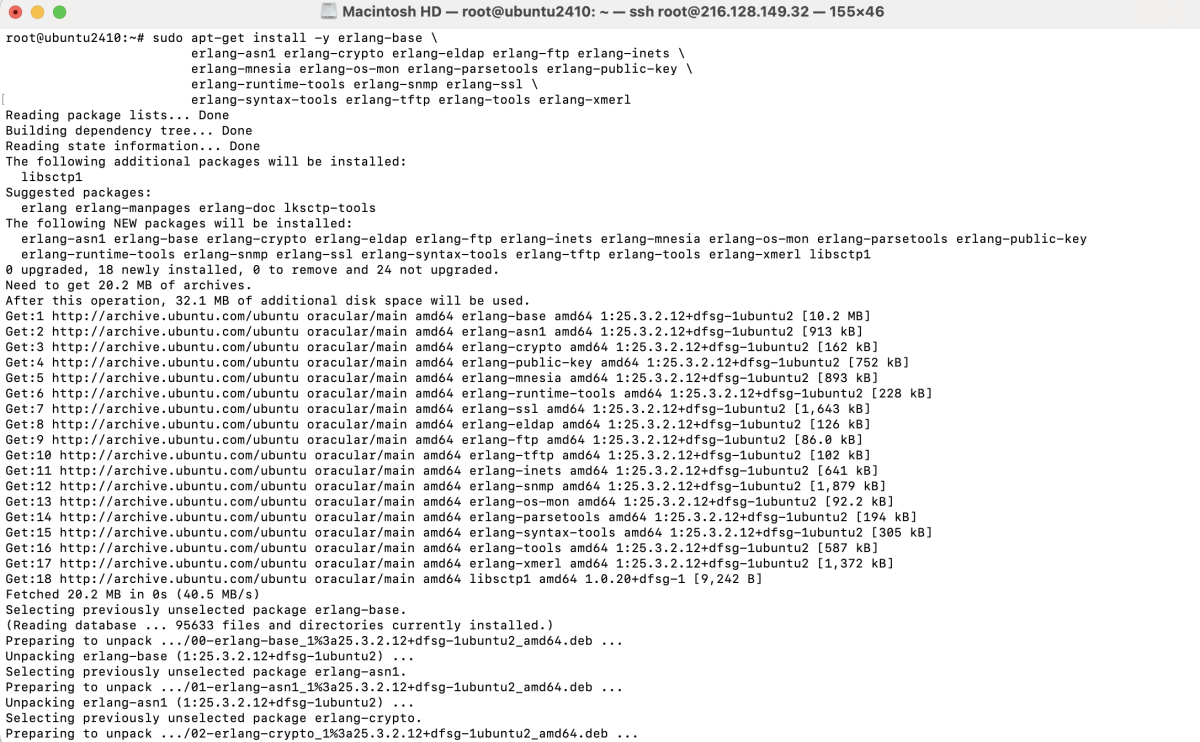
Step 5 : Now, install Erlang packages:
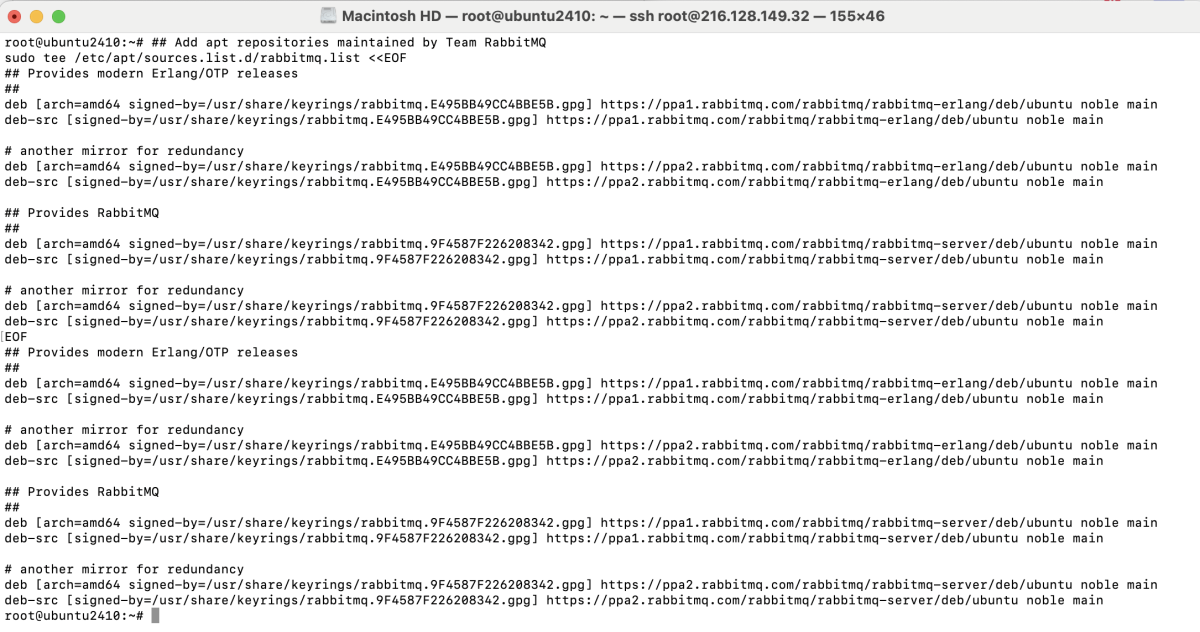
Step 6 : To install RabbitMQ, first add the RabbitMQ repository:
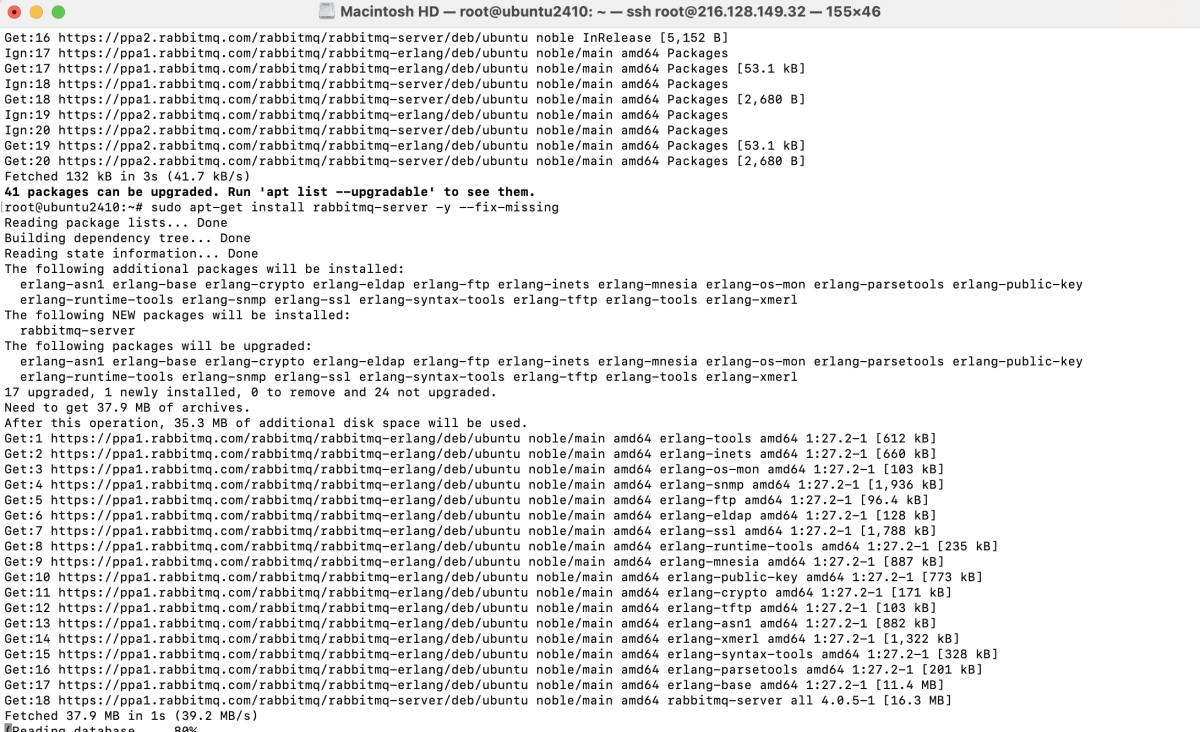
Then, install RabbitMQ:
Step 7 : After installation, start the RabbitMQ service:

Step 8 : Enable RabbitMQ to start on boot:

Step 9 : Verify the RabbitMQ service is running:
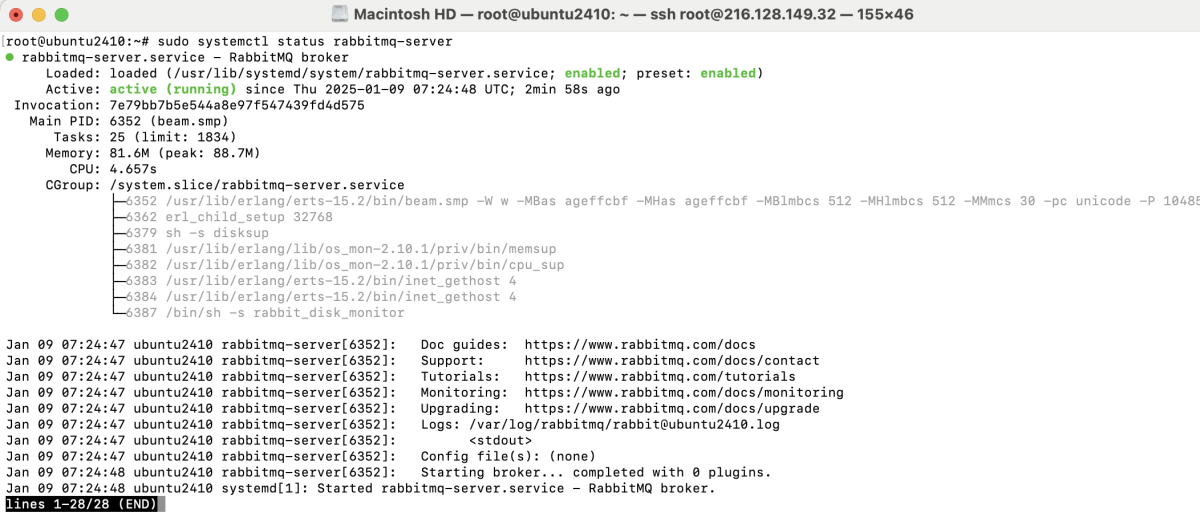
Step 10 : To enable the RabbitMQ management plugin, run:

Step 11 : Restart the RabbitMQ service to apply the changes:

Step 12 : To create an administrative user for RabbitMQ, use the following command:

Step 13 : If you are using UFW, allow RabbitMQ's default ports:

Step 14 : You can now access the RabbitMQ management interface by navigating to:

Login with the admin user and password you created.
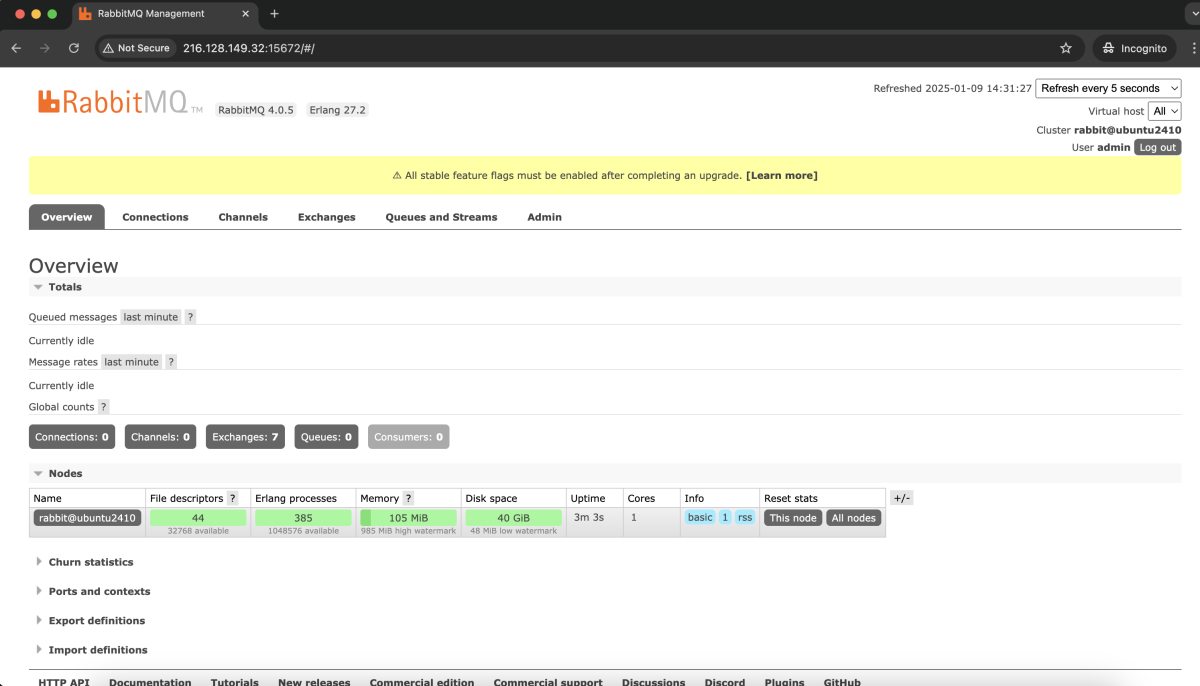
Congratulations, you have successfully installed and configured RabbitMQ on your Ubuntu 24.10 system!