To configure a static IP address on Ubuntu Server 24.10, follow these simple steps.
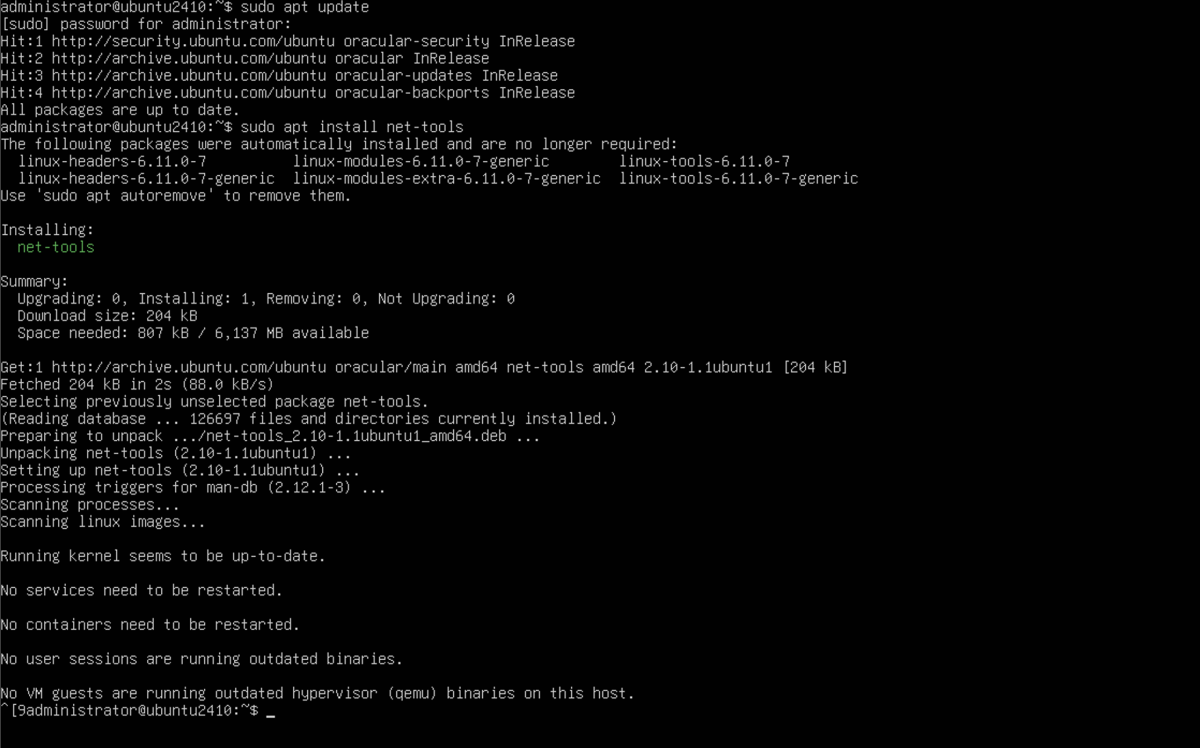
Step 1 : Update and Install net-tools
First, update your server and install the net-tools package, which includes essential networking utilities like ifconfig.
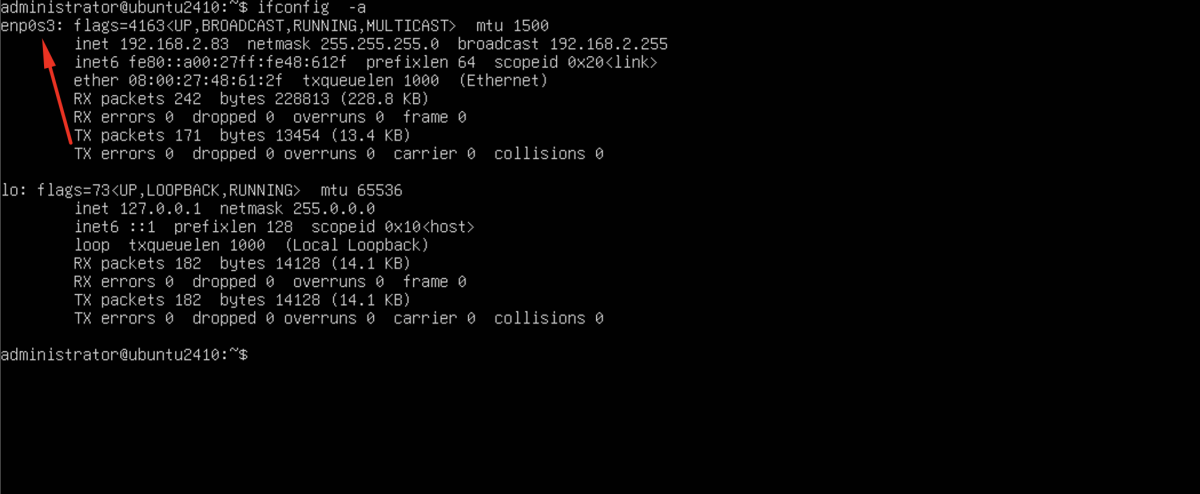
Step 2 : Check Ethernet Interfaces
Use the ifconfig -a command to list all the Ethernet interfaces available on your server. Identify the interface for which you want to set a static IP address (e.g., eth0 or enp0s3).
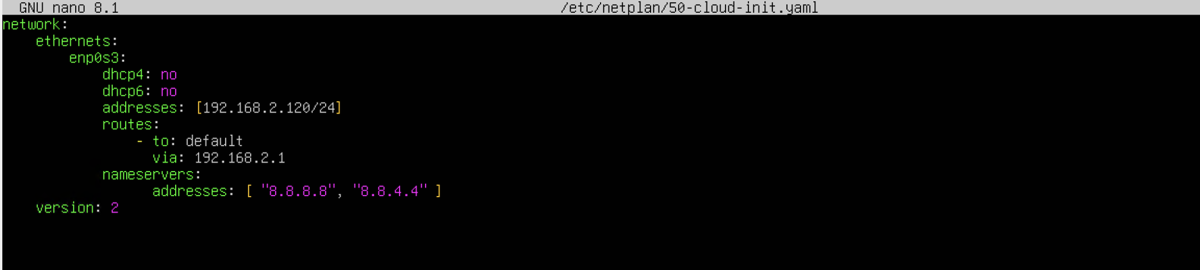
Step 3 : Open the Netplan Configuration File
Next, open the Netplan configuration file located at /etc/netplan/50-cloud-init.yaml. Use your preferred text editor (like nano or vim).
Step 4 : Add Static IP Configuration
In the configuration file, modify or add a section for the Ethernet interface to configure a static IP. Here's an example configuration:
Step 5 : Apply the Changes
After saving the file, apply the changes to the network configuration by running the following command:

Step 6 : Check Connectivity
To verify that the static IP has been successfully applied, ping an external server like Google:

Congratulations! You have successfully configured a static IP address on your Ubuntu Server 24.10.