To set up an SFTP server on Ubuntu 23.10, follow these steps:
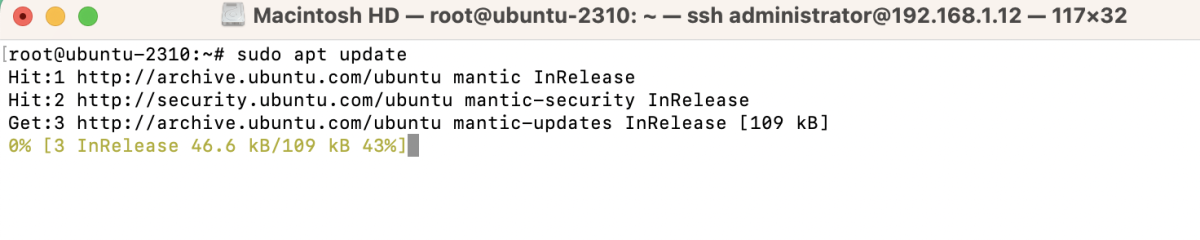
Step 1 : Update System Packages:
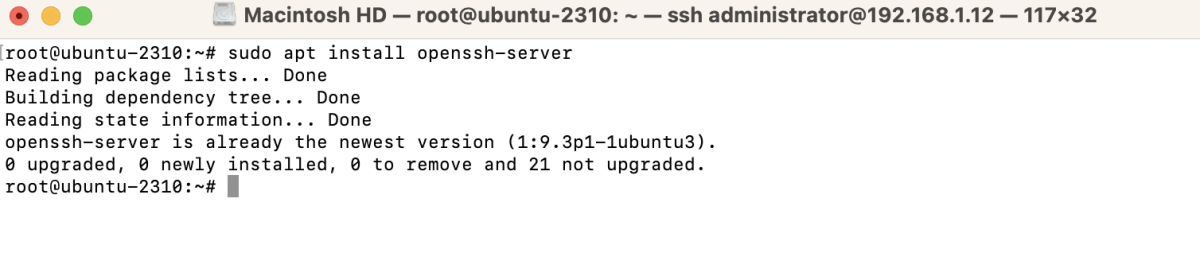
Step 2 : Install OpenSSH Server:
Step 3 : Edit sshd_config for SFTP:
- Add the following lines at the end:
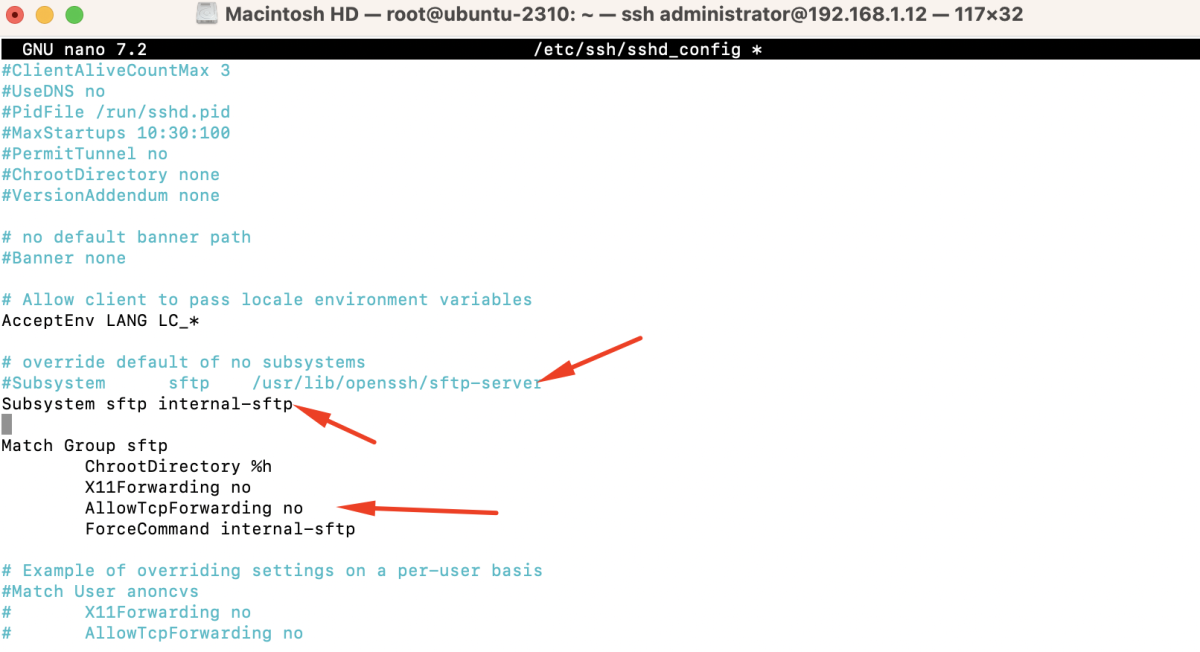
- These lines configure the SSH server to use the internal SFTP server for members of the 'sftp' group, chroot them to their home directory, and prevent TCP forwarding.
- Save the changes and exit the text editor.
Step 4 : Restart SSH Service:

Step 5 : Create SFTP Group:

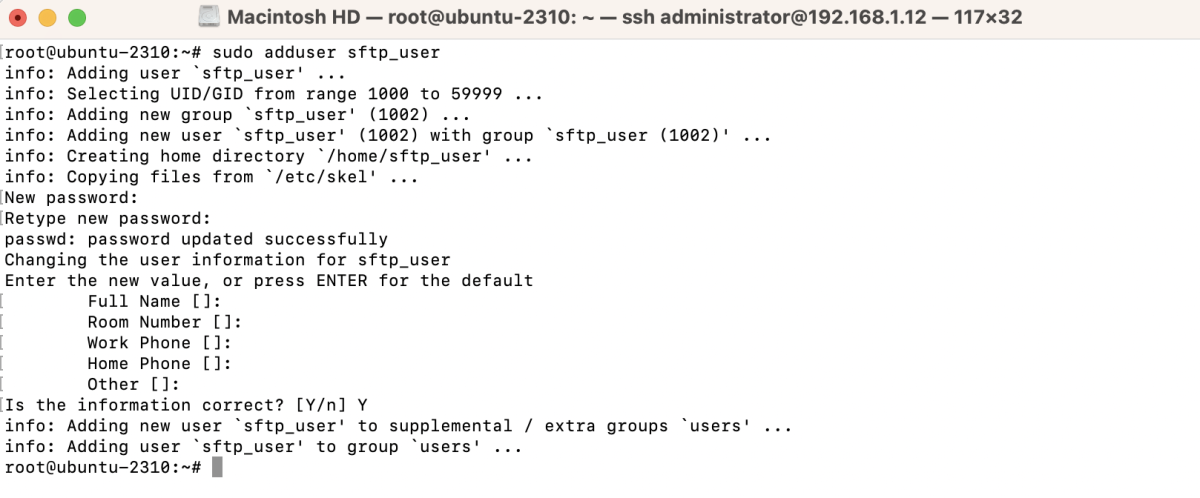
Step 6 : Create SFTP User:
Step 7 : Assign User to SFTP Group:

Step 8 : Configure Permissions:

Step 9 : Allow UFW Traffic:

This command opens port 22 (the default SSH port) in the UFW firewall to allow SSH/SFTP traffic.
Step 10 : Restart SSH Service:

Restarting the SSH service ensures that the firewall changes take effect.
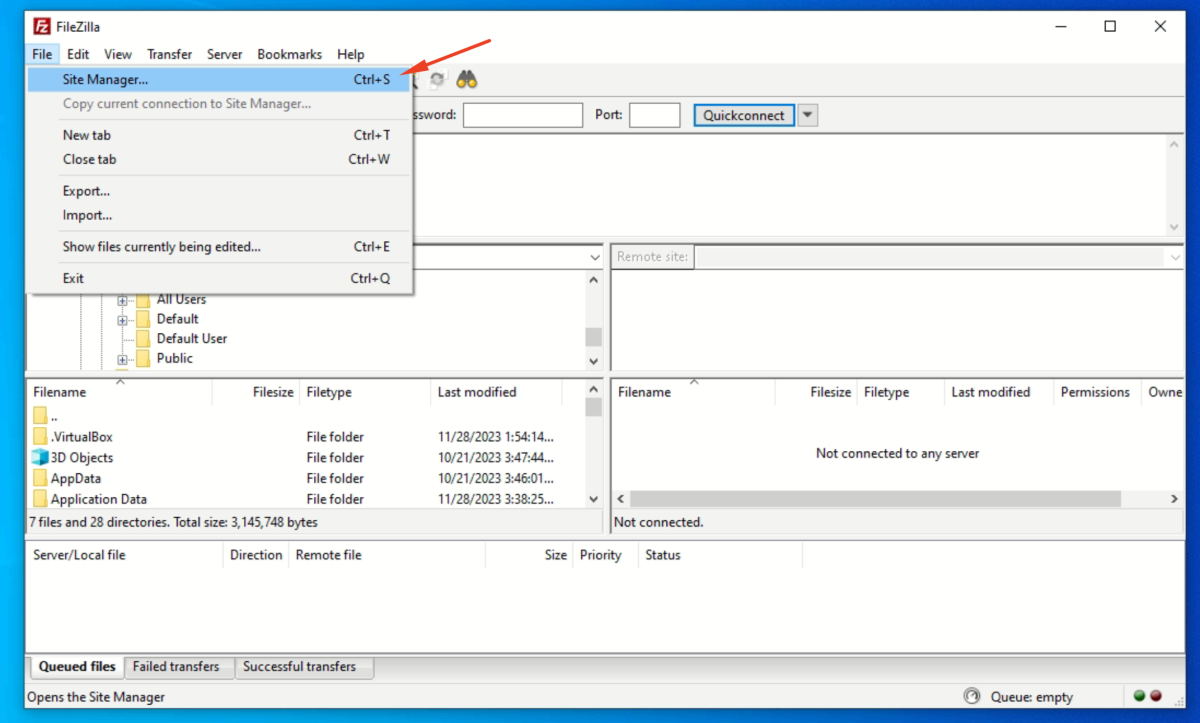
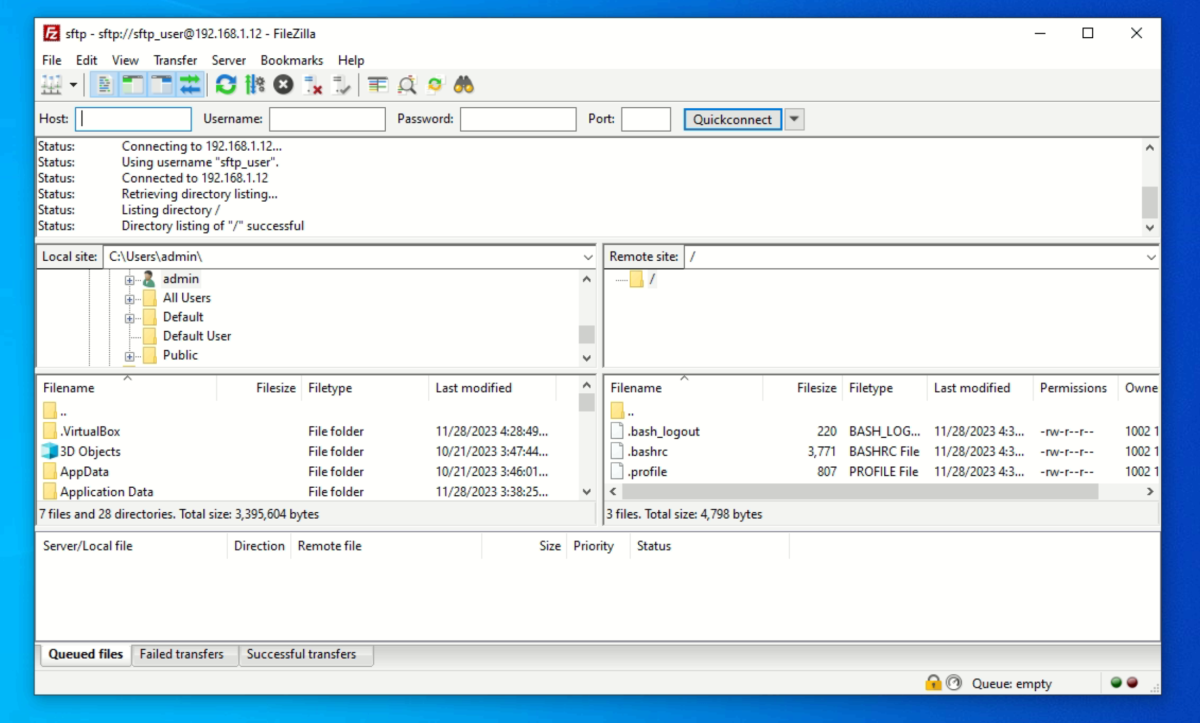
Step 11 : Test Connection using SFTP Client (e.g., FileZilla):
- In the "File" menu, select "Site Manager."
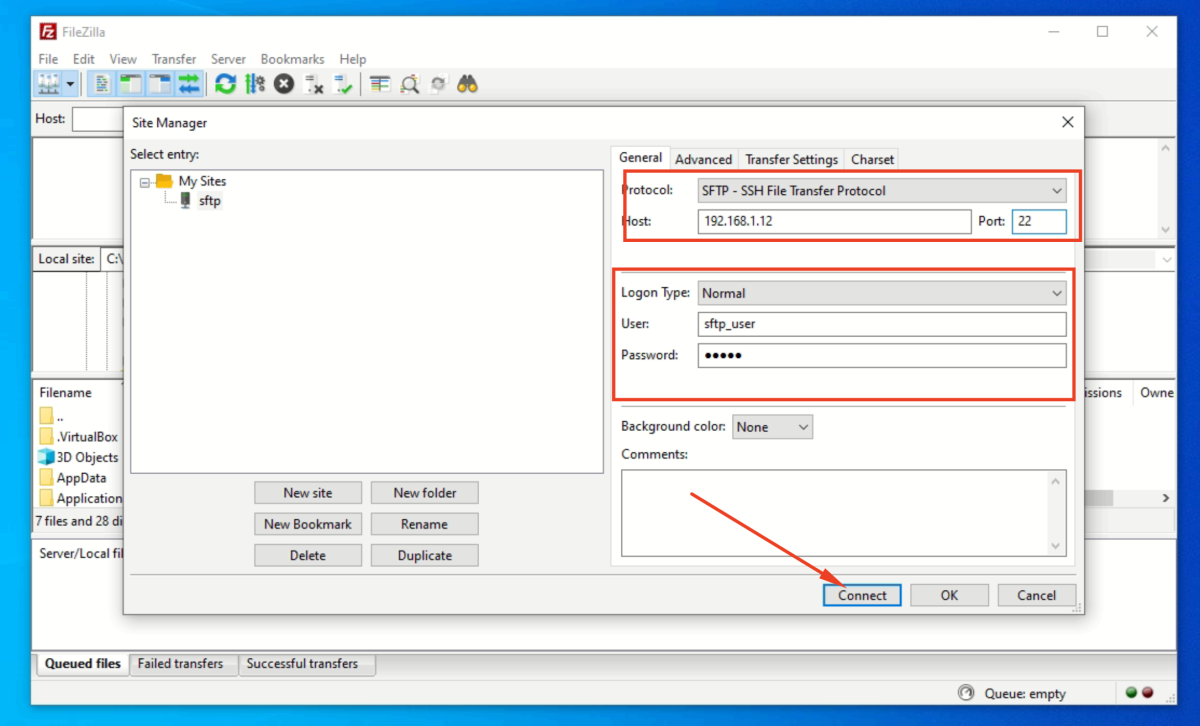
- Click on "New Site" and give your connection a name (e.g., MySFTP).
- In the "Host" field, enter the IP address or hostname of your Ubuntu server.
- Choose "SFTP - SSH File Transfer Protocol" as the protocol.
- Set the "Port" to 22.
- Choose "Normal" for Logon Type.
- Click "Connect"
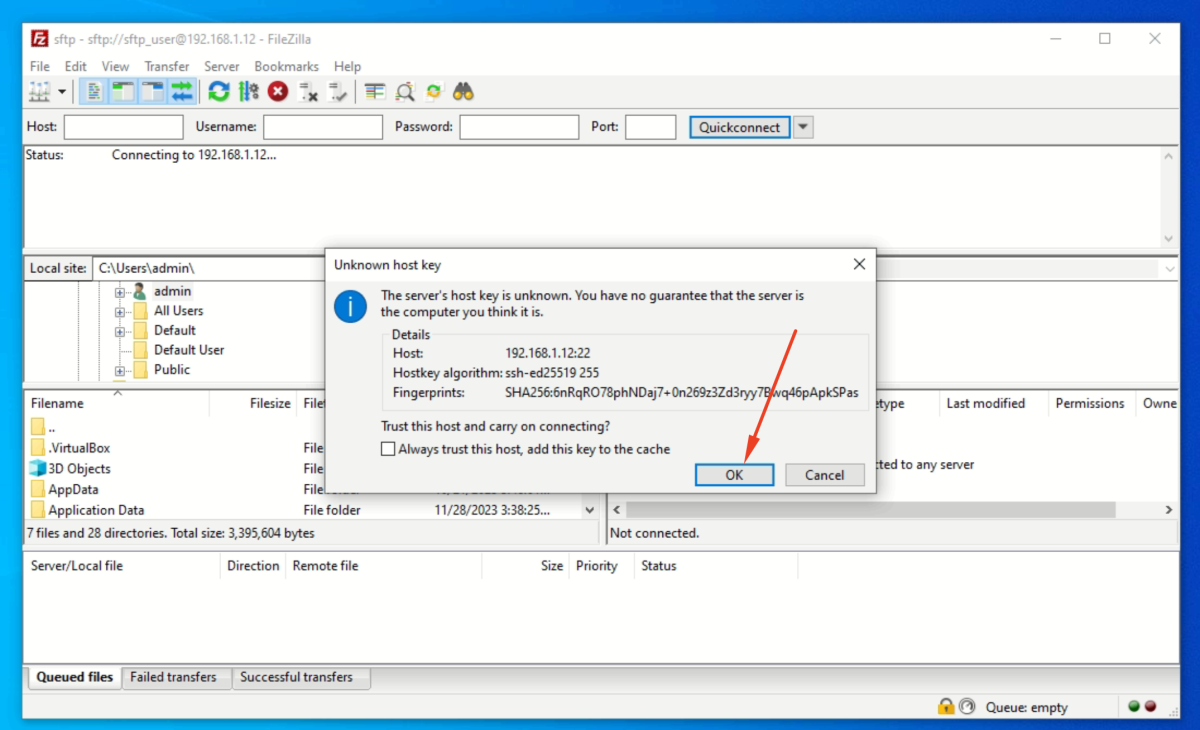
- Click "Ok"
- Choose "Save passwords".
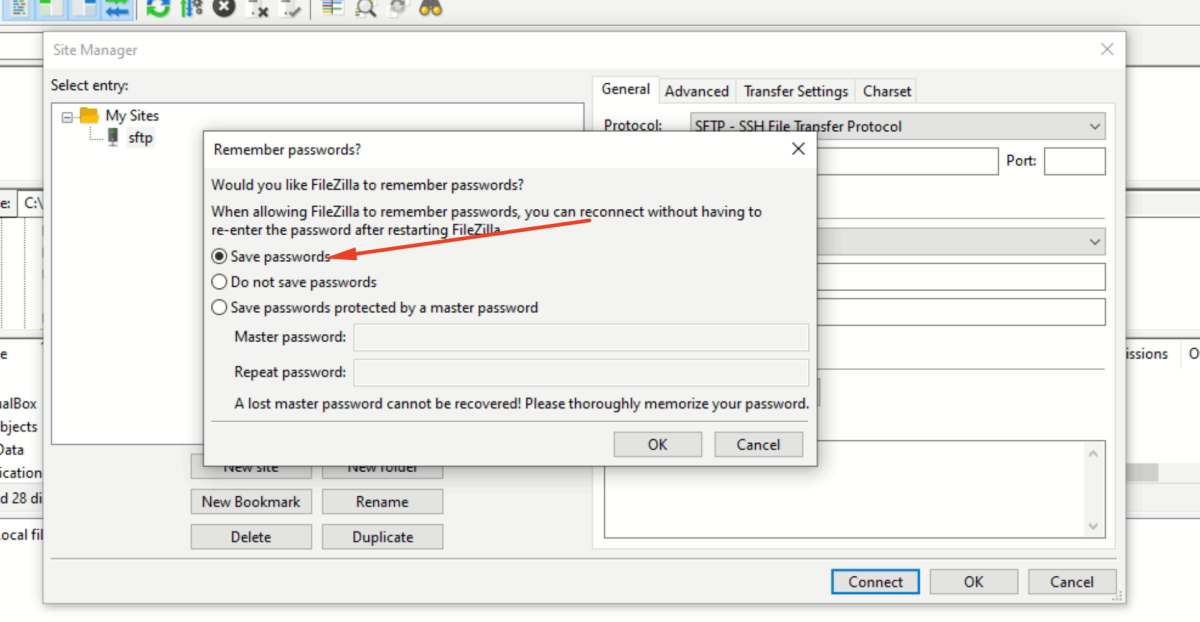
- If the connection is successful, you will see the remote directory on the right side of the FileZilla interface.
Congratulations, you have successfully set up an SFTP server on Ubuntu 23.10!