Installing Let's Encrypt SSL on Nginx in Ubuntu 23.10 involves a few steps. Here's a step-by-step guide:
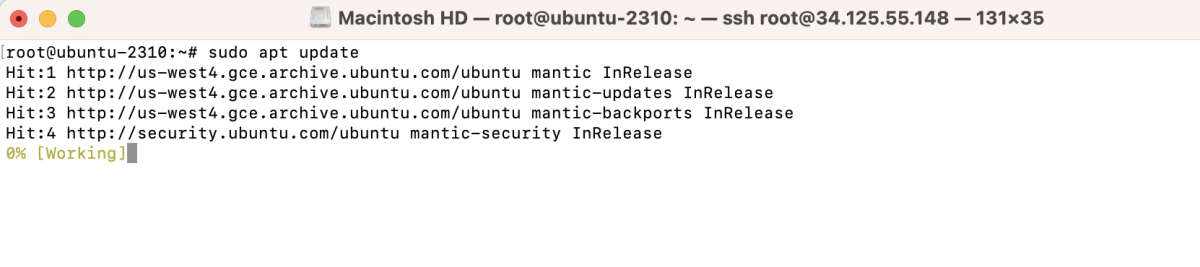
Step 1 : Update Packages
Make sure your package list is up to date.
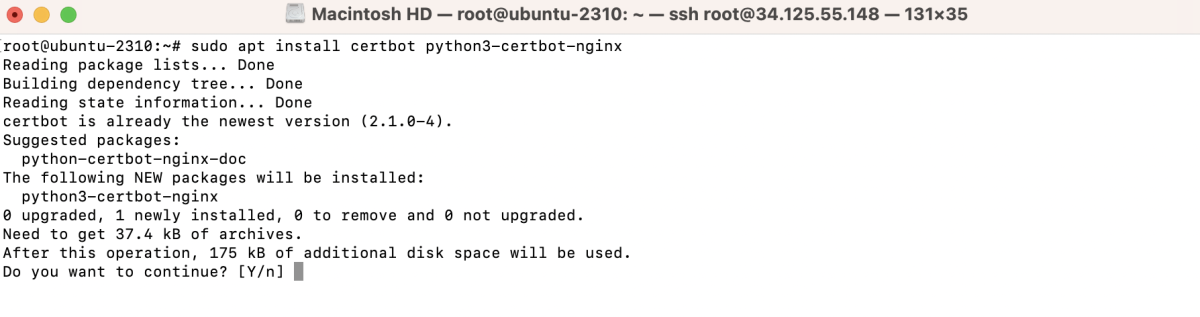
Step 2 : Install Certbot
Certbot is a command-line tool provided by Let's Encrypt to obtain and renew SSL certificates.
Step 3 : Allow Nginx Through the Firewall
If you have a firewall enabled, make sure to allow Nginx traffic.

Step 4 : Create an Nginx configuration.
Add the following configuration, adjusting it according to your needs. This example assumes a basic Nginx configuration:
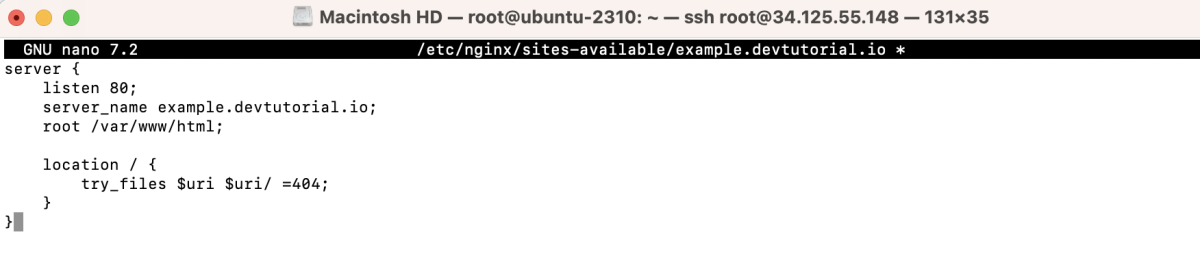
Save the file and exit the text editor.
Step 5 : Create a Symbolic Link
Create a symbolic link to enable the site:

Step 6 : Test Nginx Configuration
Before restarting Nginx, ensure that your configuration is error-free:

If you see "syntax is okay" and "test is successful," you can proceed.
Step 7 : Restart Nginx
Restart Nginx to apply the changes:

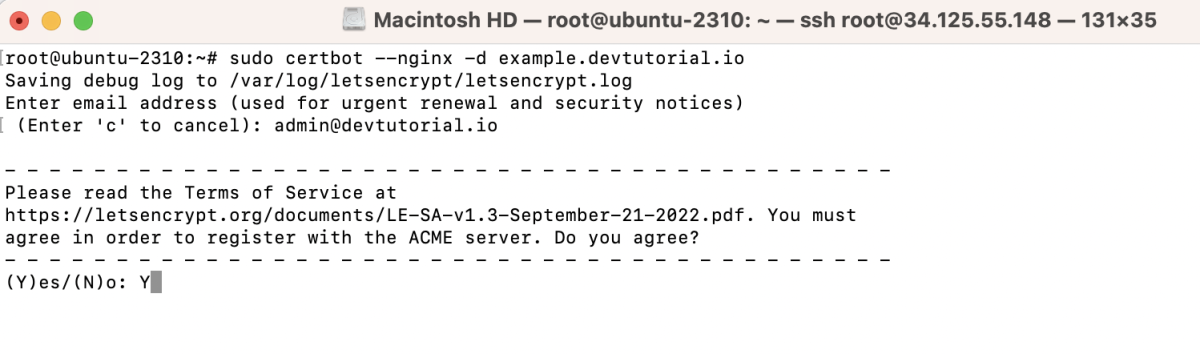
Step 8 : Obtain SSL Certificate
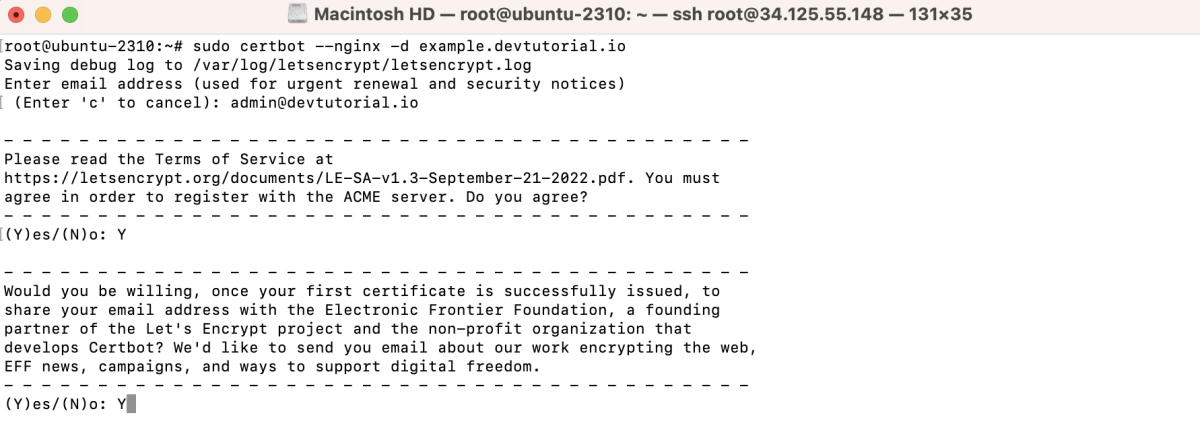
Run Certbot to obtain a certificate. Replace example.devtutorial.io with your domain.
- Certbot will prompt you to enter an email address for renewal and security notices.

- Agree to the Terms of Service:
- Share Email Address:
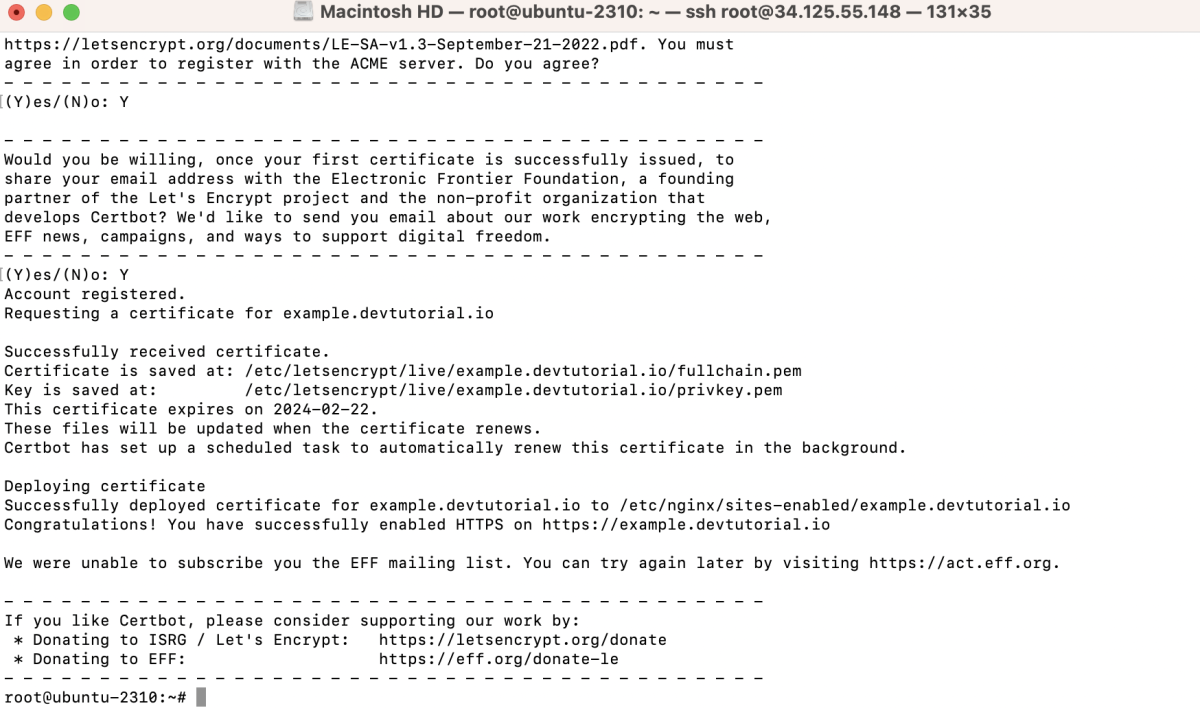
Certbot will automatically configure Nginx to use the obtained SSL certificate. Once the process is complete, Certbot will provide a summary of the changes made.
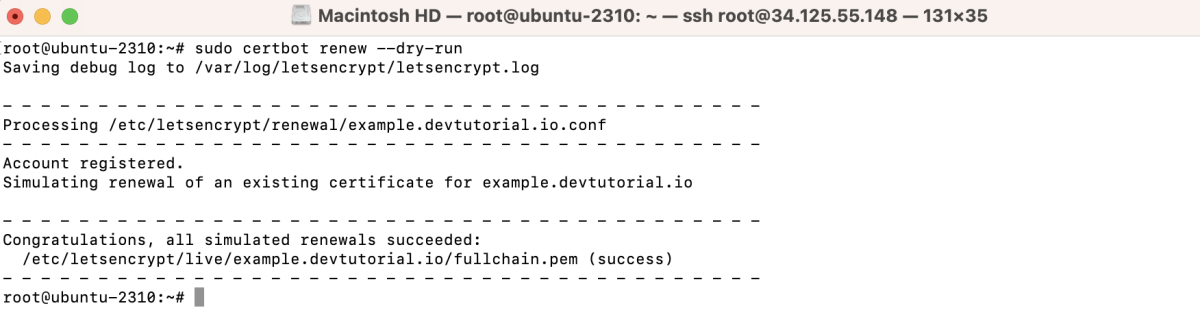
Step 9 : Test the Renewal Process
Step 10 : Test Your Site:
Visit your website using https:// to ensure that the SSL certificate is working correctly
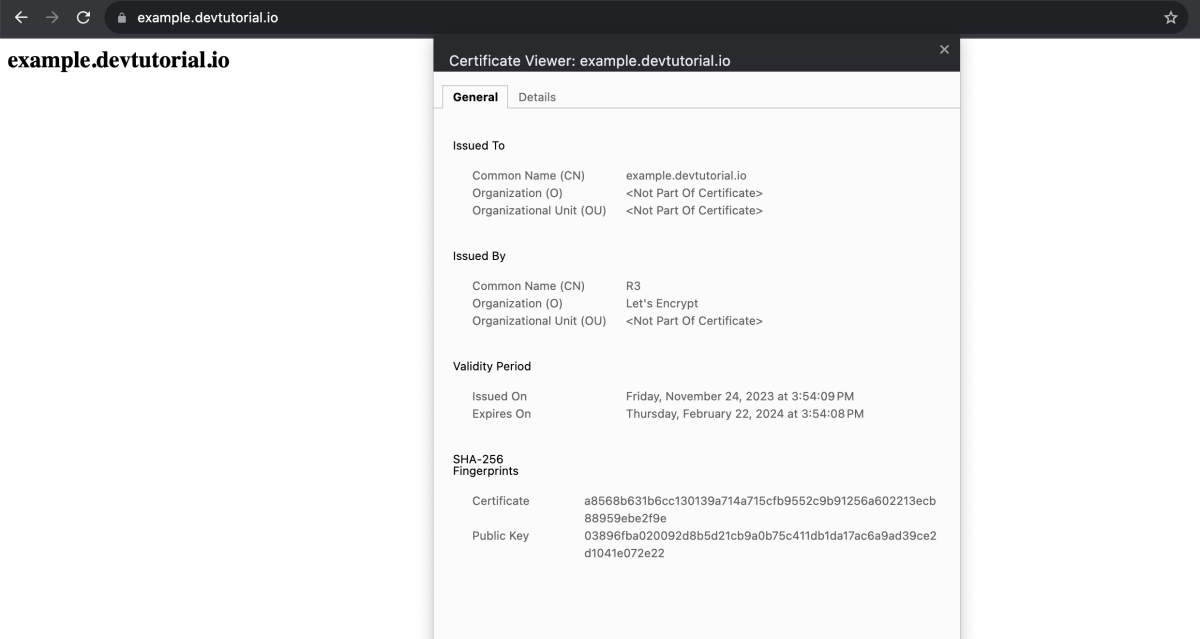
Certbot has now obtained and installed an SSL certificate for your Nginx server, and your site should be accessible over HTTPS