To install RabbitMQ on Ubuntu 23.10, follow the steps below.
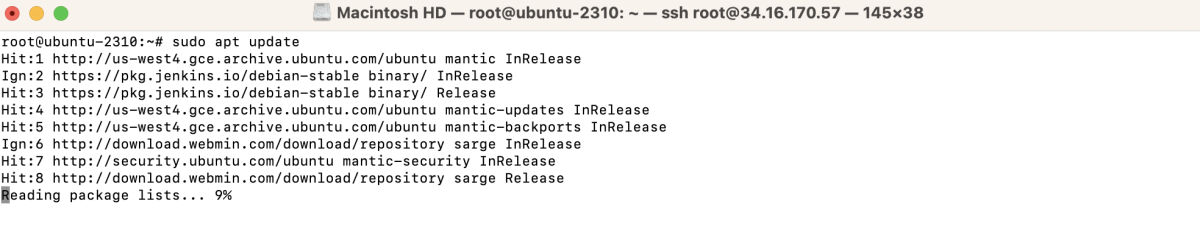
Step 1 : Update the System:
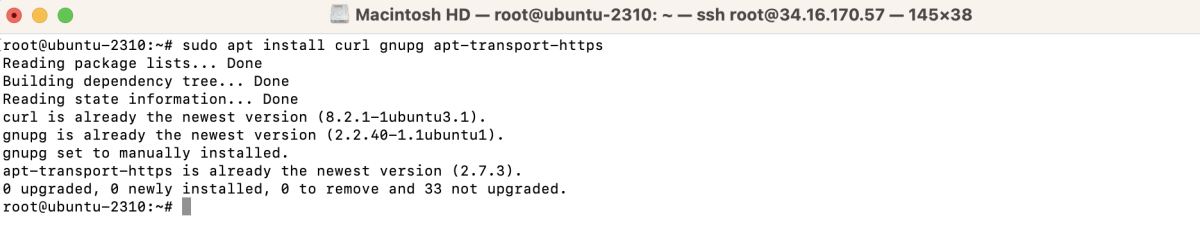
Step 2 : Install Necessary Prerequisites:
Step 3 : Import the RabbitMQ key for secure package verification:

Step 4 : Integrate RabbitMQ into your system's repository list by executing the following commands:

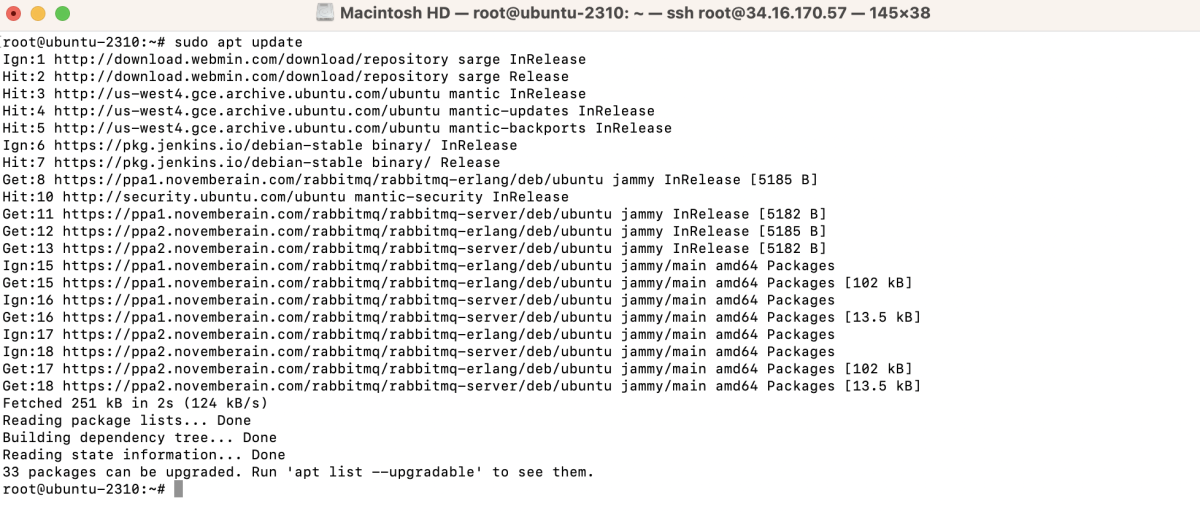
Step 5 : Revisit the update process to include the new repository information:
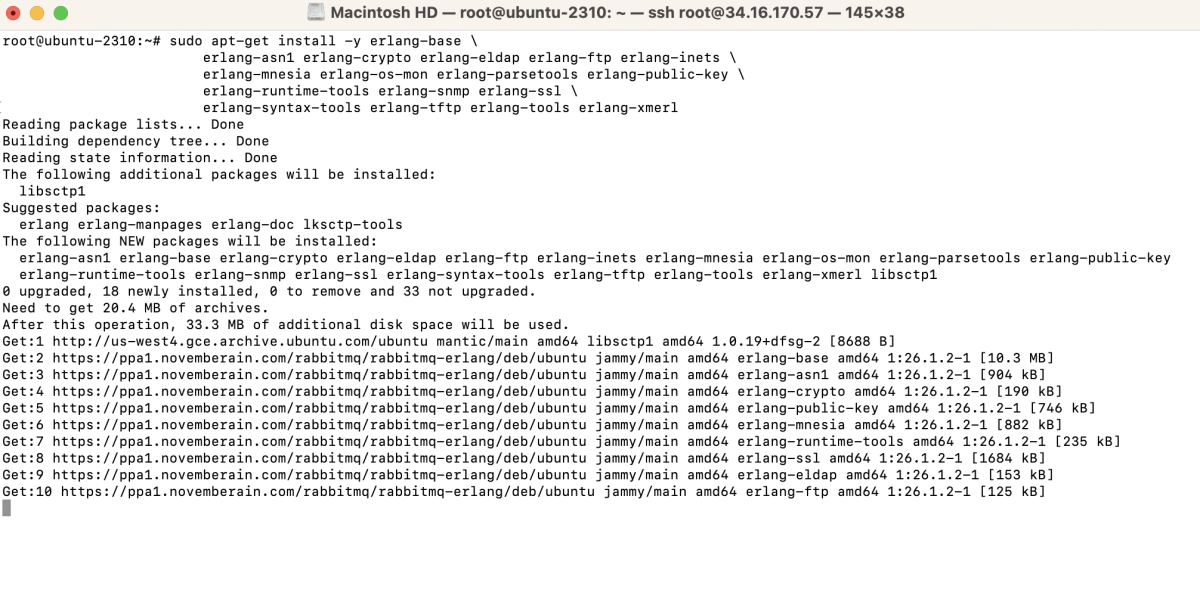
Step 6 : Install Erlang Packages:
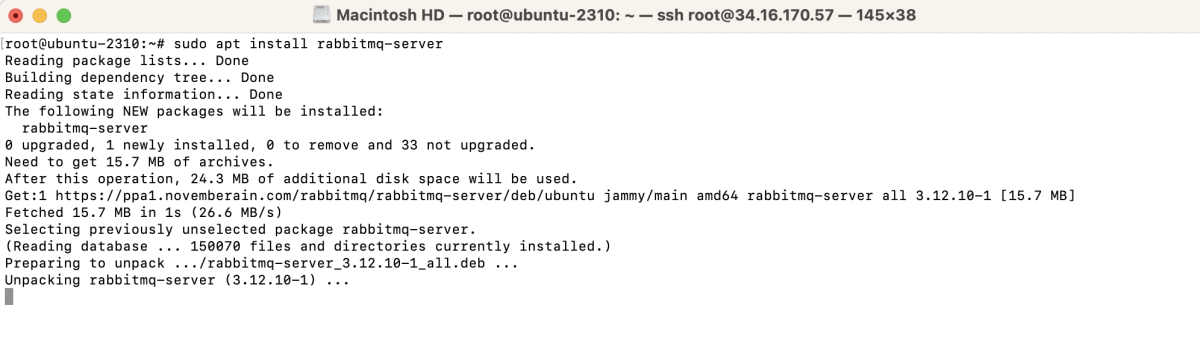
Step 7 : Initiate the RabbitMQ installation with the following command:
Step 8 : Start the RabbitMQ Server

Step 9 : Ensure RabbitMQ starts automatically upon system boot:

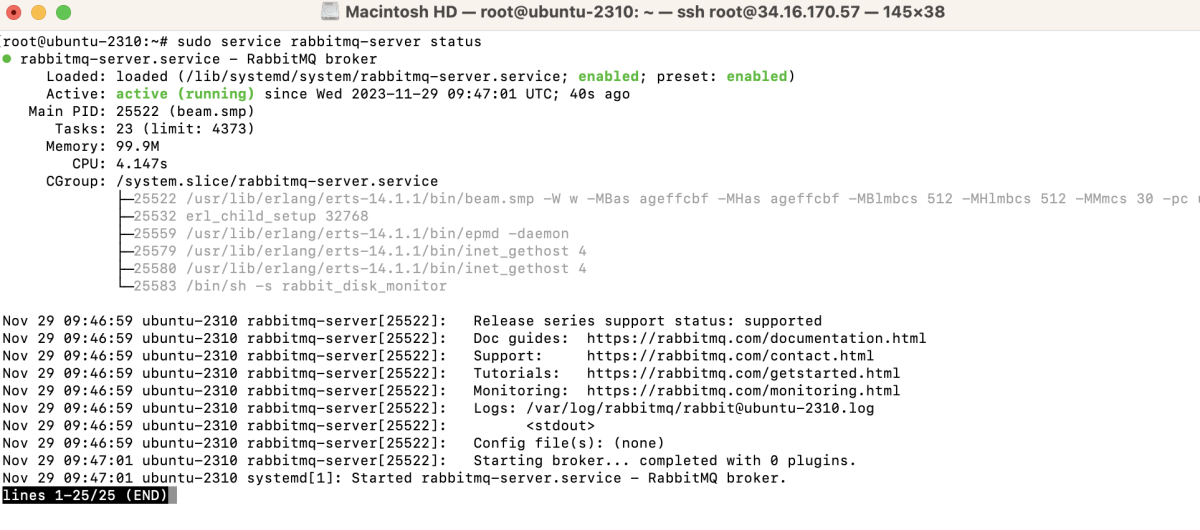
Step 10 : Verify the status of RabbitMQ to ensure a successful installation:
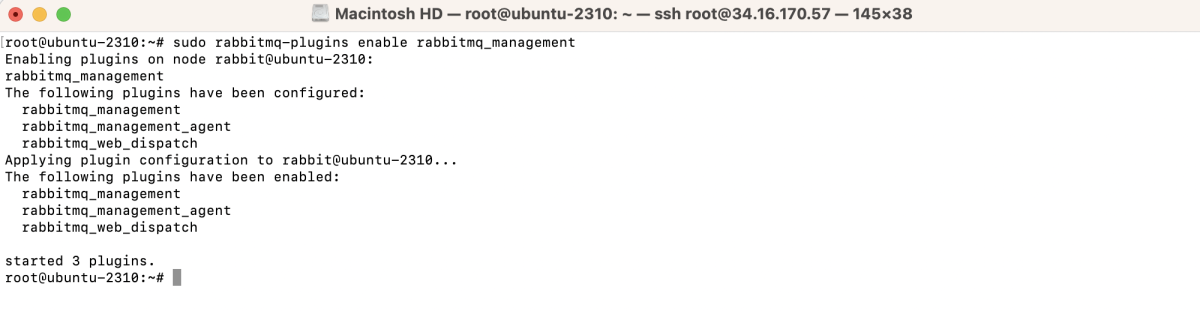
Step 11 : Activate the RabbitMQ Management Plugin to facilitate monitoring and administration:
Step 12 : Restart the RabbitMQ server to apply the changes:

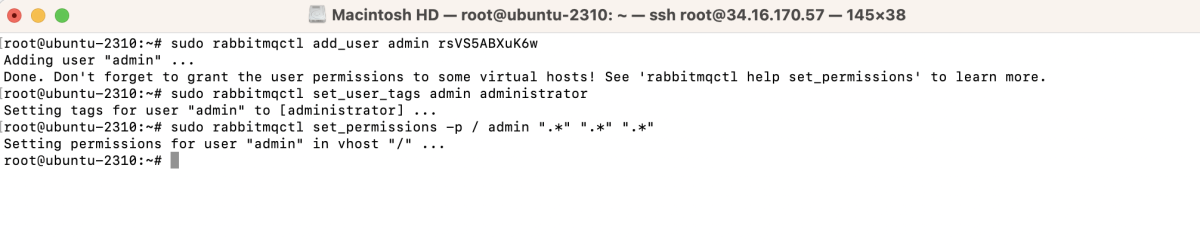
Step 13 : Create an Administrative User
Step 14 : Access the RabbitMQ Management Interface
- Open your web browser and navigate to http://ip:15672/.
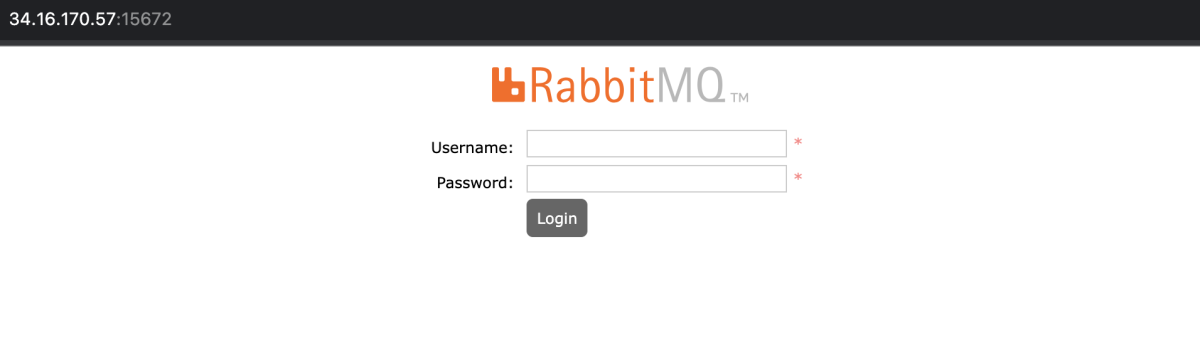
- Log in using the newly created administrative credentials.
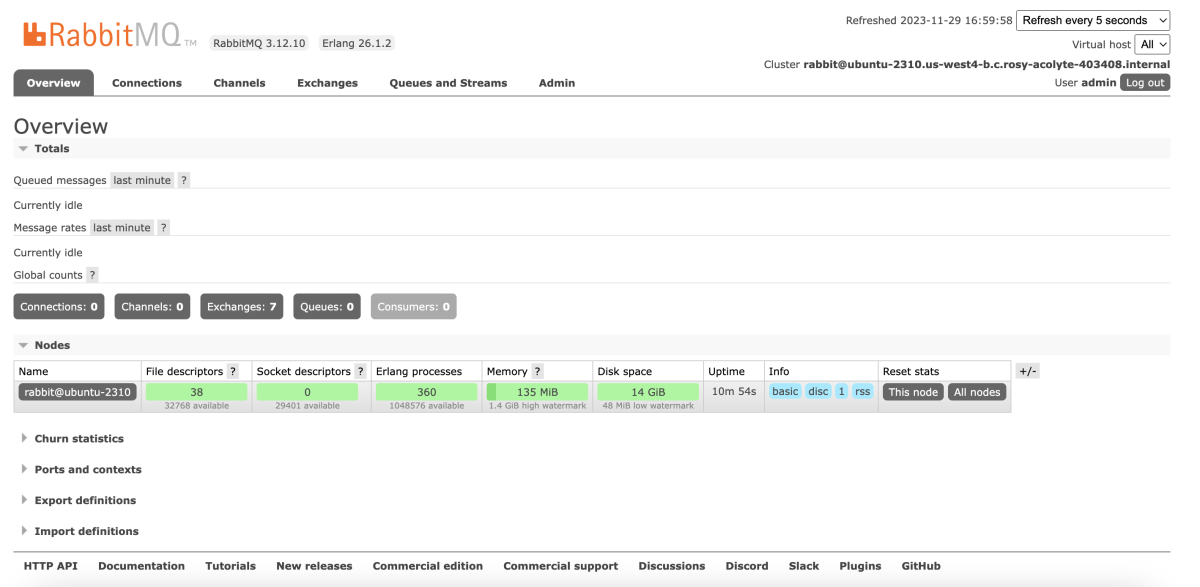
Congratulations! You have successfully installed RabbitMQ on Ubuntu 23.10.