Configuring SSL for Nginx on Ubuntu 23.10 involves several steps, including installing OpenSSL, generating SSL certificates, and configuring Nginx to use those certificates. Here's a step-by-step guide:
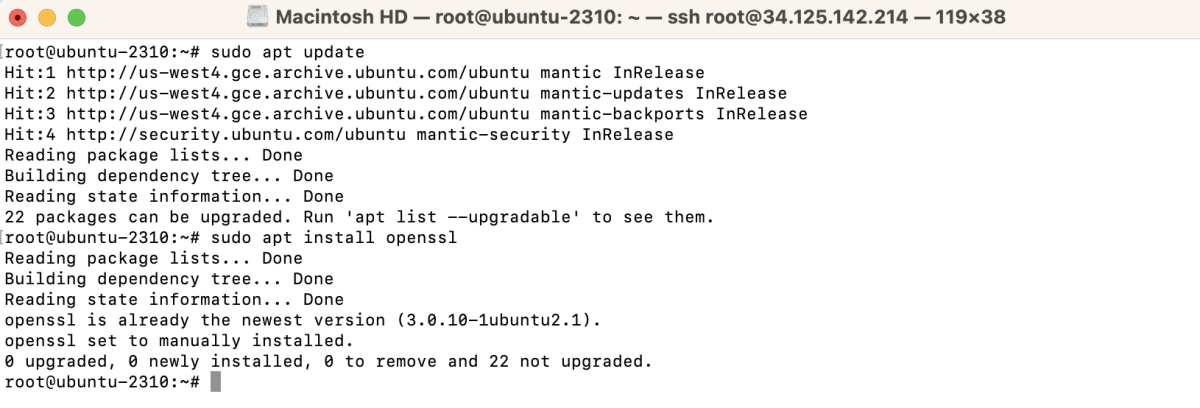
Step 1 : Install OpenSSL
Ensure that OpenSSL is installed on your server. If it's not installed, you can install it using the following command:
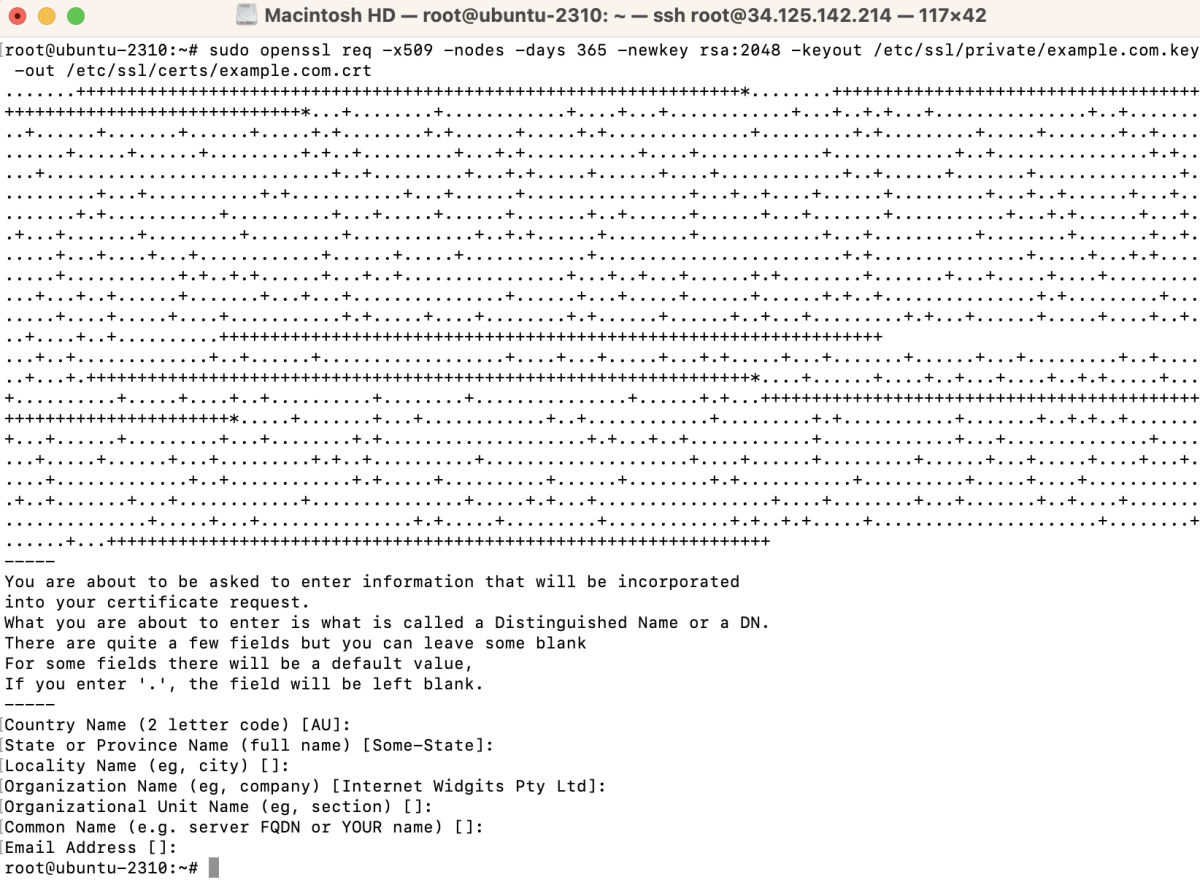
Step 2 : Generate SSL Certificates. For testing or development environments, generate self-signed certificates with the following command:
Step 3 : Configure Nginx to Use SSL
Open your Nginx configuration file, located at /etc/nginx/sites-available/example.com:
Modify the server block to include SSL configuration:
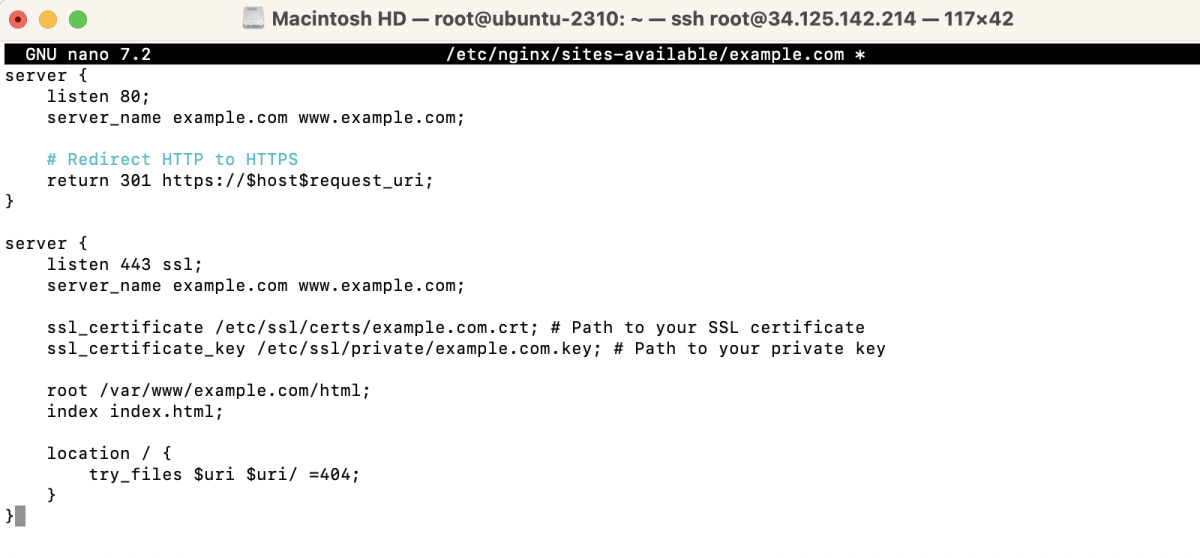
Replace example.com and www.example.com with your domain or IP address.
Step 4 : Create a symbolic link to enable the site:

Step 5 : Test Nginx Configuration
Ensure your Nginx configuration is error-free:

If successful, restart Nginx:

Step 6 : Firewall Configuration (if applicable)
If you're using a firewall, make sure to allow traffic on ports 80 and 443. If you're using UFW, you can use the following commands:

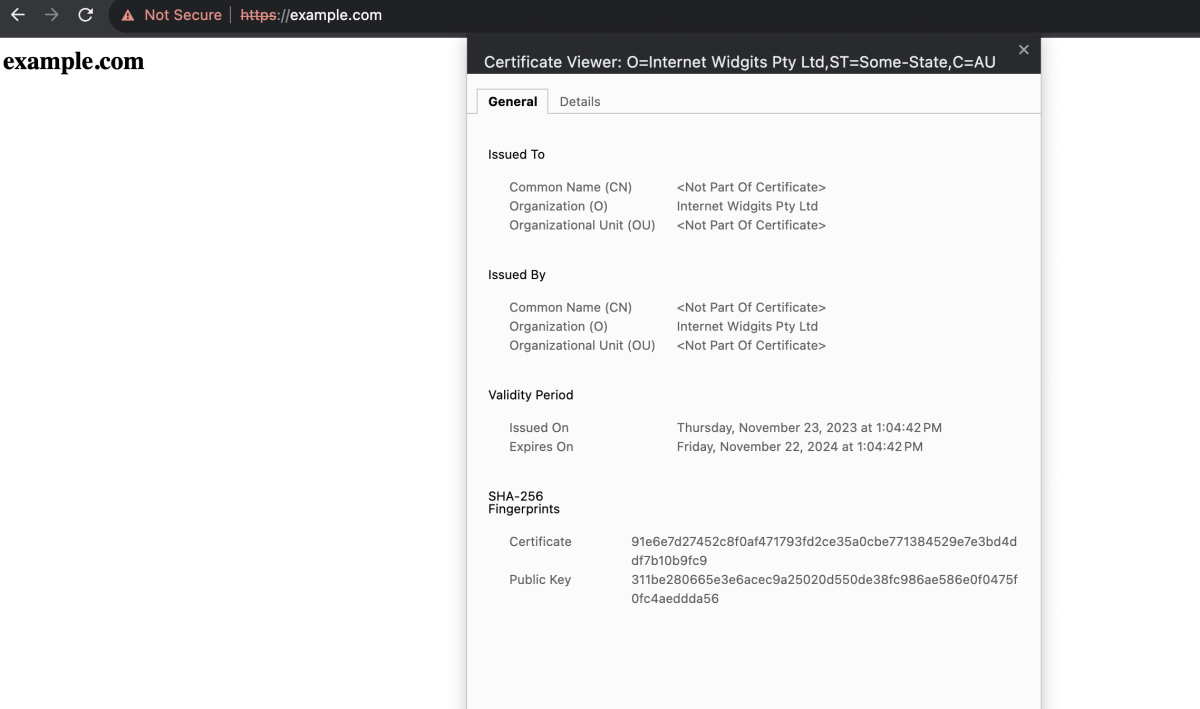
Step 7 : Access Your Site and Verify SSL
Visit your site using https://example.com and ensure everything is working correctly. If you encounter SSL-related errors or warnings, you can bypass them for testing purposes.
Congratulations! Your Nginx server should be configured to use SSL