To install WordPress with LEMP (Linux, Nginx, MySQL, and PHP) on Ubuntu 23.10, you can follow these steps:
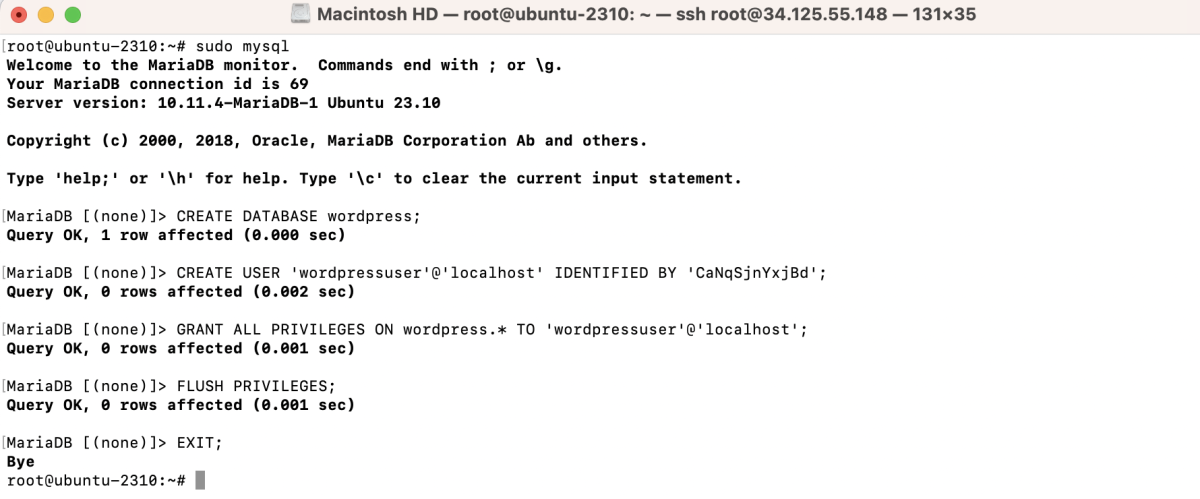
Step 1 : Configure MySQL Database for WordPress
Enter your MySQL root password and create a new database and user:
Step 2 : Create Document Root and Set Permissions

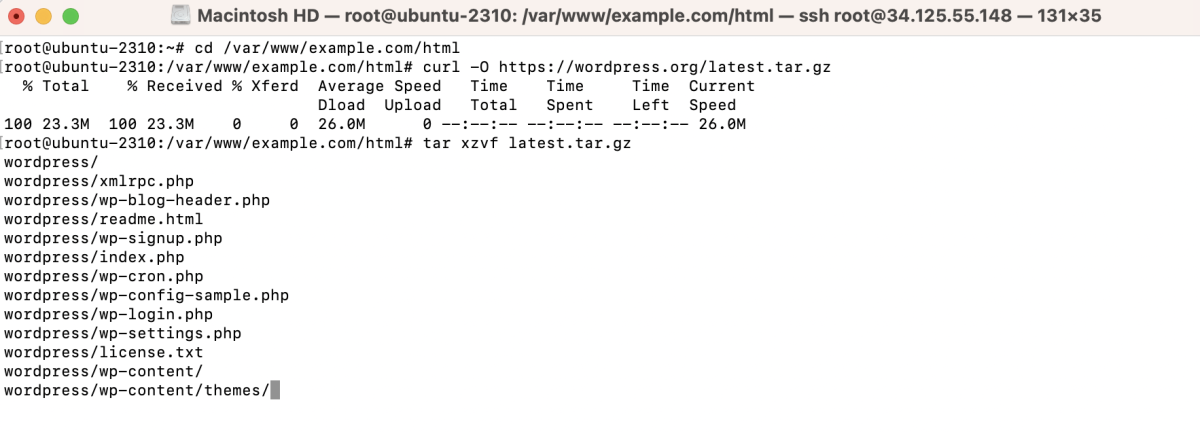
Step 3 : Download and Configure WordPress
Step 4 : Configure Nginx for WordPress
Create a new Nginx server block configuration file:
Replace "example.com" with your actual domain or IP address, and paste the following configuration:
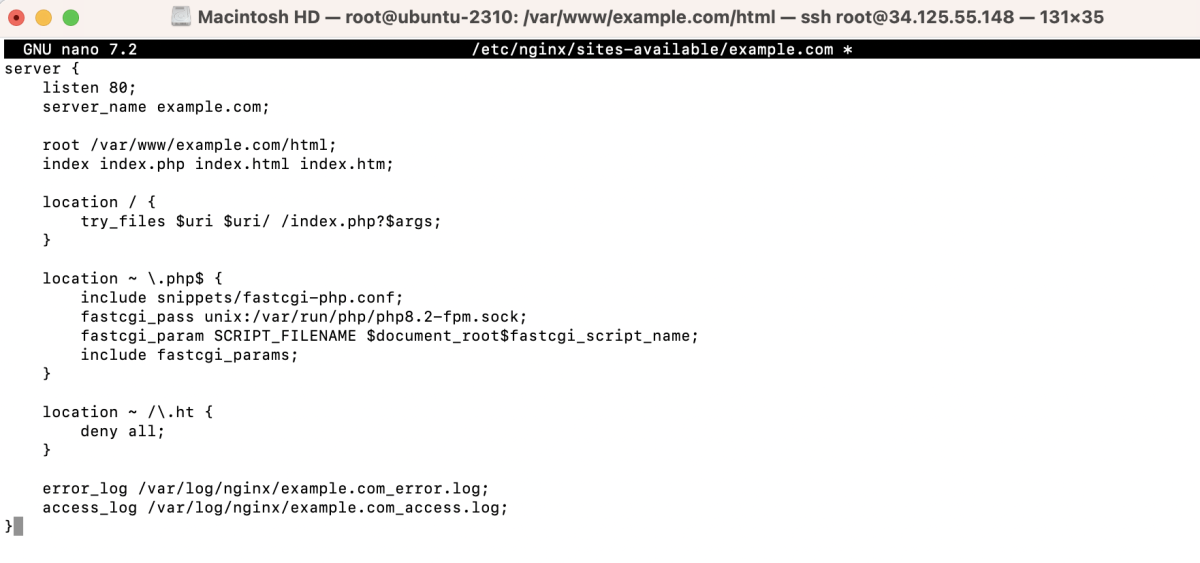
Save and exit the text editor.
Step 5 : Enable the Nginx Server Block

Step 6 : Test Nginx Configuration

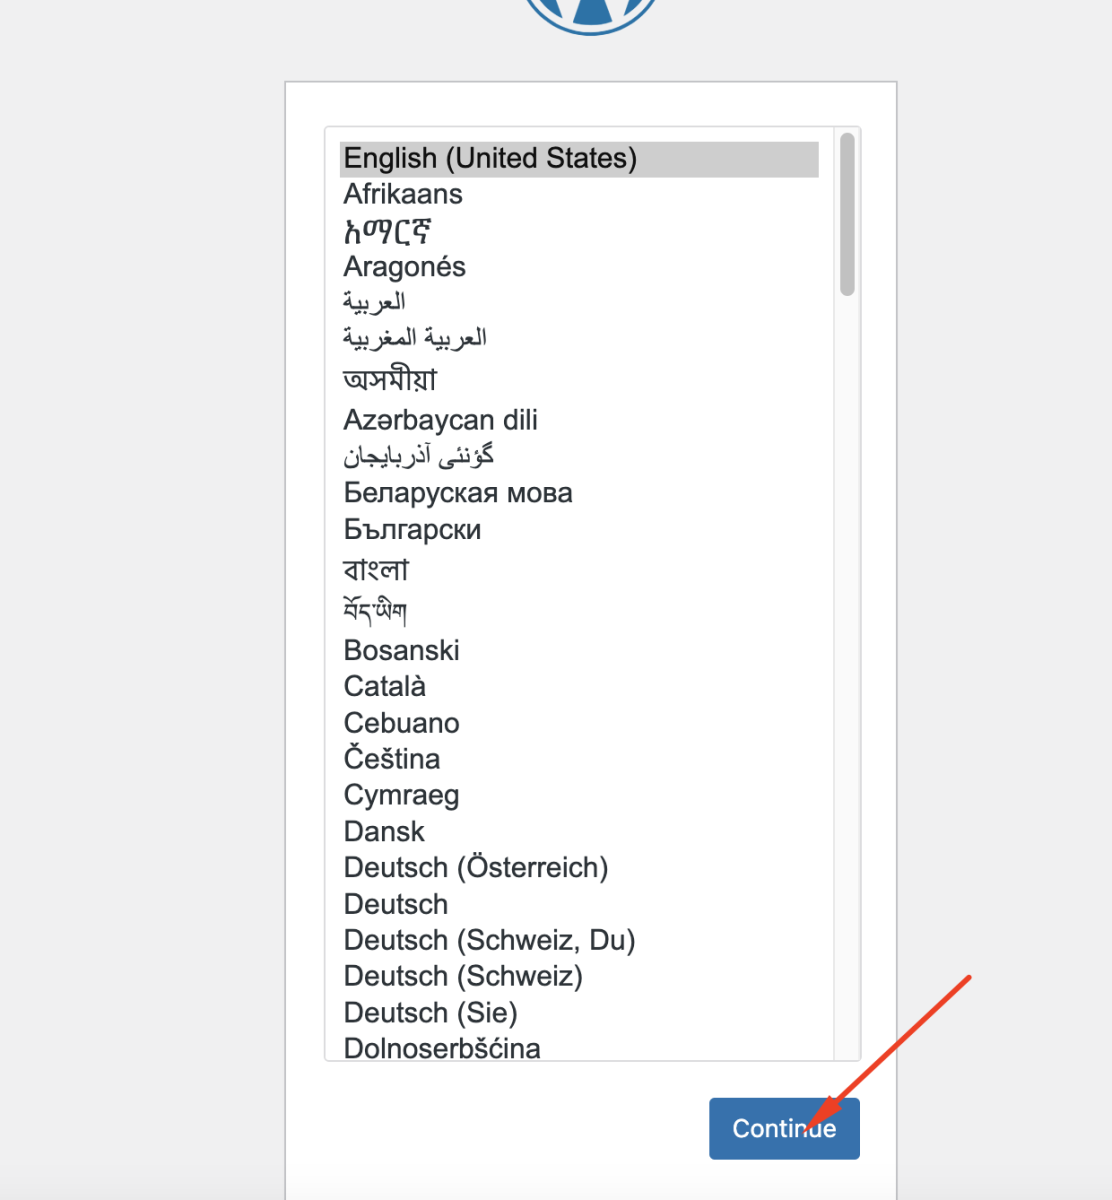
Step 7 : Open your web browser and navigate to your WordPress site by entering its domain or IP address in the address bar. For example, http://example.com. You should see the WordPress welcome page. Select your preferred language and click on the "Continue" button.
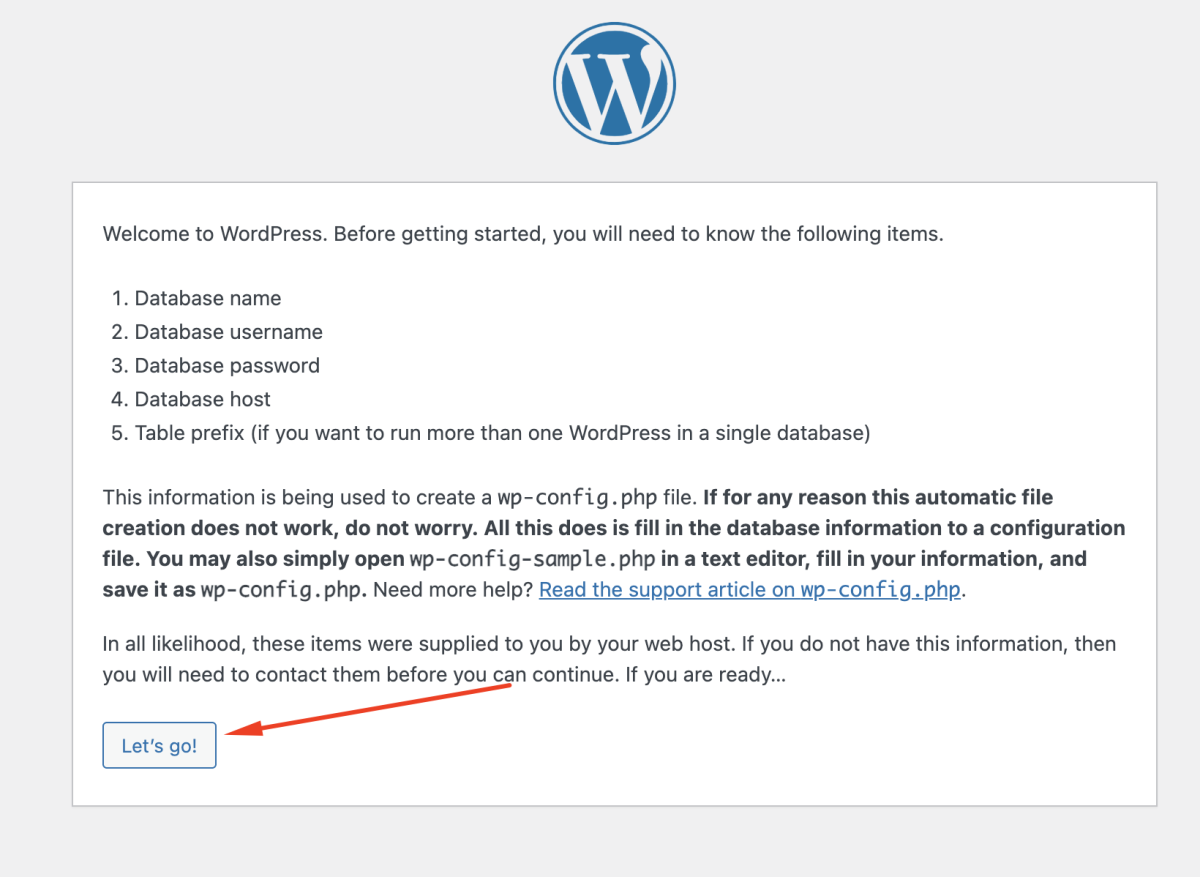
Step 8 : On the next screen, WordPress will inform you that it needs the database details for installation. Click on the "Let's go!" button.
Step 9 : Enter the following information:
- Database Name: Enter the name of the database you created for WordPress (e.g., wordpress).
- Username: Enter the database user you created (e.g., wordpressuser).
- Password: Enter the password for the database user.
- Database Host: Leave this as "localhost."
- Table Prefix: You can leave this as the default wp_, or you can change it for security reasons.
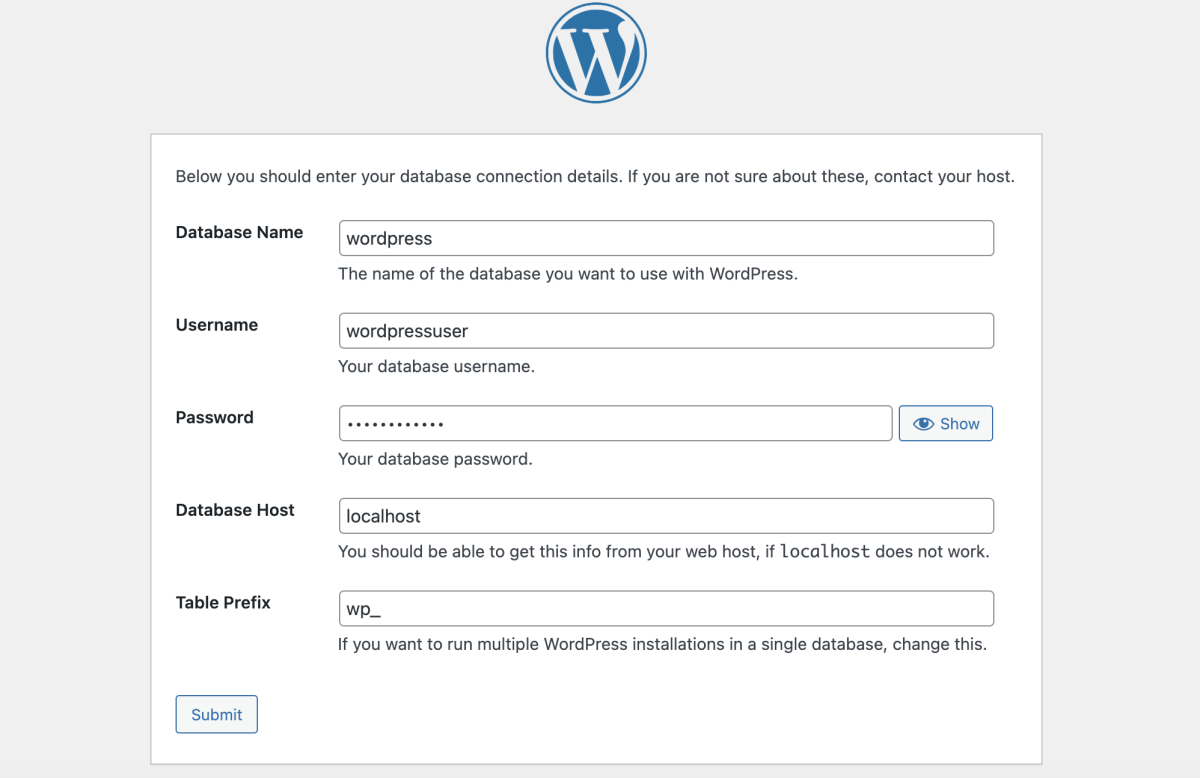
- Click on the "Submit" button.
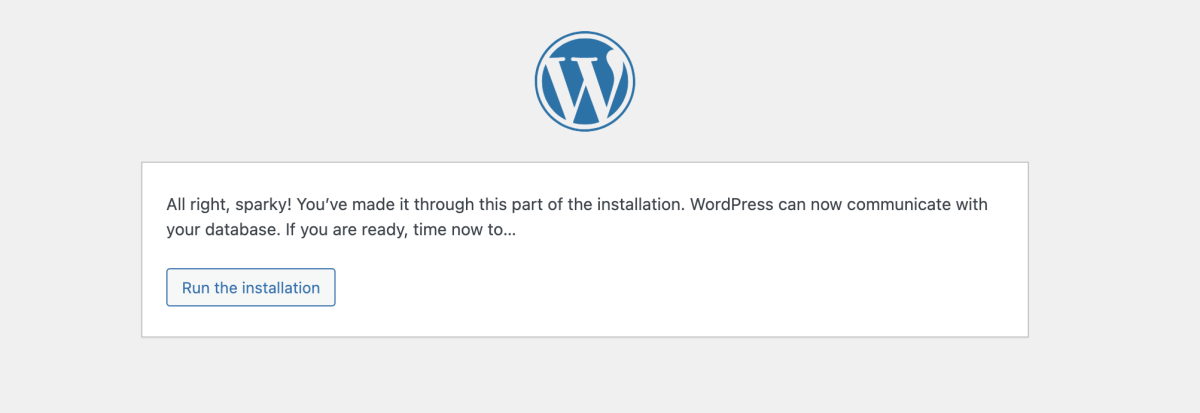
Step 10 : On the next screen, click on the "Run the installation" button.
Step 11 : Now, you need to fill in the details for your WordPress site:
- Site Title: Enter the name of your site.
- Username: Choose a username for the admin user.
- Password: Choose a strong password for the admin user.
- Your Email: Enter your email address.
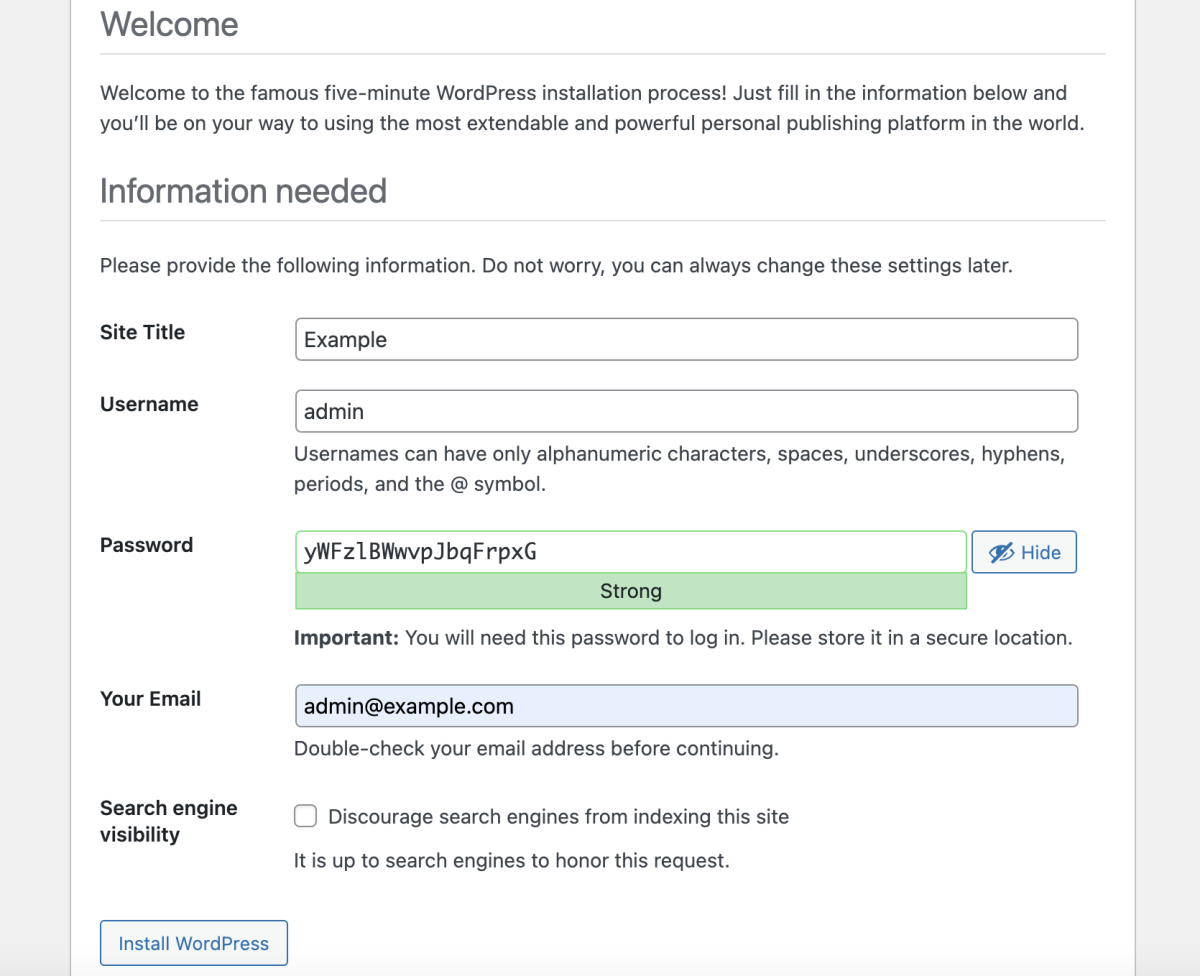
- Click on the "Install WordPress" button.
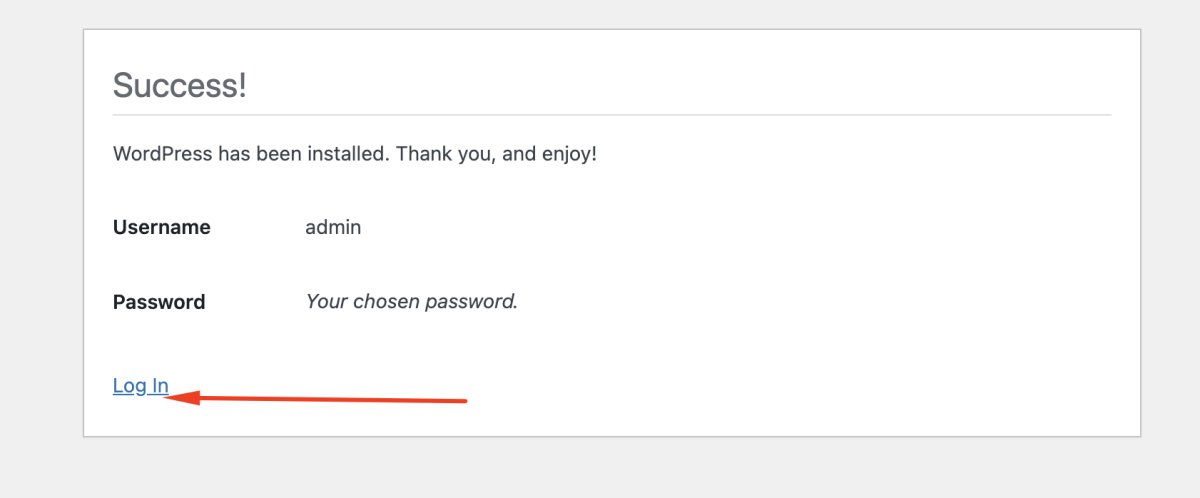
Step 12 : After a moment, you should see a success message. Click on the "Log In" button to access the WordPress login page.
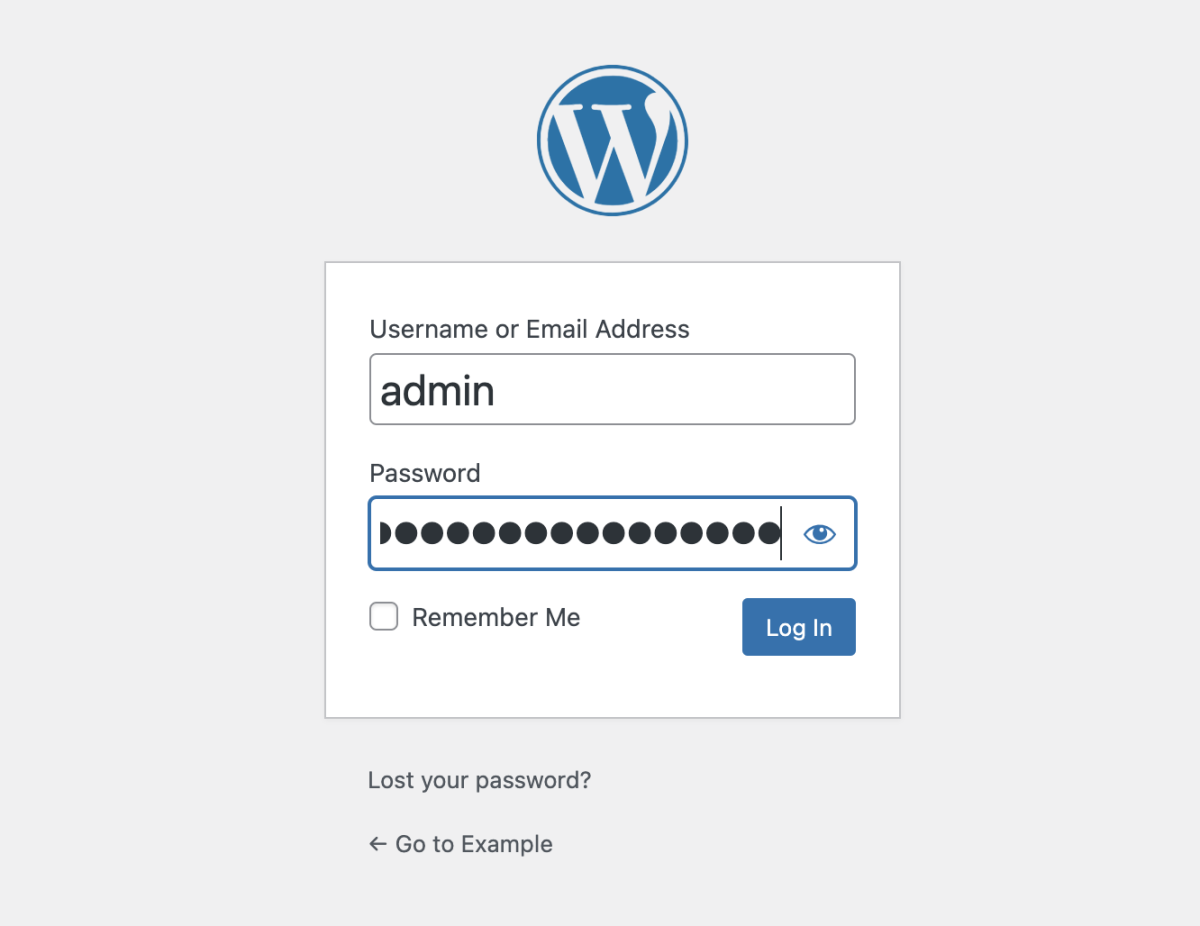
Step 13 : Enter the admin username and password you just created and click on the "Log In" button.
Step 14 : You're now logged in to your WordPress dashboard, and you can start customizing your site, adding content, and exploring the various features of WordPress.
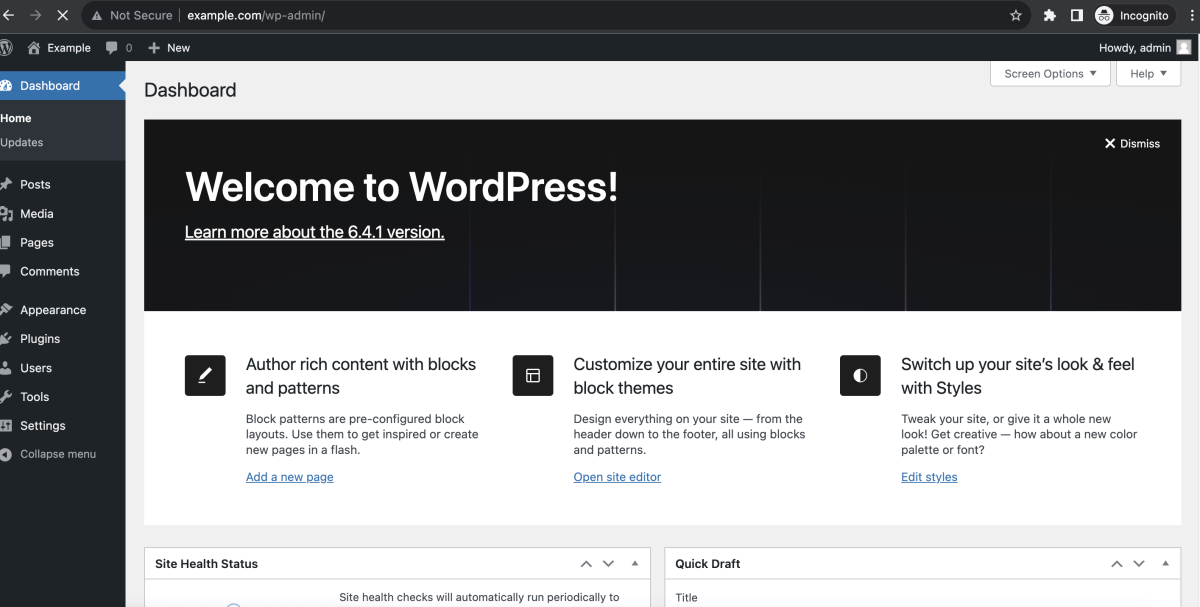
Congratulations! You've completed the WordPress installation and can now begin building your website.