To install phpMyAdmin on Ubuntu 23.10 and configure it to work with MariaDB, you can follow these steps:
Step 1 : Update Package Lists
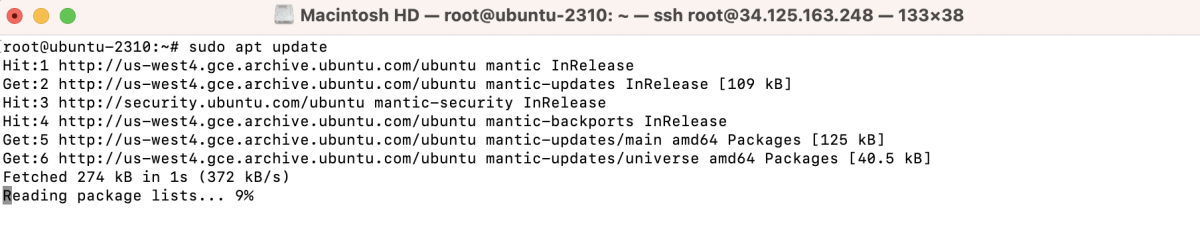
This command updates the local package lists on your Ubuntu system.
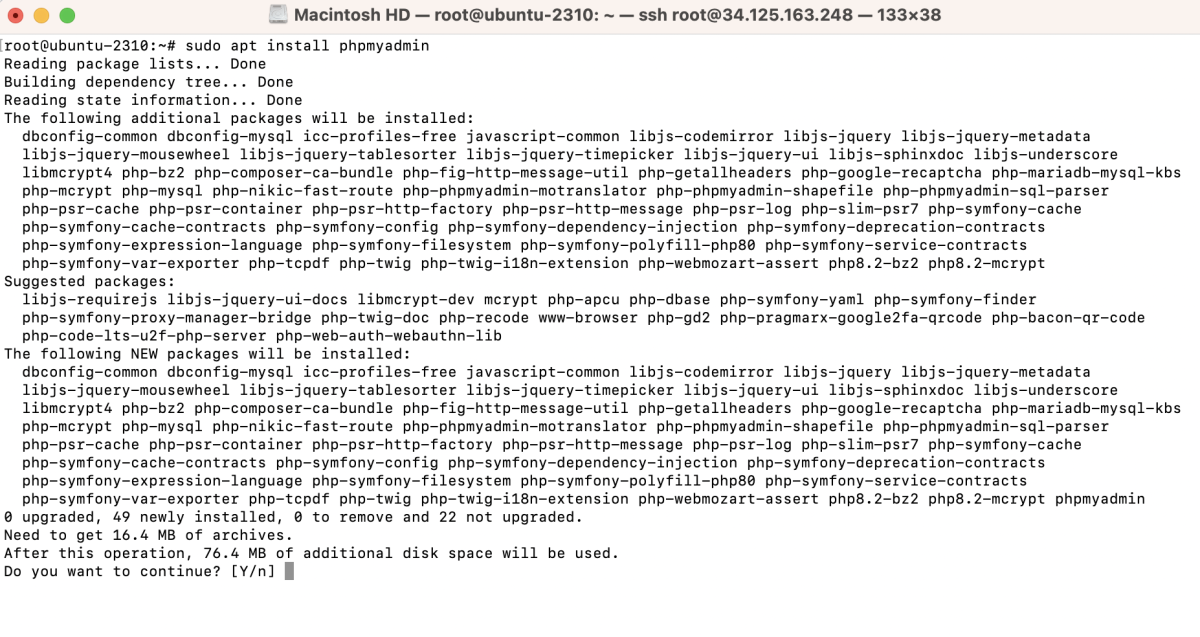
Step 2 : Install phpMyAdmin
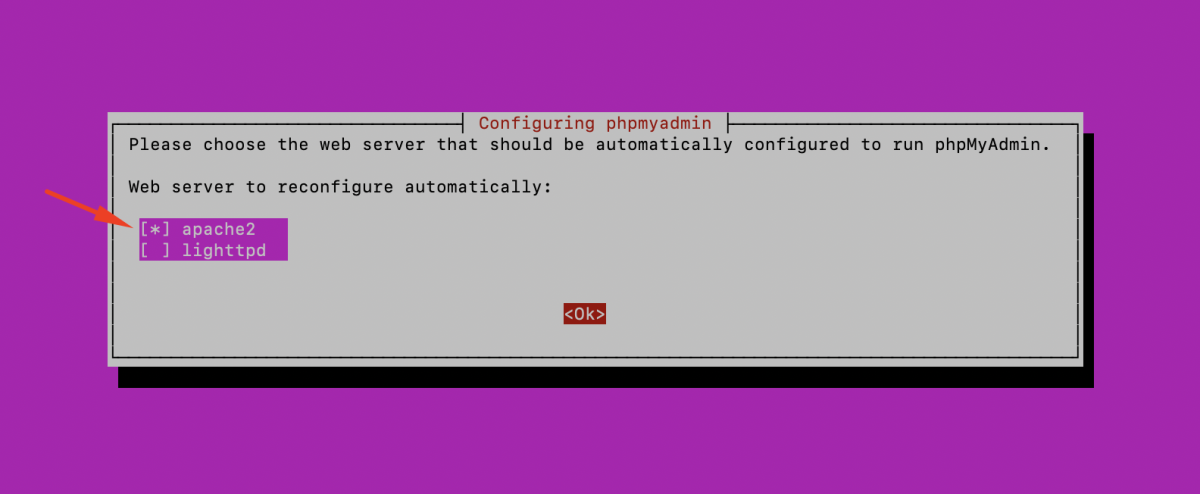
- During the installation, you'll be prompted to choose a web server. Use the arrow keys to navigate and the spacebar to select apache2. Then press Enter.
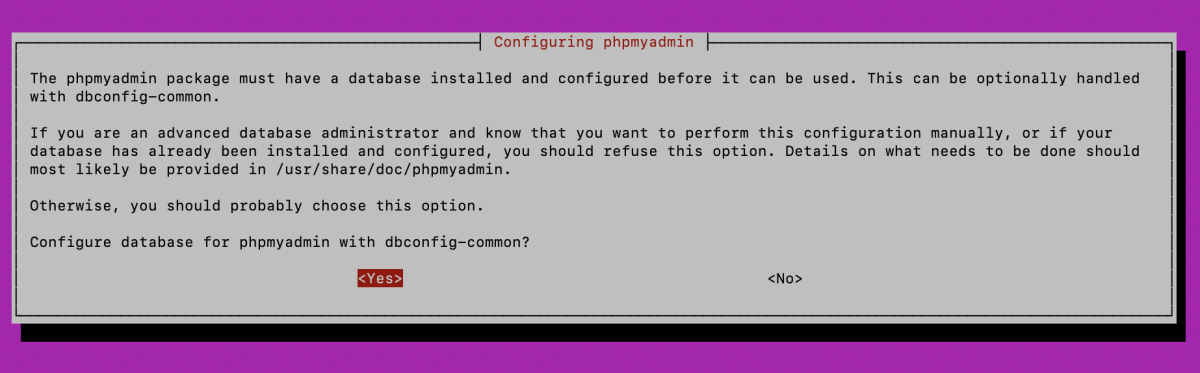
- You'll be asked to configure the database for phpMyAdmin. Choose Yes and press Enter.
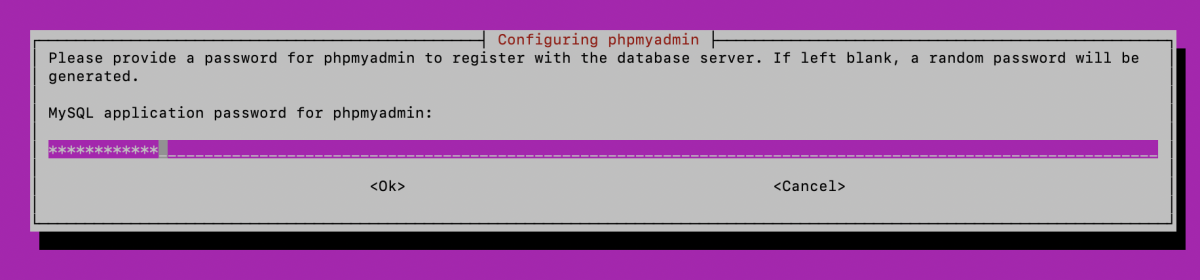
- You'll be asked to confirm the password for the phpMyAdmin application. Enter a password of your choice and press Enter. This password is for accessing the phpMyAdmin web interface.
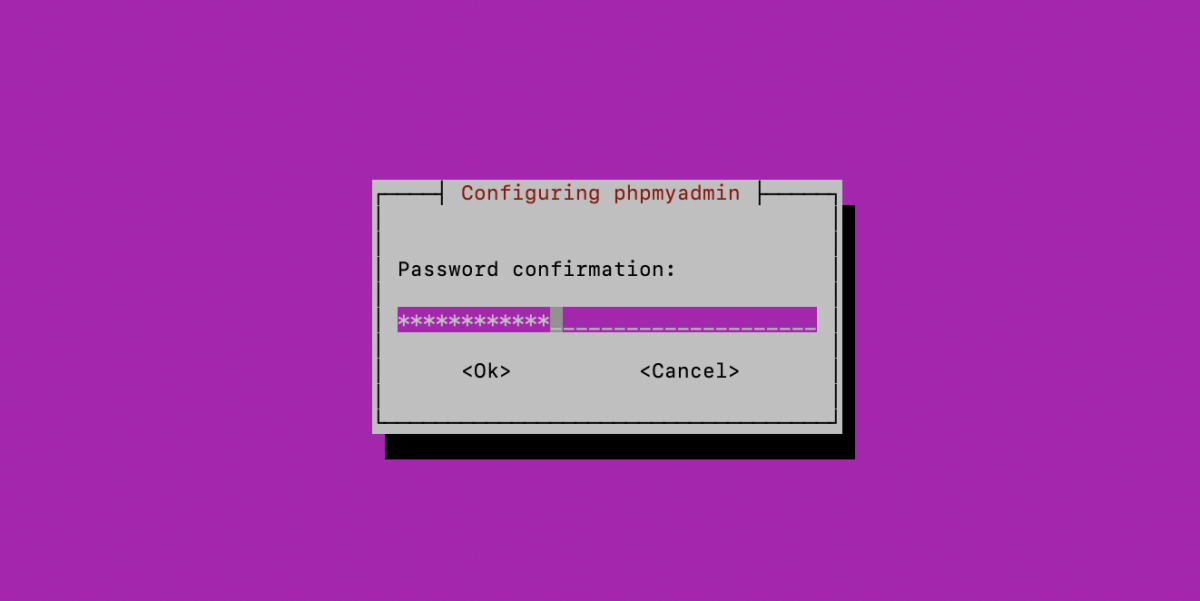
- You'll be prompted to confirm the phpMyAdmin password. Re-enter the password you provided in the previous step and press Enter.
Step 3 : Configure Apache to Allow phpMyAdmin:
Create a symbolic link to the phpMyAdmin configuration file in the Apache configuration directory:

Enable the configuration:

Restart Apache to apply the changes:

Step 4 : Access phpMyAdmin:
Open your web browser and navigate to http://your_server_ip/phpmyadmin. Replace your_server_ip with the actual IP address or hostname of your server.
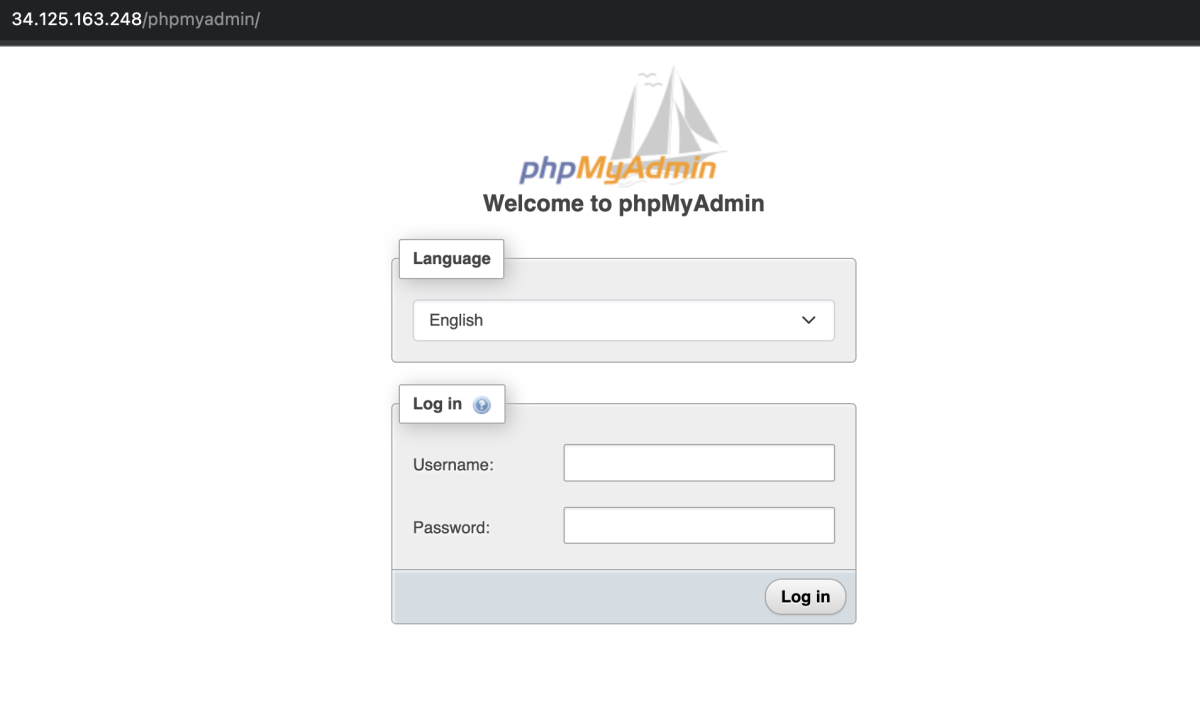
Log in with the MariaDB username and password.
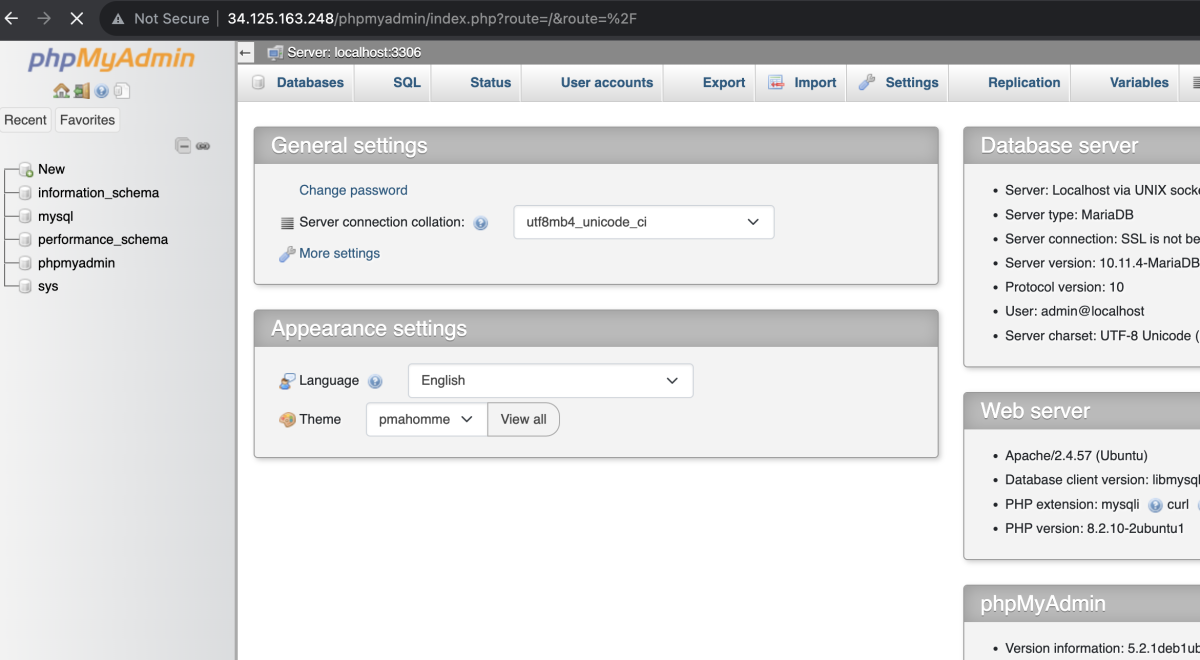
You have now installed and configured phpMyAdmin on Ubuntu 23.10, and you can use it to manage your MariaDB databases through a web interface.