To install Ubuntu Server 23.10, follow the step-by-step guide below:
Step 1 : Boot from DVD or USB:
- Insert the Ubuntu Server 23.10 installation media (DVD or USB) into your computer.
- Restart the computer and configure the BIOS/UEFI settings to boot from the installation media.
Step 2 : Once the system boots from the installation media, you will be presented with the Ubuntu installer menu.
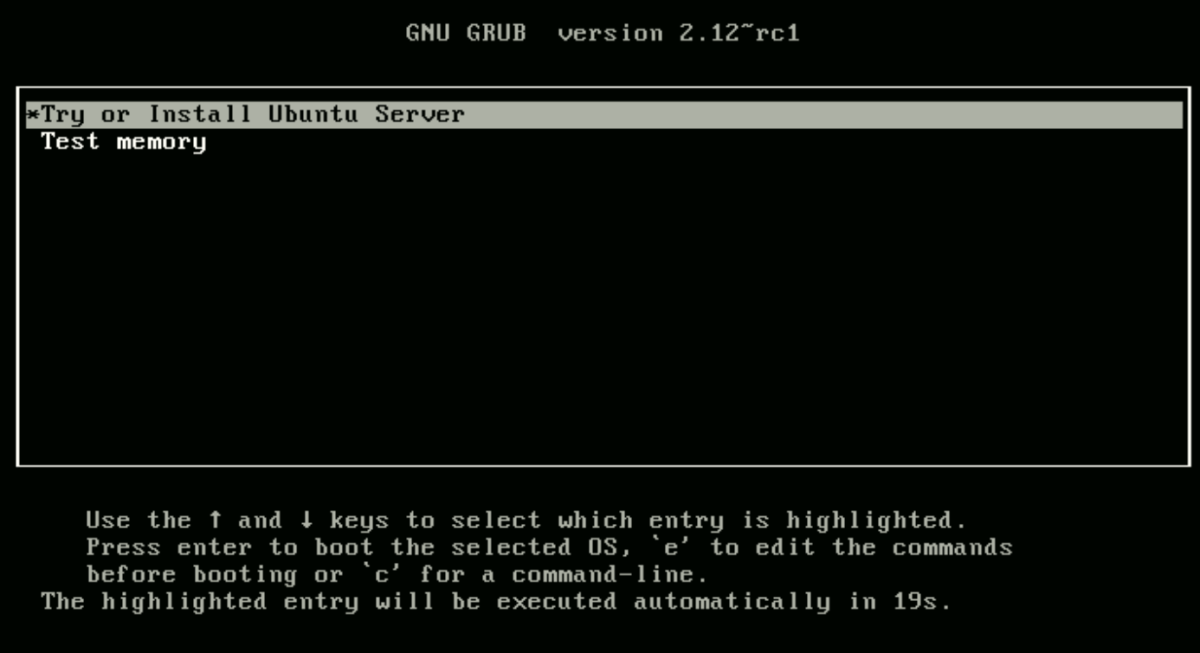
- Choose "Try or Install Ubuntu" to initiate the installation process.
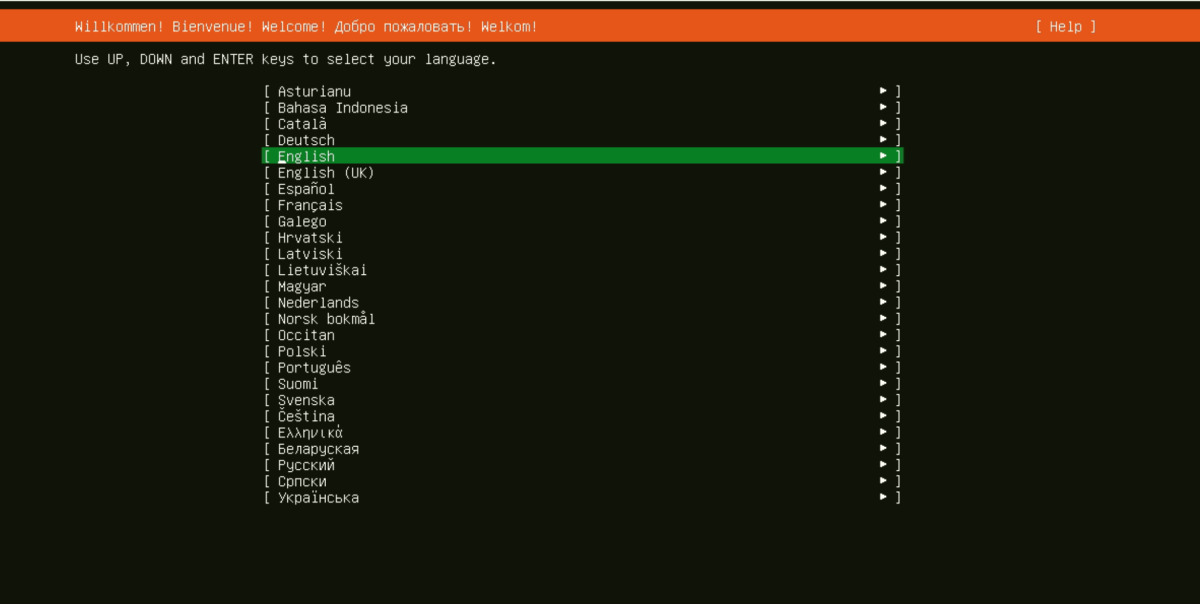
Step 3 : Select your preferred language for the installation process.
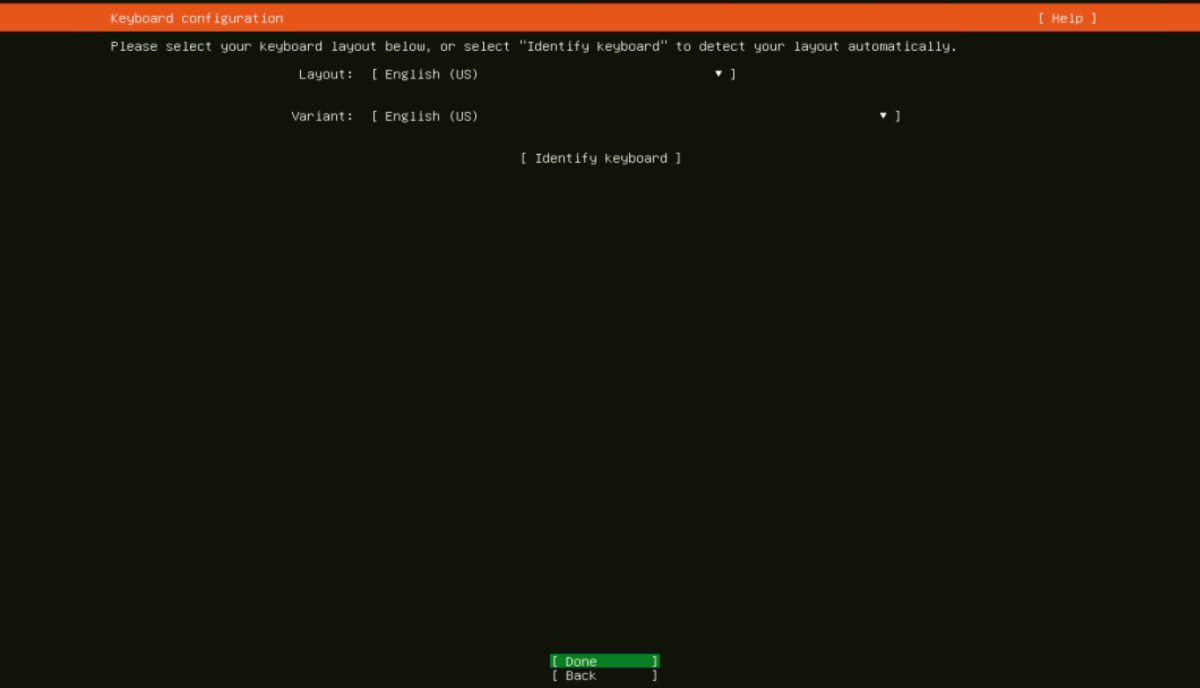
Step 4 : Choose Keyboard Layout: Specify your keyboard layout to ensure proper input during the installation.
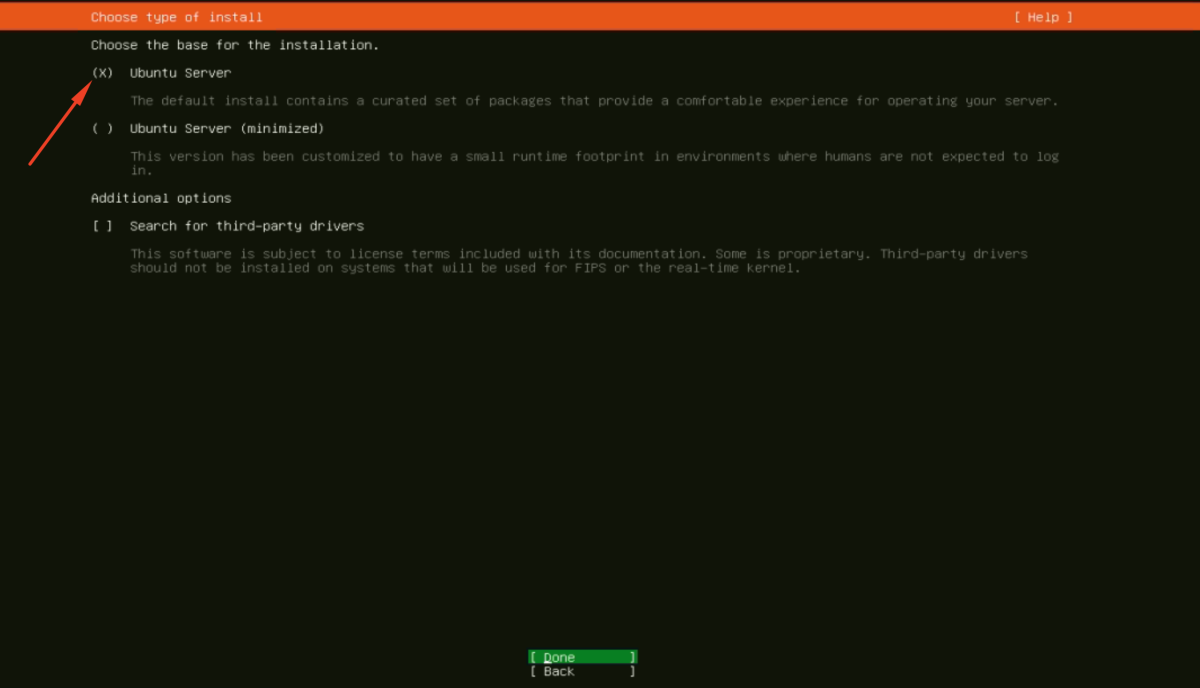
Step 5 : Choose the type of installation you want (e.g., minimal installation, normal installation with updates).
Step 6 : Configure Network: Set up your network connection by providing the necessary information.

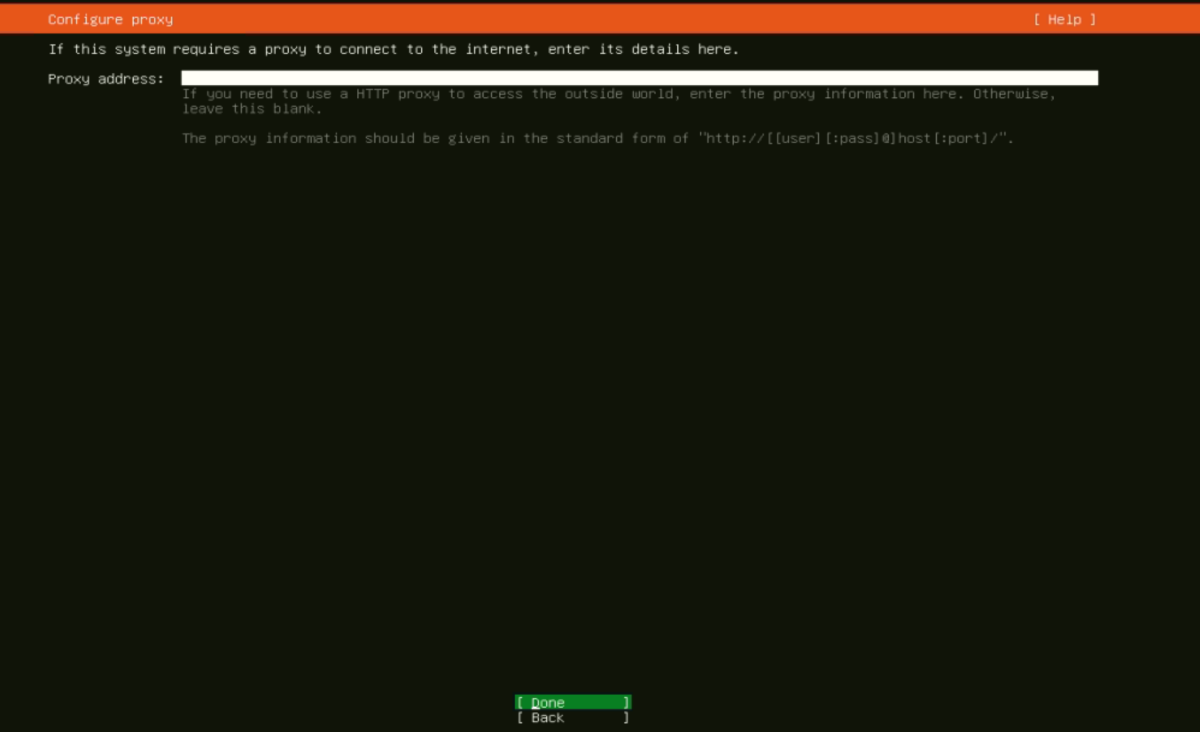
Step 7 : Configure Proxy Address: If your network requires a proxy, enter the proxy address and related details.
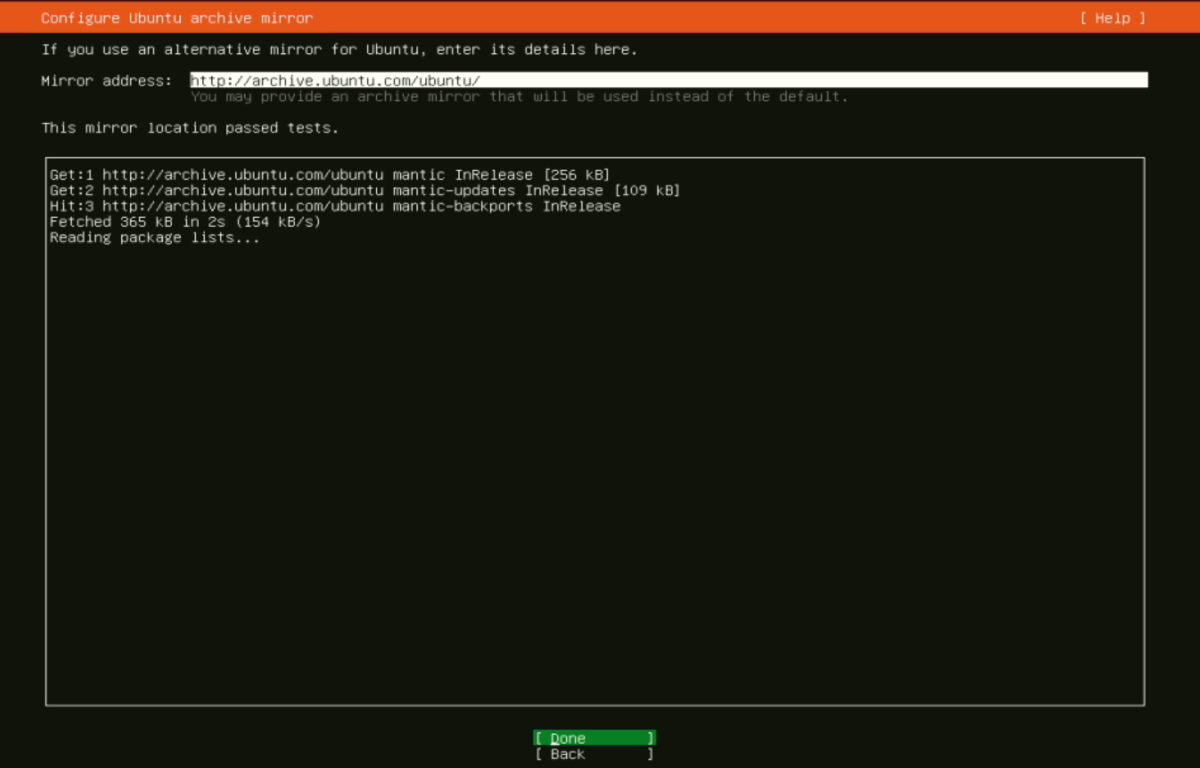
Step 8 : Mirror Address: Specify the mirror address for downloading package updates during installation.
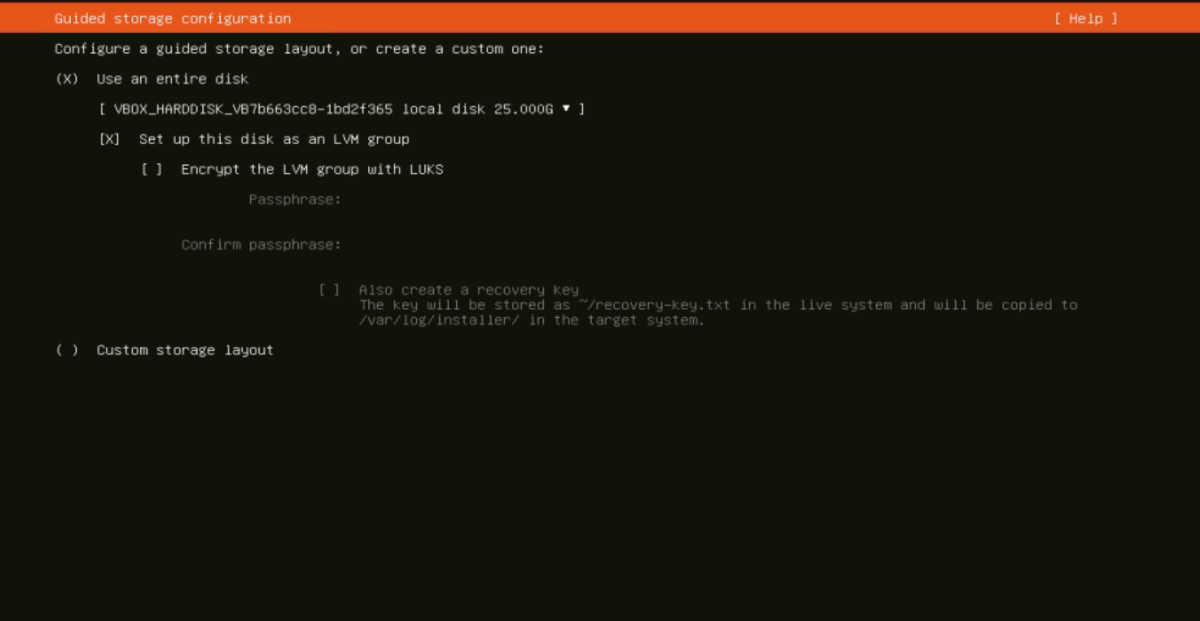
Step 9 : Select the option to use the entire disk for the installation.
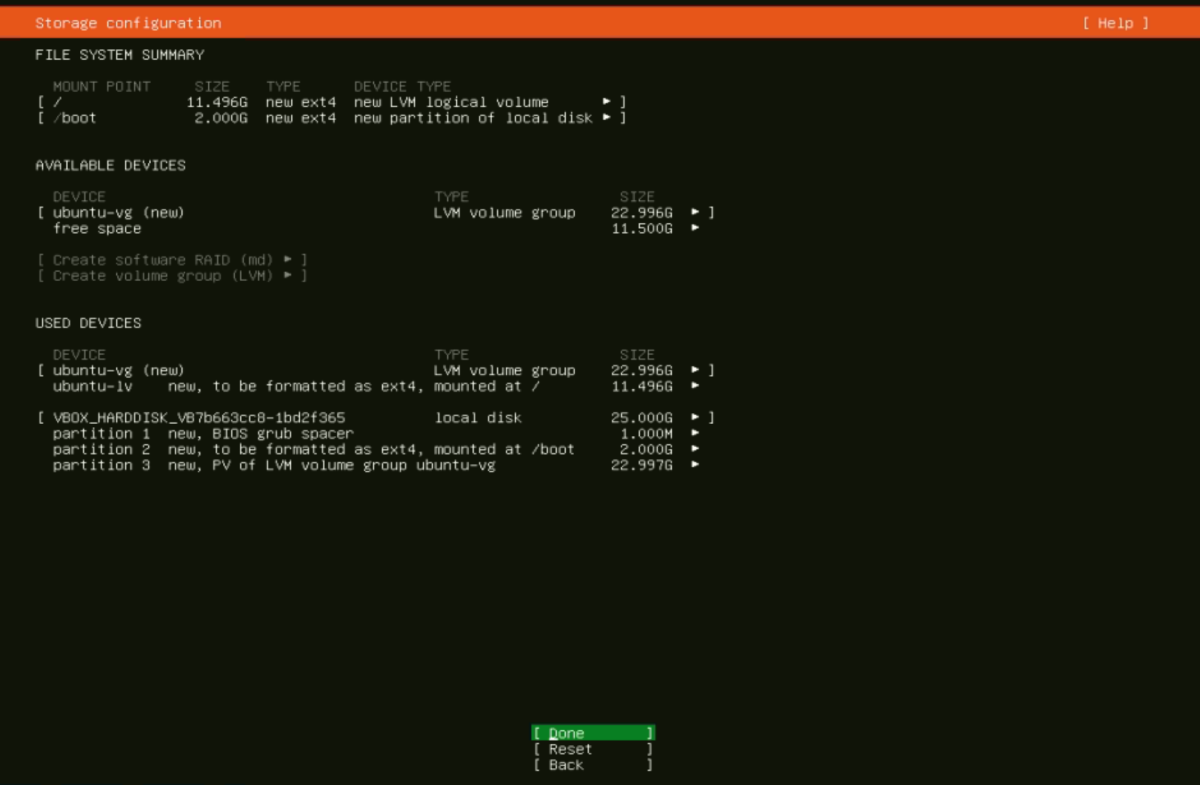
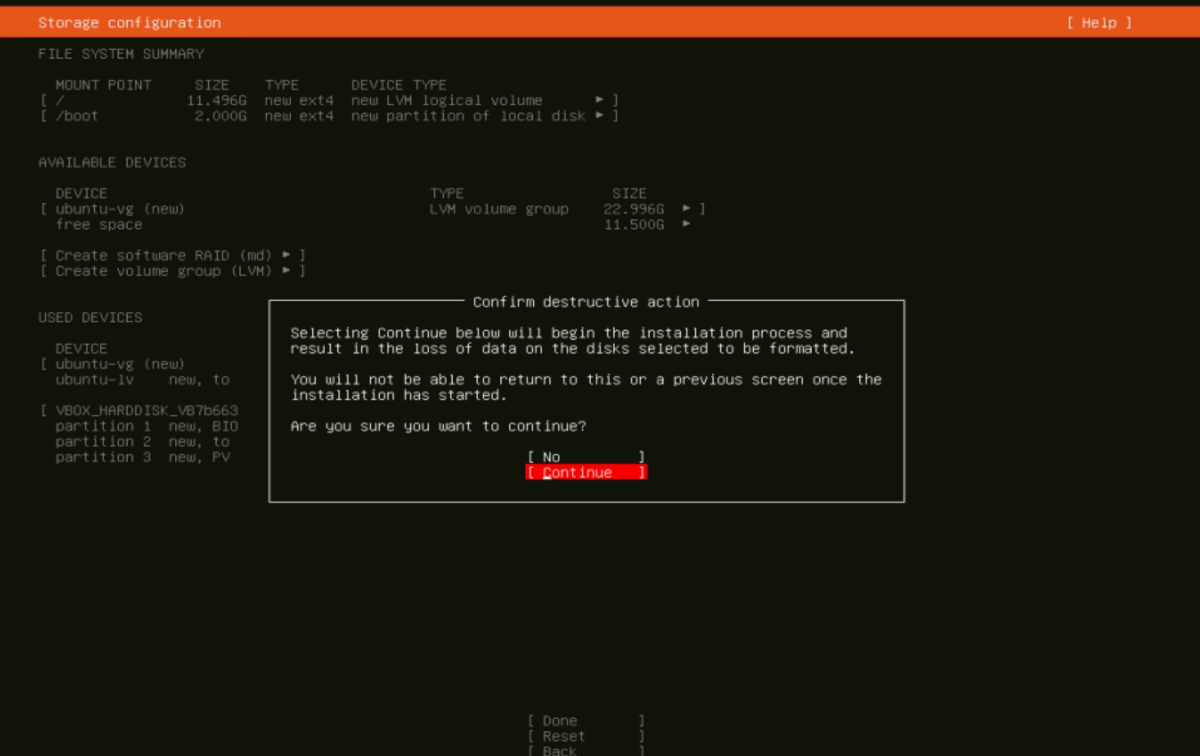
Step 10 : Review the proposed file system configuration before proceeding.
Step 11 : Confirm the installation settings to start the installation process.
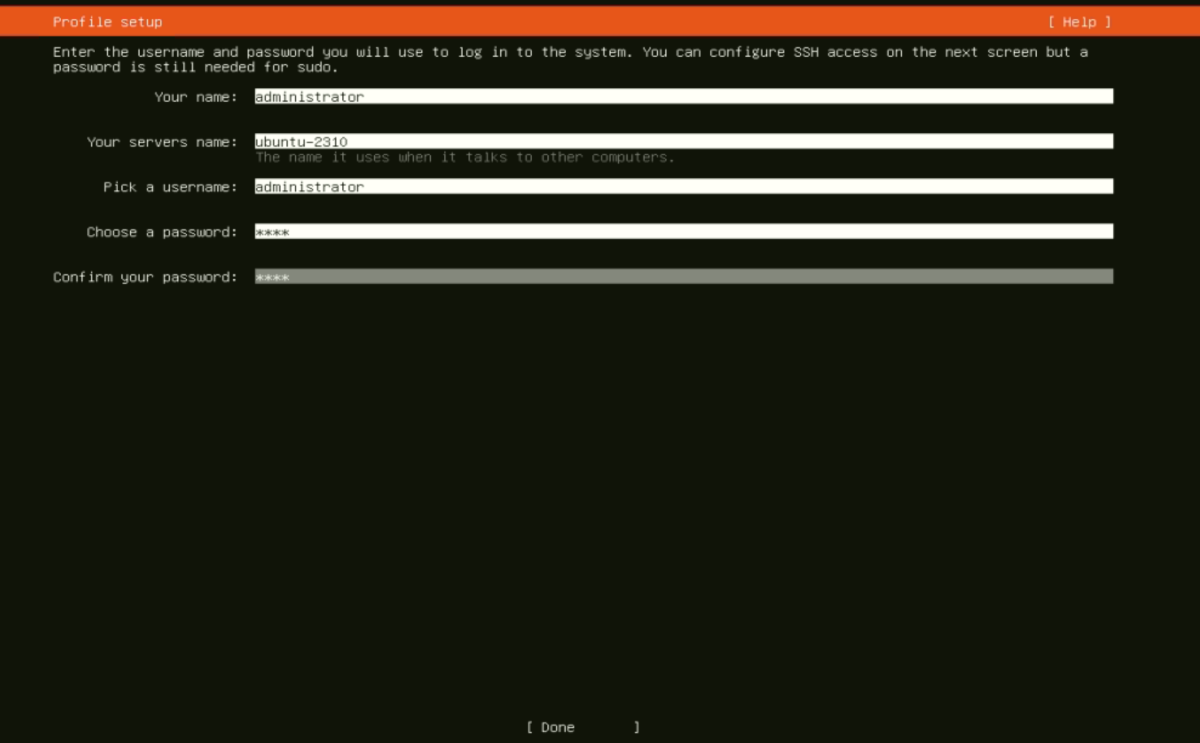
Step 12 : Enter Profile Information: Input your user account details, including username, password, and computer name.
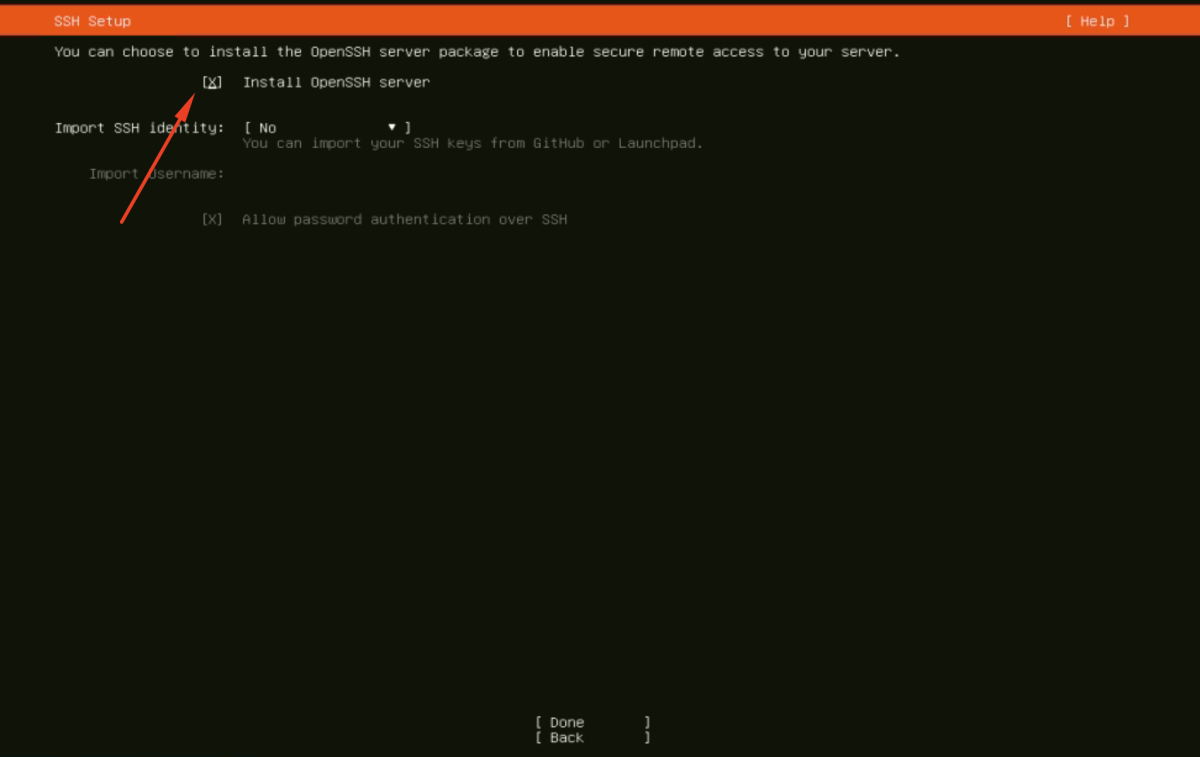
Step 13 : Choose to install OpenSSH during the installation if you need remote access to the server.
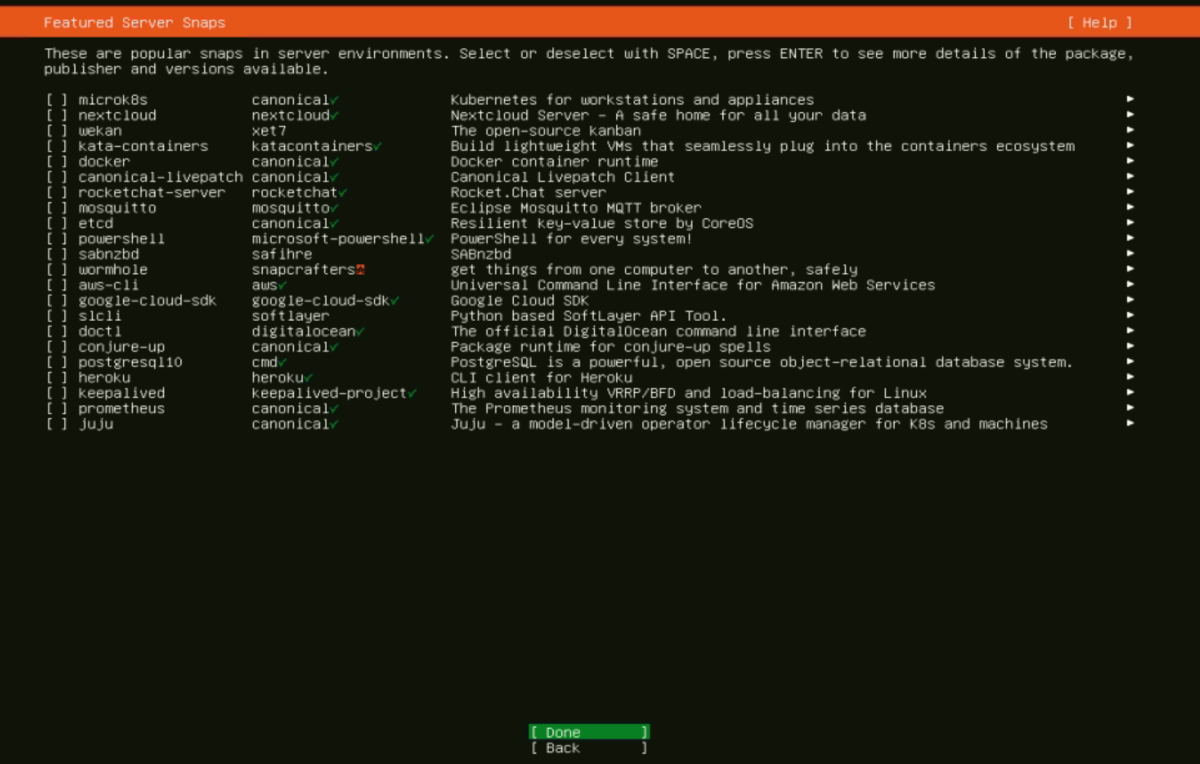
Step 14 : Optionally, select any additional applications or server roles you want to install.
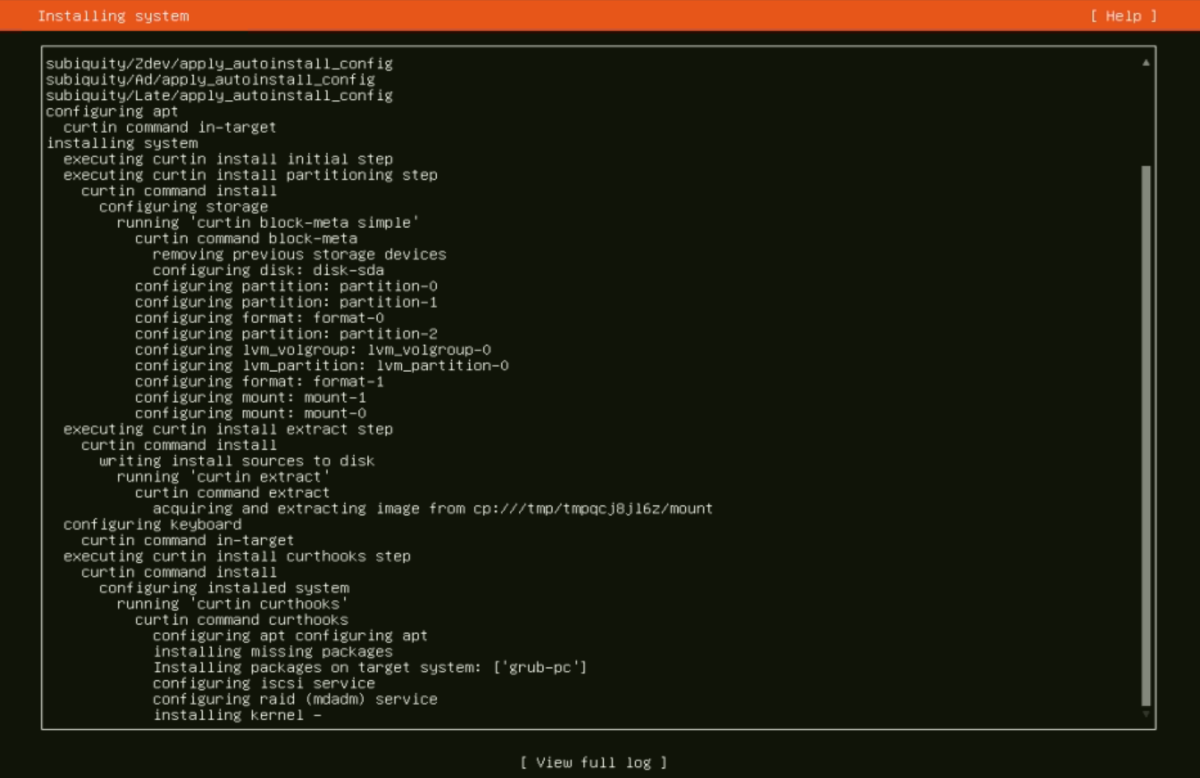
Step 15 : Wait for Installation: Allow the installer to copy files and configure the system. This may take some time.
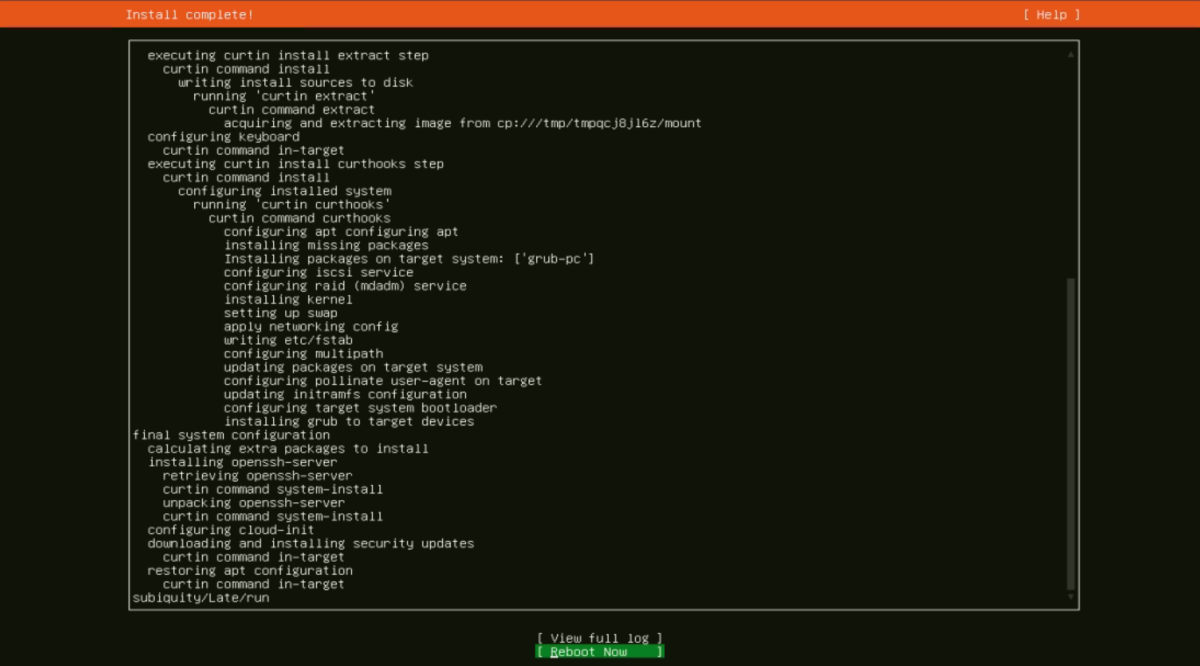
Step 16 : Once the installation is complete, the system will prompt you to reboot. Choose "Reboot Now."
Congratulations! You have successfully installed Ubuntu Server 23.10. Your system is now ready for use with the configured settings and applications.