To set up an SFTP server on Ubuntu 23.04, follow the steps below.
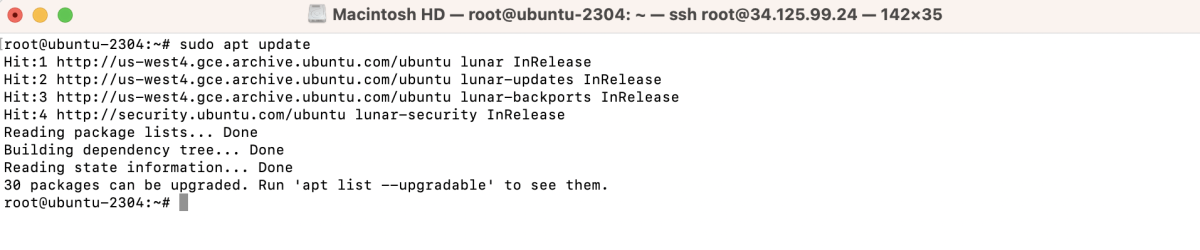
Step 1 : Update System Packages
Ensure your system is up to date by running the following commands:
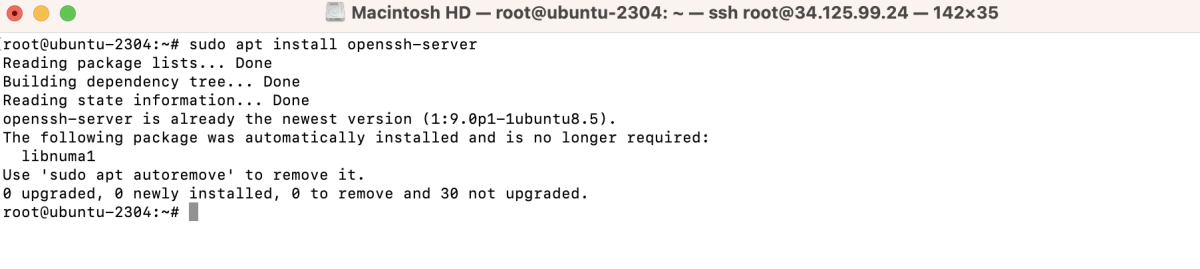
Step 2 : Install OpenSSH Server
Install the OpenSSH server using the following command:
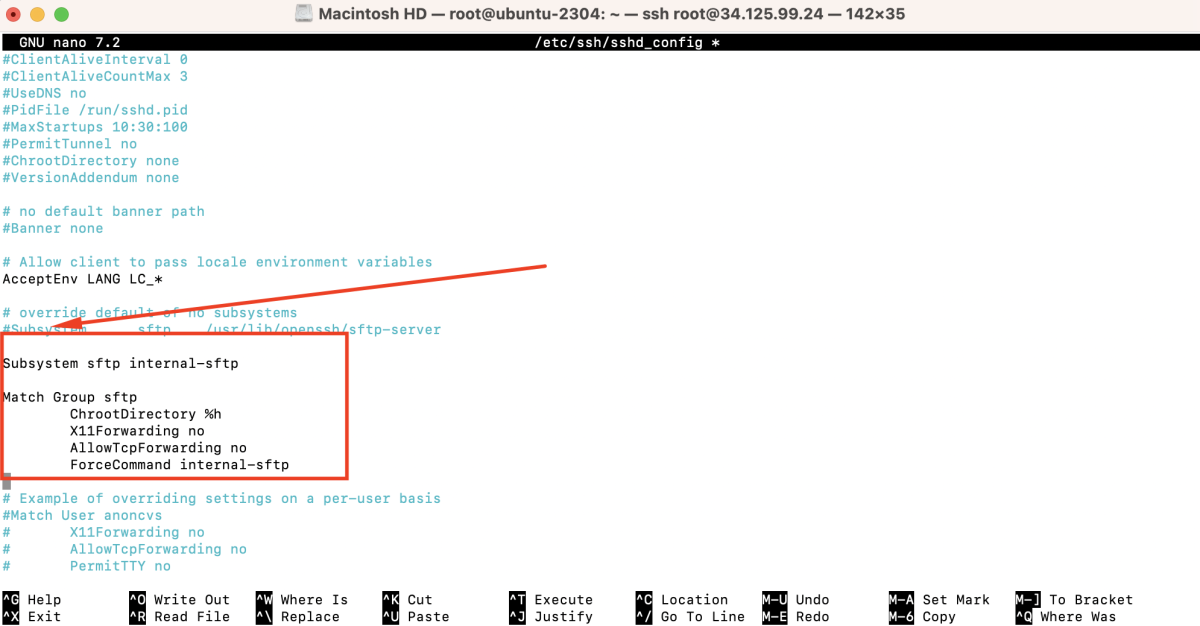
Step 3 : Open and Edit sshd_config
Open the sshd_config file using a text editor, for example, nano:
Add the following lines to the file:
Step 4 : Restart SSH Service
Restart the SSH service to apply the changes:

Step 5 : Create SFTP Group
Create a group for SFTP users:

Step 6 : Create SFTP User
Add a new SFTP user using the adduser command:

Step 7 : Assign User to Group
Add the SFTP user to the SFTP group:

Step 8 : Configure Permissions
Set the correct permissions for the user's home directory:

Step 9 : Allow Traffic in UFW
If UFW is enabled, allow SSH traffic:

Step 10 : Restart SSH Service
Restart the SSH service again to ensure all changes take effect:

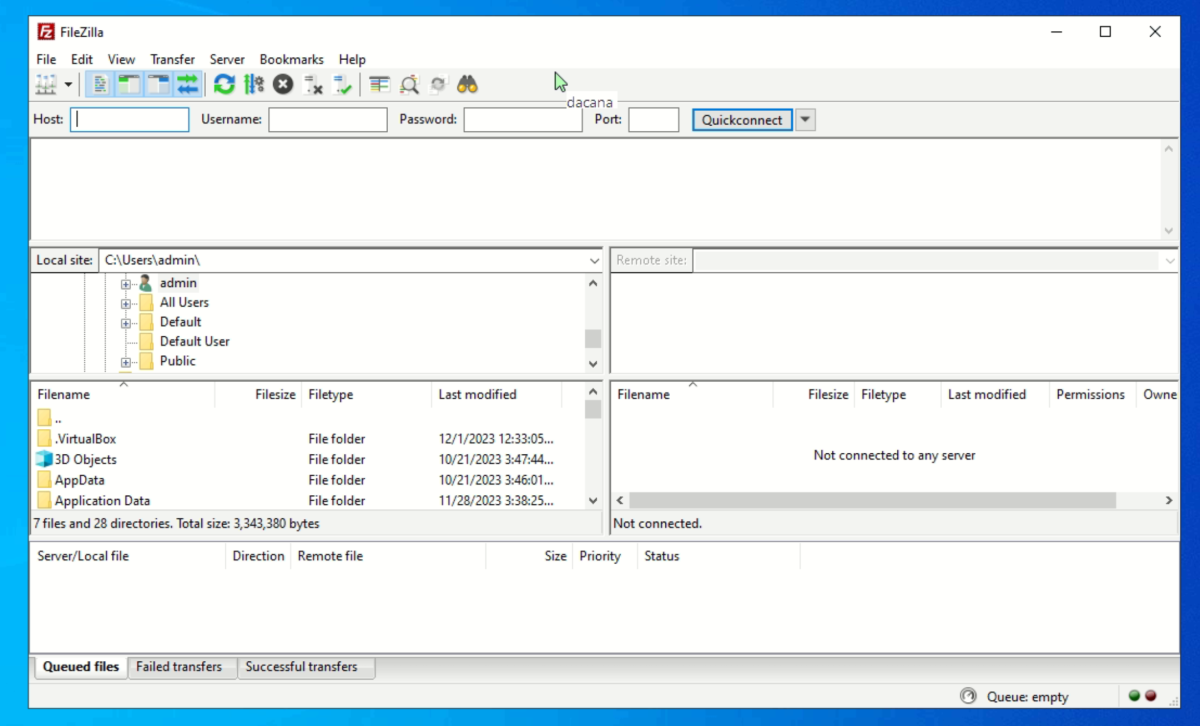
Step 11 : Test Connection
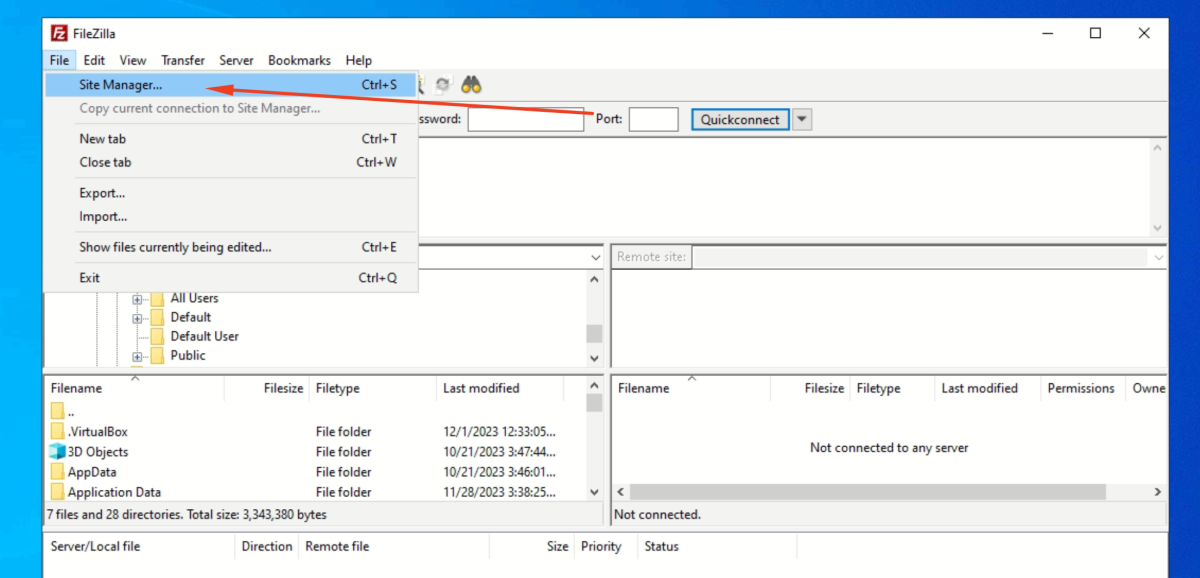
- Open SFTP Client (FileZilla)
- Go to "File" > "Site Manager."
- Configure Site:
+ Click on "New Site" and give it a name.
+ In the "Host" field, enter your server's IP address.
+ Set "Port" to 22.
+ Choose "SFTP - SSH File Transfer Protocol" as the protocol.
+ For "Logon Type," select "Normal."
+ Enter the SFTP username you created earlier in the "User" field.
+ Enter the corresponding password in the "Password" field.
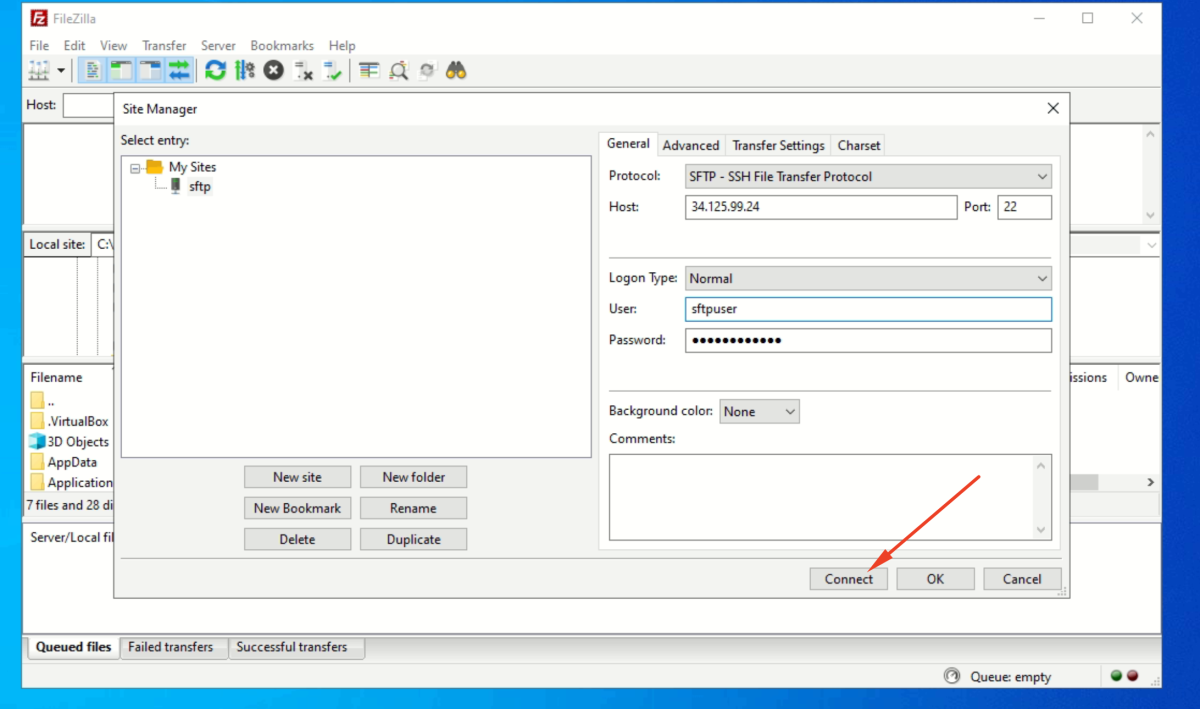
- Click on "Connect" to establish a connection to the SFTP server.
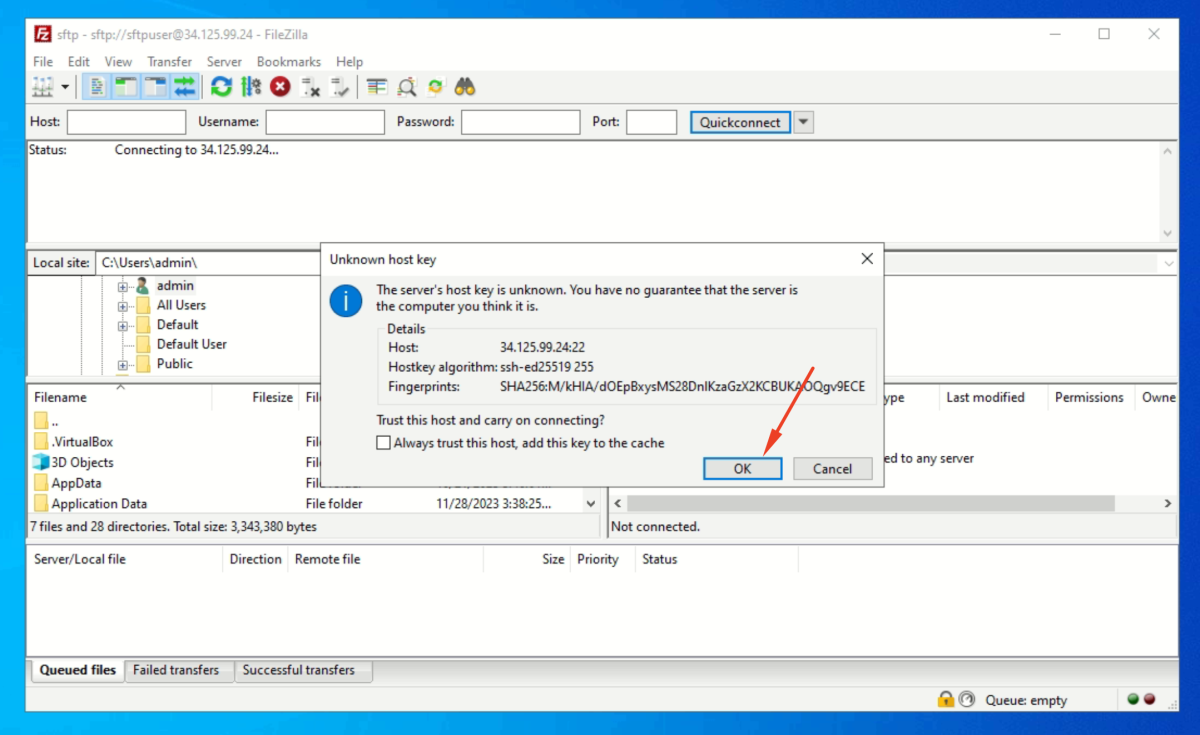
- If this is your first time connecting, FileZilla may prompt you to accept the server's key fingerprint. Accept it to proceed.
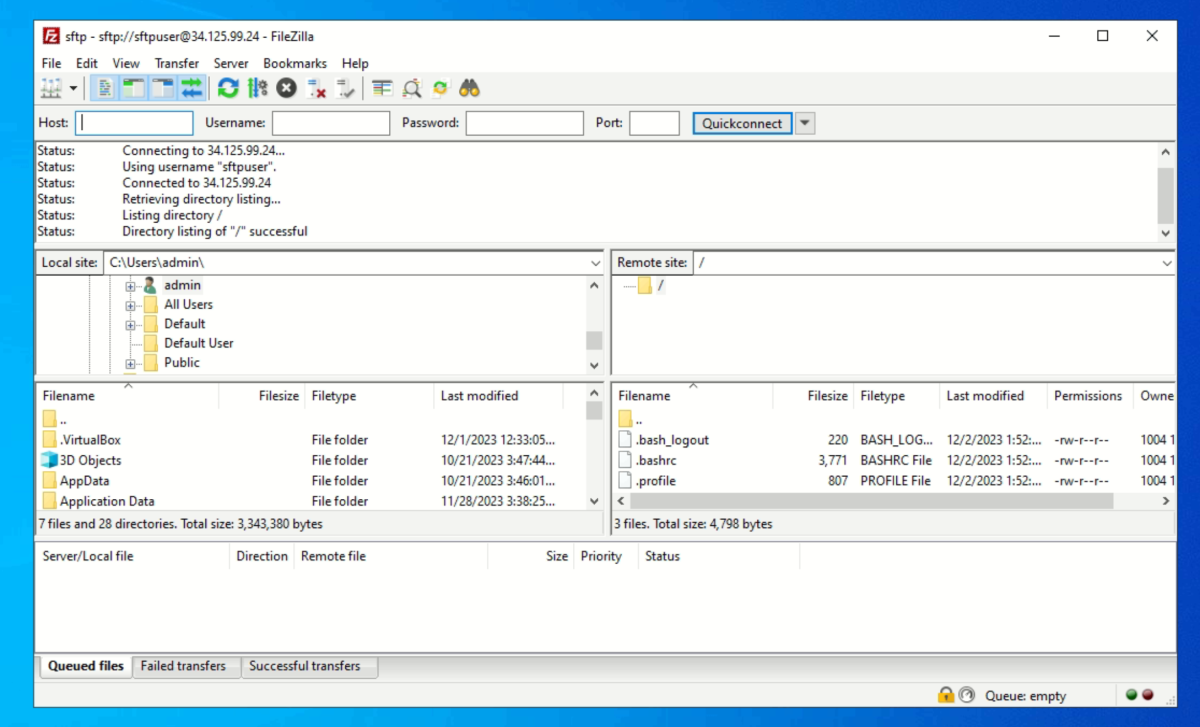
You should now be connected to your SFTP server. You can navigate through the directories, upload, and download files securely using SFTP.
Now, you have successfully set up an SFTP server on Ubuntu 23.04.