To install and configure Apache on Ubuntu 23.04, follow the steps below.
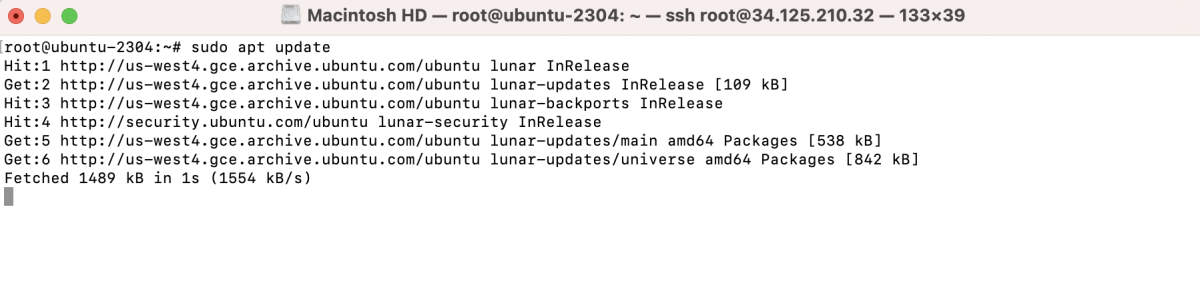
Step 1 : Update
Ensure your system is up to date by running the following command:
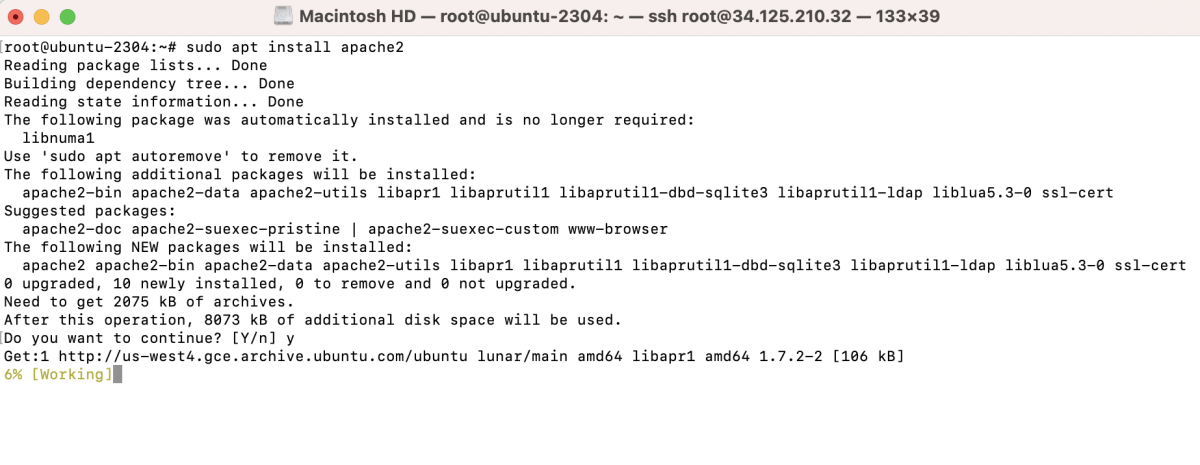
Step 2 : Install Apache2
Install the Apache web server using the following command:
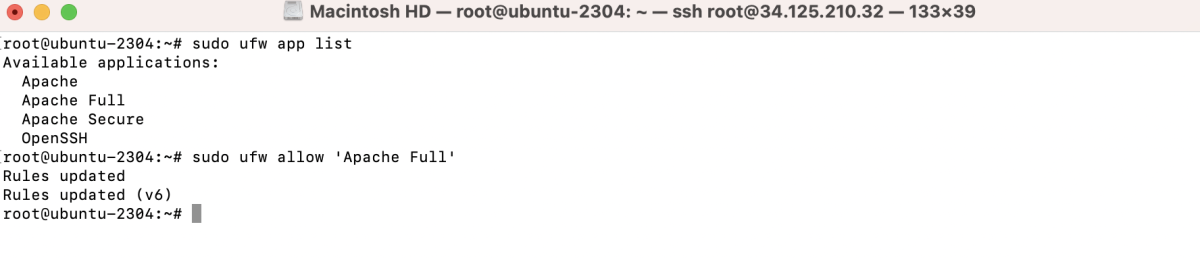
Step 3 : Configure Firewall
Check the available application profiles and allow Apache Full:
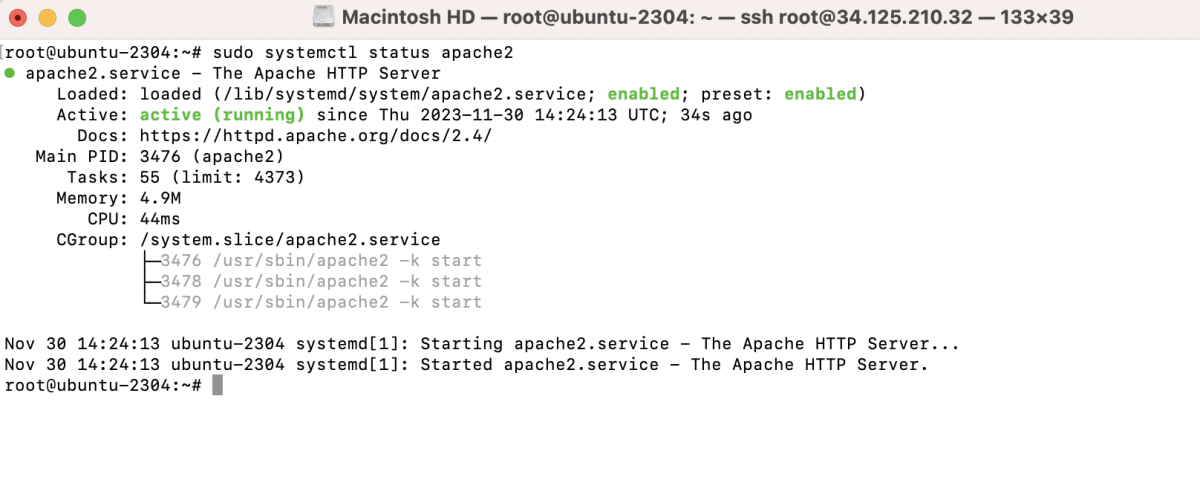
Step 4 : Check Status
Verify the Apache service status:
Step 5 : Create Website Directory and Index
Create a directory for your website and an index file:

Step 6 : Create Apache Virtual Host Configuration
Create a configuration file for your website (replace example.com with your domain):
Add the following content:

Step 7 : Enable the Site
Enable the site configuration:

Step 8 : Restart Apache
Restart the Apache service for the changes to take effect:

Step 9 : Test Your Website
Open your web browser and navigate to your domain (replace example.com with your actual domain).
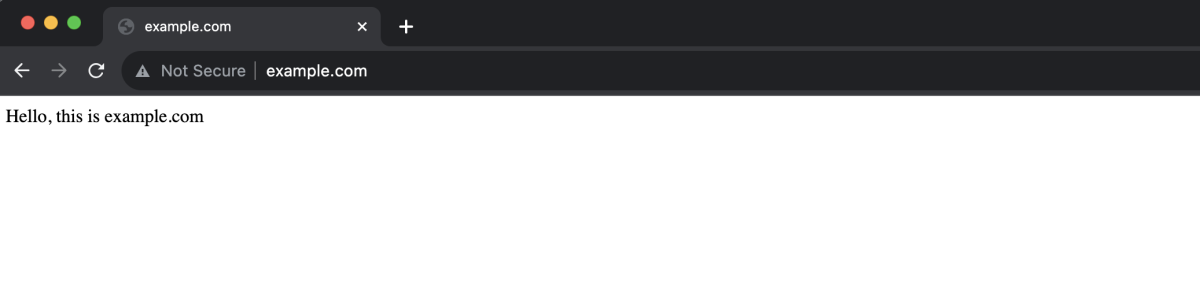
Congratulations! You have successfully installed and configured Apache on Ubuntu 23.04. Your website is now accessible at your specified domain.