To install Nginx on Ubuntu Server 23.04, you can follow these steps:
Step 1 : Connect to your Ubuntu Server either through SSH or by directly accessing the terminal.
Step 2 : Update the package lists for upgrades and new package installations by running the following command:

Step 3 : Once the update process is complete, install Nginx by running the following command:
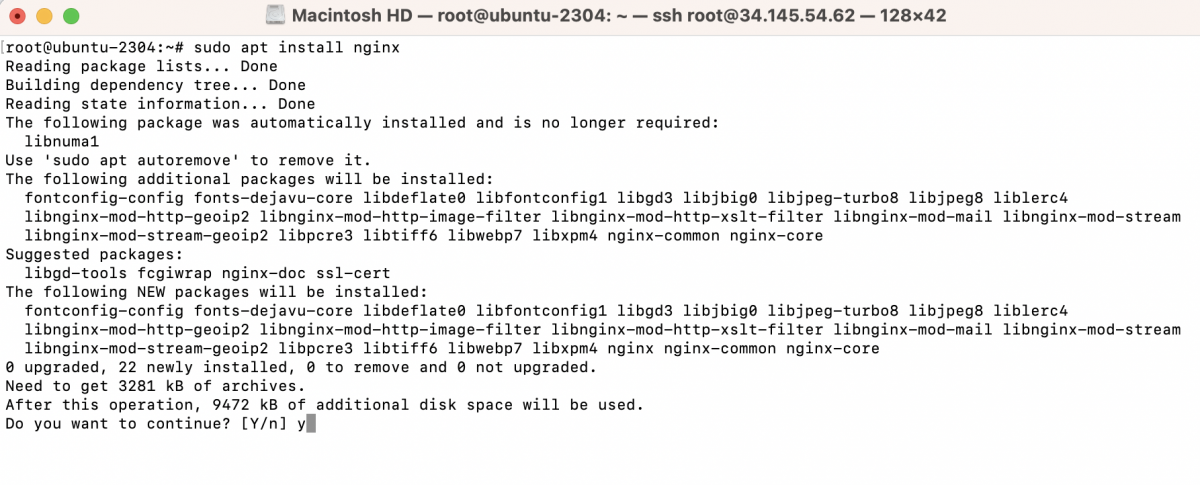
Step 4 : During the installation process, you may be prompted to confirm the installation and enter your password. Proceed by typing 'Y' and pressing Enter.
Step 5 : After the installation is finished, Nginx should be up and running. You can verify its status by running the following command:
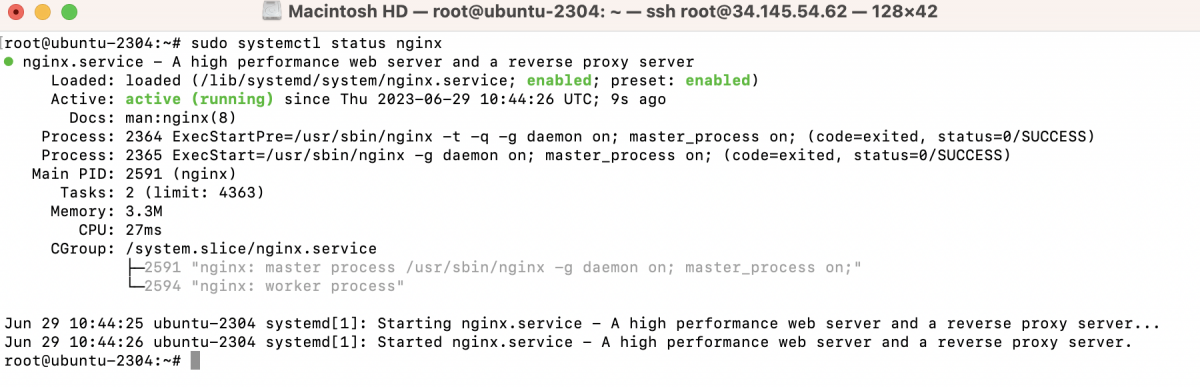
If Nginx is active and running, you should see a status message indicating that it is active and the process ID (PID).
Step 6 : To test that Nginx is functioning correctly, open a web browser and enter your server's IP address or domain name. If everything is set up correctly, you should see the default Nginx welcome page.

Congratulations! Nginx is now installed and running on your Ubuntu Server 23.04. You can further configure Nginx and host your websites or applications by modifying its configuration files located in the /etc/nginx/ directory.