To set up and configure Postfix on Ubuntu 23.04, follow the steps below.
Step 1 : Update
Begin by updating the package repository to ensure you have the latest information about available packages.

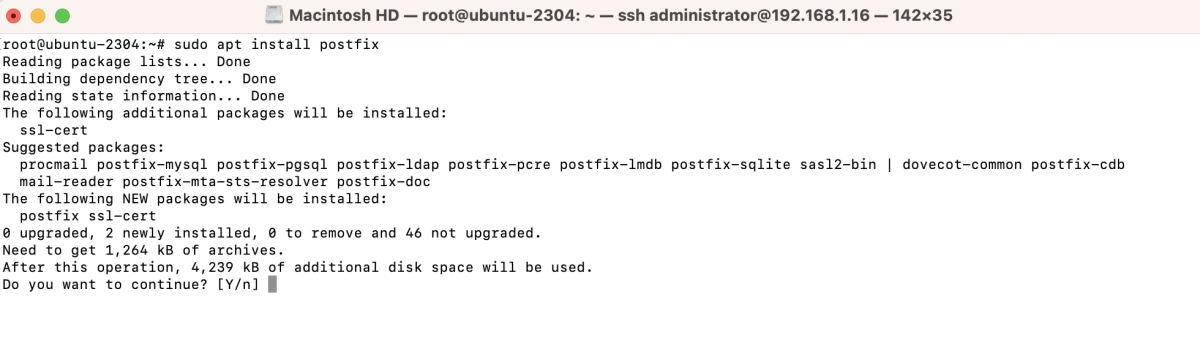
Step 2 : Install Postfix
Install the Postfix mail server.
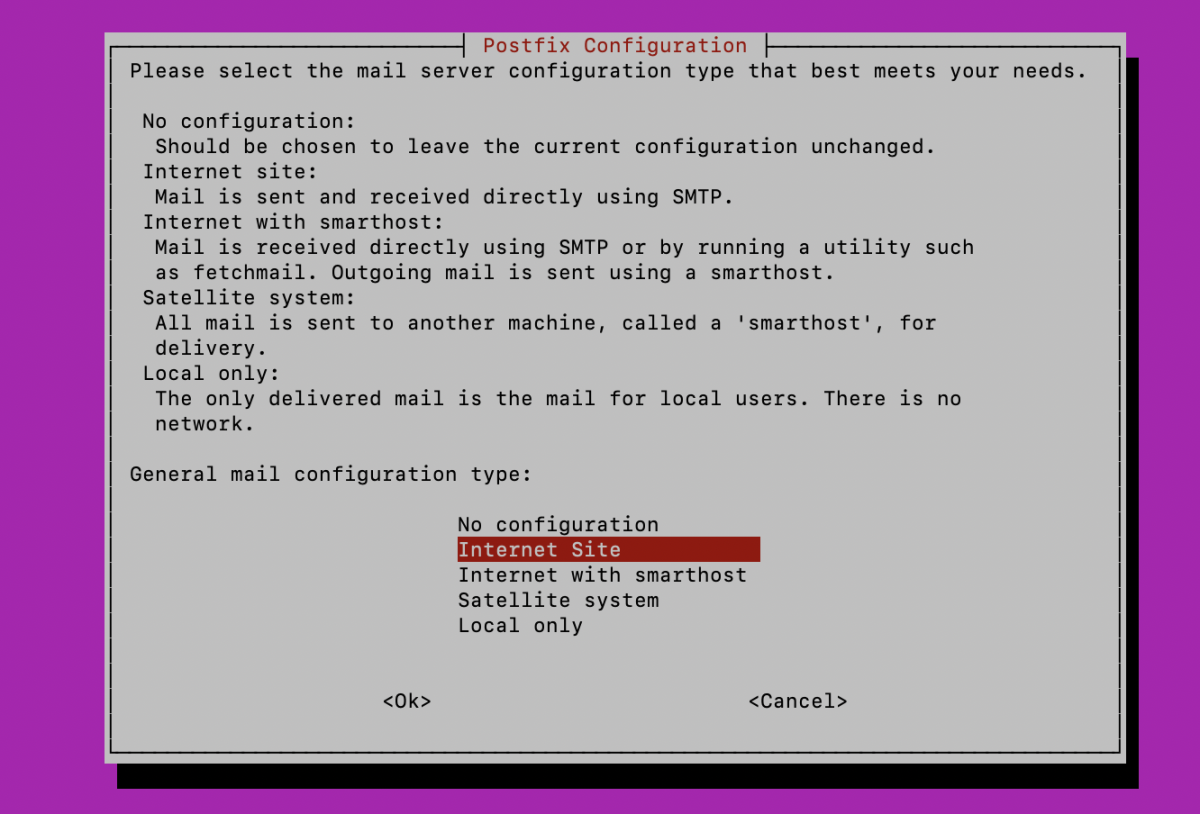
- Choose "Internet Site" when prompted during the installation.

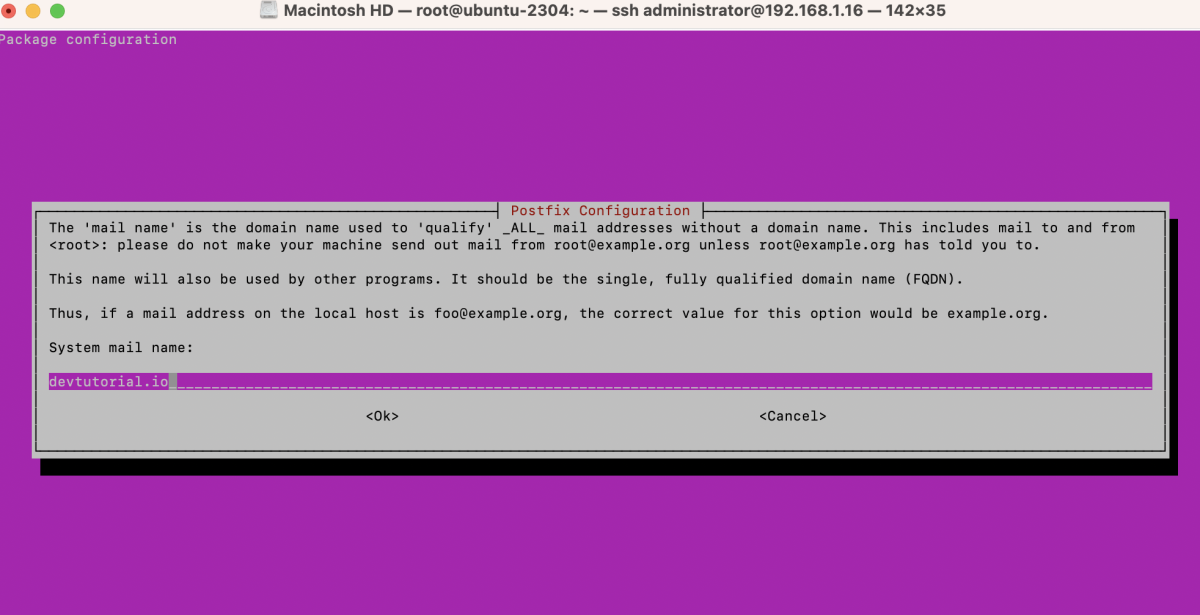
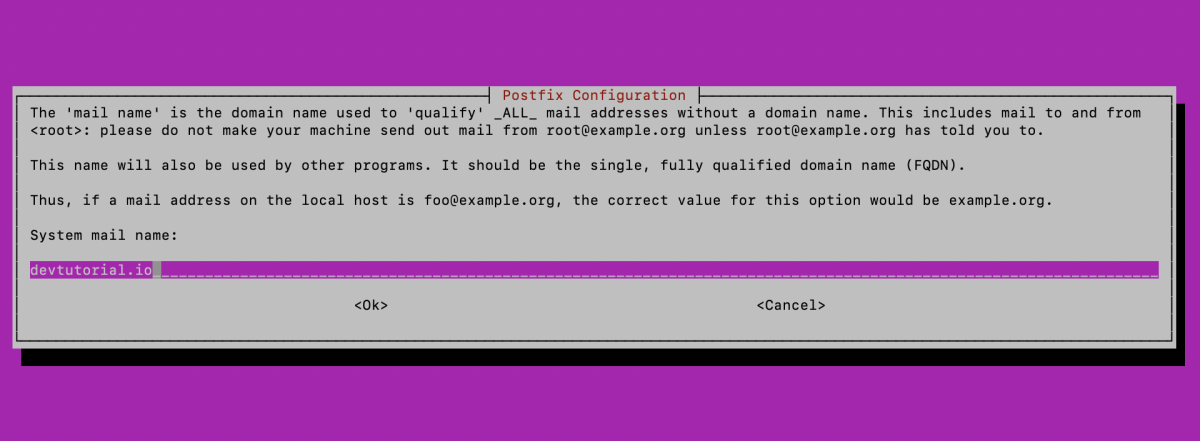
- Enter the System mail name during installation.
Step 3 : Configure Postfix
Run the following command to reconfigure Postfix, providing the necessary details:
- Choose "Internet Site" for sending and receiving emails over the internet.
- Enter the fully qualified domain name (FQDN) for your server, such as yourdomain.com.
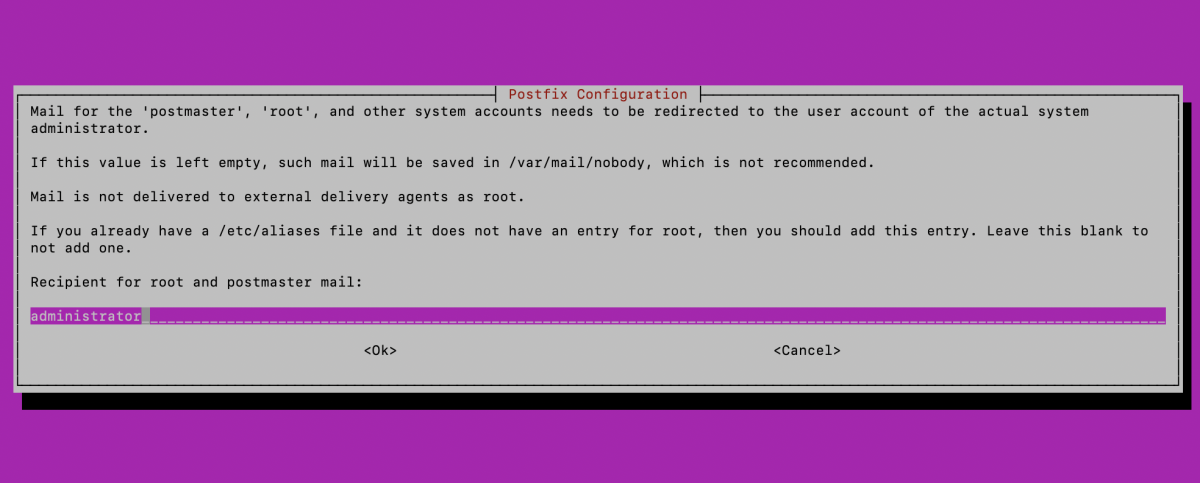
- Specify the email address where system-generated messages should be sent (e.g., cron jobs, alerts).
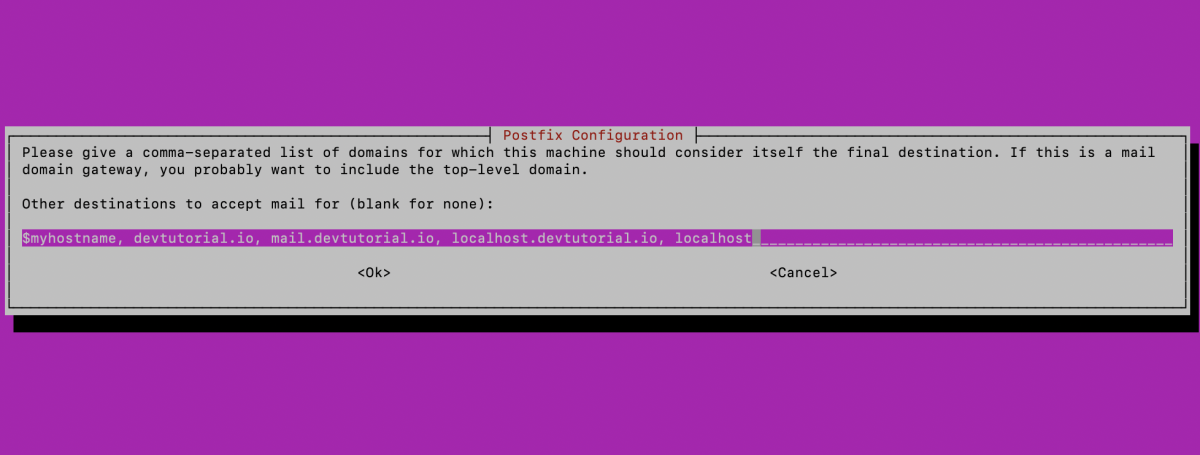
- Other Destinations to Accept Mail:
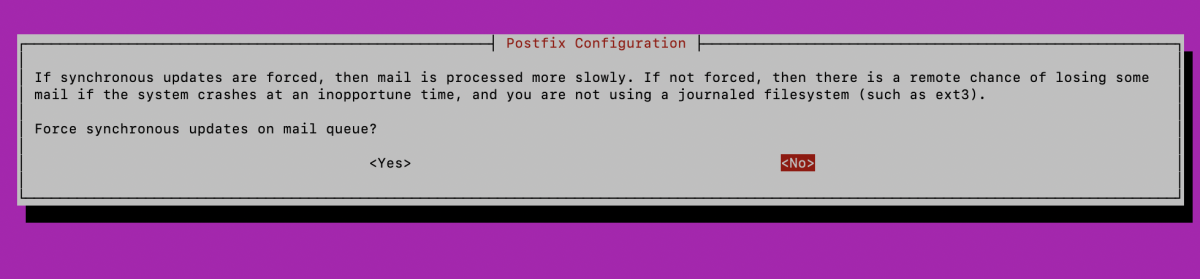
- Force synchronous updates on the mail queue? (No)
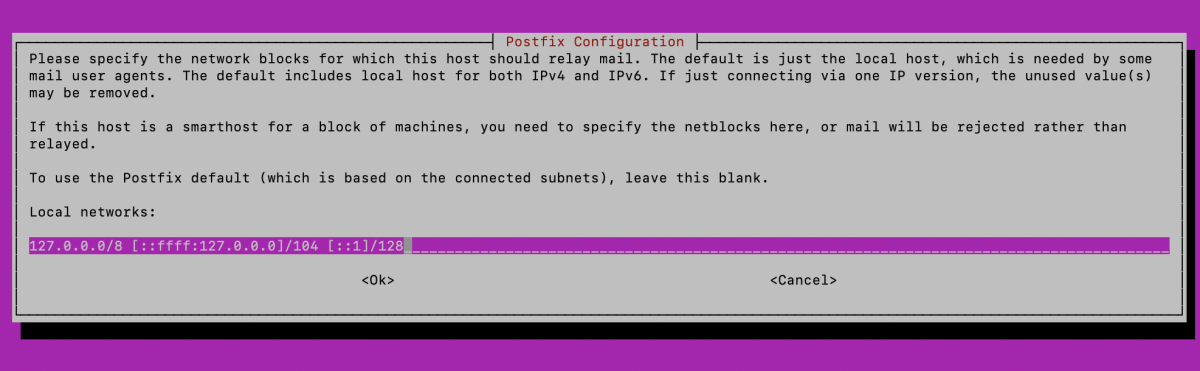
- Local Networks: Keep the default setting
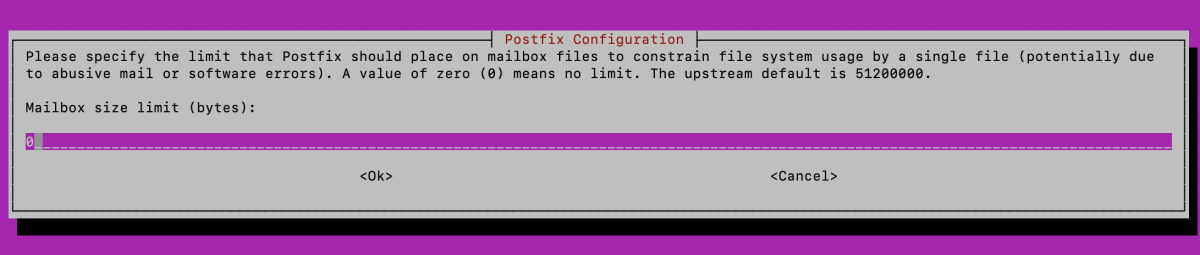
Mailbox Size Limit: Set the mailbox size limit if needed; the default is 0 (unlimited).
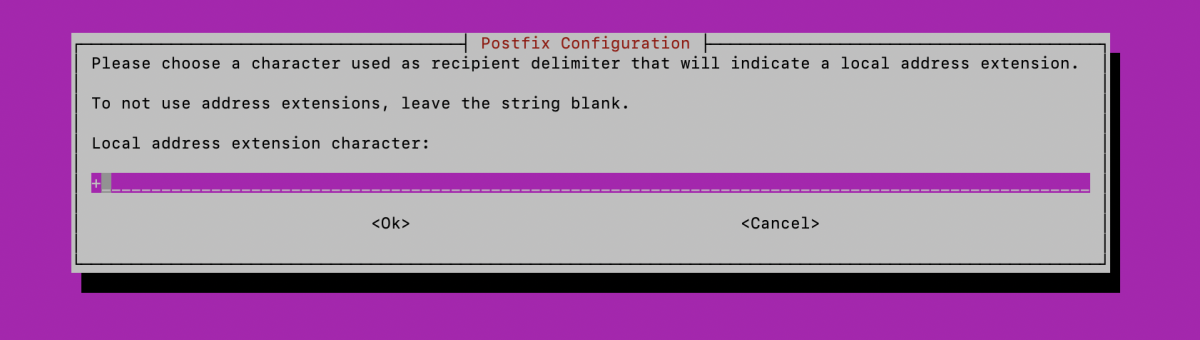
- Local Address Extension Character: Keep the default setting (+).
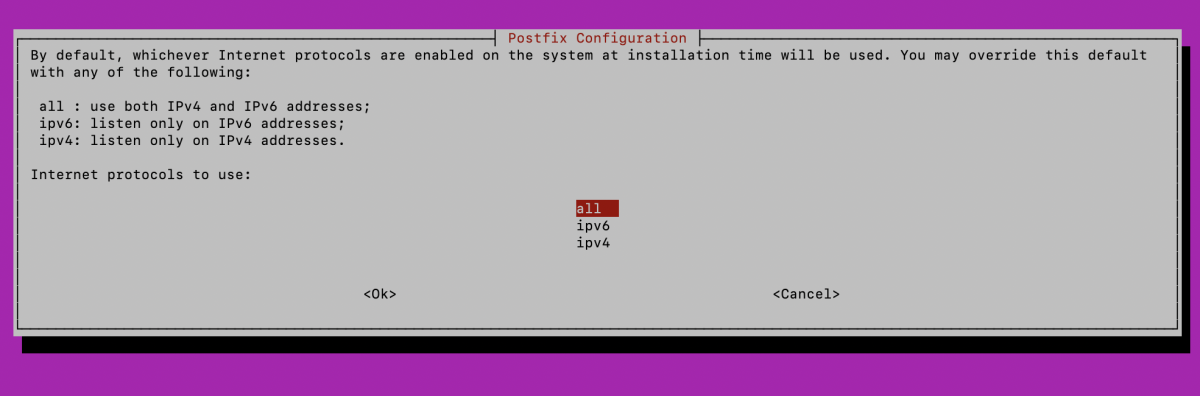
- Internet protocols to use (all)
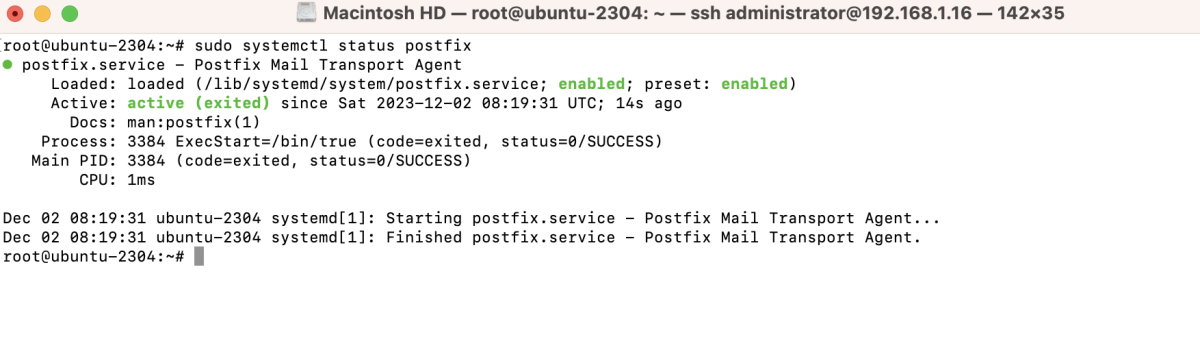
Step 4 : Verify Postfix
Check the status of the Postfix service to ensure it is running without issues.
Step 5 : Test Postfix
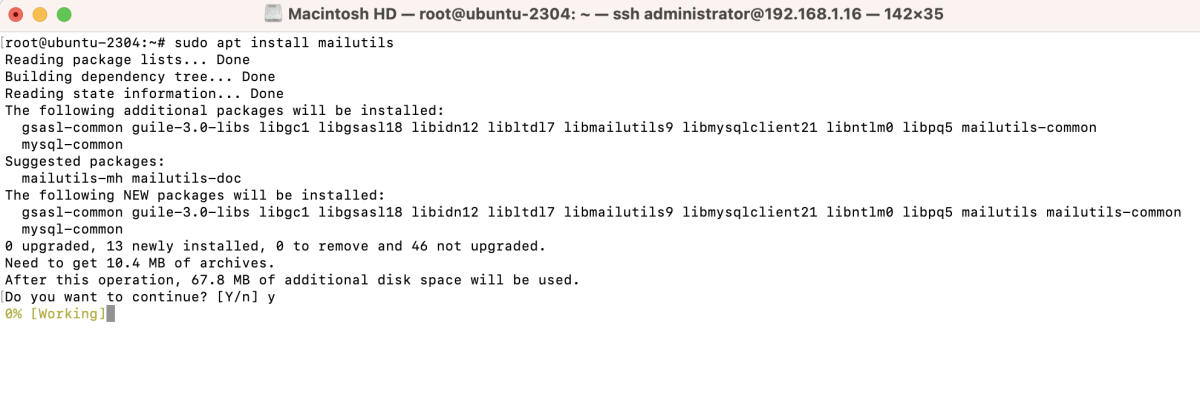
- Install the mailutils package, including utilities for handling email.
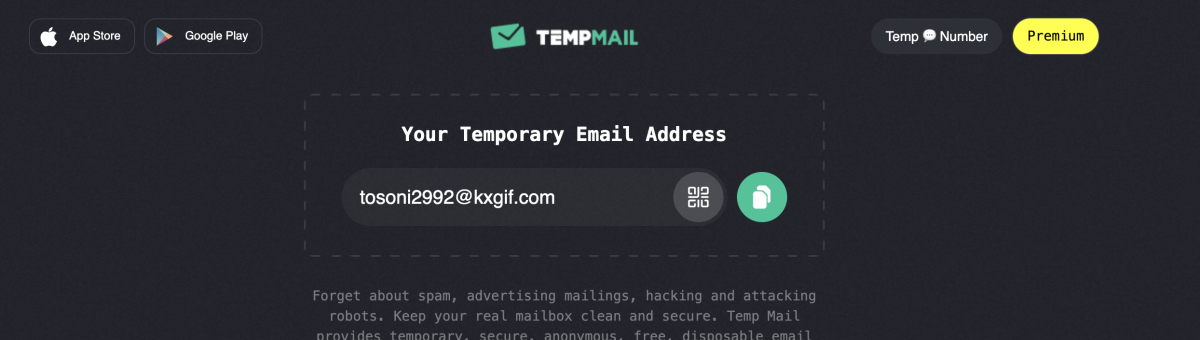
- Visit a temporary mail service, (such as temp-mail.org).
- Send a test email to the temporary email address using the mail command.

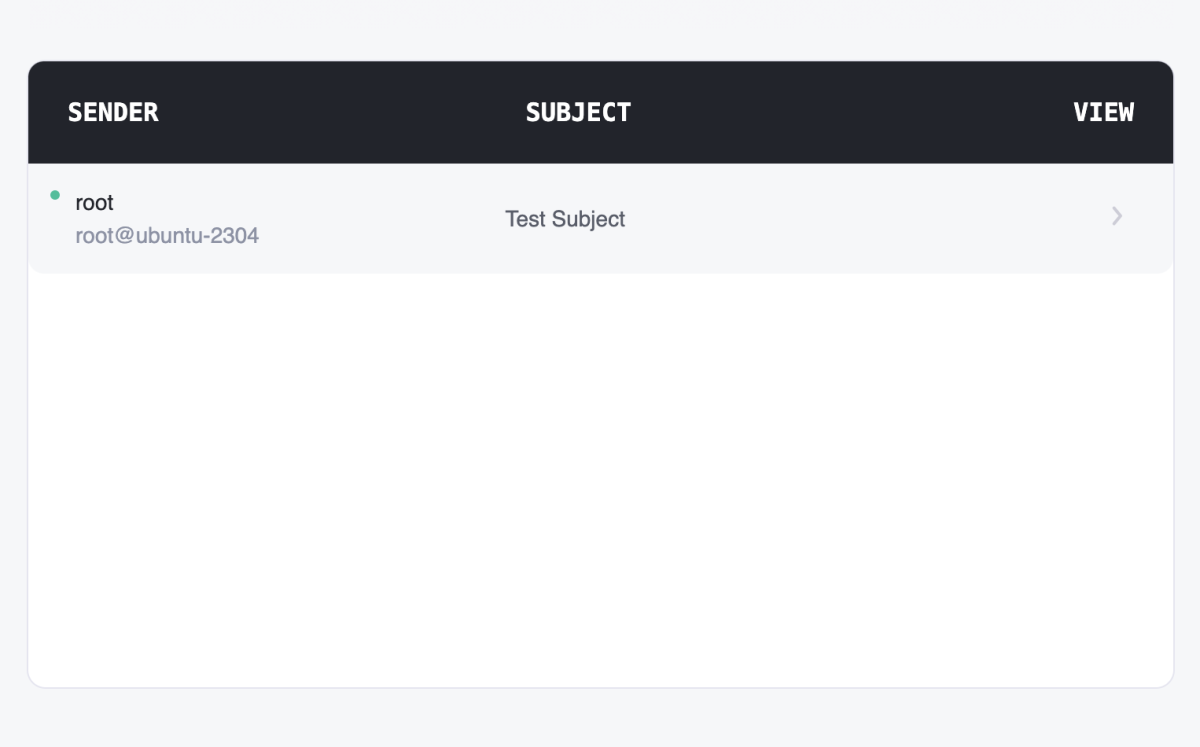
- Verify that the test email has been received on the temporary mail service.
Step 6 : Check Mail Logs
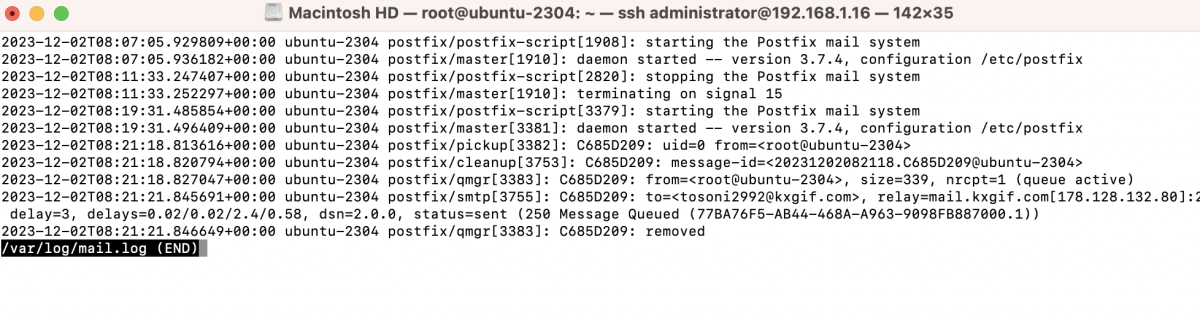
Check the mail logs to review any relevant information or issues.
Congratulations! You have successfully installed and configured Postfix on your Ubuntu 23.04 system, tested its functionality, and verified the email delivery.