To install phpMyAdmin on Ubuntu 23.04 with Apache, follow these steps:
Step 1 : Update

Step 2 : Install phpMyAdmin
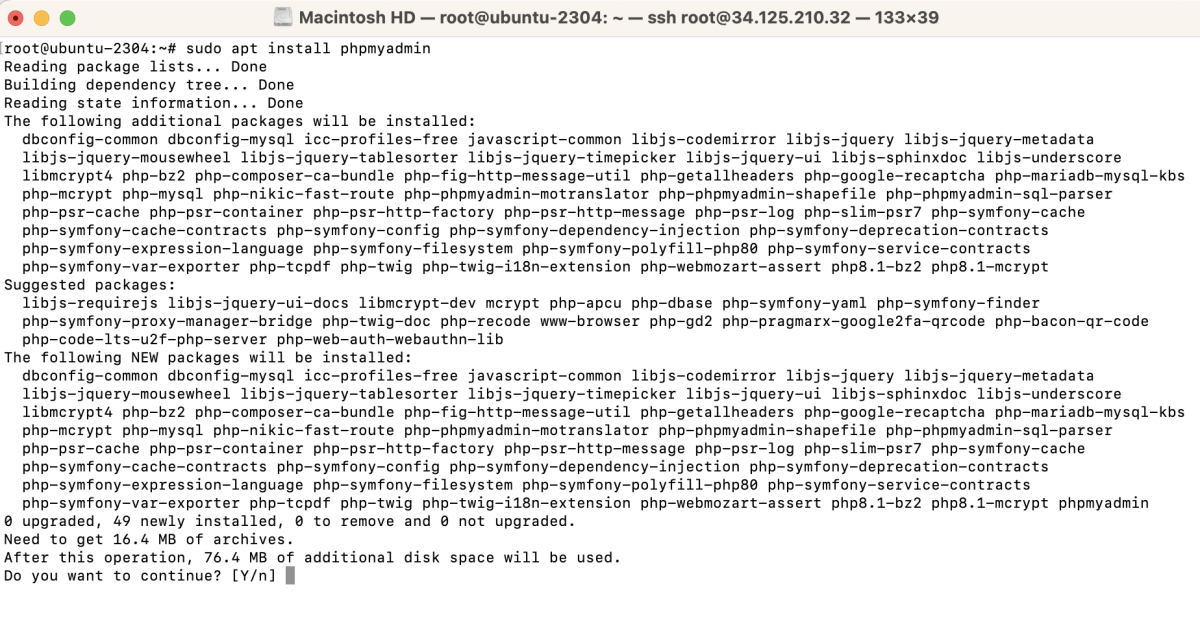
During the installation:
- Web server selection: Choose apache2
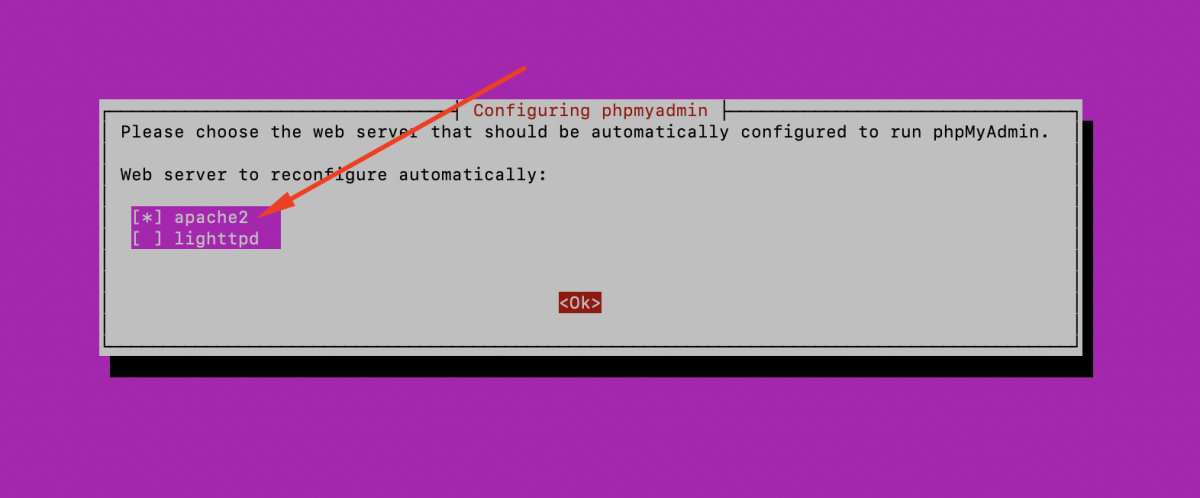
- Configure database for phpmyadmin with dbconfig-common: Select 'Yes'

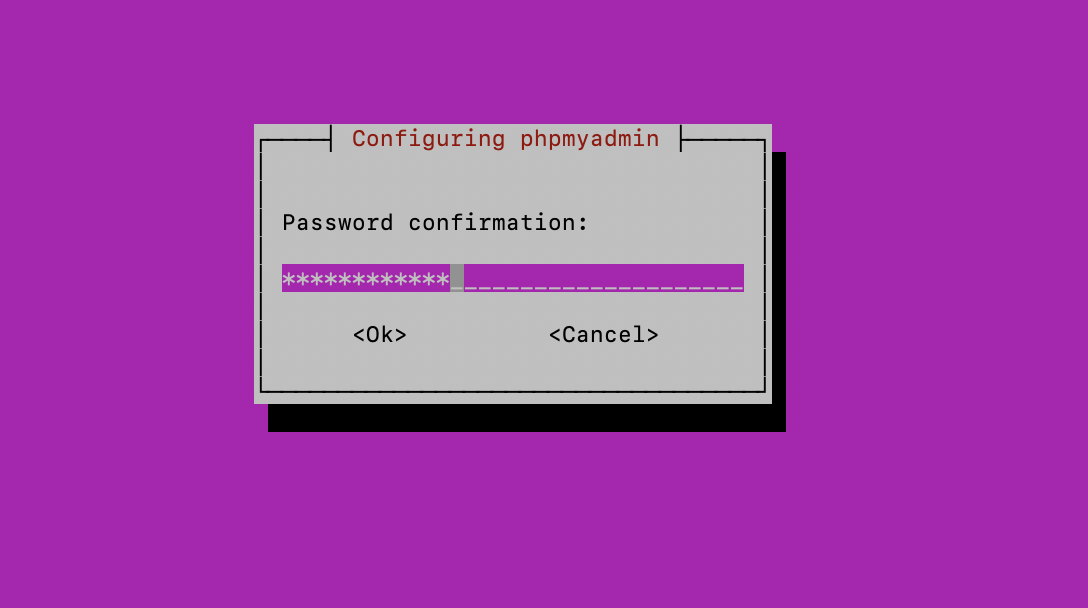
- MySQL application password for phpmyadmin: Enter your desired password

- Password confirmation: Confirm the password
Step 3 : Create a Symbolic Link

Step 4 : Enable the phpmyadmin configuration

Step 5 : Restart Apache

Step 6 : Access phpMyAdmin
Open your web browser and navigate to http://your_server_ip/phpmyadmin.
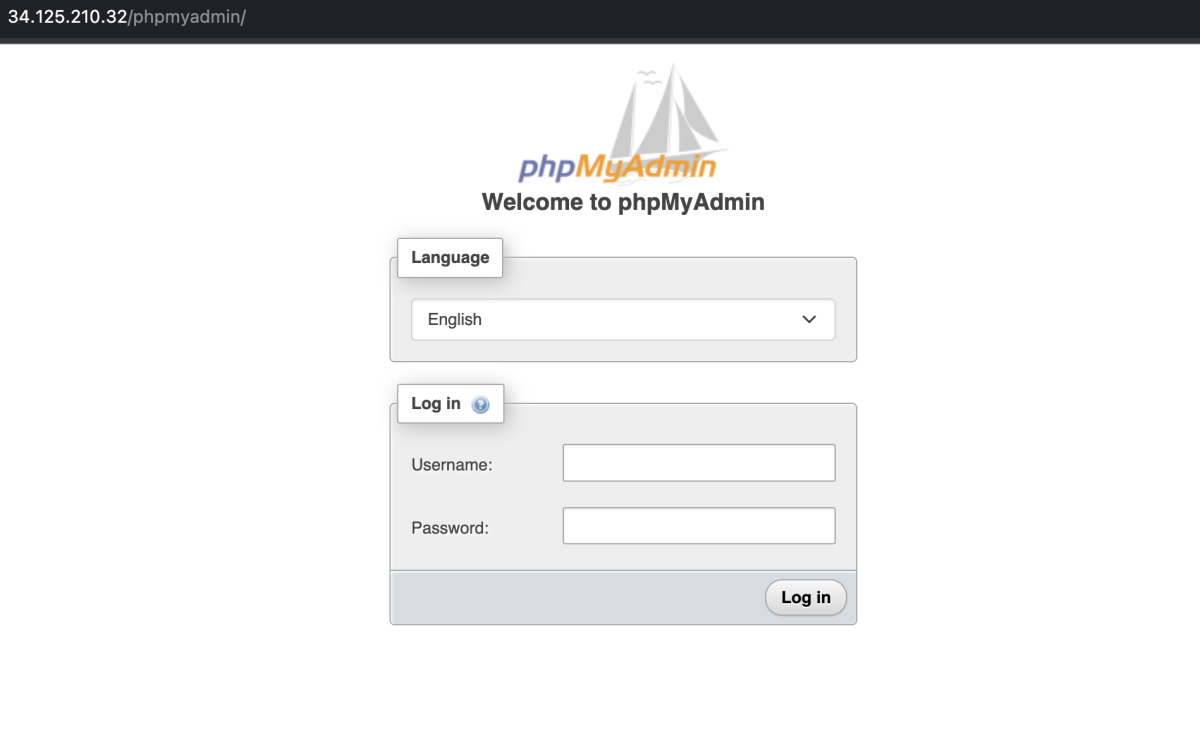
Log in with your MySQL credentials.
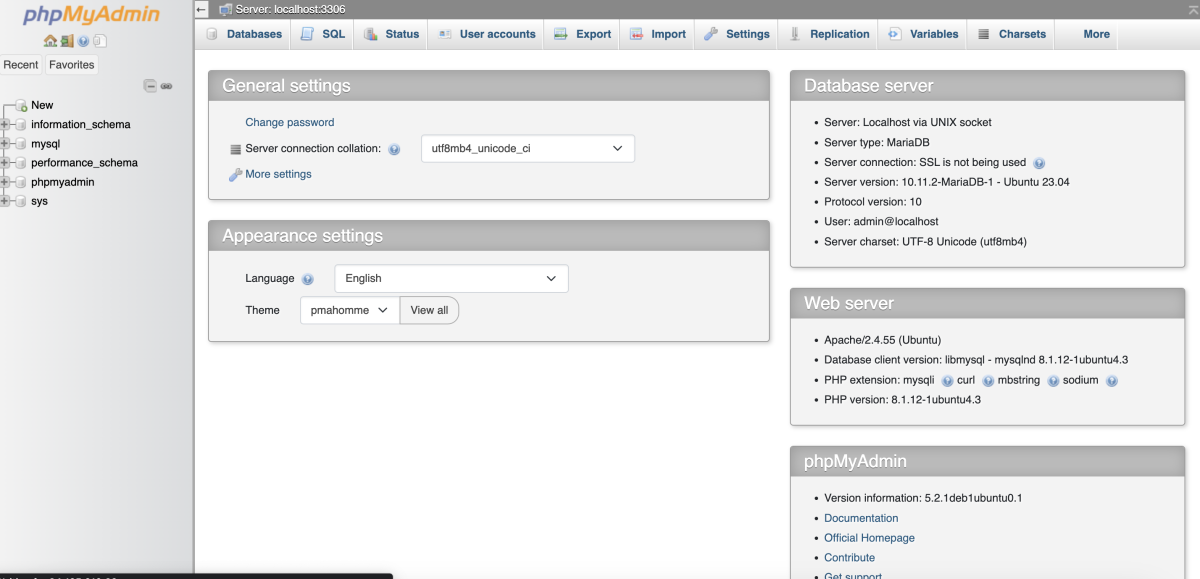
Congratulations! You have successfully installed phpMyAdmin on Ubuntu 23.04 with Apache.