To install Ubuntu Server 23.04, follow these detailed steps:
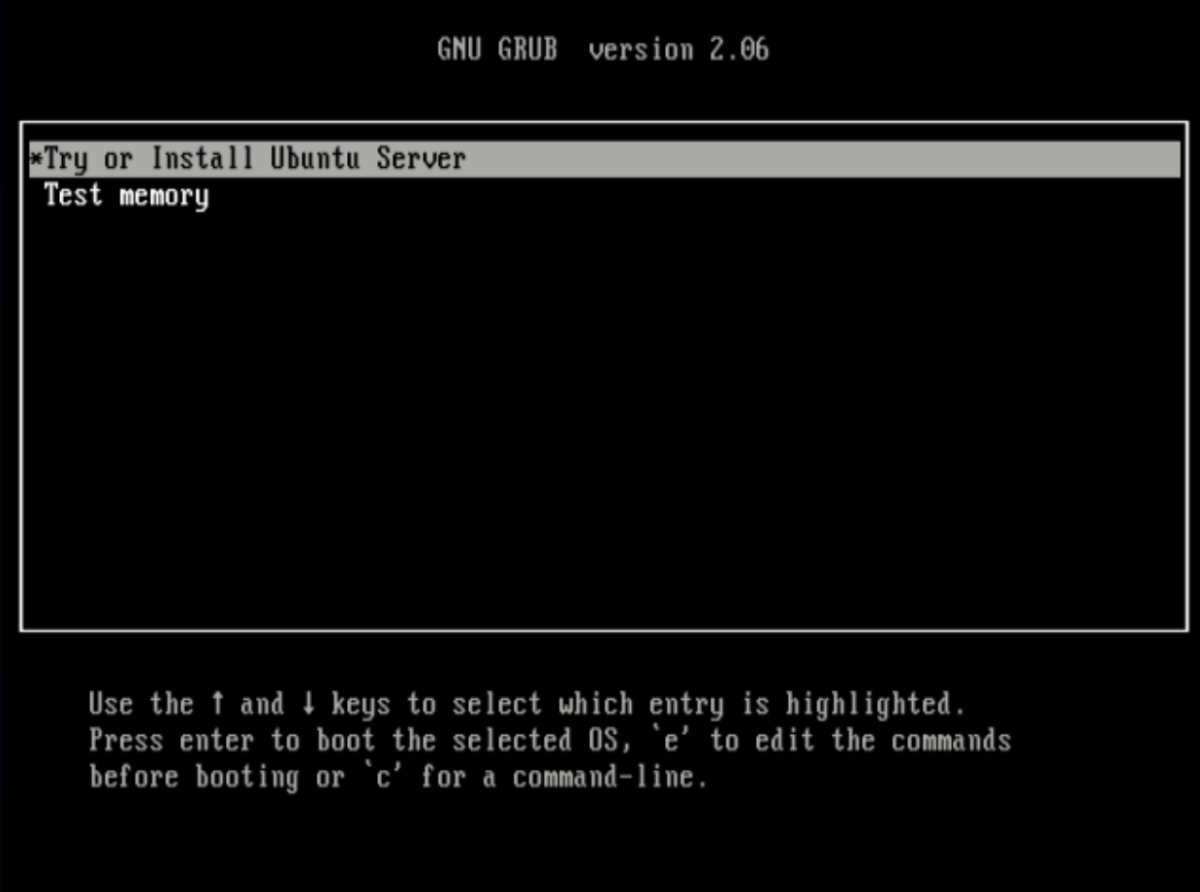
Step 1 : To begin the installation, boot your system from the Ubuntu Server 23.04 installation media, whether it's a DVD or USB drive.
Step 2 : From the installation menu, select "Try or Install Ubuntu."
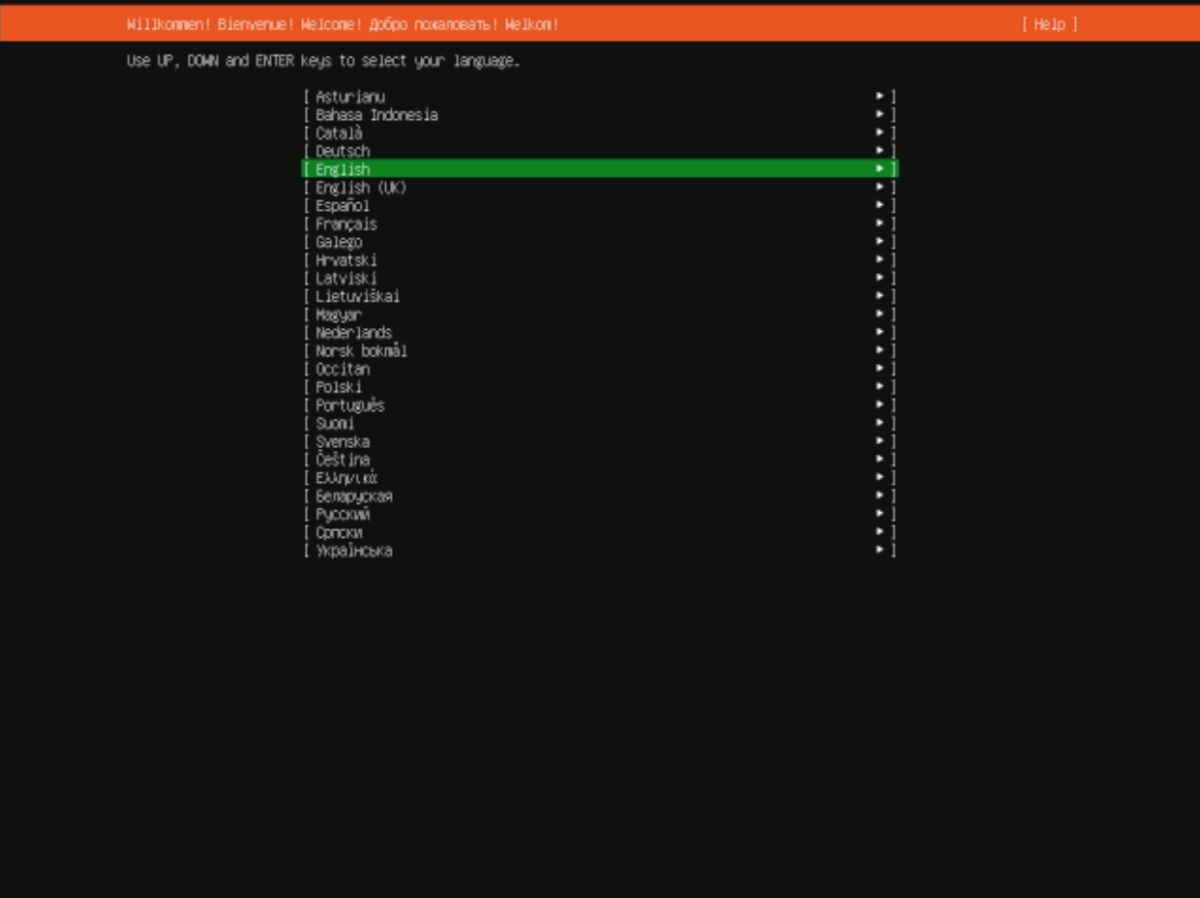
Step 3 : Choose your preferred language for the installation process.
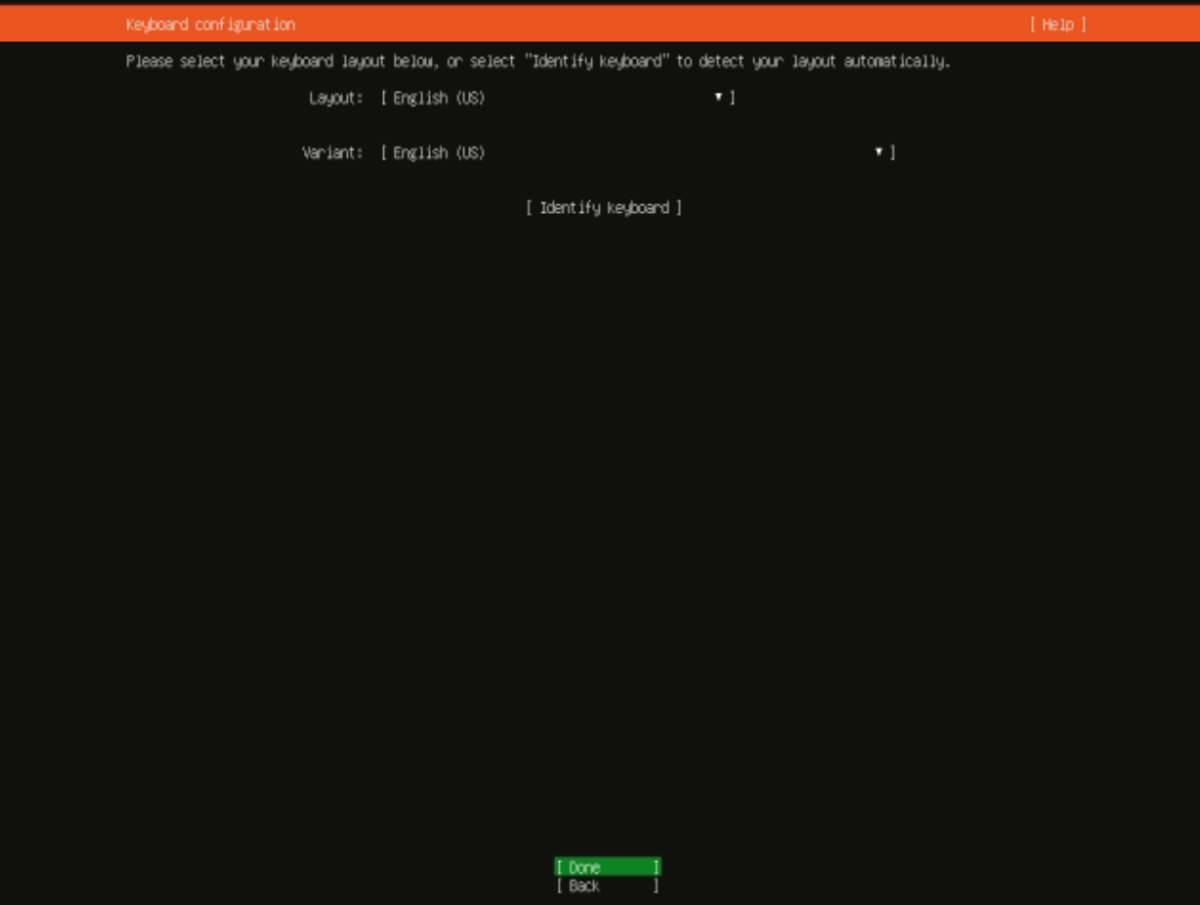
Step 4 : Select the appropriate keyboard layout that matches your configuration.
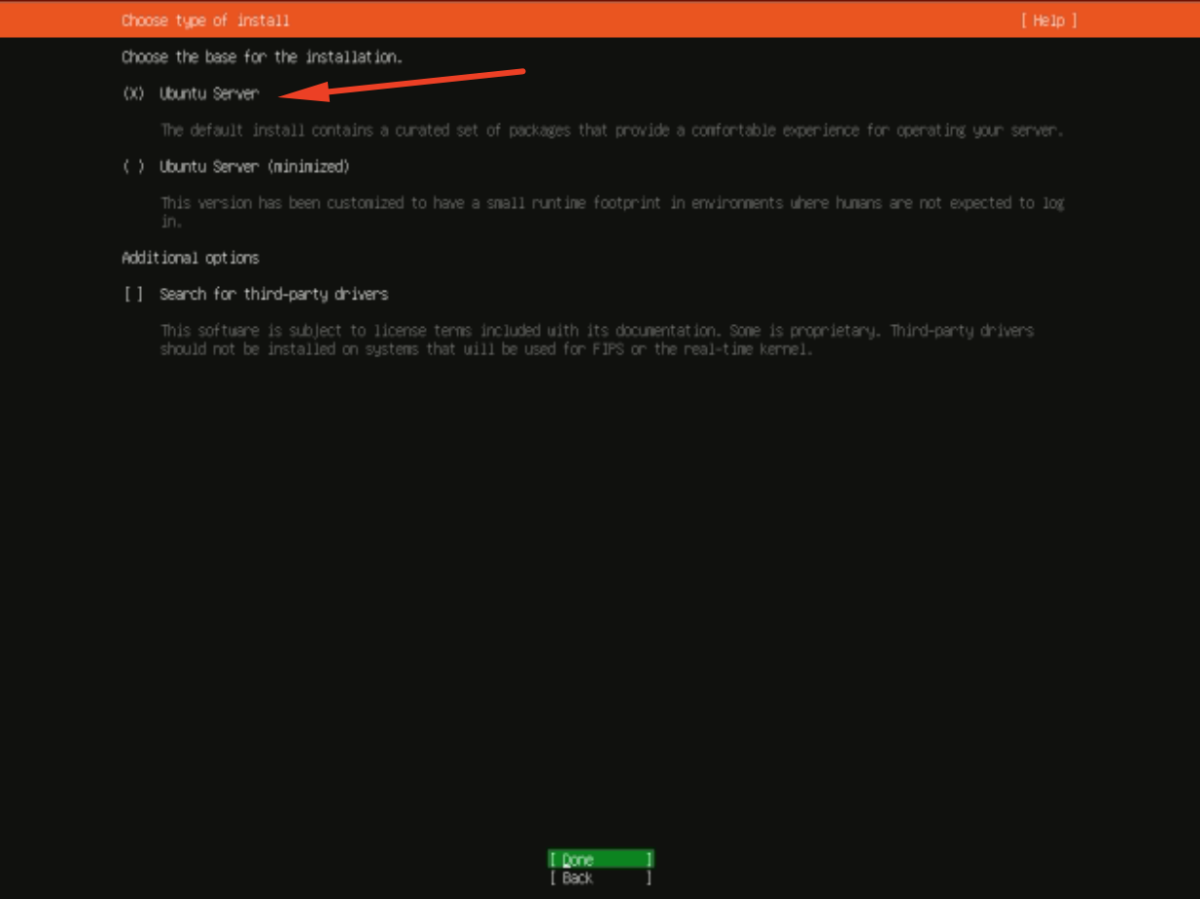
Step 5 : In the type of installation menu, select "Ubuntu Server" from the options.
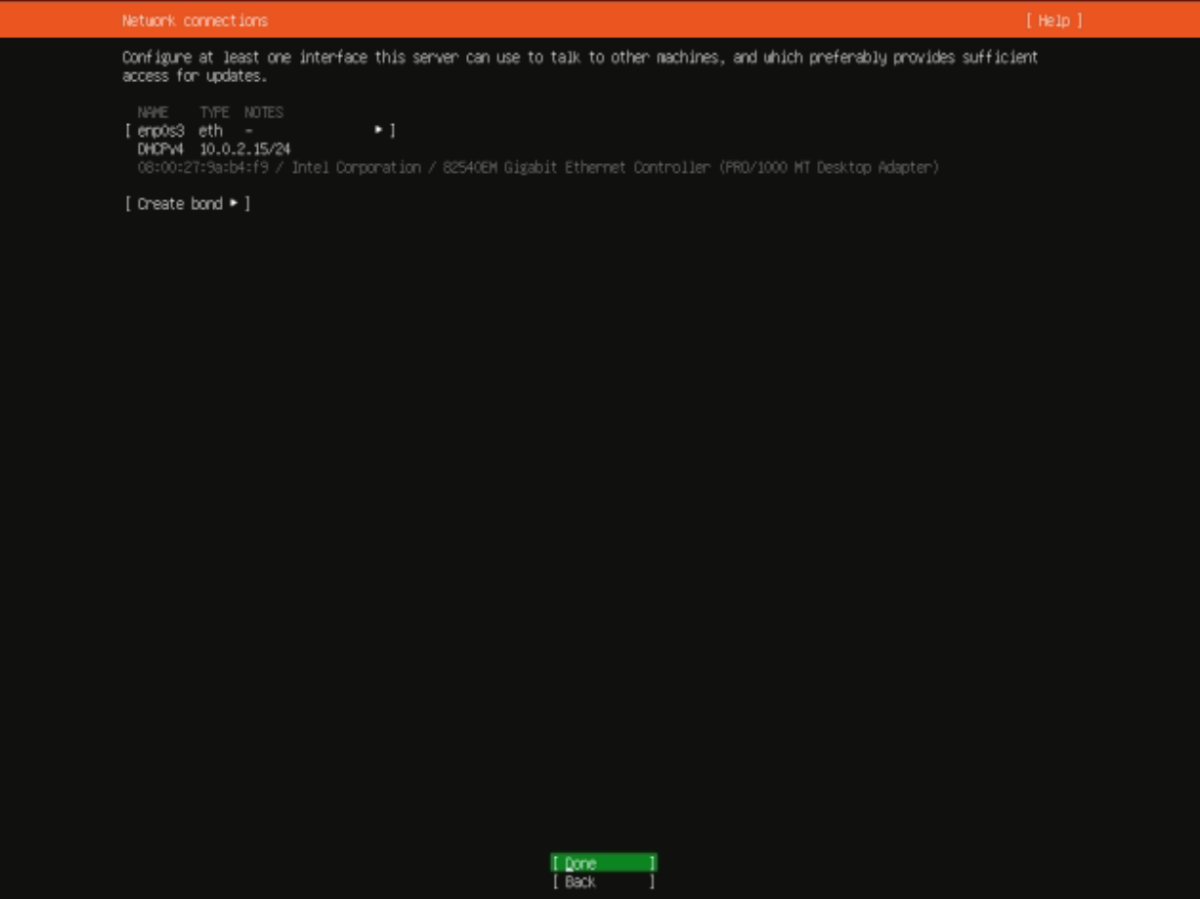
Step 6 : Configure your network settings. This involves providing information such as your hostname, domain name, and the DNS servers you want to use.
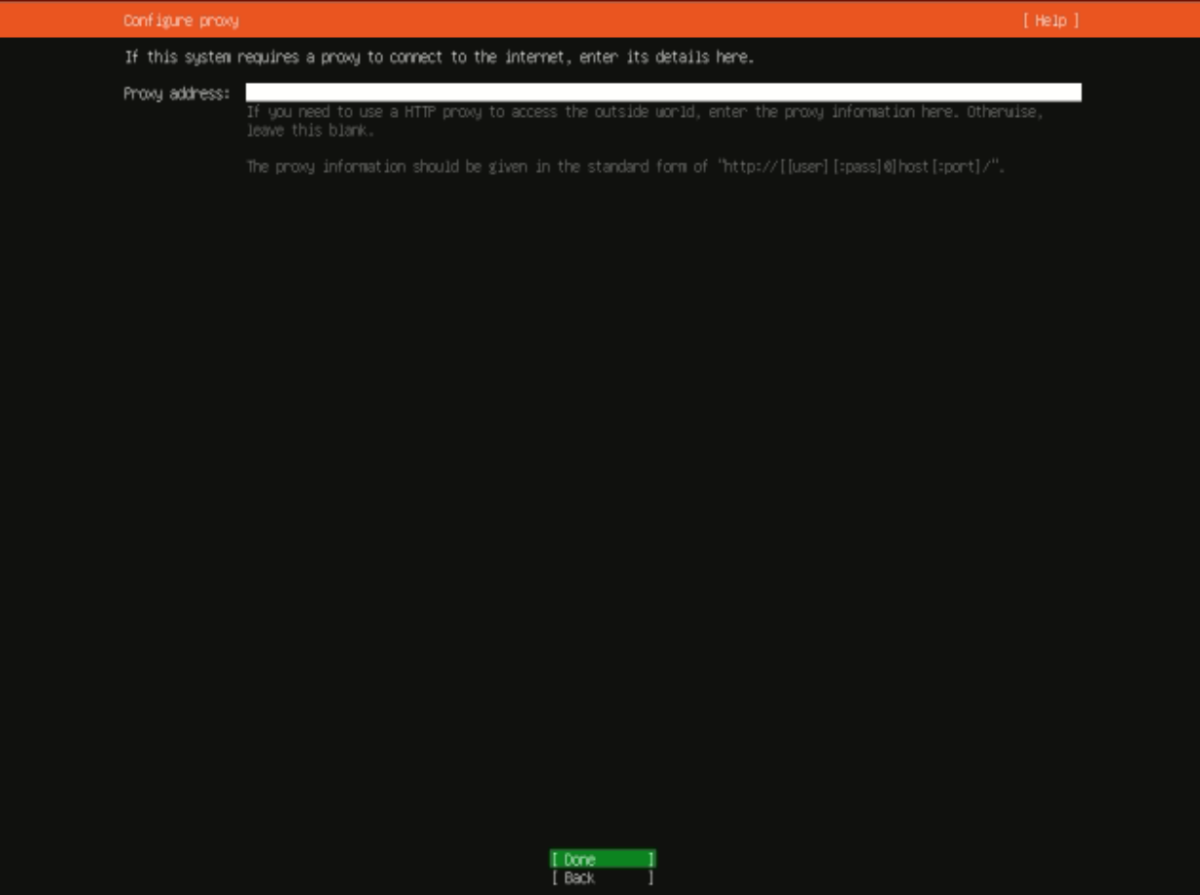
Step 7 : If you need to use a proxy for internet access, configure the Proxy address accordingly.
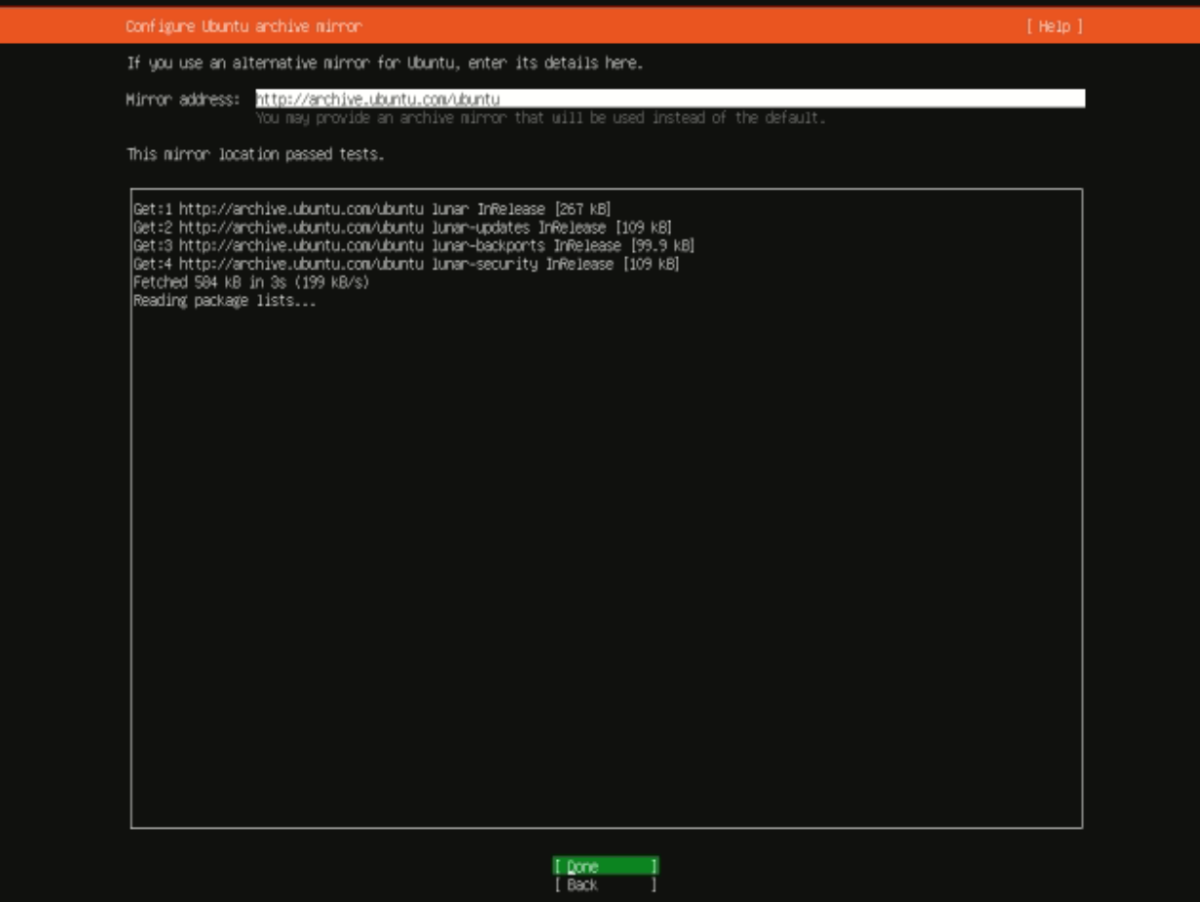
Step 8 : Specify the Mirror address for software updates. This is the server from which Ubuntu will download updated packages.
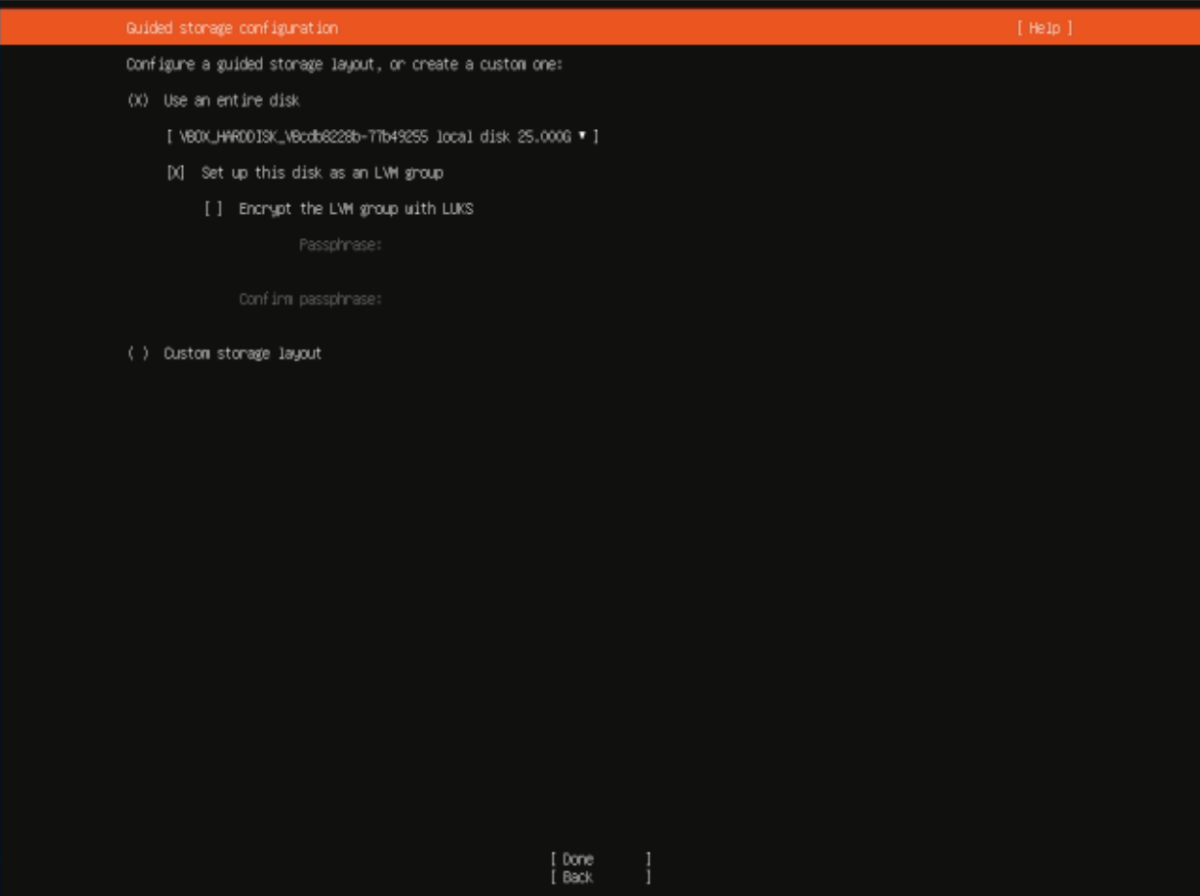
Step 9 : Choose the disk on which you want to install Ubuntu and select "Use an entire disk." Be cautious as this step will erase all data on the selected disk.
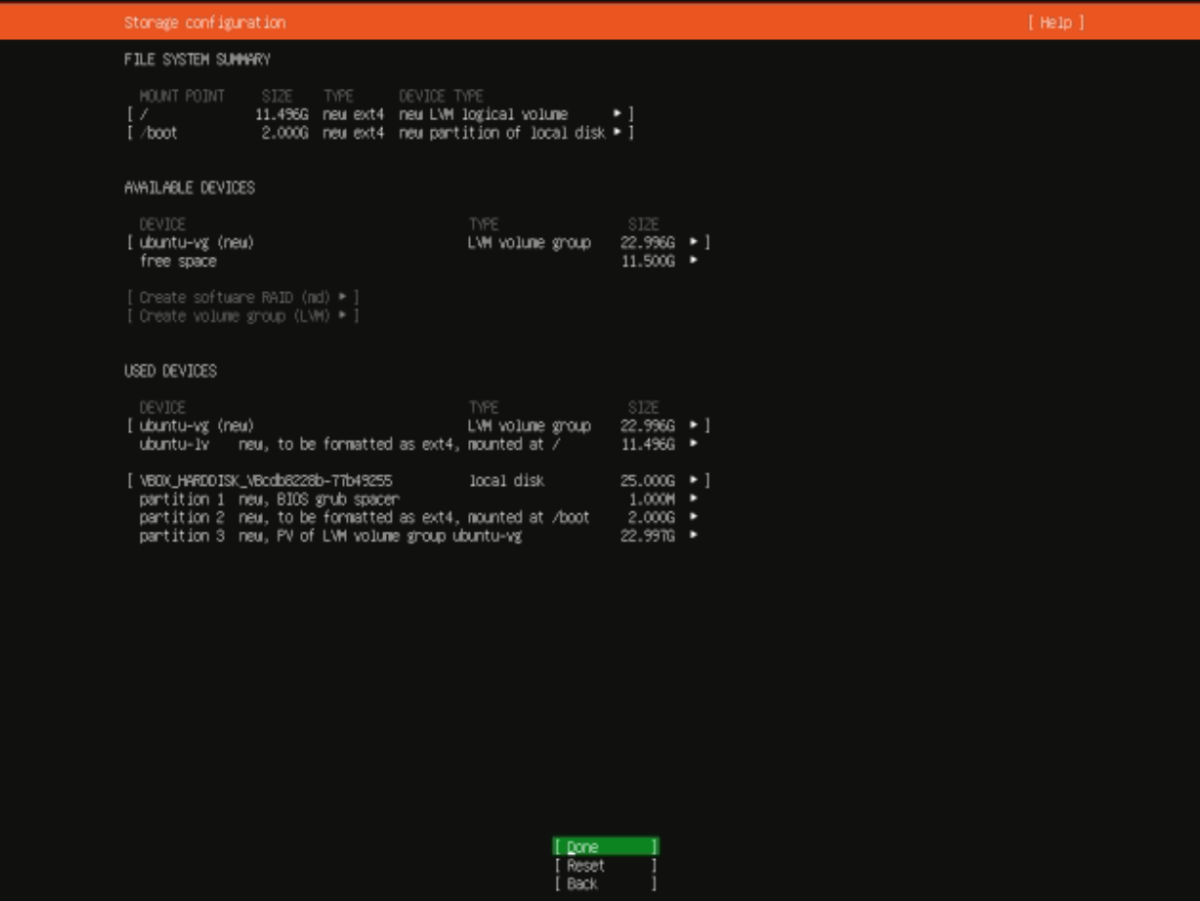
Step 10 : Review the file system summary, which shows how the partitions will be configured on the selected disk.
Step 11 : Confirm your choices, acknowledging that the changes will be written to the disk.

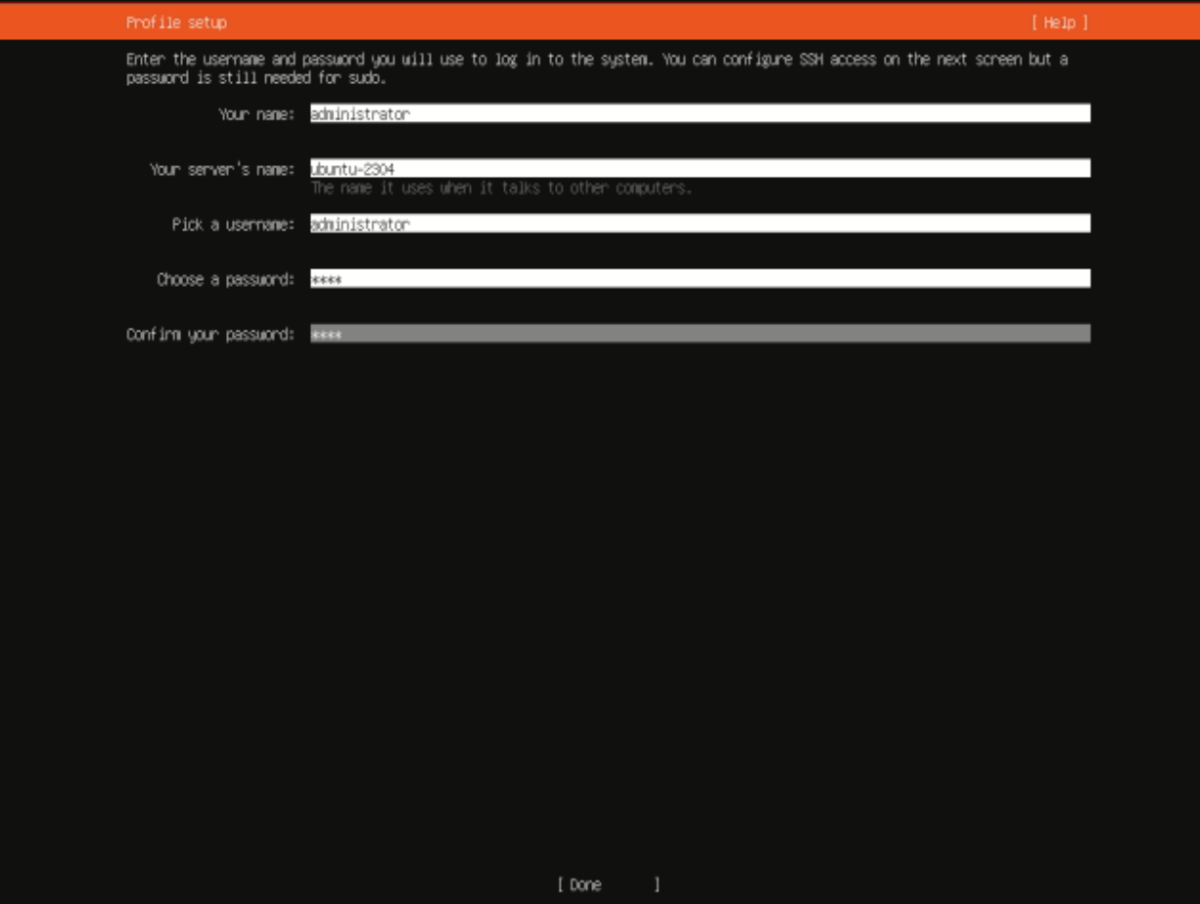
Step 12 : Enter your profile information, including your name, the name you want for your computer, a username, and a password.
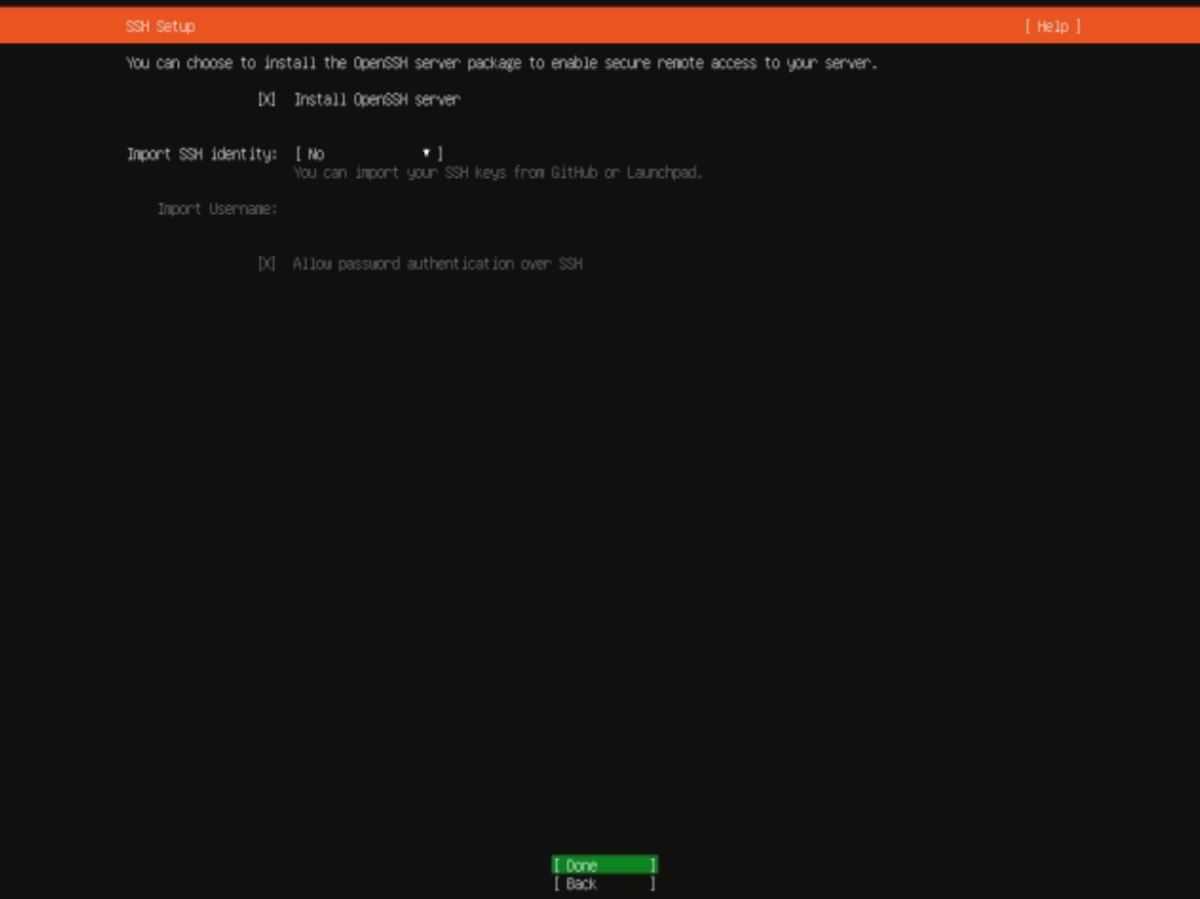
Step 13 : Choose whether to install the OpenSSH server for remote access. This is useful for managing your server remotely.
Step 14 : Optionally, select additional apps or proceed with the default software selection.

Step 15 : Wait for the installation process to complete. This may take some time depending on your system's performance.
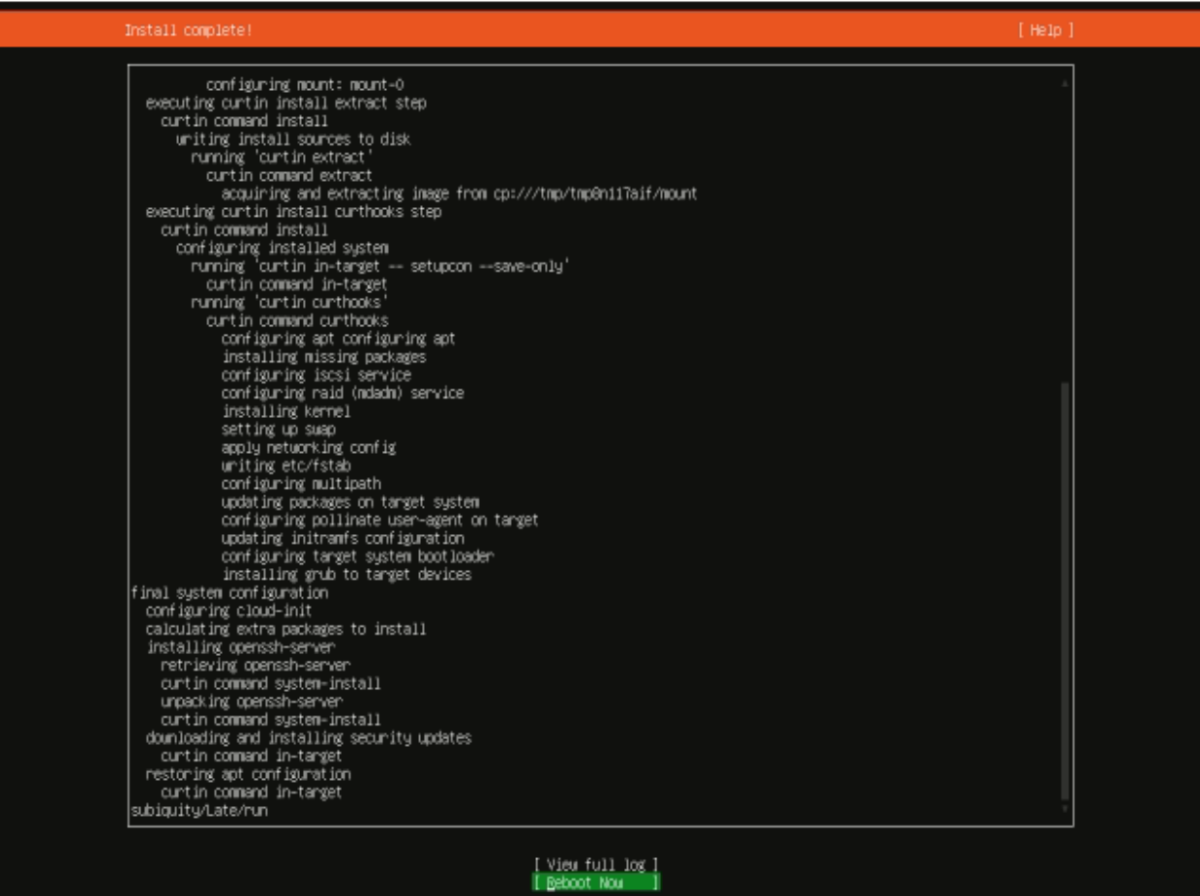
Step 16 : Once the installation is finished, Reboot now.

Congratulations! You have successfully installed Ubuntu Server 23.04. Your system is now ready for use as a robust and reliable server platform.