To set up the vsftpd FTP server on Ubuntu 23.04, follow the steps below:
Step 1 : Update
Begin by updating your package list to ensure you have the latest information about available packages.

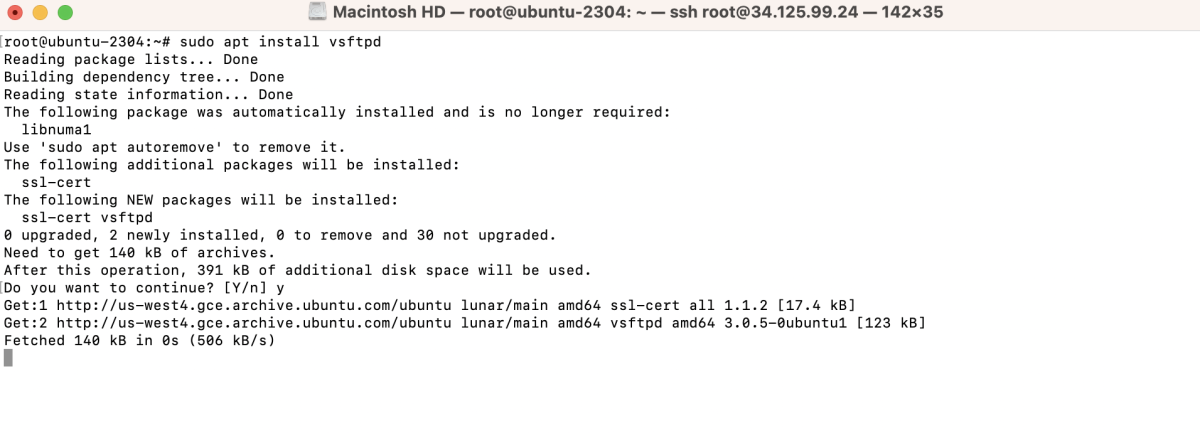
Step 2 : Install vsftpd
Install the vsftpd package using the following command:
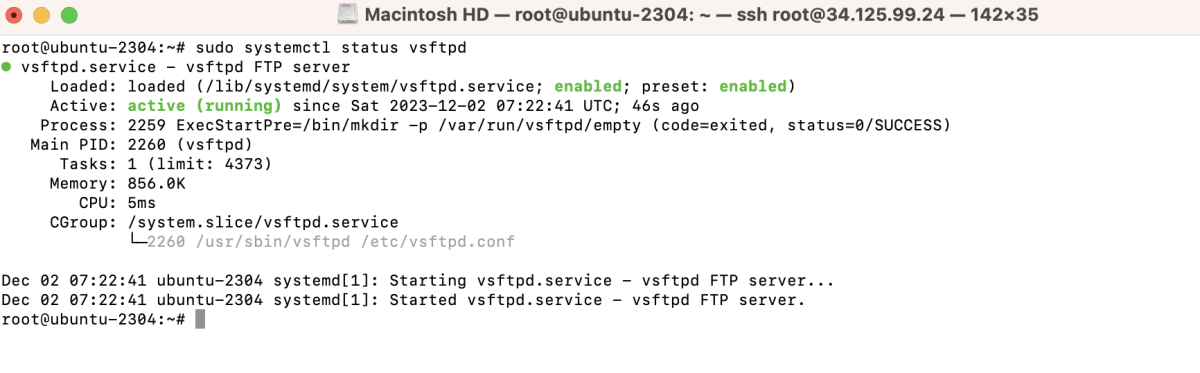
Step 3 : Check vsftpd Status
After the installation is complete, check the status of the vsftpd service to ensure it is running:
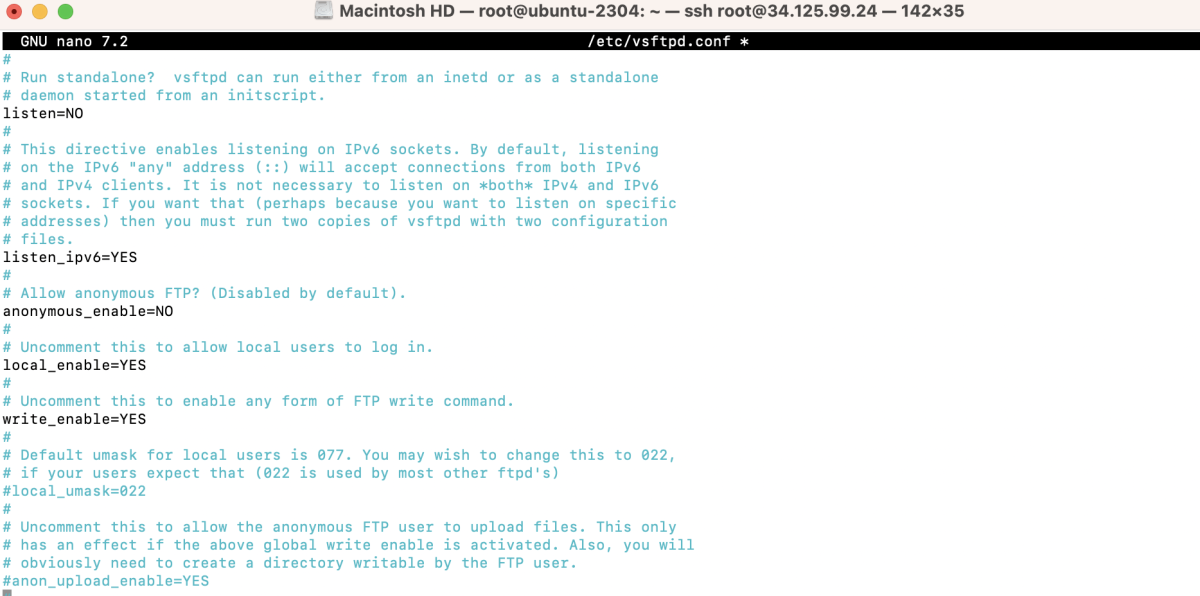
Step 4 : Configure vsftpd
Disable anonymous FTP access and configure vsftpd settings by editing the configuration file:
Adjust the following configurations:
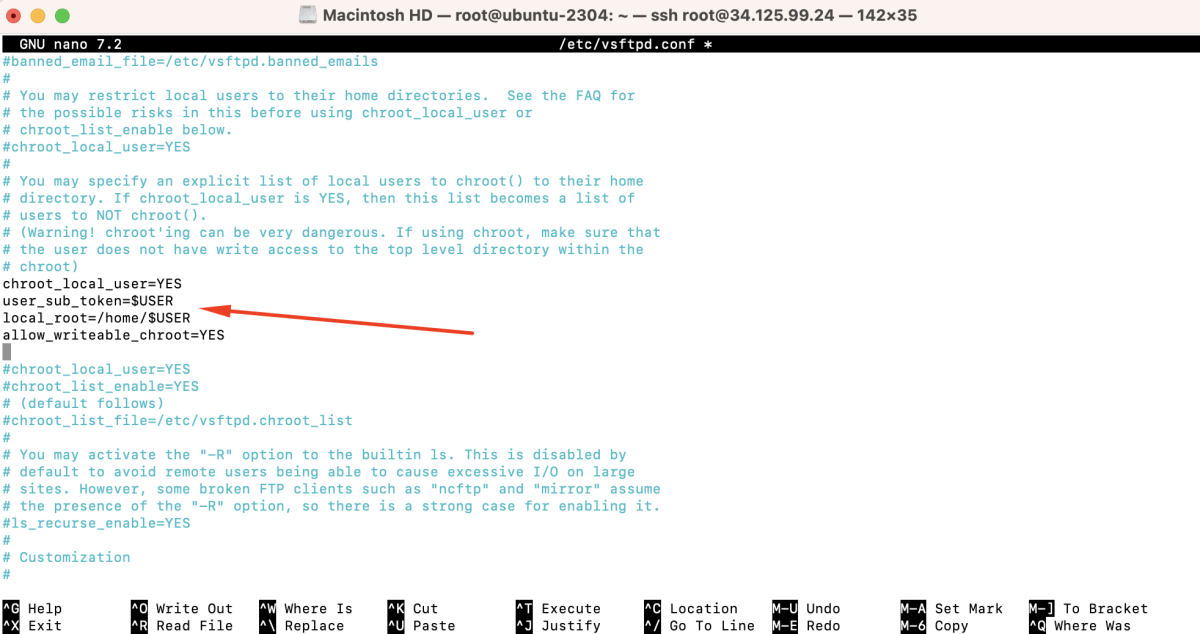
Save the changes and exit the text editor.
Step 5 : Restart vsftpd
Restart the vsftpd service to apply the changes:

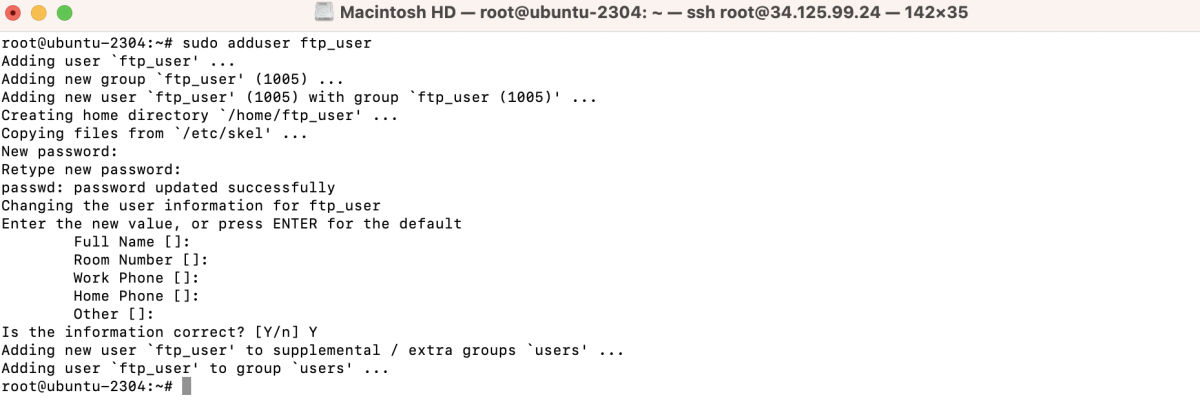
Step 6 : Create FTP User
Add a user for FTP access using the following command:
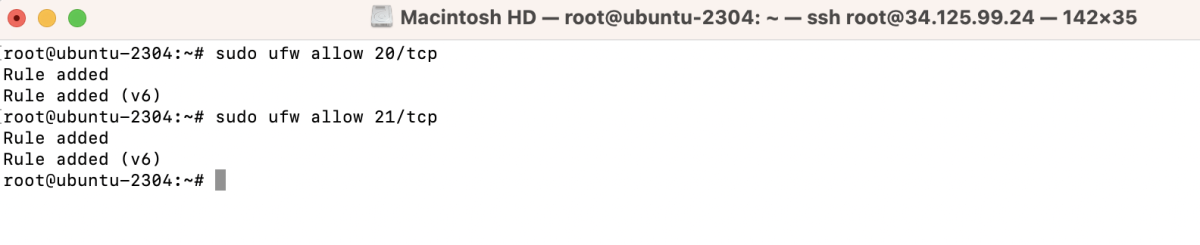
Step 7 : Allow UFW Traffic
If you are using UFW (Uncomplicated Firewall), allow traffic on the FTP port:
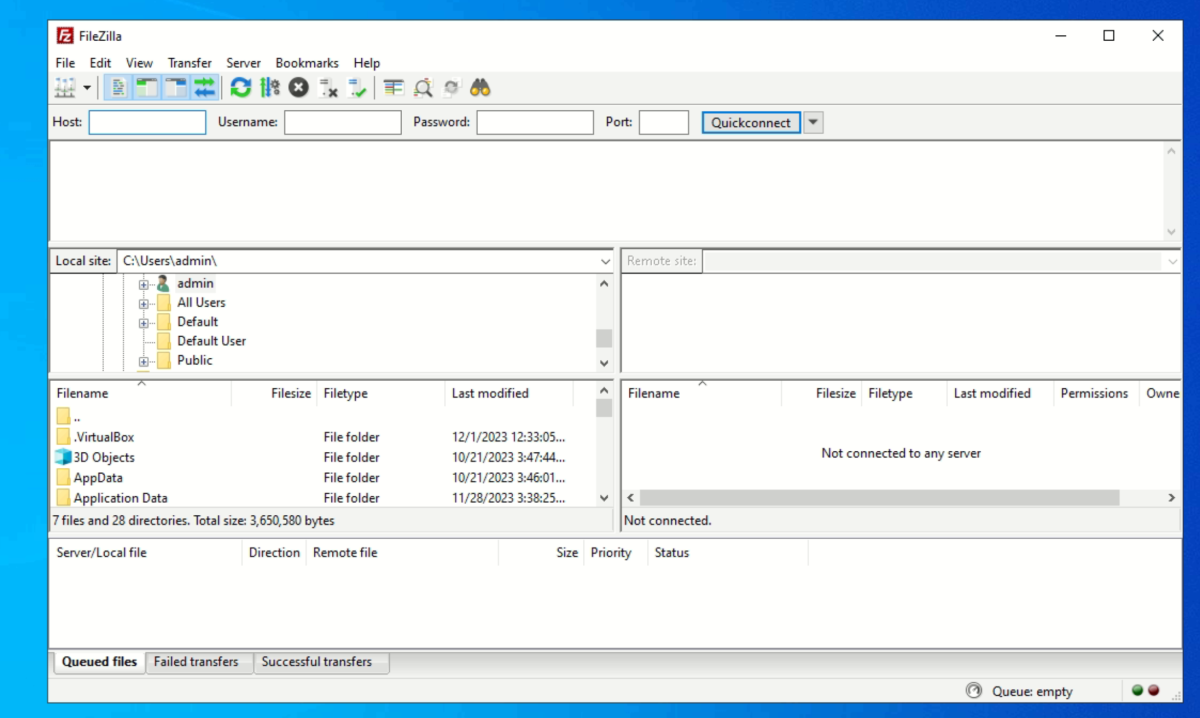
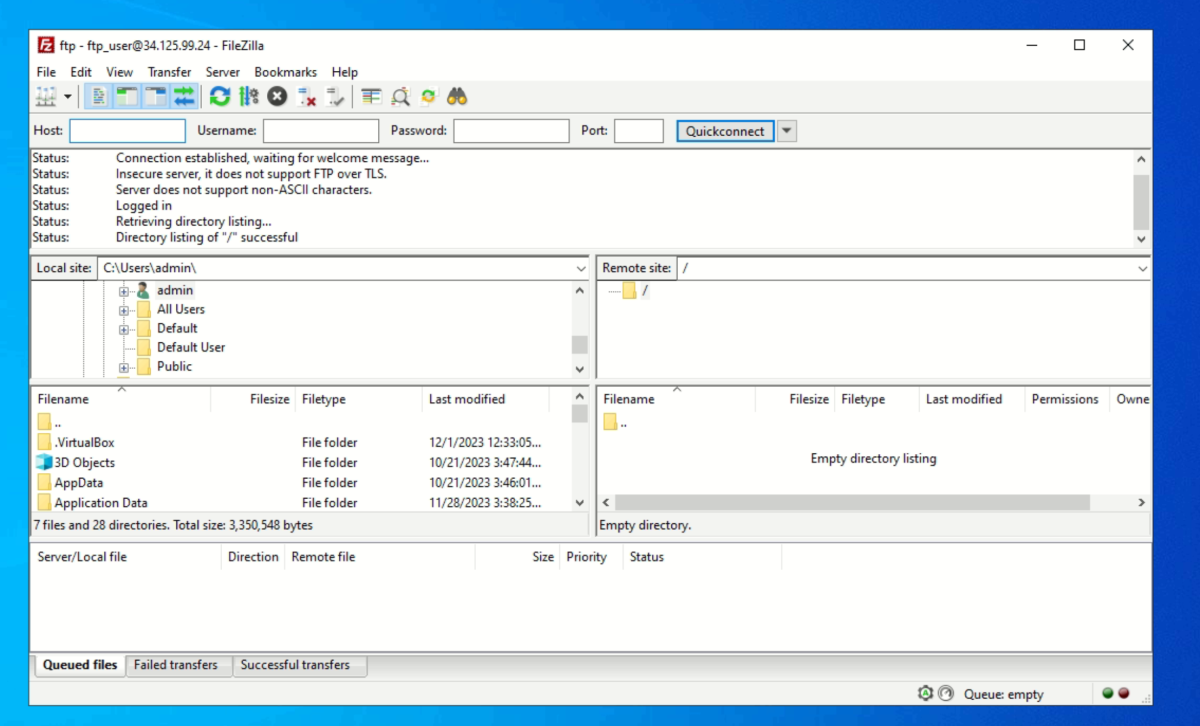
Step 8 : Test Connection
- Open your SFTP client, such as FileZilla.
- Add a new site in FileZilla: go to "File" > "Site Manager."
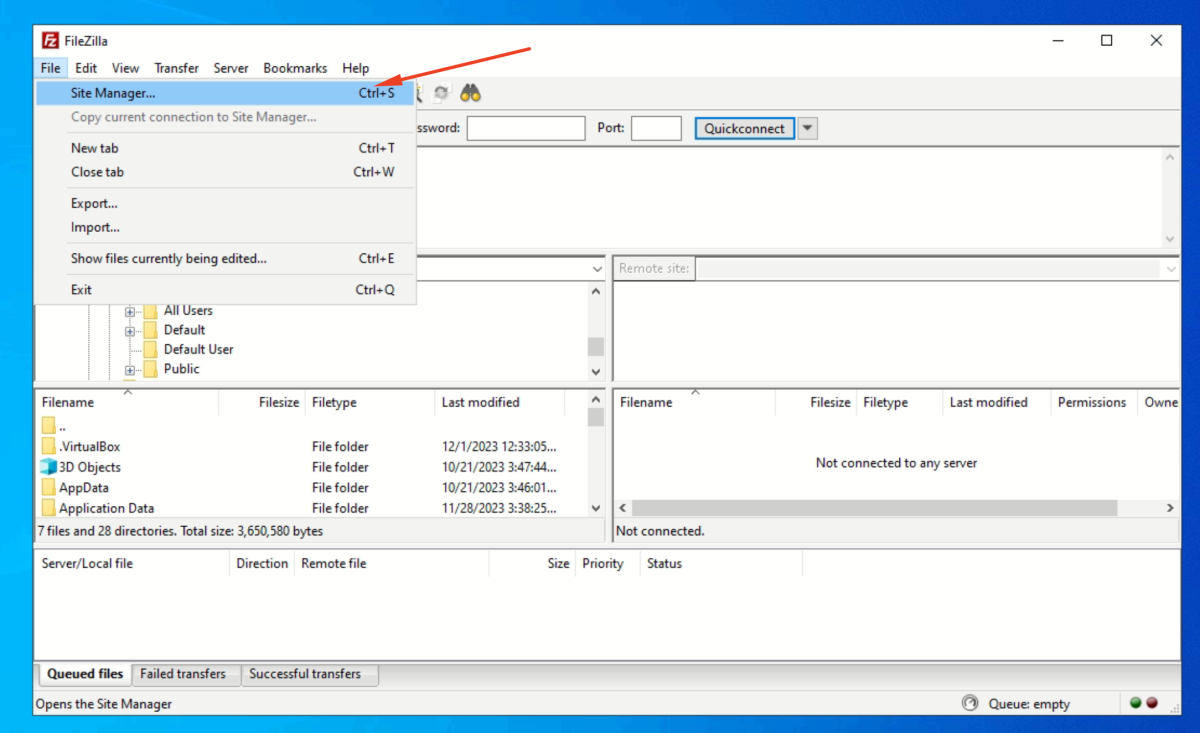
- Click on "New Site" and give it a suitable name.
- Configure site settings:
+ Set "Protocol" to FTP - File Transfer Protocol.
+ For "Encryption," select "Use explicit FTP over TLS if available."
+ Enter the host, which is the IP address or domain of your server.
+ Set "Port" to 21.
+ Choose "Logon Type" as "Normal" and enter the FTP username and password you created earlier.

- Connect to the server
- If the connection is successful, you will see the remote directory on the right side of the FileZilla interface, indicating a successful FTP connection.
Congratulations! You have successfully set up and configured the vsftpd FTP server on Ubuntu 23.04.