To configure SSL for Apache on Ubuntu 23.04, follow these steps:
Step 1 : Update:
Begin by ensuring your system is up to date. Run the following command in the terminal:

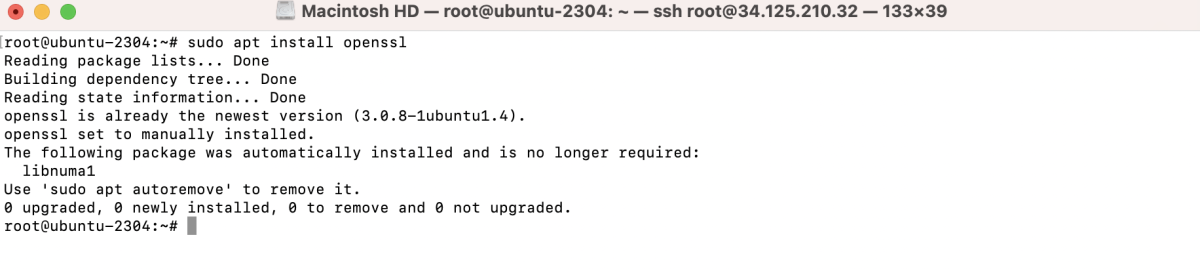
Step 2 : Install OpenSSL:
If OpenSSL is not already installed, you can do so with the following command:
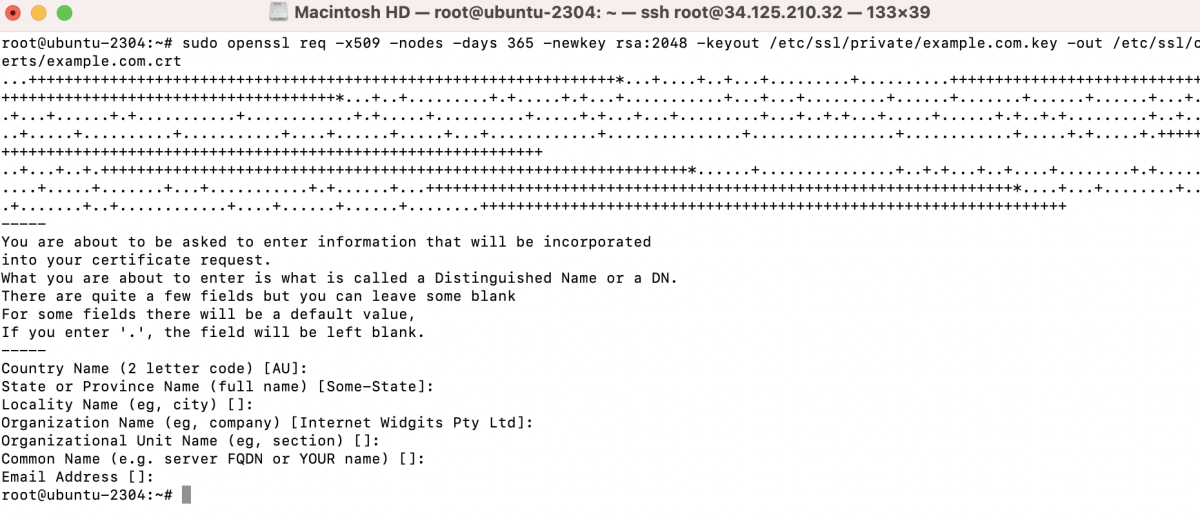
Step 3 : Generate SSL:
Generate a self-signed SSL certificate using OpenSSL. Replace "example.com" with your domain:
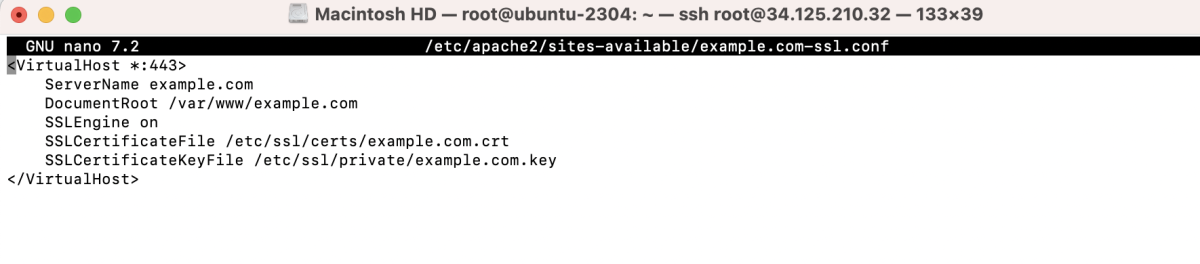
Step 4 : Create Apache Configuration File
Create a new Apache configuration file for your domain. Open the configuration file in a text editor:
Add the following lines within the <VirtualHost> block:
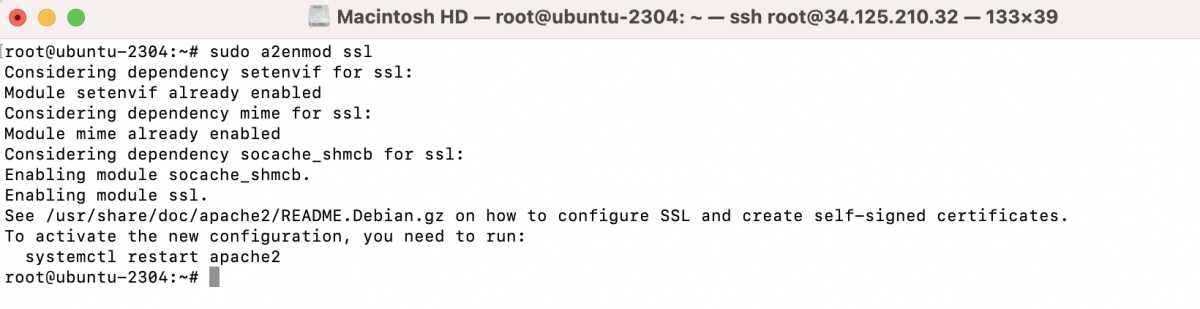
Step 5 : Enable SSL module:
Enable the SSL module for Apache:
Step 6 : Enable SSL Configuration:

Step 7 : Test Configuration:
Check the Apache configuration for any syntax errors:

Step 8 : Restart Apache:
Restart the Apache service to apply the changes:

Step 9 : Check Results:
Navigate to your domain (https://example.com) in a web browser and ignore any warnings.
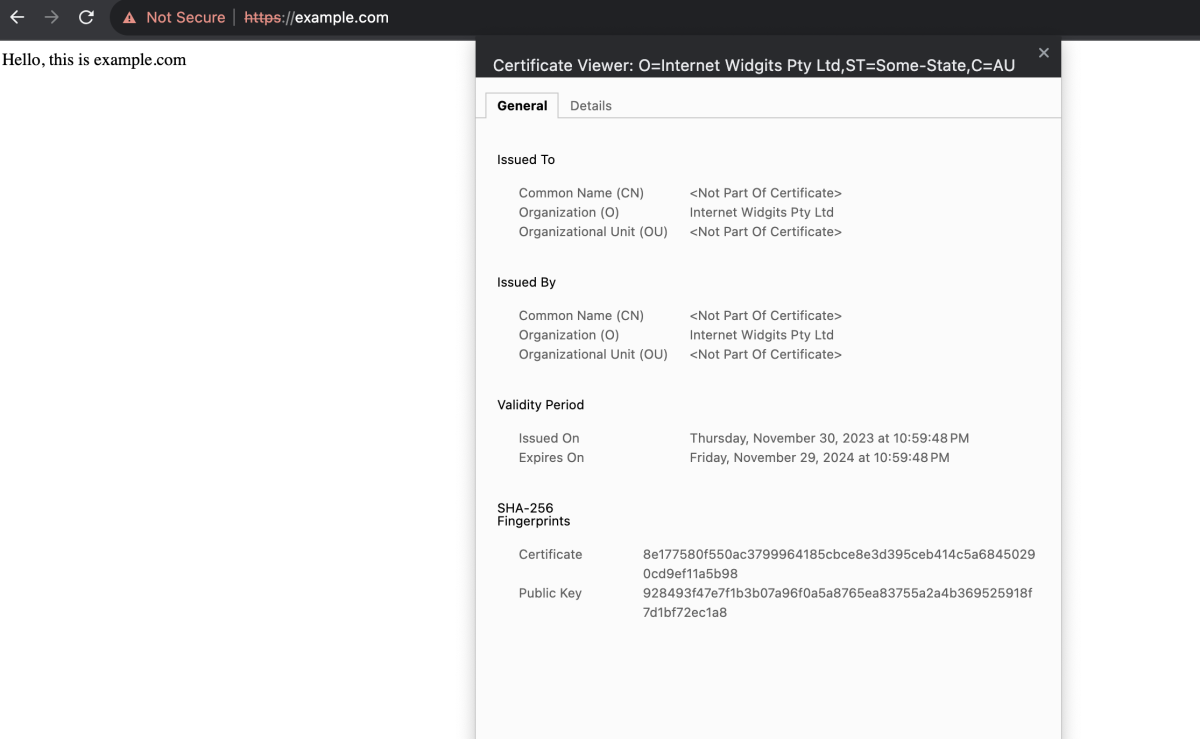
Congratulations! You have successfully configured SSL for Apache on Ubuntu 23.04. Your website is now secured with SSL encryption.