To install WordPress on AlmaLinux 9 with the LEMP stack, follow these steps:
Step 1 : Install LEMP Stack
If you haven't installed the LEMP stack yet, follow the guide: AlmaLinux 9 Guides to set up Nginx, MariaDB, and PHP.
Step 2 : Create a Database for WordPress
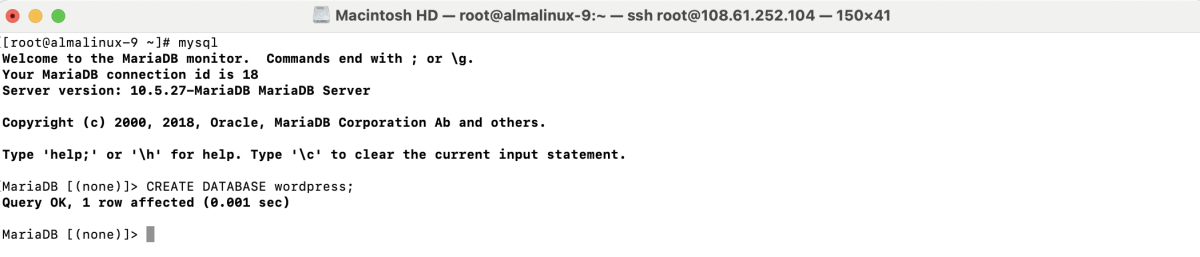
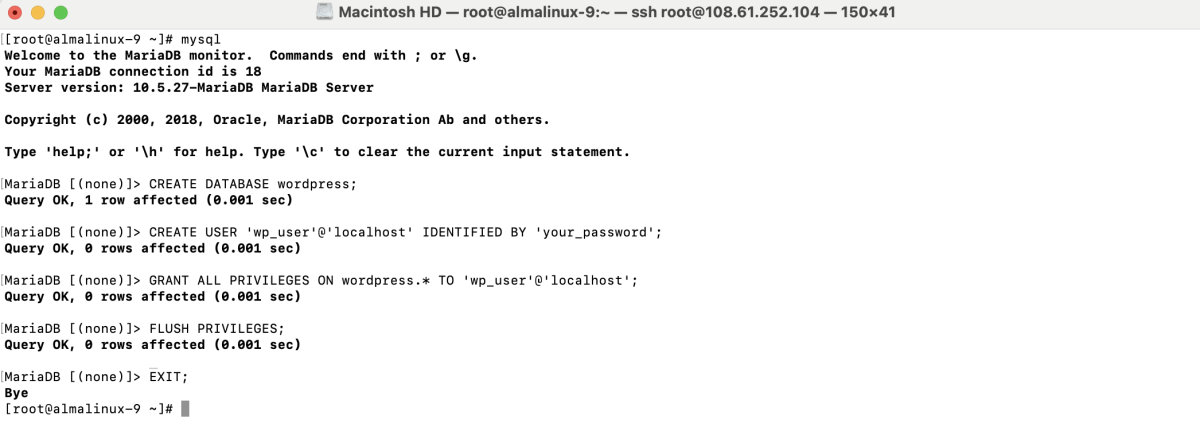
- Log in to MariaDB:

- Create a new database:
- Create a user and grant privileges:
Step 3 : Download and Install WordPress
- Create the website directory:

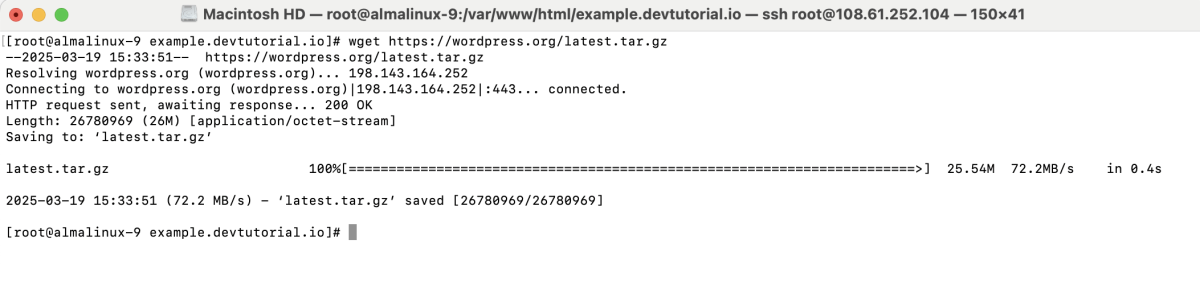
- Download WordPress:
- Extract the archive:

- Move the WordPress files to the desired directory:

- Set correct permissions:

Step 4 : Configure Nginx for WordPress
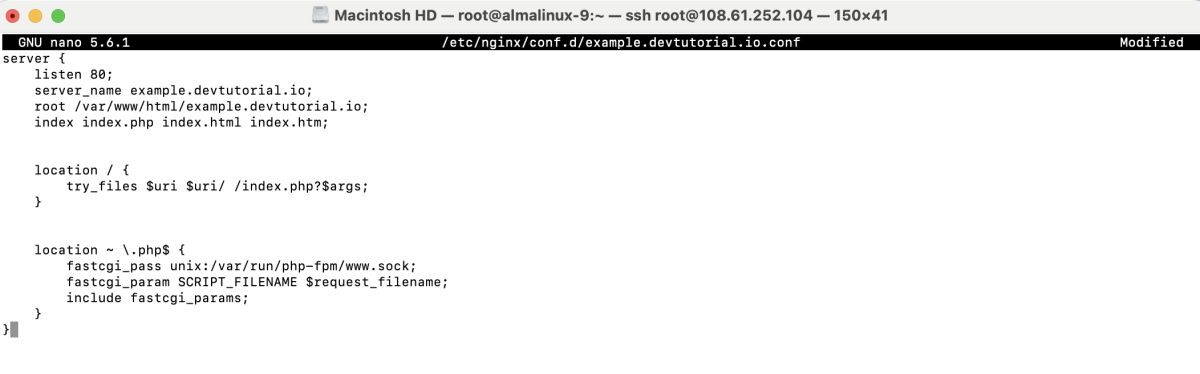
Create an Nginx configuration file:
Add the following content:
Step 5 : Configure SELinux (If Enabled)
Run the following command if SELinux is enabled:

Step 6 : Test Configuration and Restart Nginx
- Test the Nginx configuration:

- Restart Nginx:

Step 7 : Open Browser and Install WordPress
- Open http://example.devtutorial.io in your browser.
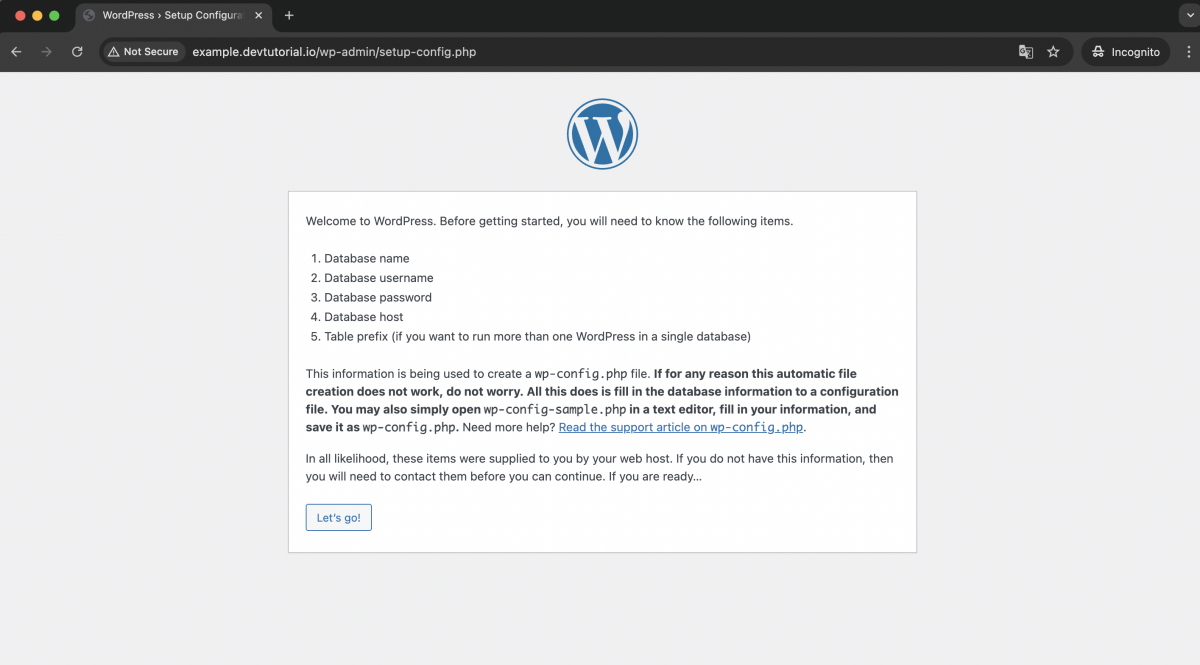
- Click Let's go! to proceed.
Step 8 : Enter the database details:
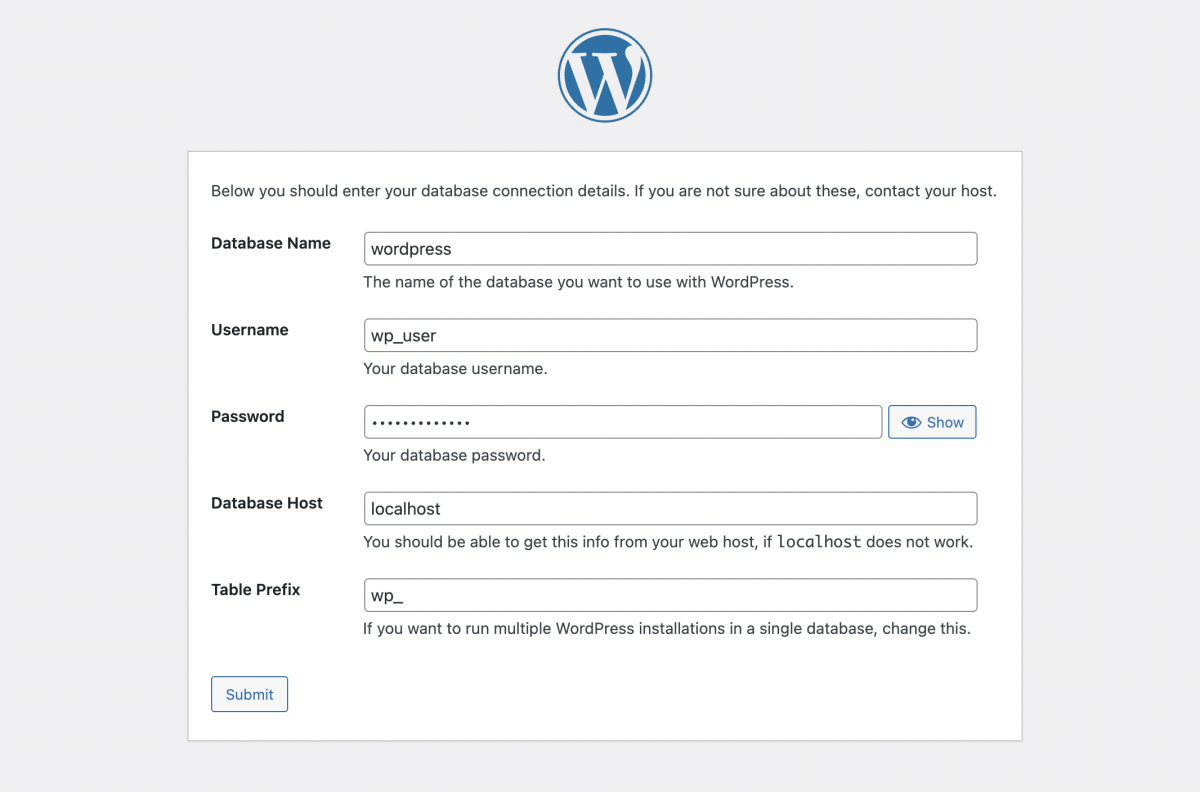
- Database Name
- Username
- Password
- Database Host
Step 9 : Click Run the installation.

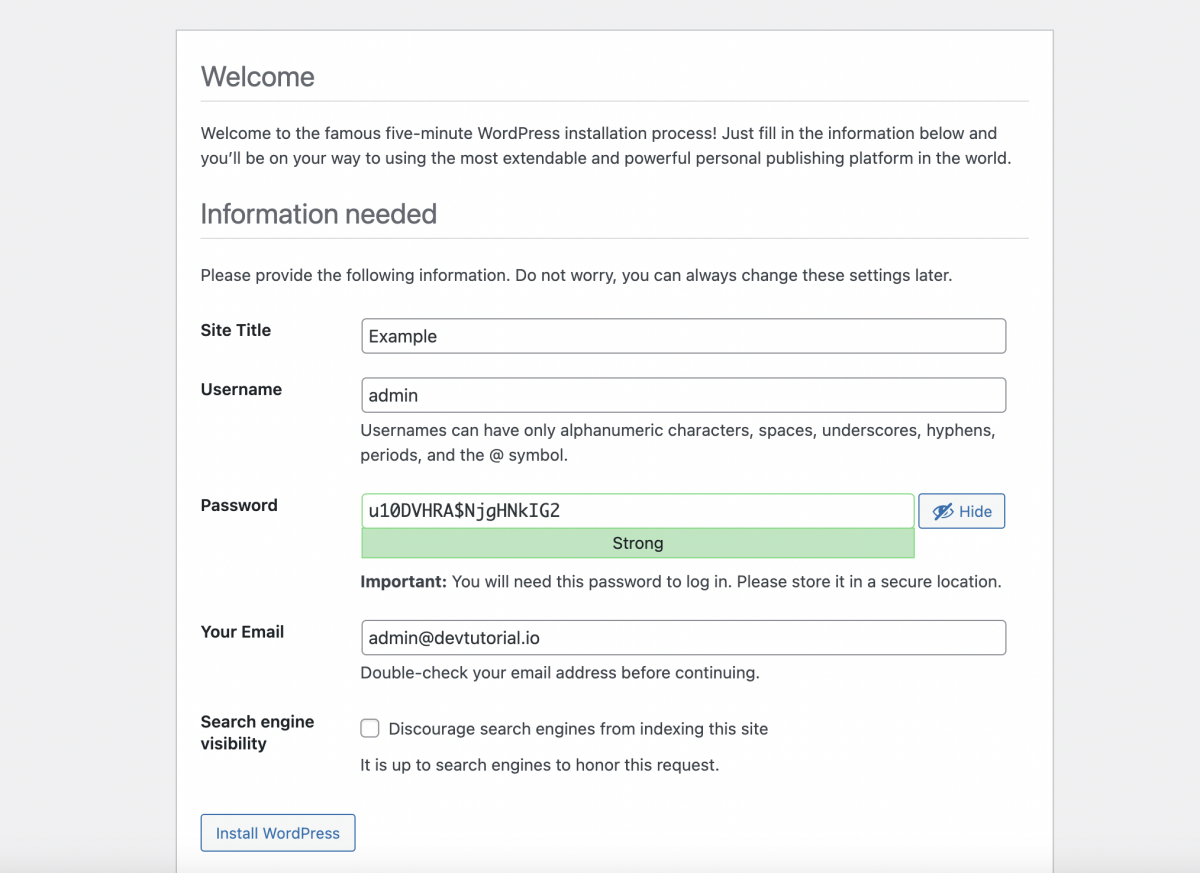
Step 10 : Enter site details and click Install WordPress.
Step 11 : Log in to WordPress
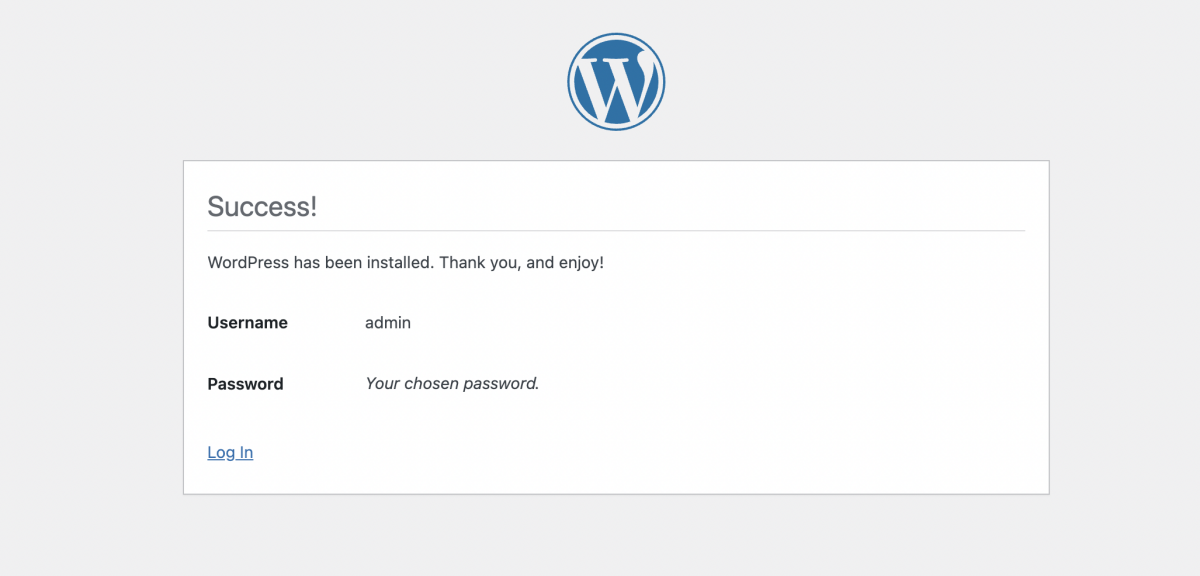
Enter your credentials and log in.

Step 12 : Access WordPress Dashboard

Once logged in, you'll be redirected to the WordPress dashboard, where you can start customizing your site.
Congratulations! You have successfully installed WordPress with the LEMP stack on AlmaLinux 9.