To install Nginx on AlmaLinux 9, follow these steps:
Step 1 : Update the System
First, update your system packages using the following command:

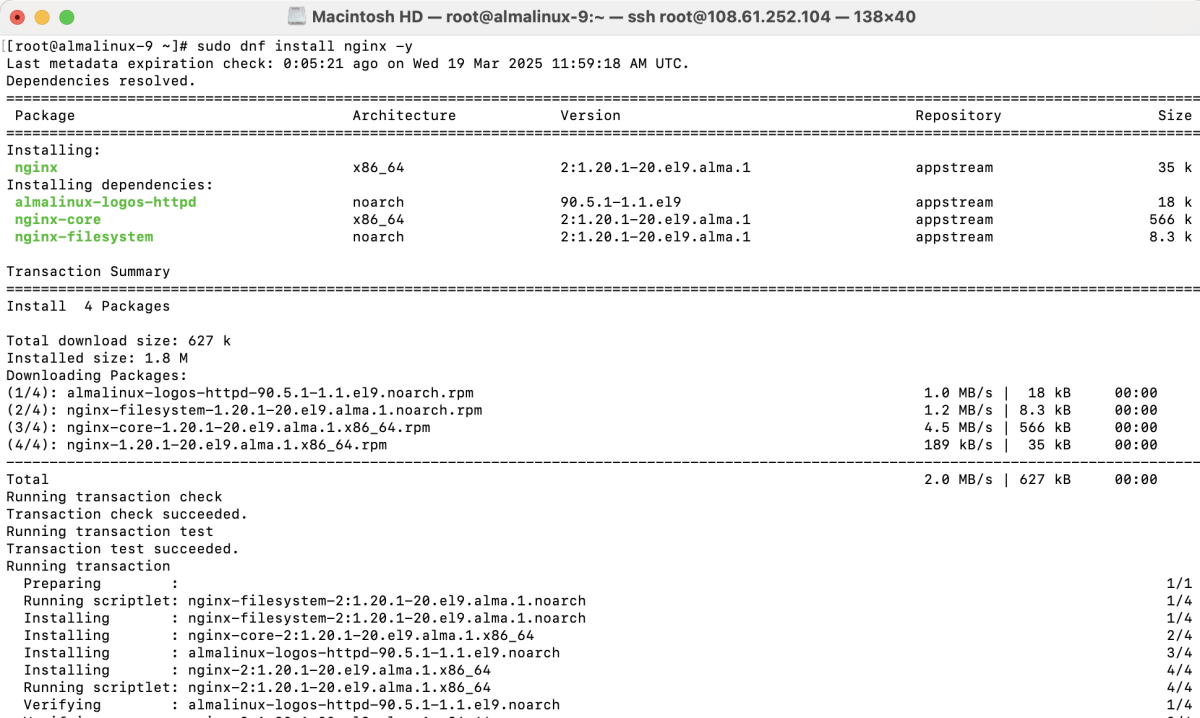
Step 2 : Install Nginx
Run the following command to install Nginx:
Step 3 : Verify Nginx Installation
Check if Nginx is installed correctly by verifying its version:

Step 4 : Enable and Start Nginx
Enable and start the Nginx service:

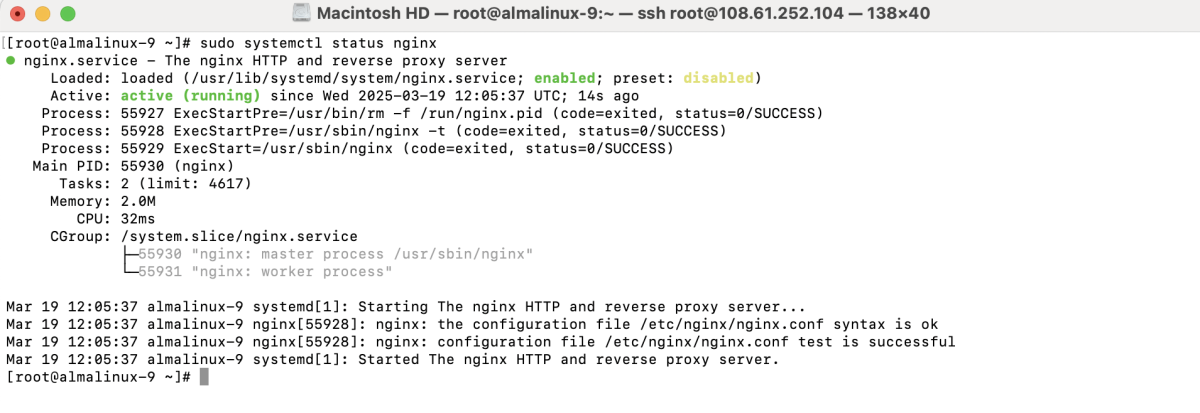
Step 5 : Check Nginx Status
Confirm that Nginx is running:
Step 6 : Adjust Firewall
Allow HTTP and HTTPS traffic through the firewall:

Step 7 : Reload Firewall
Apply the firewall changes:

Step 8 : Create Nginx Configuration for example.com
Create a new configuration file for your domain:
Add the following content:
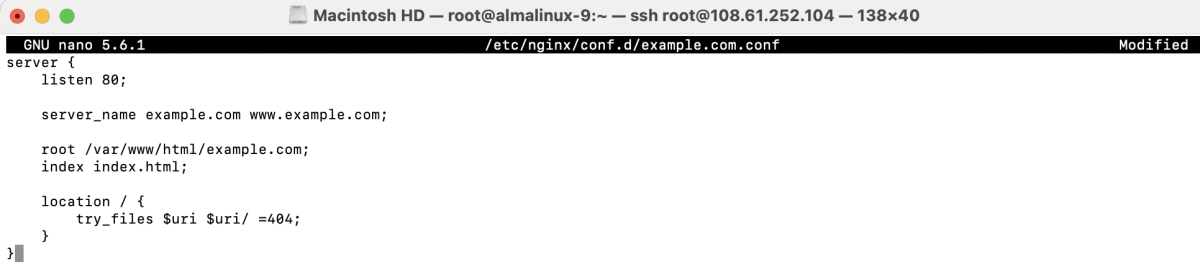
Save and exit the file.
Step 9 : Create Website Directory and Index File
Create the necessary directory and an index file:

Step 10 : Adjust SELinux (If Enabled)
If SELinux is enabled, update the file context:

Step 11 : Test Nginx Configuration
Check for syntax errors:

Step 12 : Restart Nginx
Apply the changes by restarting Nginx:

Step 13 : Access the Website
Open your browser and visit:

Congratulations! You have successfully installed and configured Nginx on AlmaLinux 9.