To install and configure a VNC server on AlmaLinux 9, follow these steps:
Step 1 : Update System Packages
Run the following command to ensure your system is up to date:

Step 2 : Install Required Packages
Install the EPEL repository:

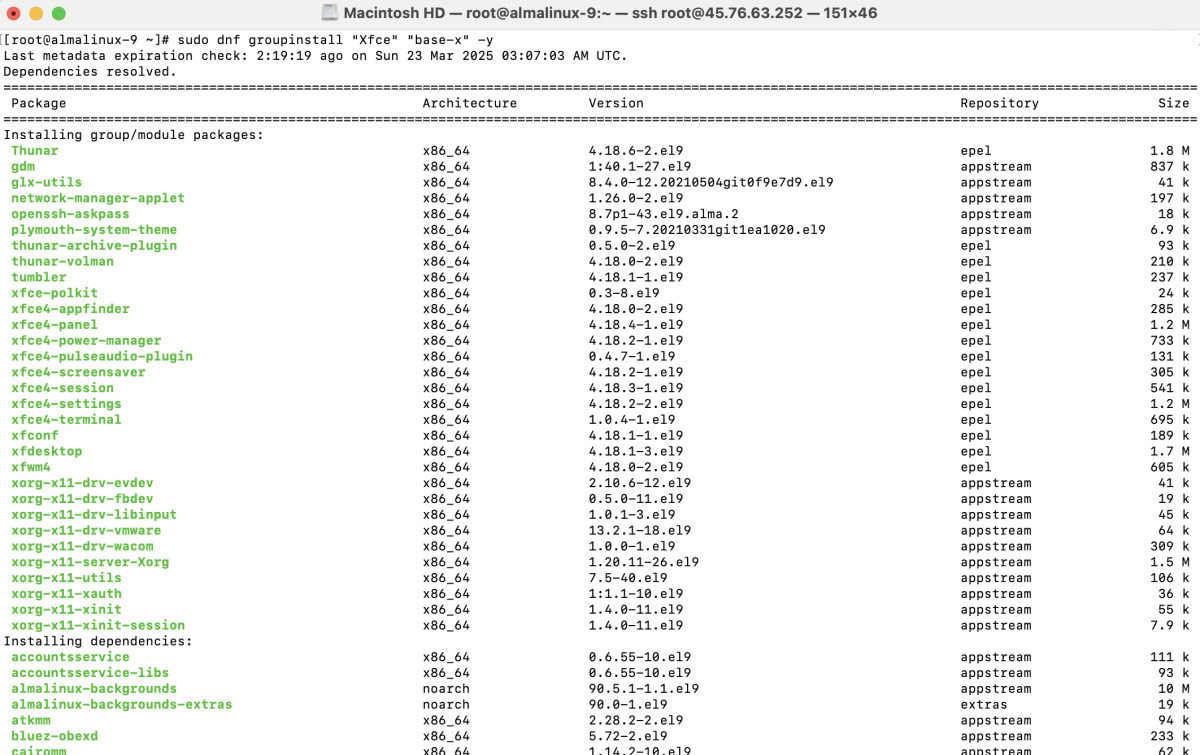
Install the Xfce desktop environment:
Set the graphical target as default:

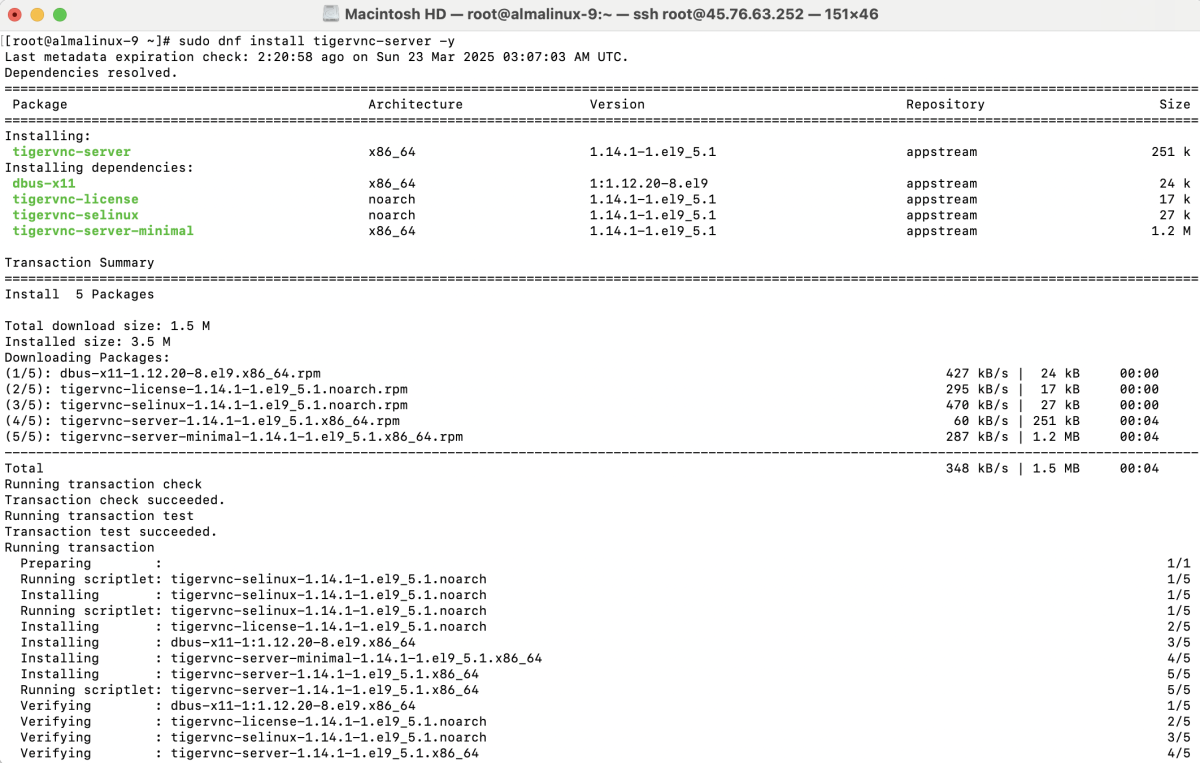
Step 3 : Install TigerVNC Server
Install the TigerVNC server package:
Step 4 : Set Up VNC Password
Run the following command to create a password for VNC:

Step 5 : Configure VNC Server
Edit the VNC startup file:
Add the following lines:
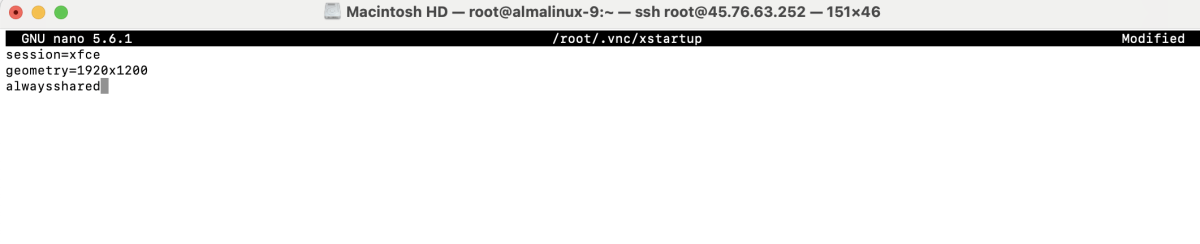
Save and exit the file.
Step 6 : Configure VNC User Mapping
Open the VNC server users file:
Add the following line:

Save and exit.
Step 7 : Reload System Daemon

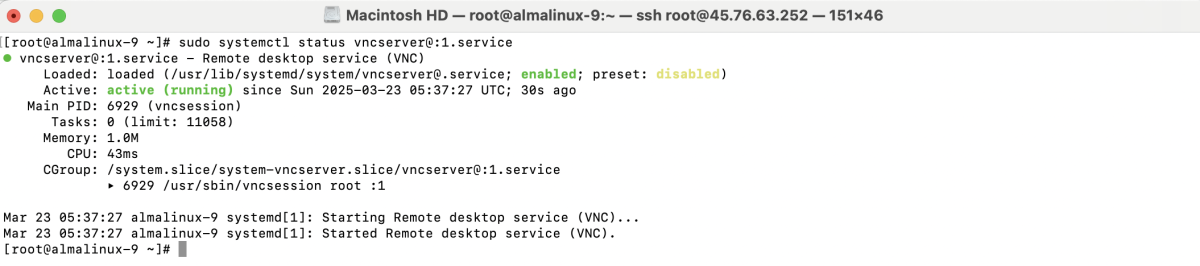
Step 8 : Start and Enable VNC Service
Start the VNC server service:

Enable it to start on boot:

Check the status:
Step 9 : Configure Firewall (if applicable)
If you are using a firewall, allow VNC connections:

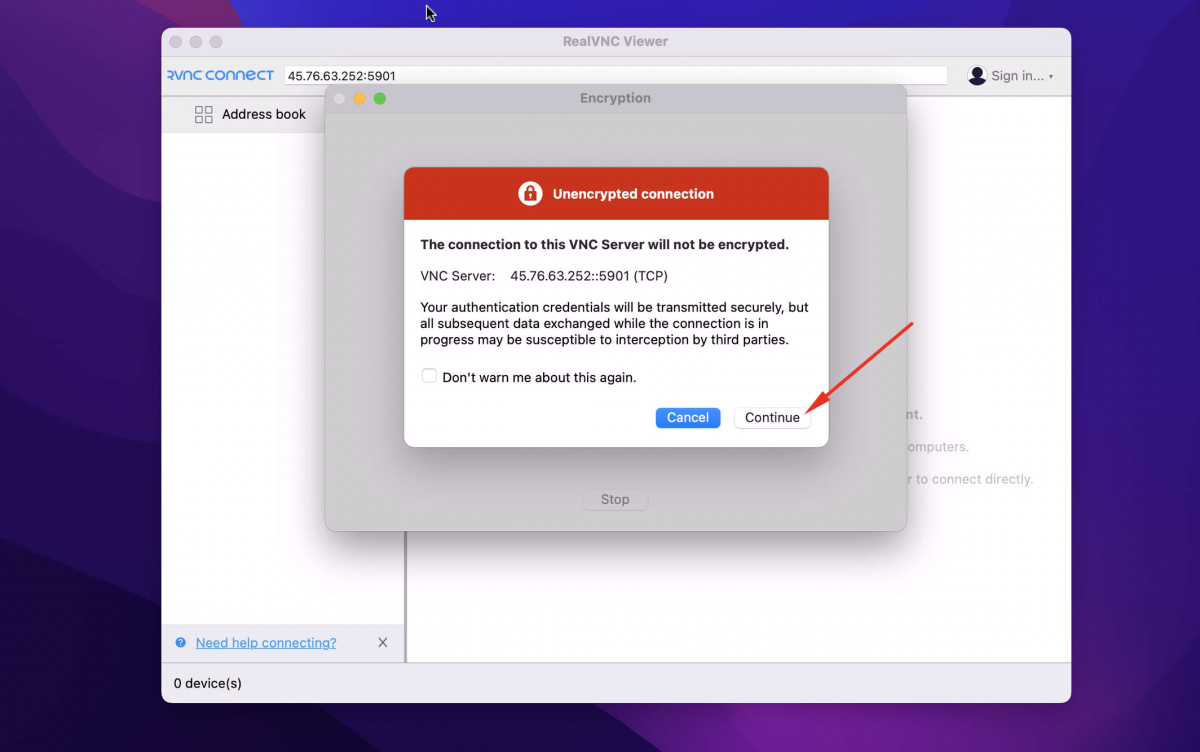
Step 10 : Connect to Your VNC Server
Use a VNC client such as TigerVNC Viewer or RealVNC to connect to:

If you see a warning about an unencrypted connection, click Continue.
Step 11 : Login and Access Your Desktop
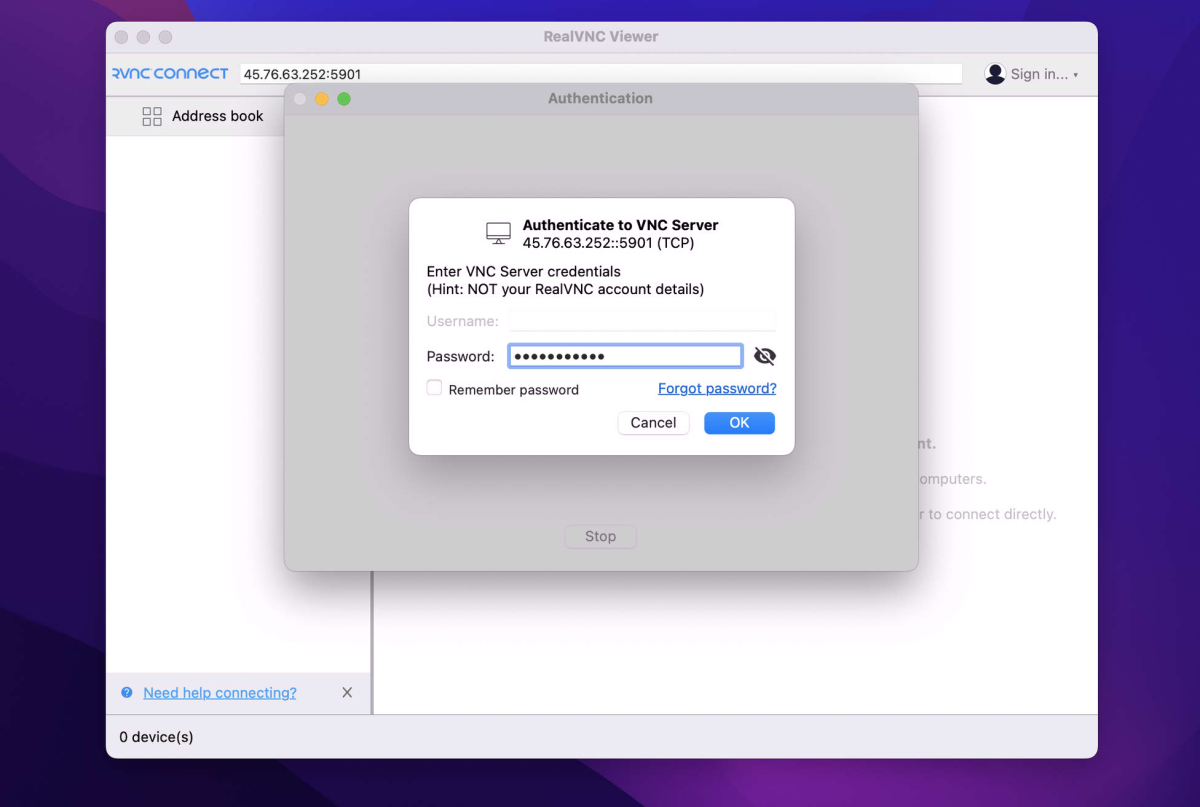
Enter your VNC password and log in to access your Xfce desktop environment.

Congratulations! You have successfully installed and configured a VNC server on AlmaLinux 9.