To install phpMyAdmin with Nginx on AlmaLinux 9, follow these steps:
Step 1 : Update the System
Run the following command to update your system packages:

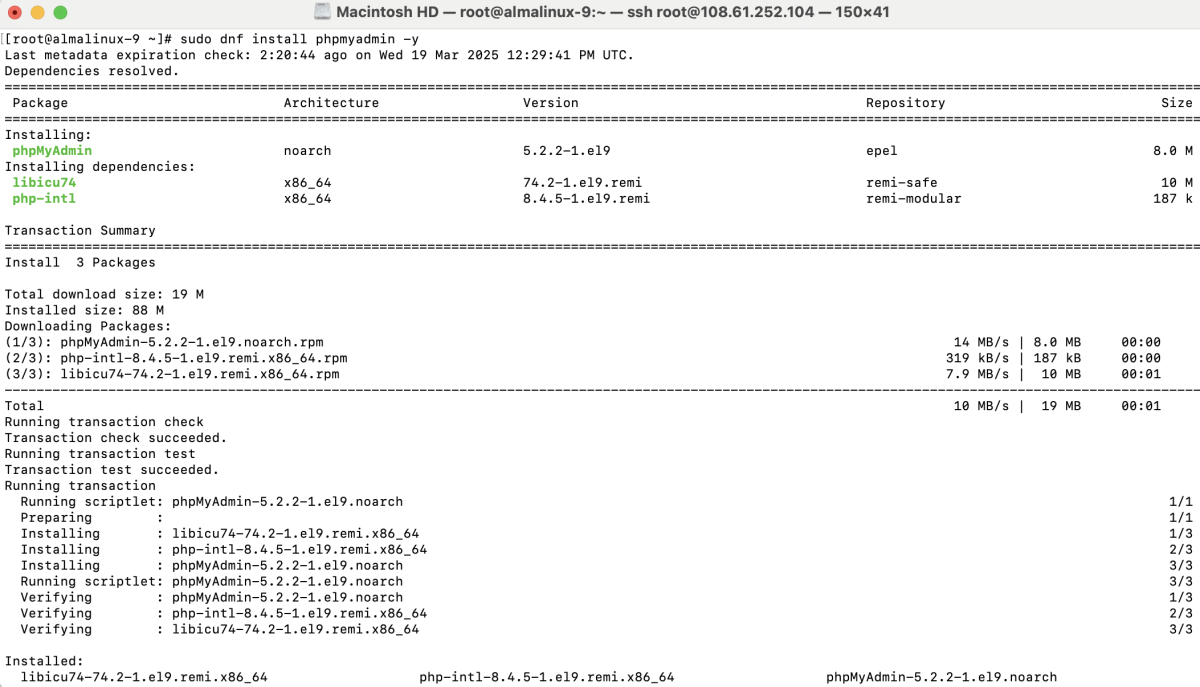
Step 2 : Install phpMyAdmin
Install phpMyAdmin using the package manager:
Step 3 : Create a Symbolic Link for phpMyAdmin
Run the following command to link phpMyAdmin to the Nginx web directory:

Step 4 : Create an Nginx Configuration for phpMyAdmin
Create a new configuration file for phpMyAdmin under /etc/nginx/conf.d/phpmyadmin.conf:
Add the following configuration (adjust the domain as needed):
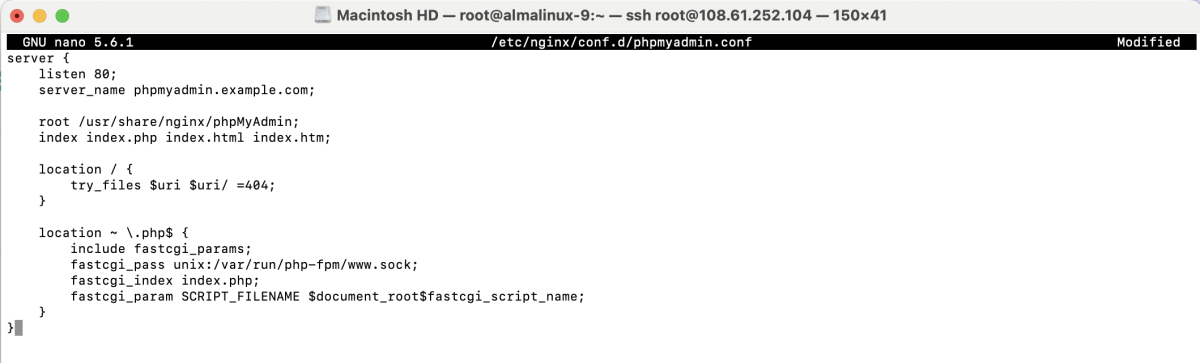
Save and exit the file.
Step 5 : Test Nginx Configuration
Check if there are any syntax errors in your Nginx configuration:

If there are no errors, proceed to the next step.
Step 6 : Restart Nginx
Apply the changes by restarting Nginx:

Step 7 : Access phpMyAdmin
- Open your browser and go to: http://phpmyadmin.example.com

- If you encounter a PHP session error, run the following command:

- Refresh the page.
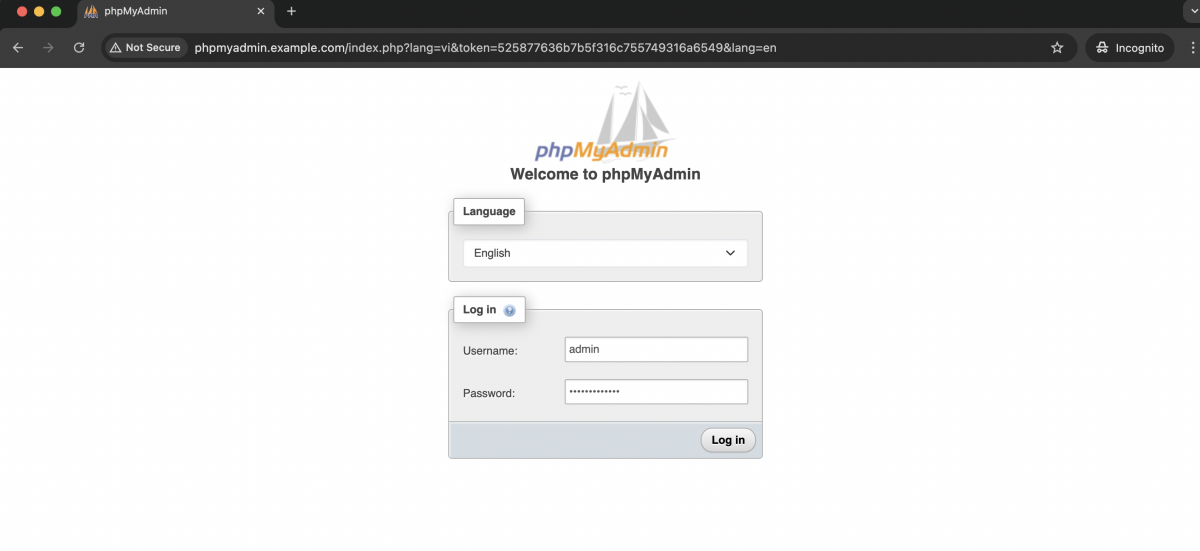
- Log in using your MySQL credentials.
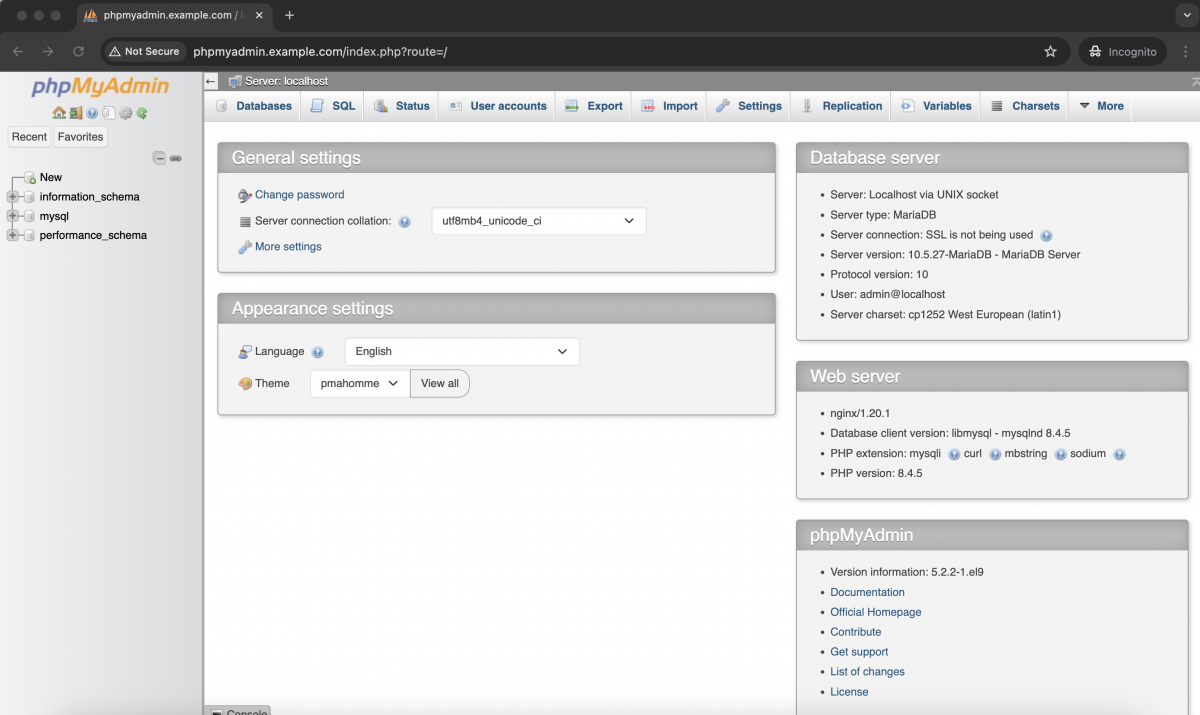
Congratulations! You have successfully installed and configured phpMyAdmin with Nginx on AlmaLinux 9.