To install RabbitMQ on AlmaLinux 9, follow these steps:
Step 1 : Update System
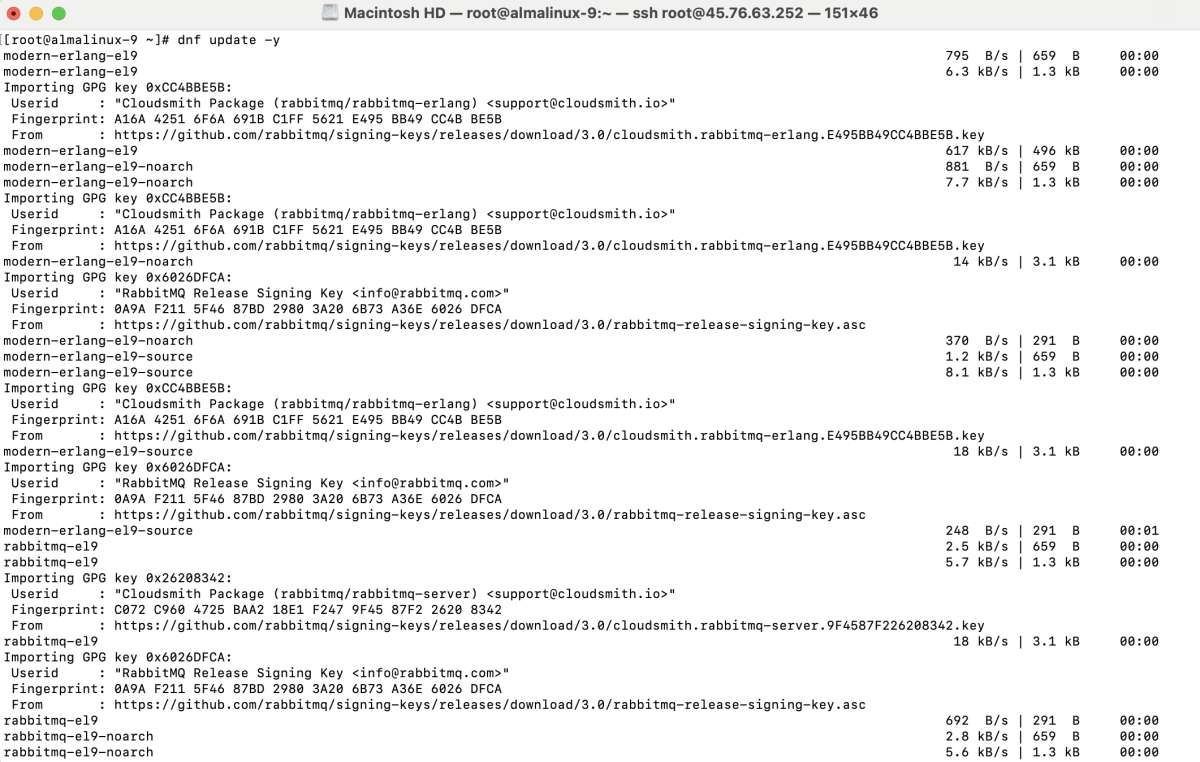
Run the following command to update your system:

Step 2 : Import RabbitMQ and Erlang Keys

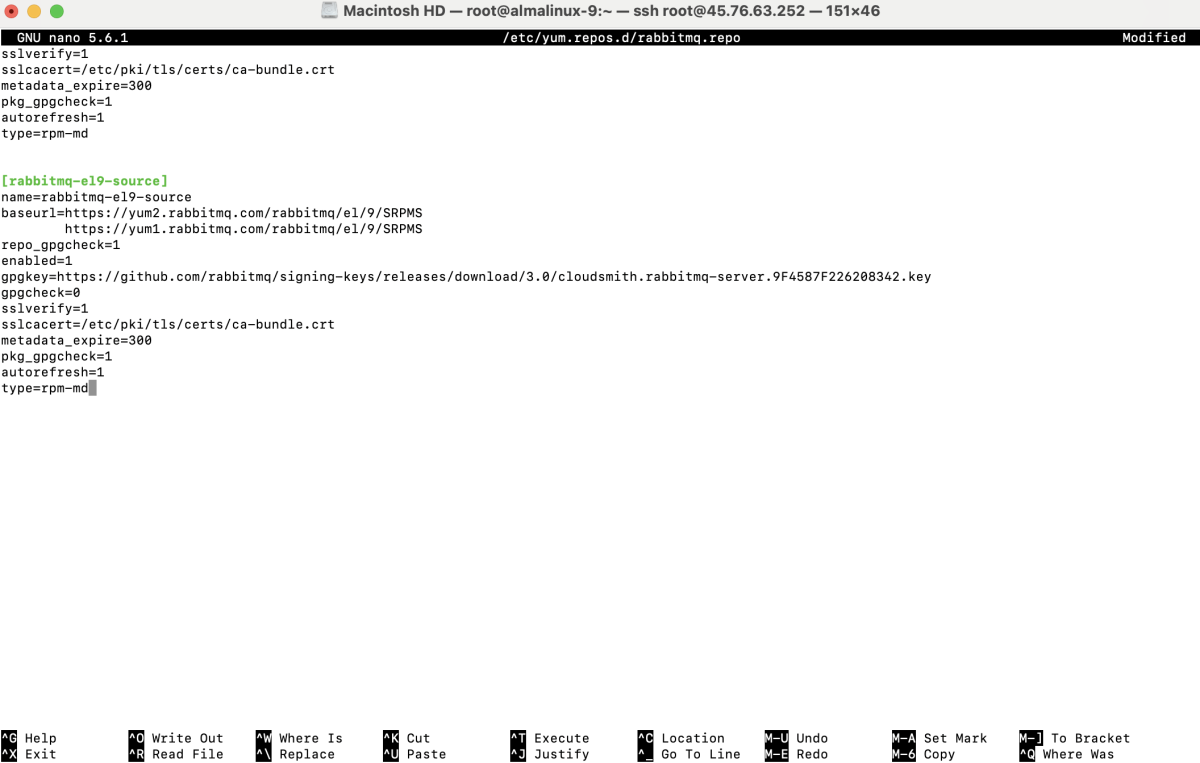
Step 3 : Add RabbitMQ and Erlang Repository
Create the repository file /etc/yum.repos.d/rabbitmq.repo with the following content:
Step 4 : Update Repositories
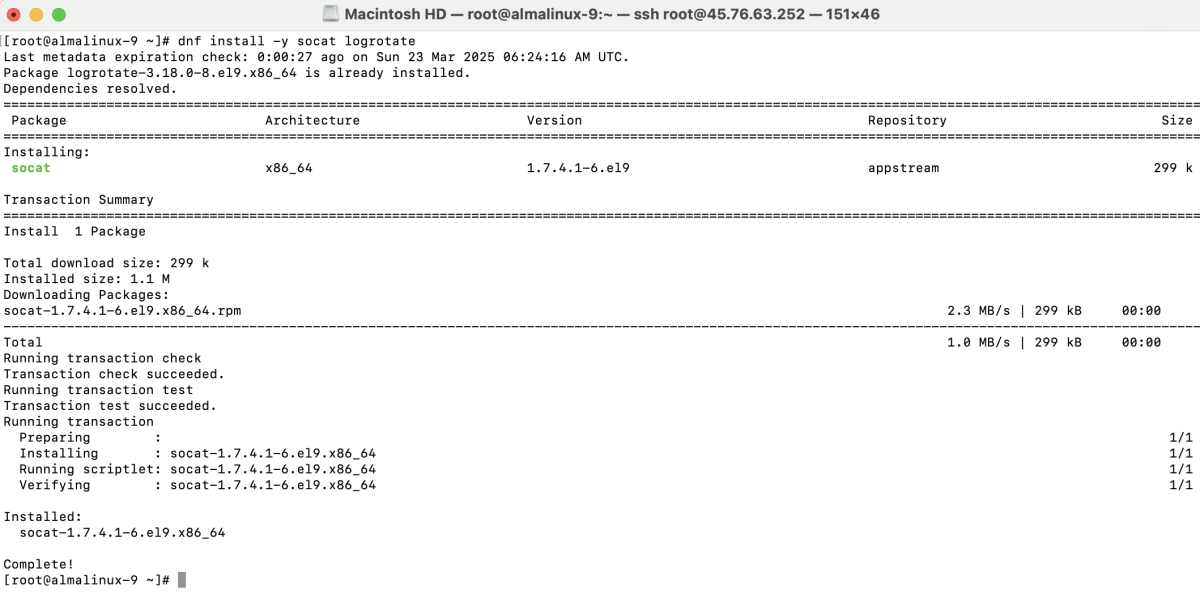
Step 5 : Install Dependencies
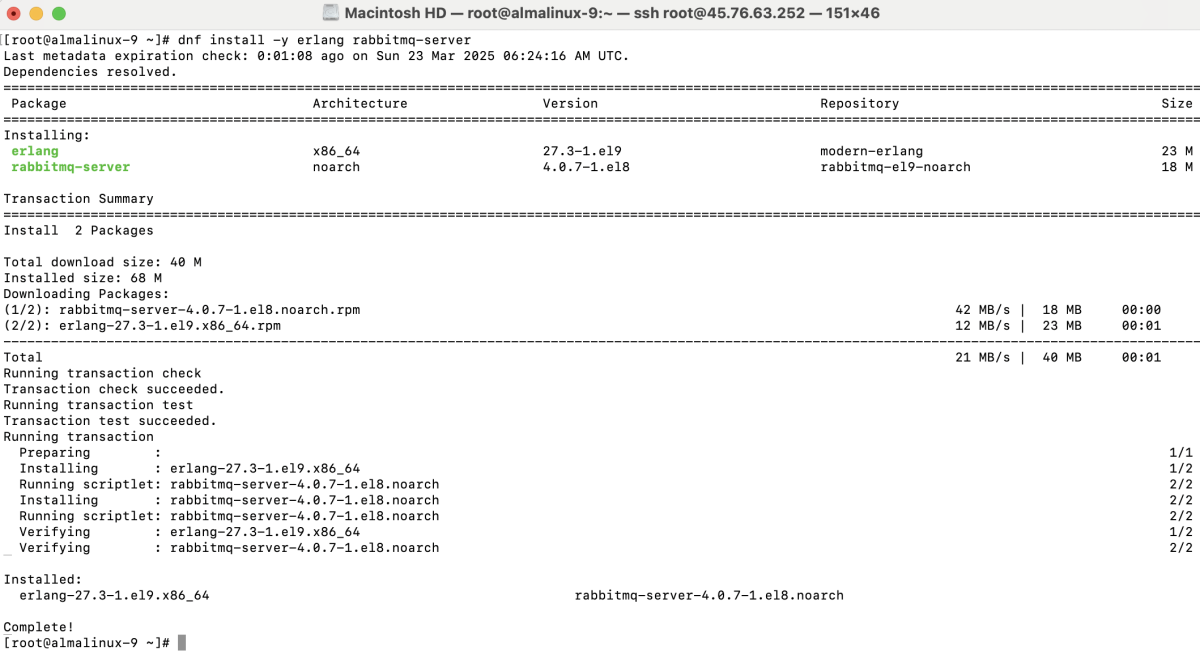
Step 6 : Install RabbitMQ and Erlang
Step 7 : Start RabbitMQ

Step 8 : Enable RabbitMQ to Start on Boot

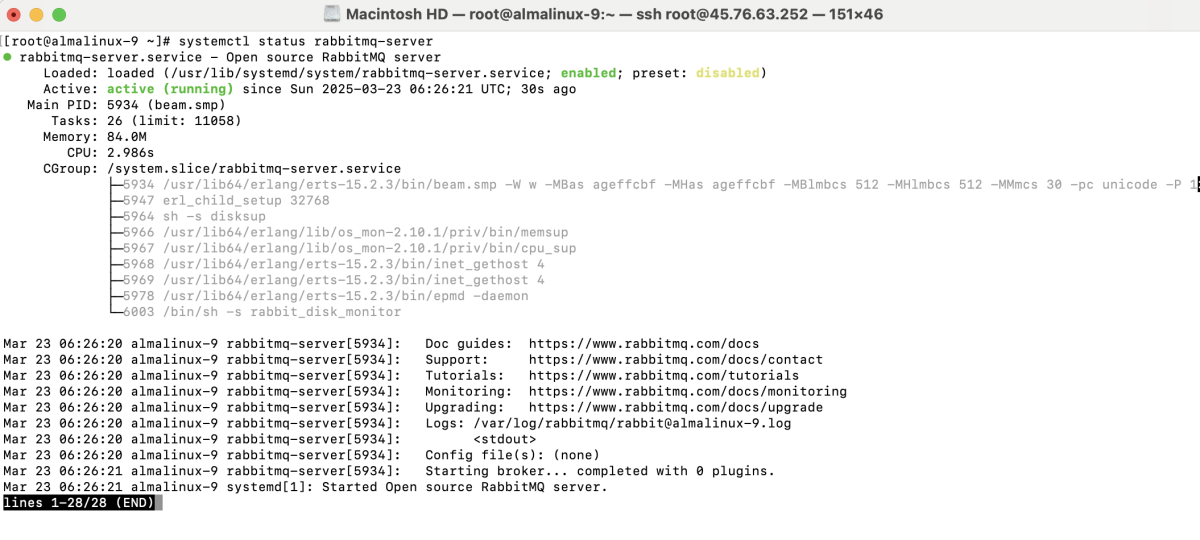
Step 9 : Check RabbitMQ Status
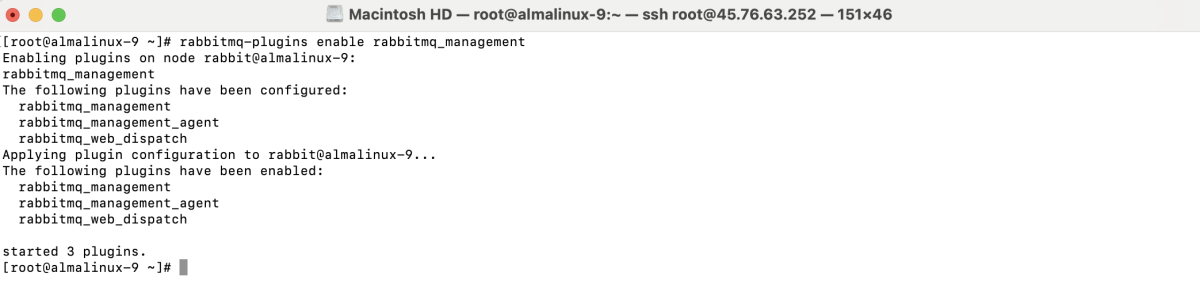
Step 10 : Enable RabbitMQ Management Plugin
Step 11 : Create an Admin User
Replace admin_password with a strong password:

Step 12 : Configure Firewall (If Enabled)

Step 13 : Access RabbitMQ Management Interface
Open a browser and go to:
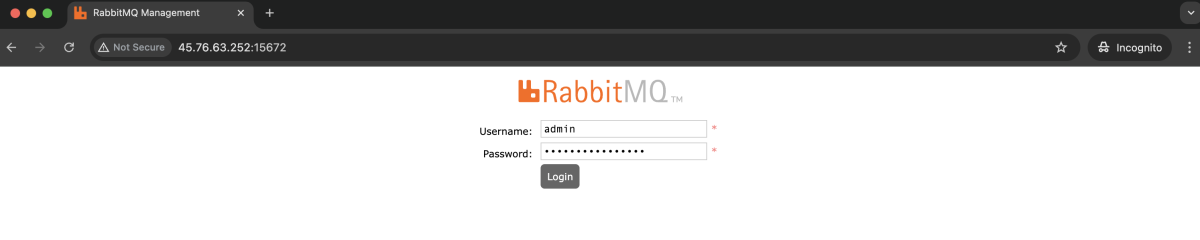
Log in using the admin credentials you created earlier.
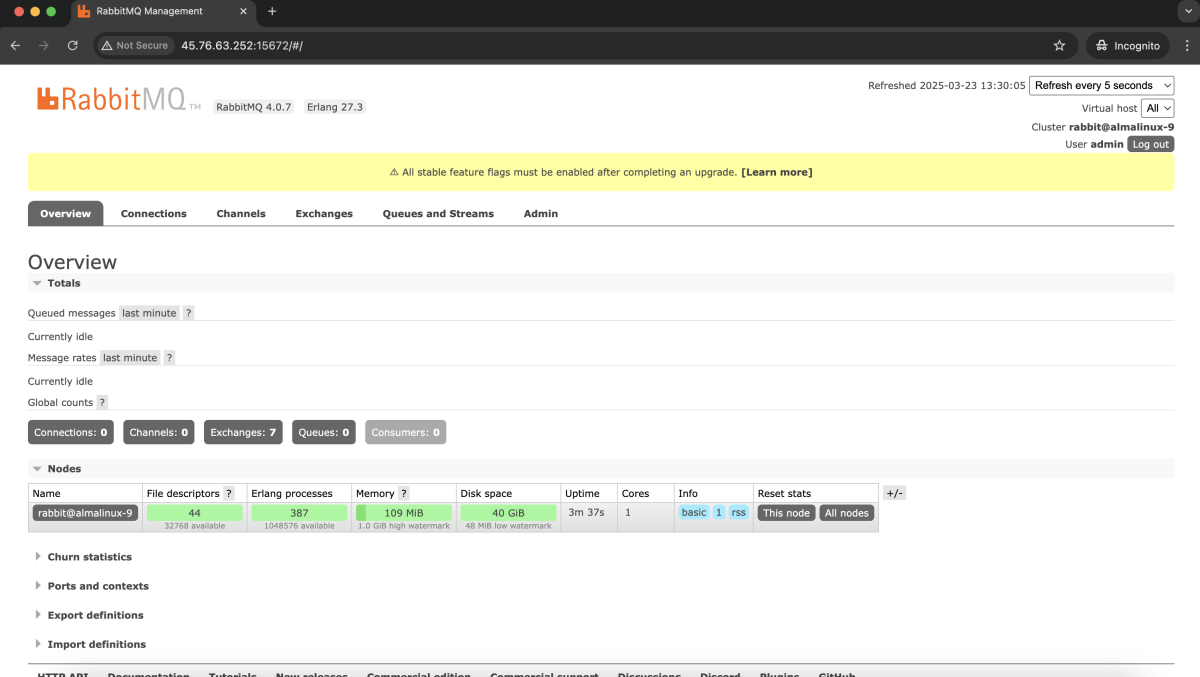
Congratulations! You have successfully installed and configured RabbitMQ on AlmaLinux 9.