To install and configure Apache on AlmaLinux 9, follow these steps:
Step 1 : Before installing any packages, make sure your system is up to date:

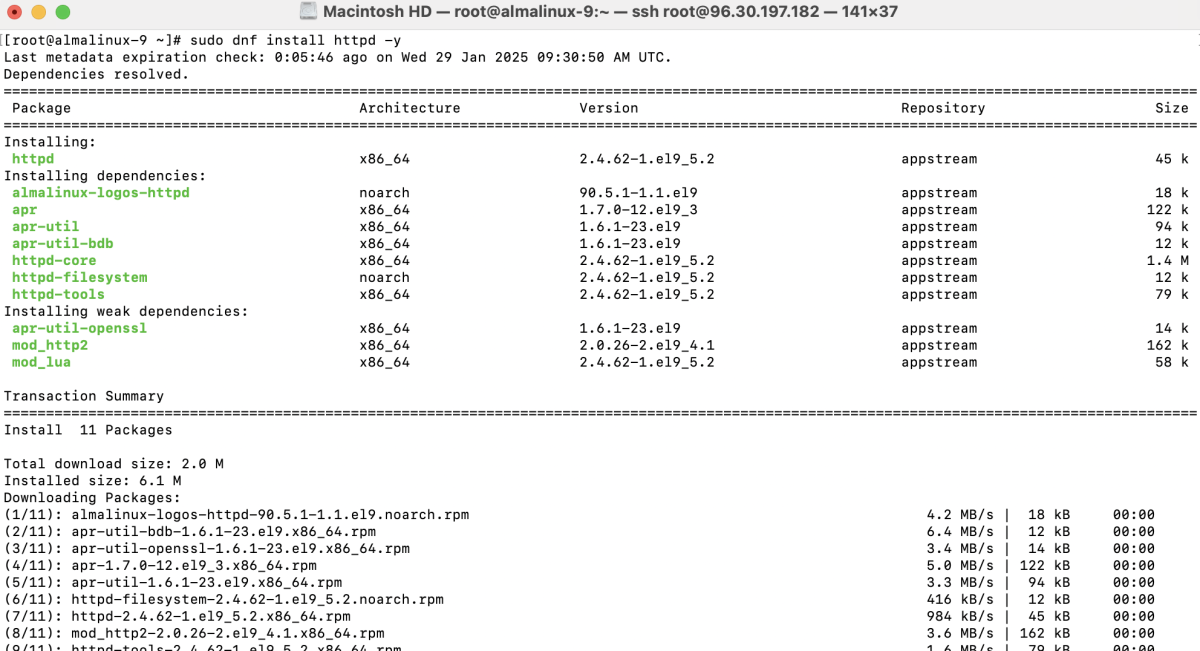
Step 2 : Install the Apache web server by running the following command:
Step 3 : If you have a firewall enabled, you need to allow HTTP and HTTPS traffic. Run these commands to allow access:

After adjusting the firewall rules, reload it to apply the changes:

Step 4 : Start the Apache service and enable it to start on boot:

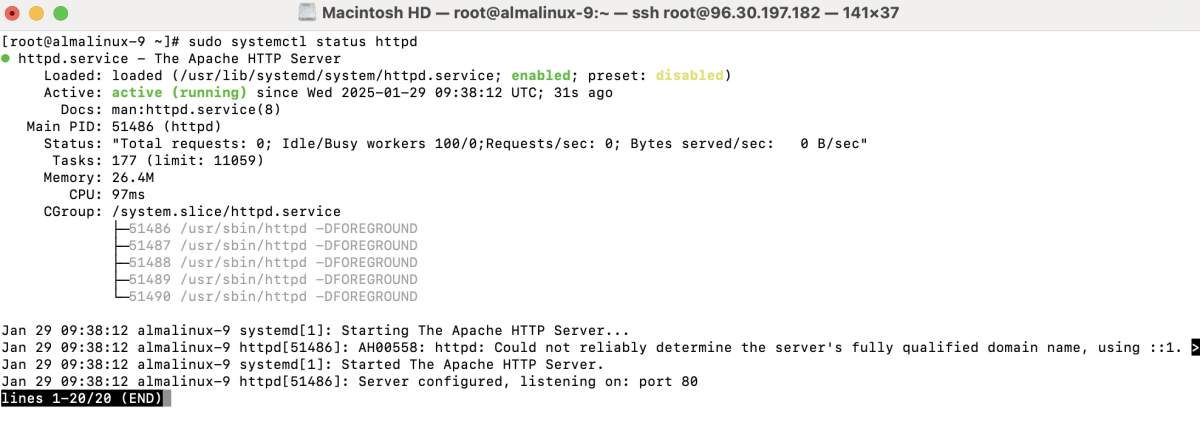
Step 5 : Verify that Apache is running properly by checking its status:
Step 6 : Create a directory for your domain and an index.html file:

Step 7 : Create a virtual host configuration file for example.com:
Add the following content:

Step 8 : Test the Apache configuration for syntax errors:

You should see Syntax OK if everything is correct.
Step 9 : Restart Apache to apply the changes:

Step 10 : Open your web browser and visit http://example.com. You should see the "Welcome to example.com" message.

Congratulations, you have successfully installed and configured Apache on AlmaLinux 9!