To set up an SFTP server on CentOS Stream 10, follow this step-by-step guide.
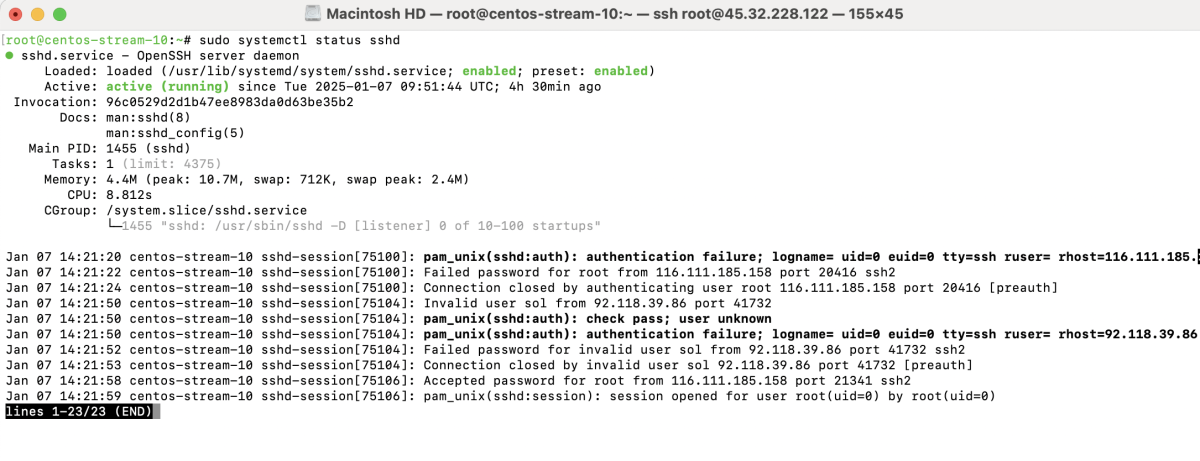
Step 1 : Verify that the SSH daemon (sshd) is installed and running:
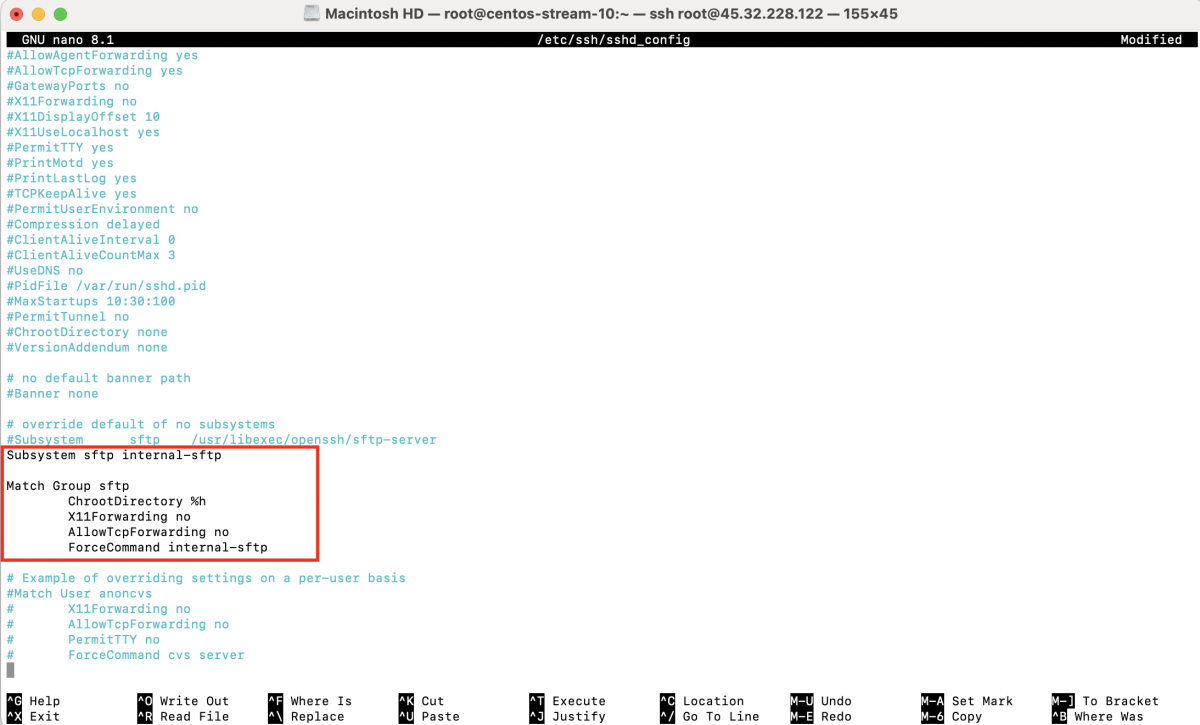
Step 2 : Open the SSH configuration file to add SFTP settings:
Add the SFTP configuration:
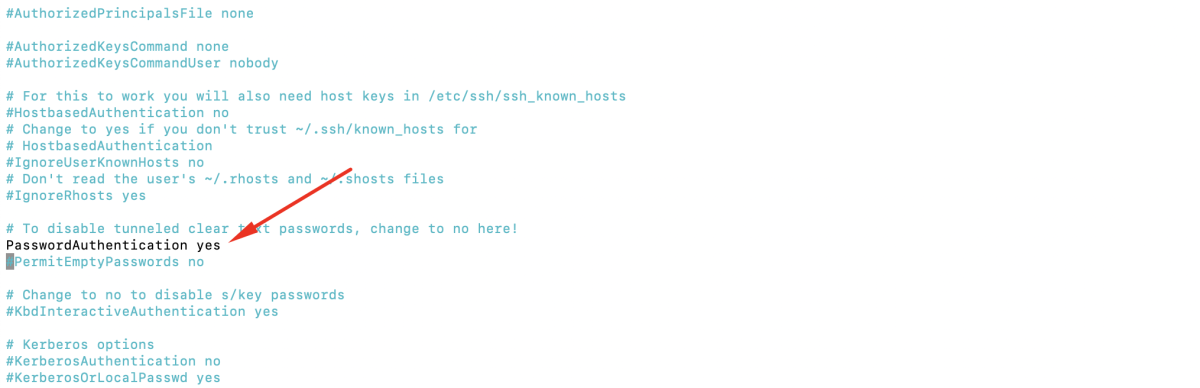
Step 3 : If you want to allow login using a password, ensure this line in sshd_config is set to:
Step 4 : Restart the SSH service to apply changes:

Step 5 : Create a dedicated group for SFTP users:

Step 6 : Create a new user for SFTP:

Step 7 : Assign a password to the SFTP user:

Step 8 : Add the new user to the sftp:

Step 9 : Set the user's home directory with proper permissions:

Step 10 : Restart the SSH service to ensure all configurations are loaded:

Step 11 : Use an SFTP client like FileZilla to test the connection.
- Open FileZilla.
- Add a new site in the Site Manager.

- Enter the Host (your server's IP address or domain).
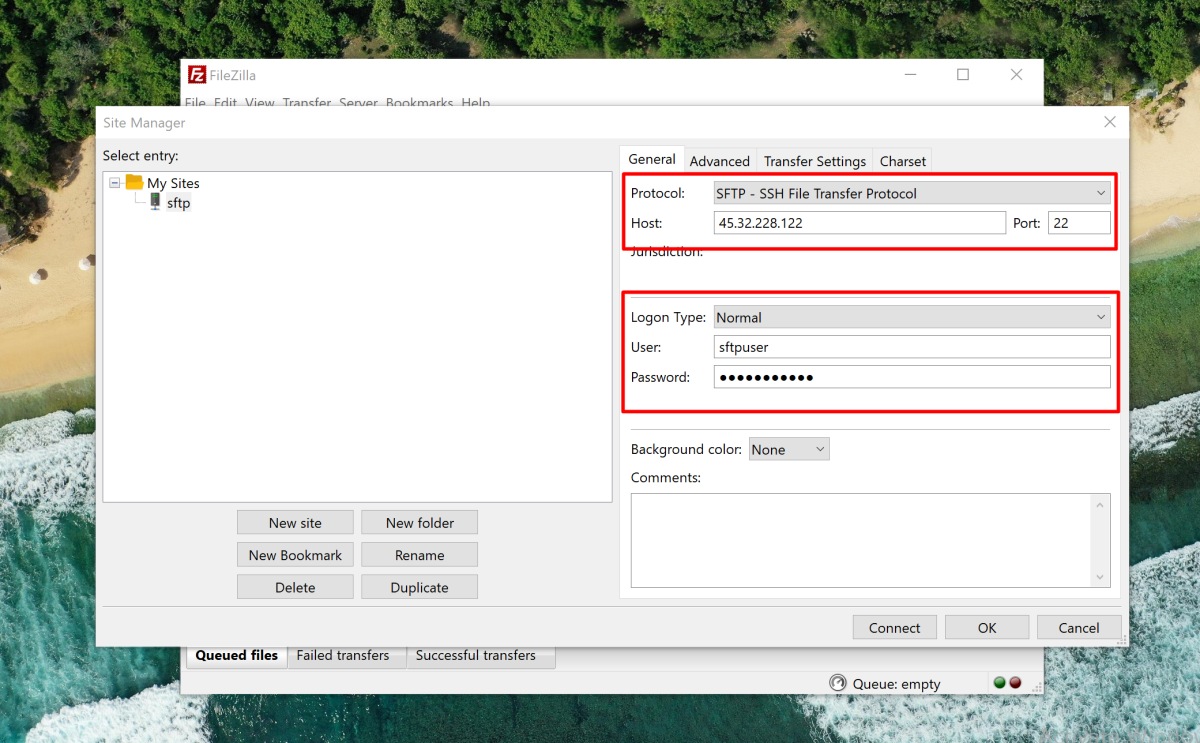
Select SFTP - SSH File Transfer Protocol as the protocol.
Set the Port to 22.
Under Login Type, choose "Normal."
Enter the Username (e.g., sftpuser) and the Password you set earlier.
Step 12 : Click "Connect."
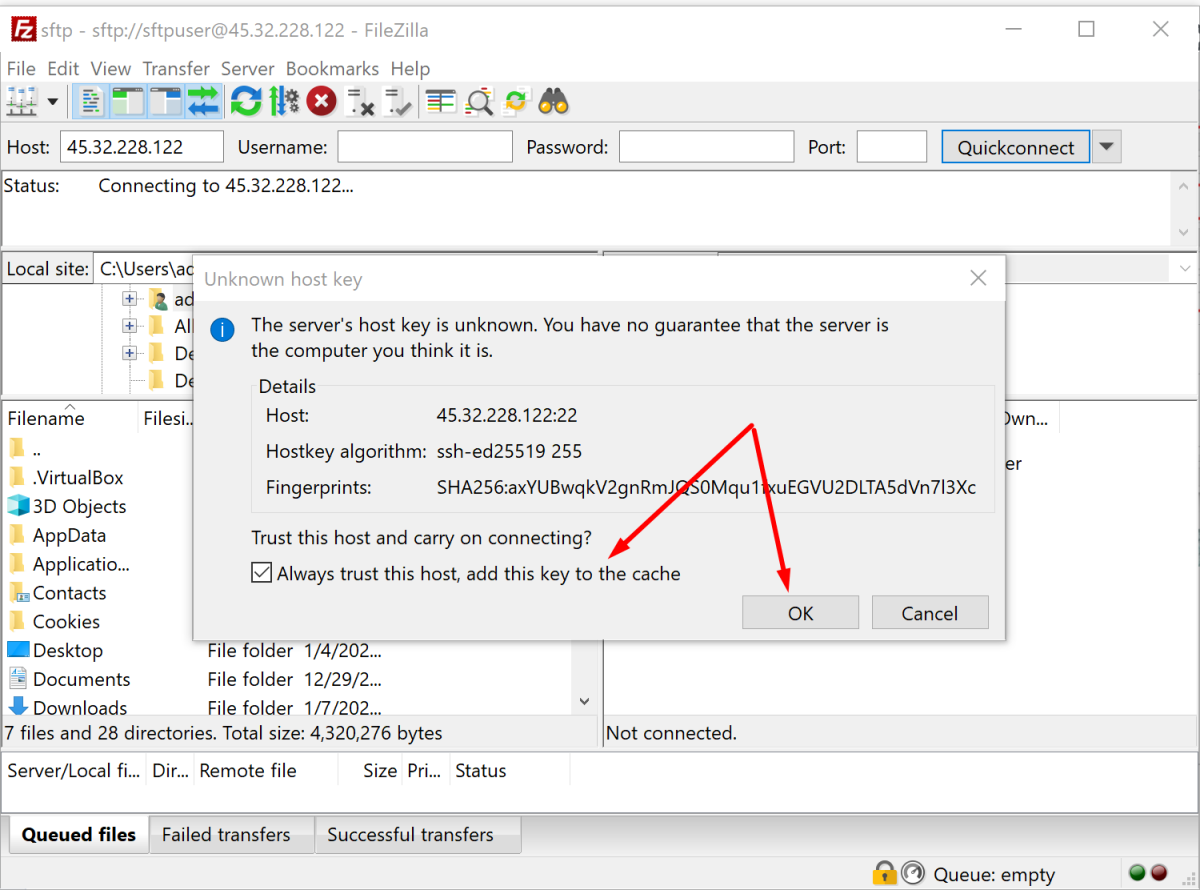
- If prompted with an "Unknown Host Key" warning, click OK to accept it.
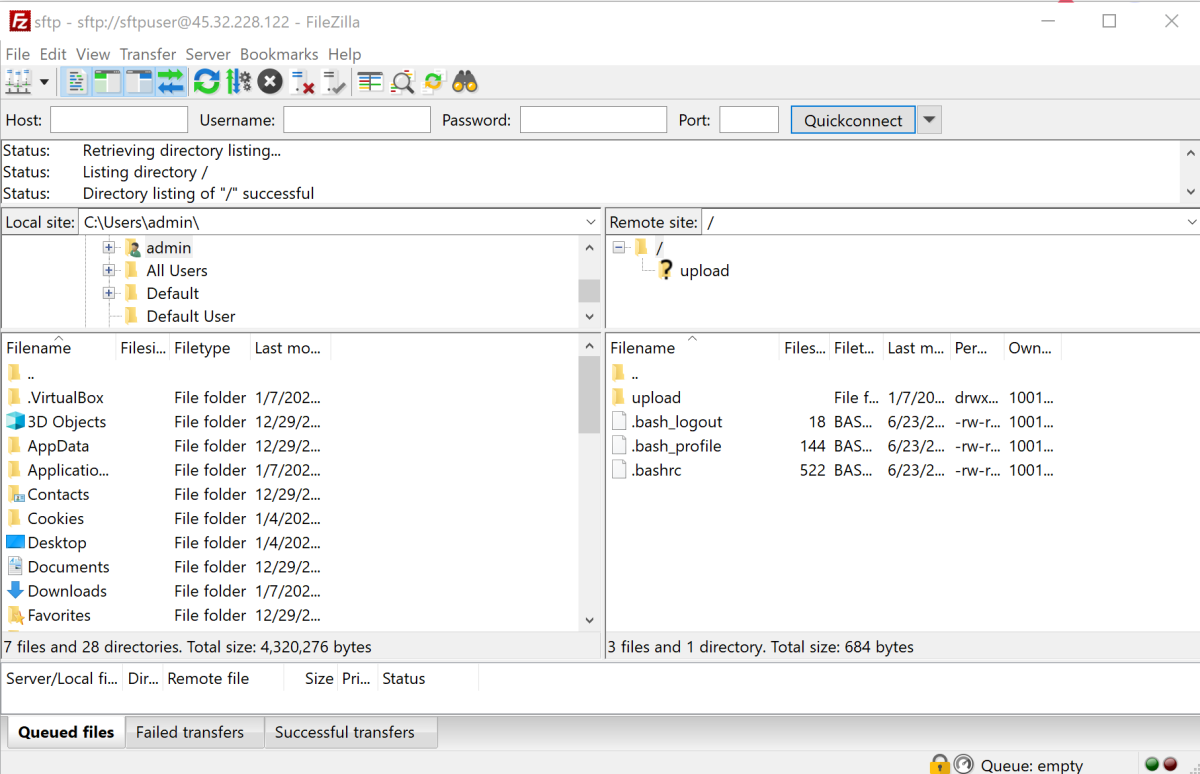
Congratulations! You've successfully set up an SFTP server on CentOS Stream 10.