To install phpMyAdmin on CentOS Stream 10 with Nginx, follow these steps
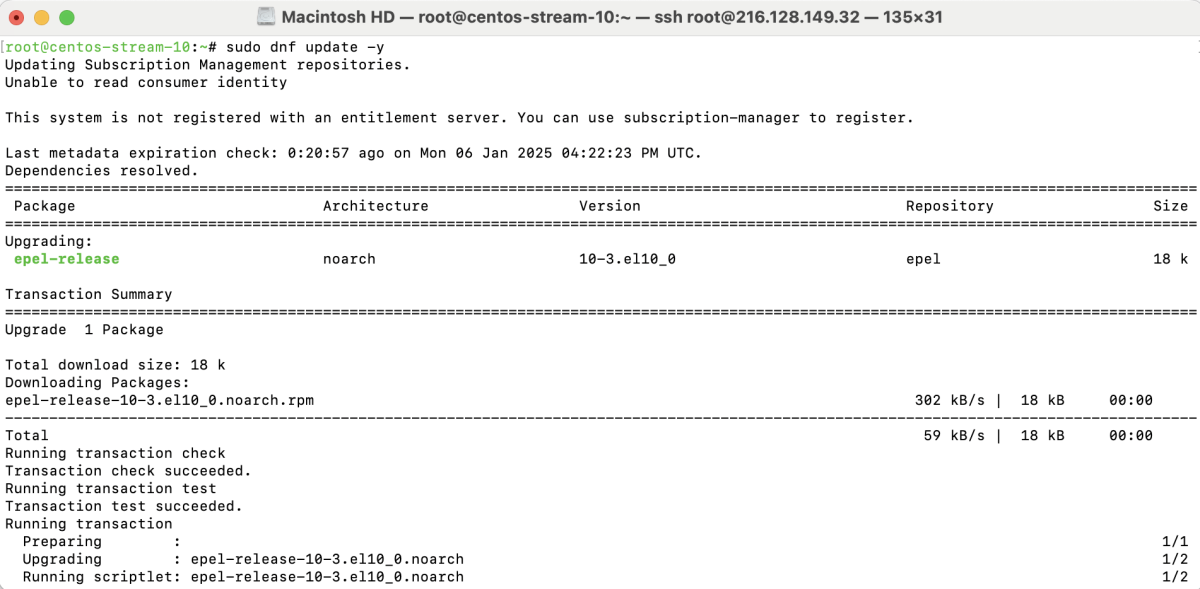
Step 1 : Before starting, ensure your system is up to date:
Step 2 : Navigate to your home directory and download the latest version of phpMyAdmin:

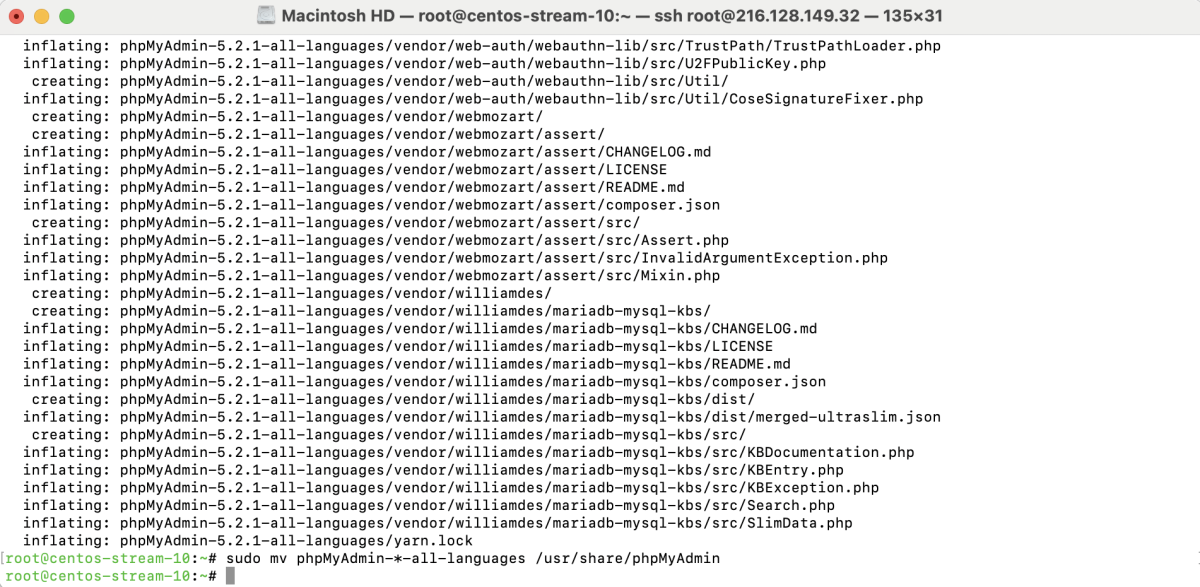
Step 3 : Unzip the downloaded file and move it to your web root directory:
Step 4 : Set ownership and permissions to ensure proper access:

Step 5 : If SELinux is enabled on your system, you need to adjust its policies to allow phpMyAdmin to function:

Step 6 : Create an Nginx configuration file for phpMyAdmin:
Add the following content:
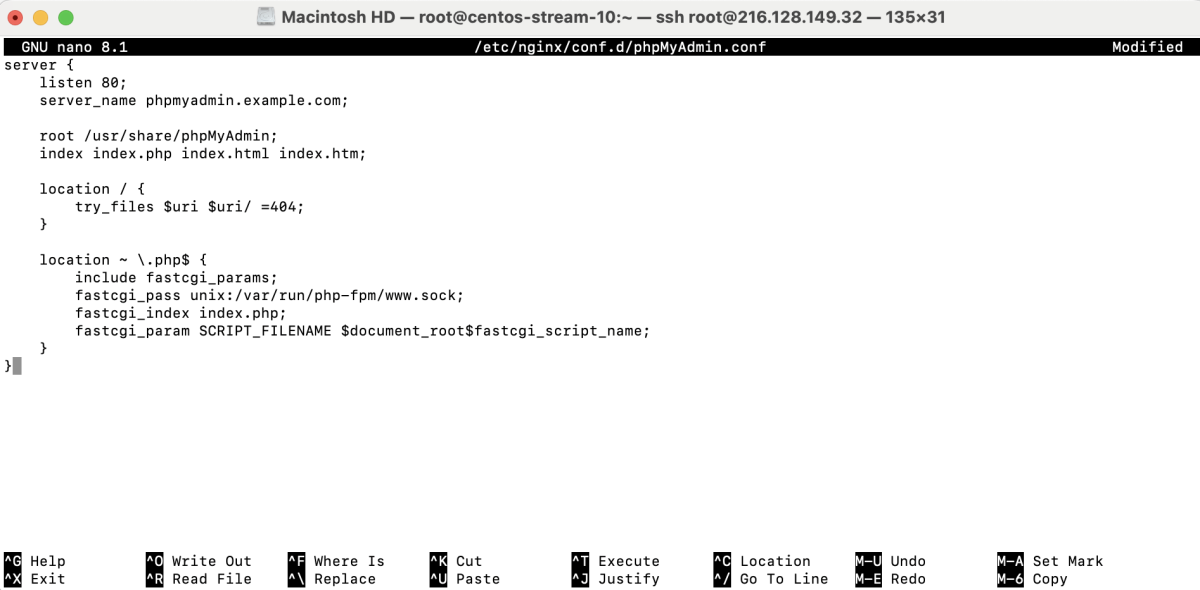
Save and close the file.
Step 7 : Restart the Nginx service to apply the changes:

Step 8 : You can now access phpMyAdmin by navigating to your domain in a web browser:
- If you encounter a PHP session error, run the following command to fix it


- Refresh the page to apply the changes.
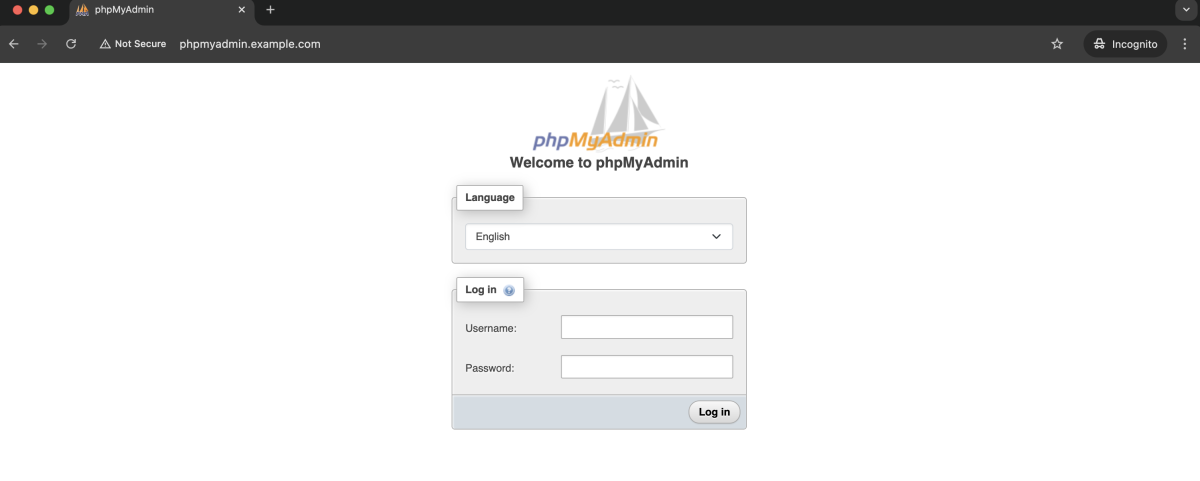
- You can now log in to phpMyAdmin using your MySQL credentials.
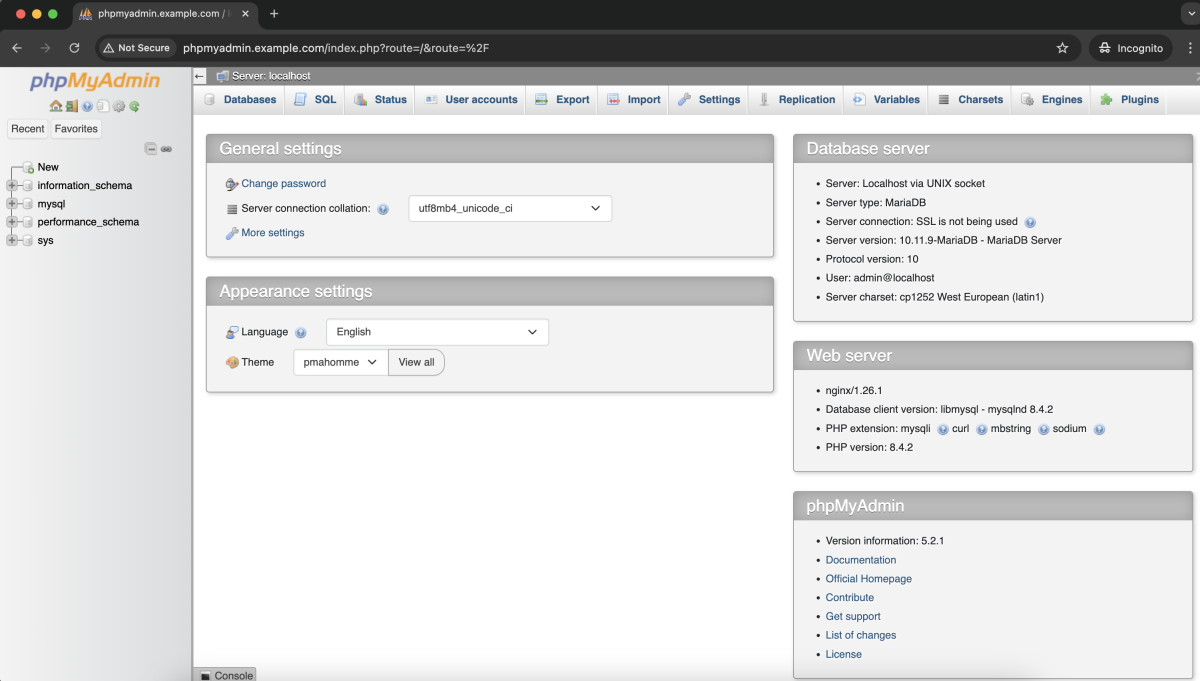
Congratulations! You have successfully installed and configured phpMyAdmin with Nginx on CentOS Stream 10.