To configure SELinux on CentOS Stream 10, you need to understand its current state, modes, and how to modify settings based on your requirements. This guide provides step-by-step instructions for managing SELinux, with an example of configuring Apache to work with custom settings under SELinux.
Step 1 : By default, SELinux is enabled on CentOS Stream 10. To check its current status, run:

The output will show the current SELinux mode: Enforcing, Permissive, or Disabled.
Step 2 : For more details about the SELinux configuration, execute:

This command provides information about the current mode, policy version, and active contexts.
Step 3 : Understand SELinux Modes
SELinux operates in three modes:
- Enforcing: SELinux policies are actively enforced. Unauthorized actions are denied.
- Permissive: Policies are not enforced but violations are logged. Useful for debugging.
- Disabled: SELinux is turned off entirely.
Step 4 : If SELinux is not required for your use case, you can disable it temporarily or permanently.
- To disable SELinux temporarily (until the next reboot), run:

Verify the mode using getenforce. It should now display Permissive.

- Permanently Disable SELinux
Edit the SELinux configuration file:

Find the SELINUX= line and change its value to disabled:

For the changes to take effect, reboot the system:

Step 5 : After making changes, verify the status to ensure it reflects your intended configuration:

Step 6 : Basic SELinux Configuration Example. To demonstrate SELinux functionality, we'll configure Apache with a custom port and document root.
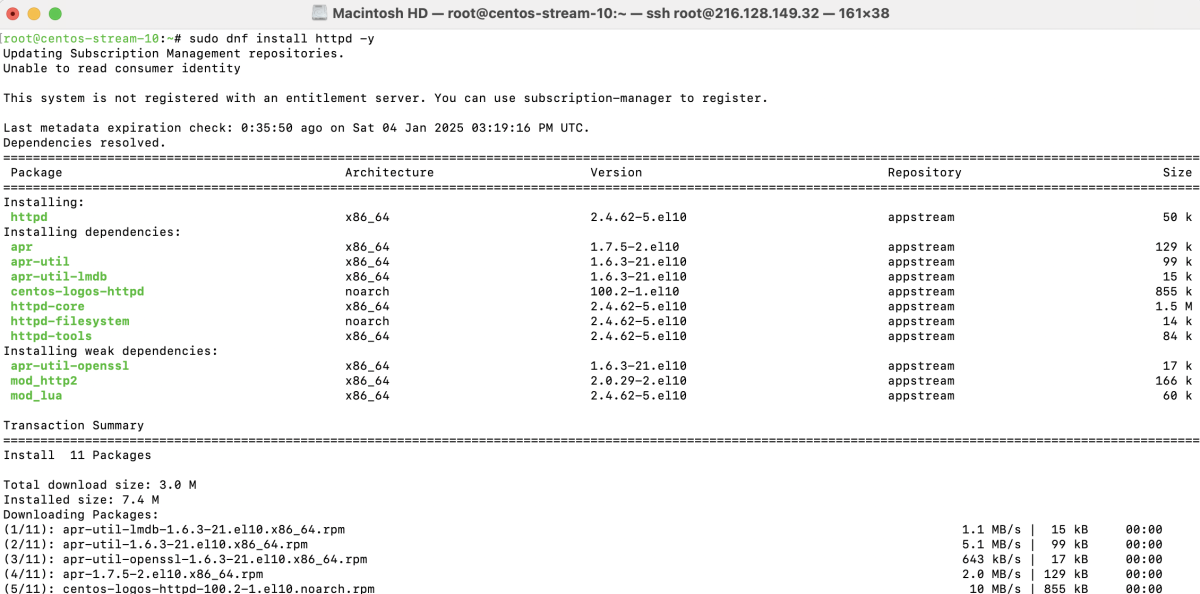
- Install the Apache web server:

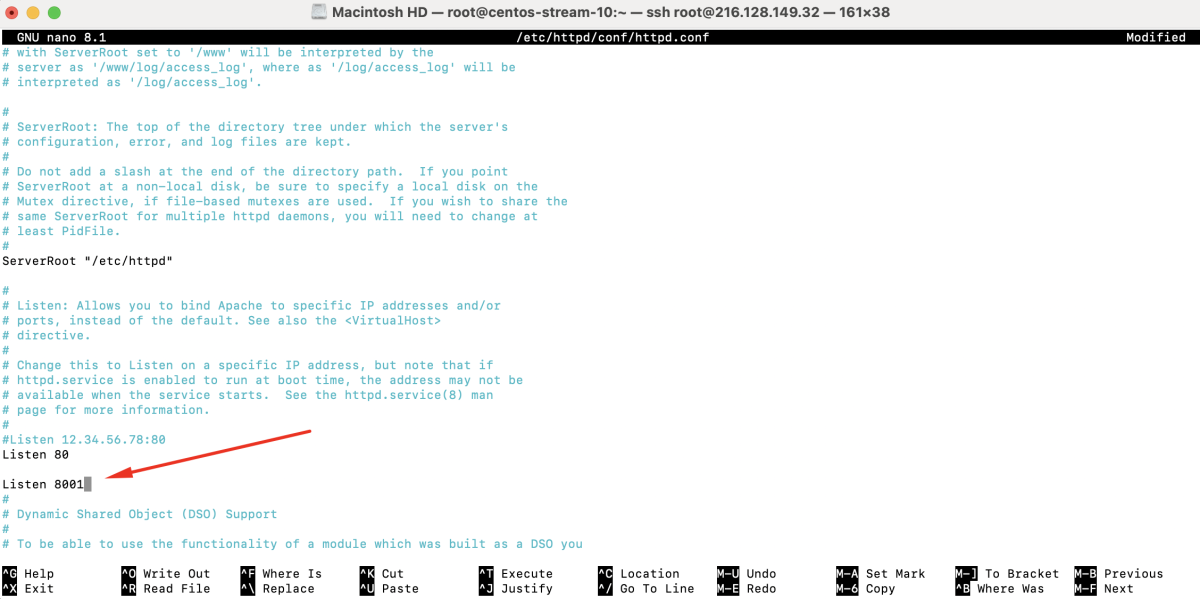
- Edit the Apache configuration file:
- Add the following line to listen on port 8001:

- Create a new configuration file for Apache and set a custom root folder, e.g., /home/example.com:
- Add the following configuration:

- Create the Folder and an Index File

- Test the Apache configuration:

- If the firewall is enabled, open port 8001:

- Install SELinux management utilities:

- Check the current SELinux ports:

Add the new port 8001 to SELinux:

Verify the addition:

- Restart Apache:

- Match SELinux contexts:

Visit http://<your-domain>:8001 in your browser to confirm the setup.
 You've successfully configured SELinux on CentOS Stream 10 and tested its functionality with Apache.