To install Let's Encrypt SSL on Apache in CentOS Stream 10, follow these steps.
Step 1 : Make sure your domain is correctly configured in DNS and points to the server where Apache is running. This is necessary for Certbot to verify your domain ownership.
Step 2 : Start by updating your system packages to ensure everything is up to date:

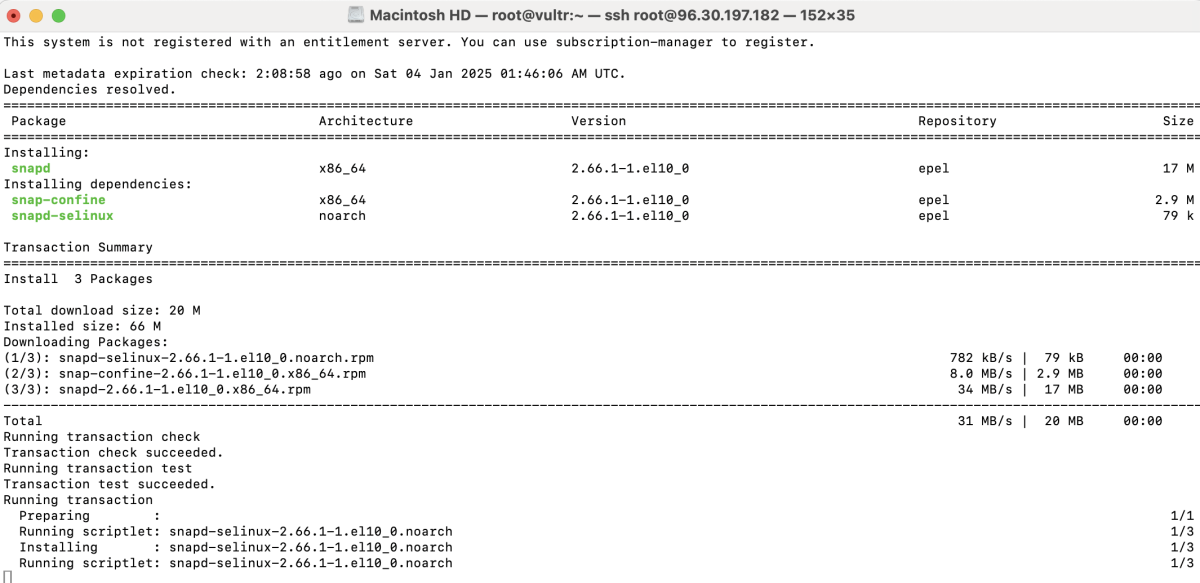
Step 3 : First, ensure that snapd is installed on your system. You can do this with the following commands:

Step 4 : Enable and start the snapd service and create a symlink

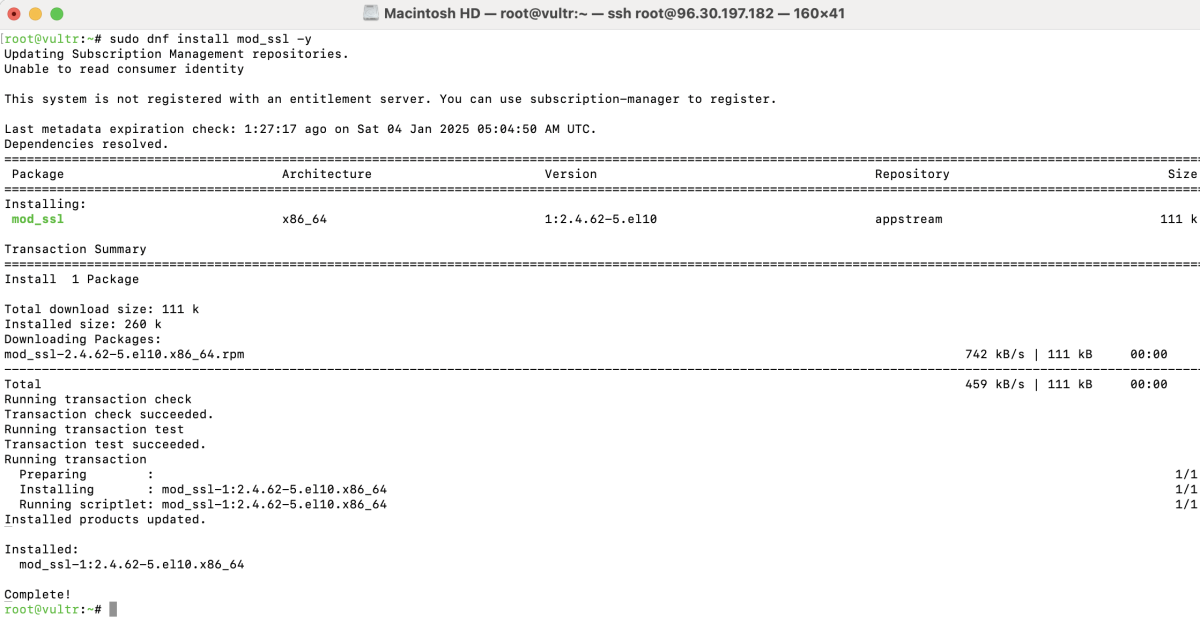
Step 5 : Install the mod_ssl module for Apache, which is required to enable SSL:

Step 6 : Now, you can install Certbot using Snapd:

Step 7 : Create a symbolic link to use Certbot easily:

Step 8 : Verify that Certbot is installed correctly:

Step 9 : Create a new Apache configuration file for your domain:
Add the following configuration (replace example.devtutorial.io with your domain):

Step 10 : Create the directory for your domain and an index.html file:

Step 11 : Run the following command to test the Apache configuration for syntax errors:
If the output is Syntax OK, you are good to go.
- Restart Apache to apply the configuration:

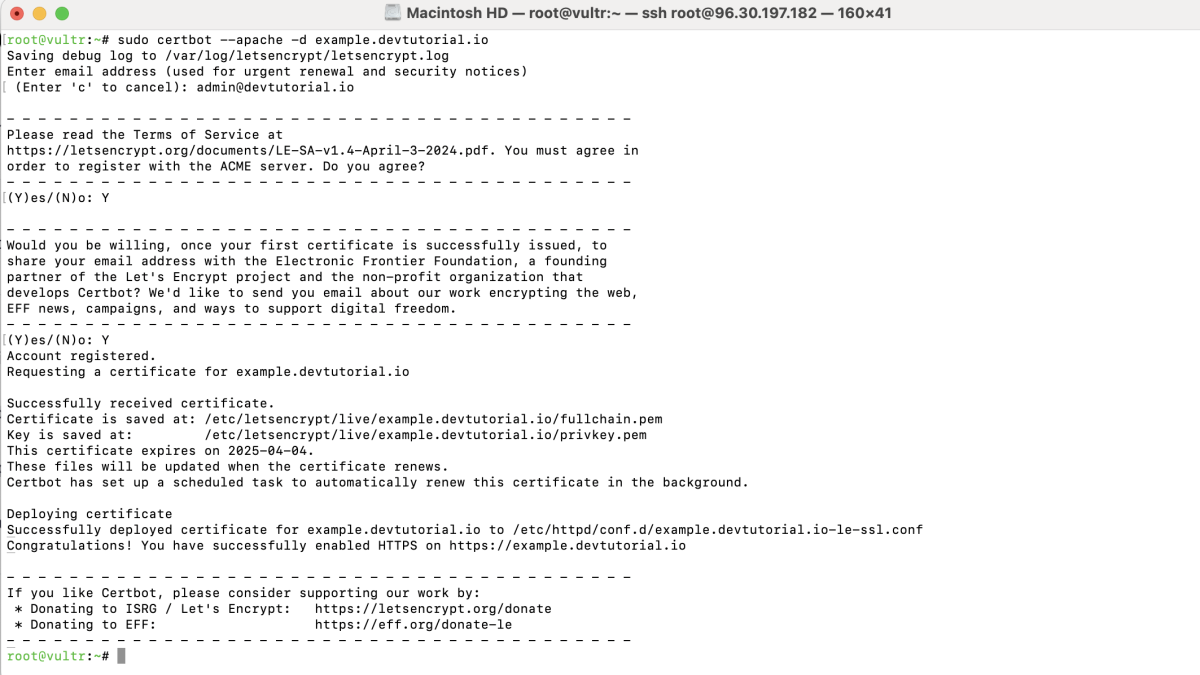
Step 12 : Run Certbot to obtain and install the SSL certificate:
You will be prompted for the following:
- Enter email address: Provide your email address.

- Agree to the terms of service: Type y to agree.

- Share your email address: Type y to share your email address with the EFF.


Step 13 : Test the SSL certificate renewal process:

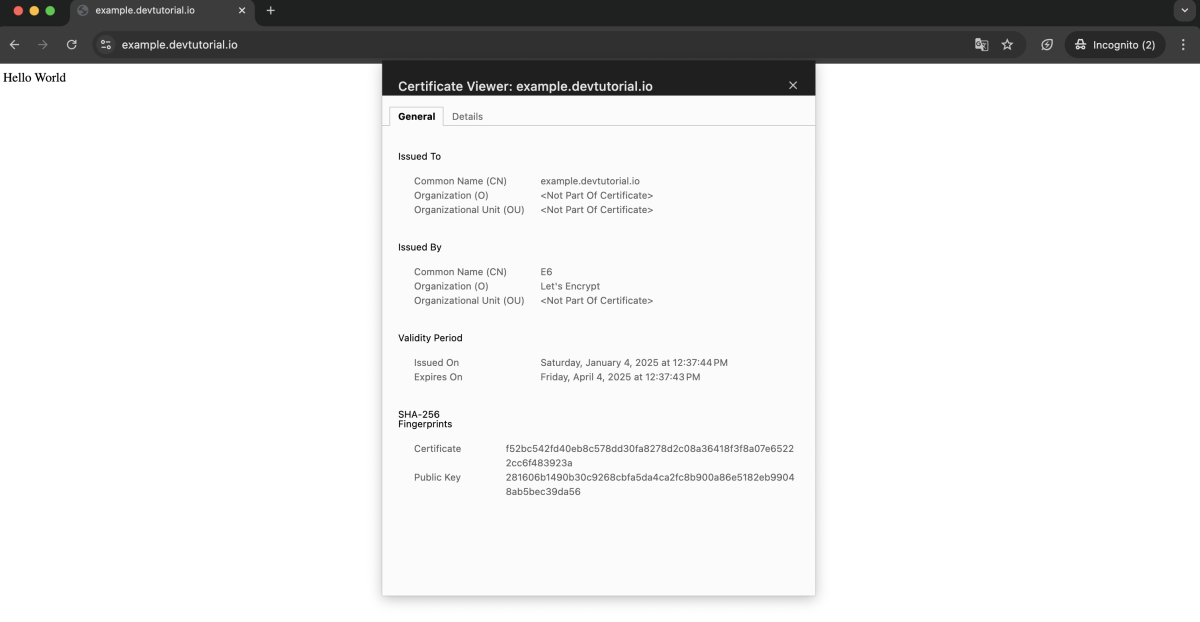
Step 14 : Now, visit https://example.devtutorial.io in your browser. You should see the secure connection (a padlock) and the "Hello World" page.

Congratulations, you have successfully installed Let's Encrypt SSL on Apache in CentOS Stream 10!