To install Let's Encrypt SSL on Nginx running CentOS Stream 10, follow these step-by-step instructions.
Step 1 : Before proceeding, make sure your domain name is correctly pointed to your server's IP address. This is crucial for the verification process.
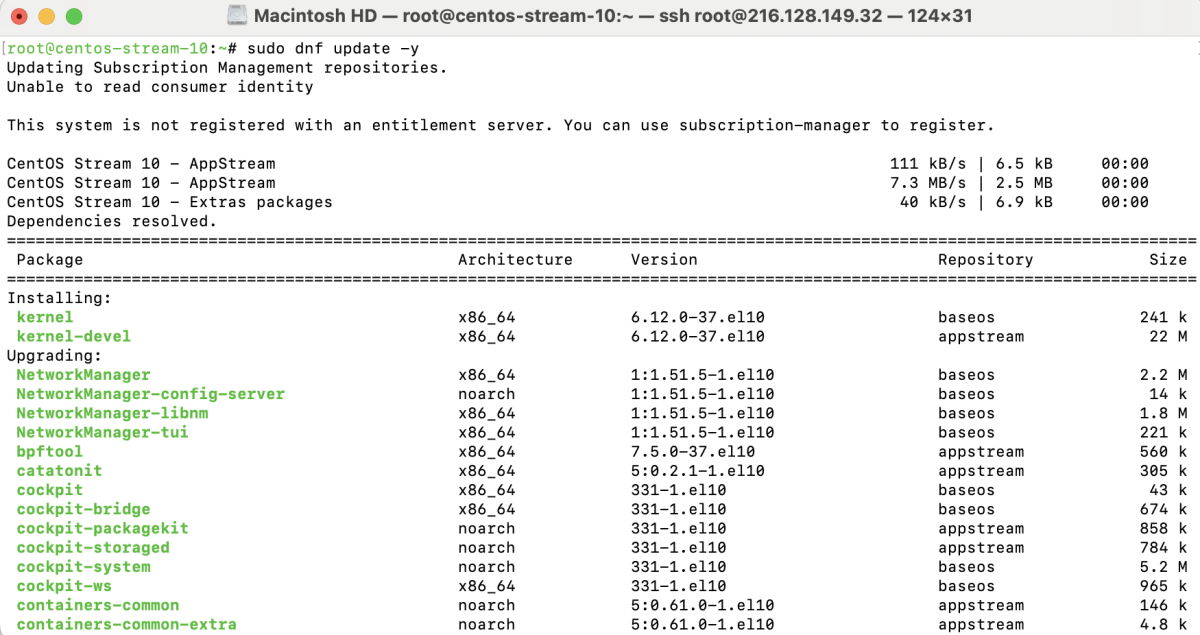
Step 2 : Run the following command to update all packages:
Step 3 : Install the EPEL repository and Snapd package manager:
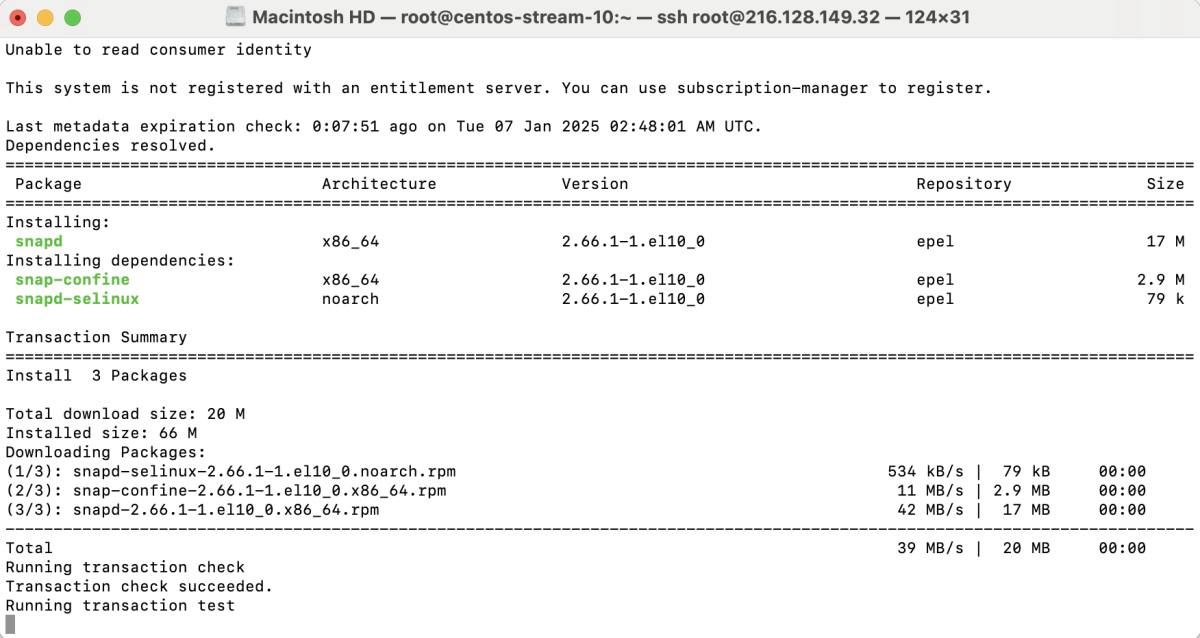
Step 4 : Enable Snapd, start the service, and create the required symlink:

Step 5 : Install Certbot, the Let's Encrypt client, via Snapd:

Step 6 : Link Certbot to the /usr/bin/ directory for easier access:

Step 7 : Create a configuration file for your domain, for example, example.devtutorial.io:
Add the following configuration:

Step 8 : Create the directory for your domain and add a test file:

Step 9 : Verify the Nginx configuration is correct:

Step 10 : Restart the Nginx service to apply changes:

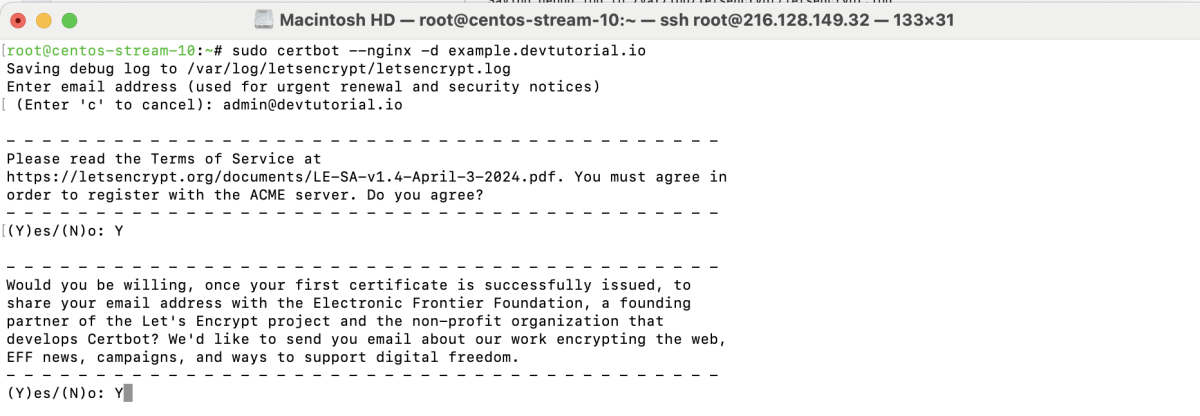
Step 11 : Use Certbot to obtain an SSL certificate for your domain:
Follow the prompts:
- Enter your email address: Provide an email address for Let's Encrypt notifications.

- Agree to the terms of service: Type Y to agree.

- Share your email address: Type Y to share your email for research purposes or N to skip.
- Certbot will confirm the SSL certificate was successfully installed.
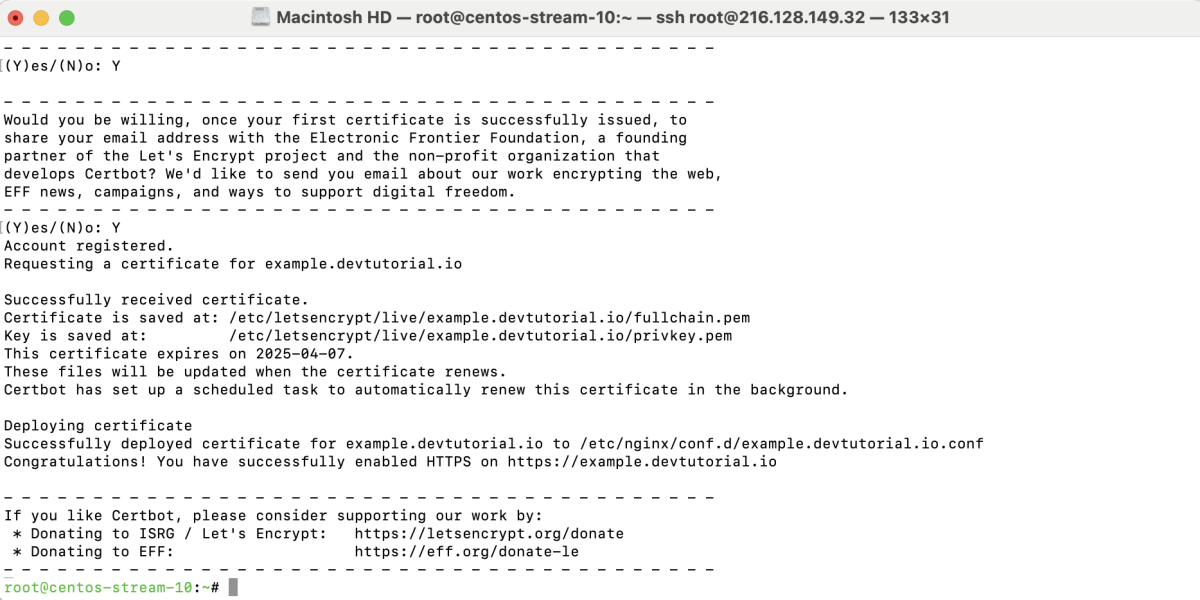
Step 12 : Run a test to ensure automatic renewal works:

Step 13 : Visit your domain (e.g., https://example.devtutorial.io) in a browser to confirm the SSL certificate is installed and working correctly.
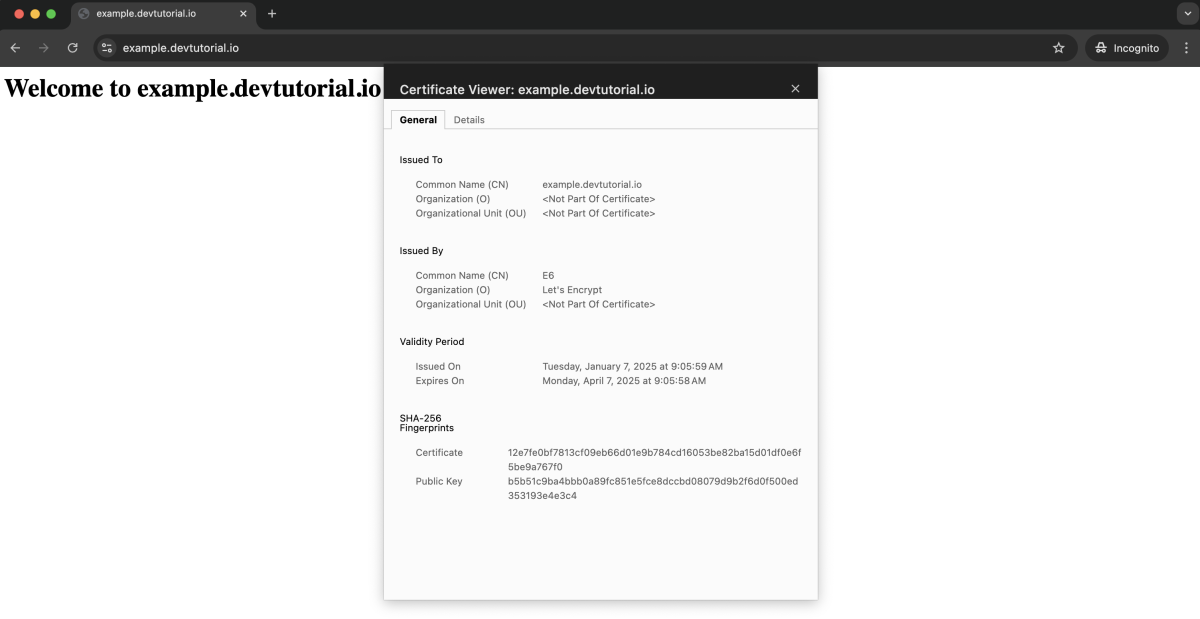
Congratulations! You have successfully installed Let's Encrypt SSL on your Nginx server running CentOS Stream 10.