To install phpMyAdmin on CentOS Stream 10 with Apache, follow these simple steps.
Step 1 : Before installing anything, update your system packages to the latest versions:

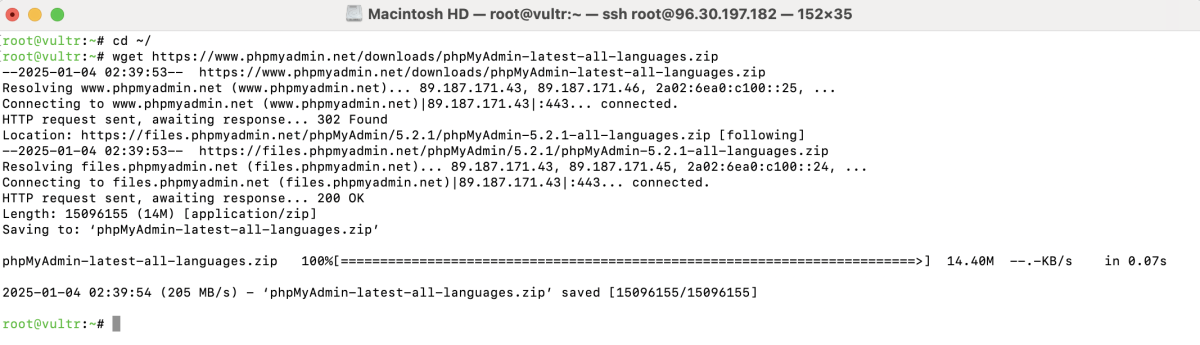
Step 2 : Navigate to your home directory and download the latest phpMyAdmin package:
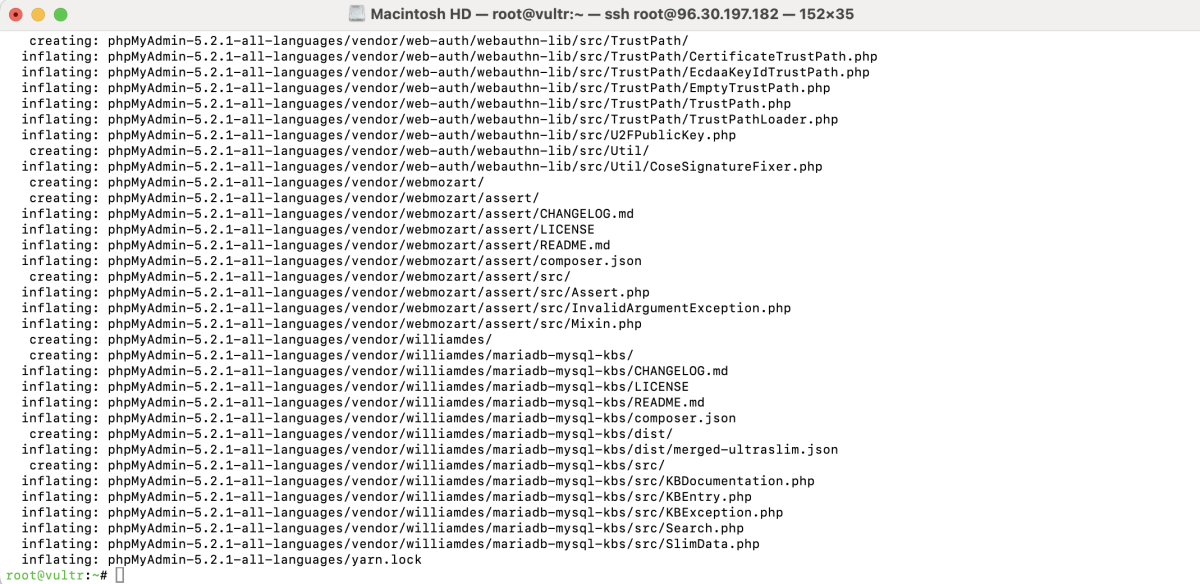
Step 3 : Unzip the downloaded package and move it to the web server directory:
Step 4 : Ensure proper ownership and permissions for the phpMyAdmin directory:

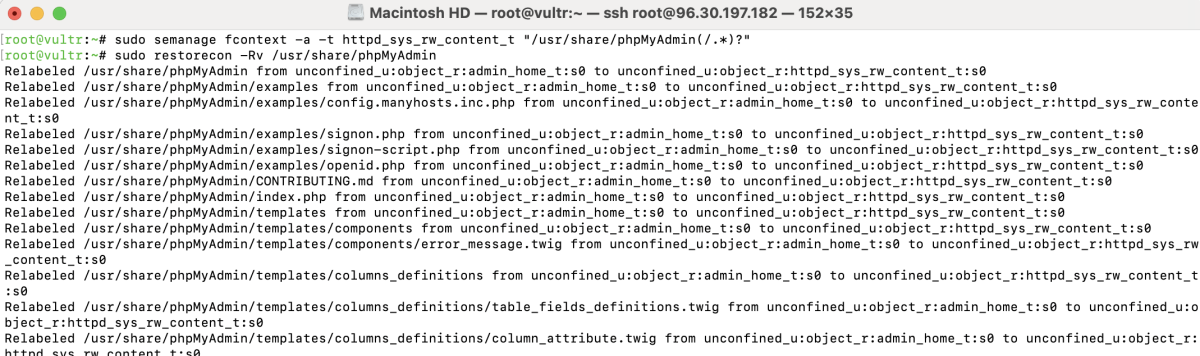
Step 5 : If SELinux is enabled on your system, adjust its policies to allow phpMyAdmin to function properly
Step 6 : Create a configuration file for phpMyAdmin under Apache:
Add the following configuration:
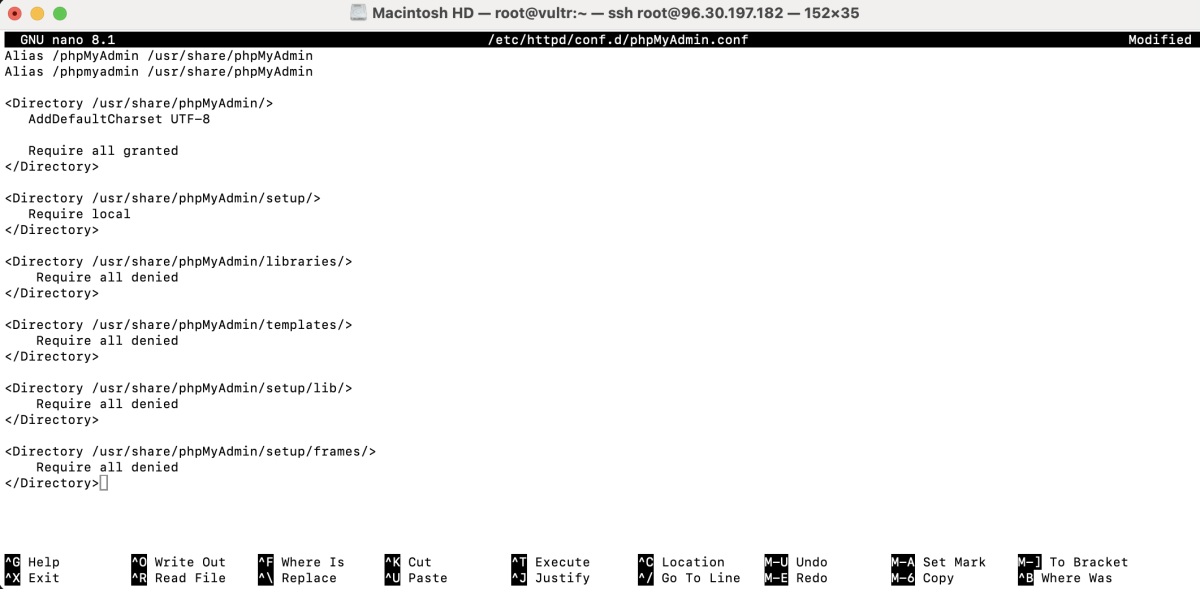
Save and close the file.
Step 7 : Apply the changes by restarting the Apache service:

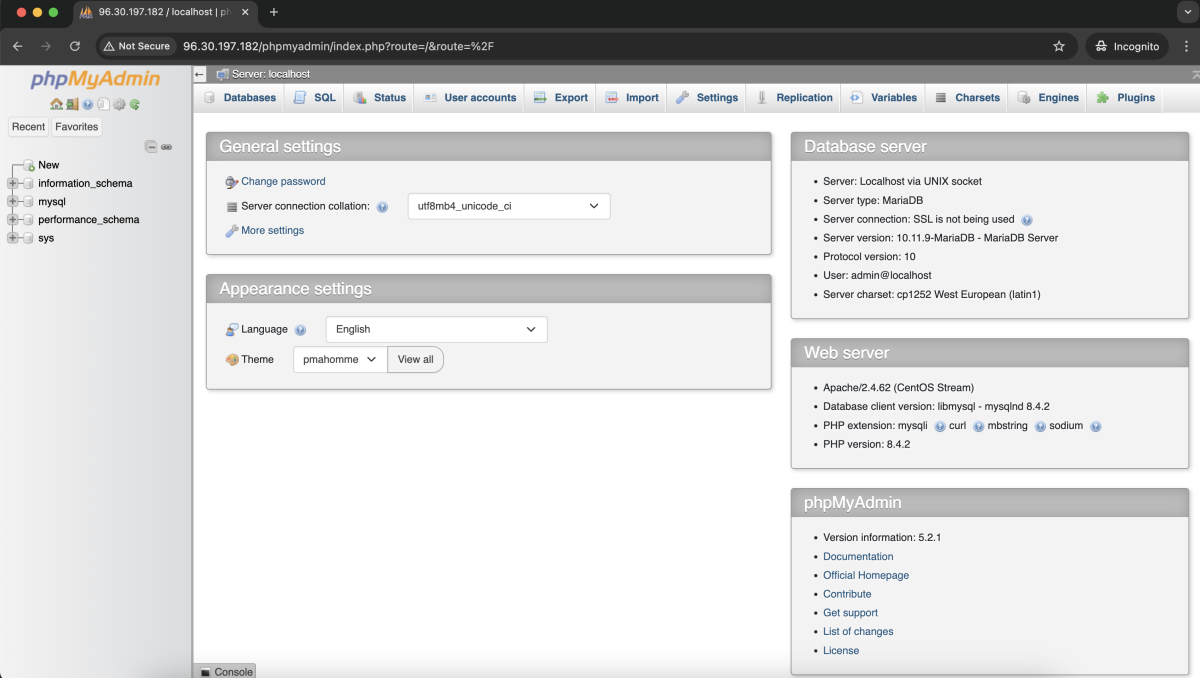
Step 8 : Open your web browser and navigate to:

You should see the phpMyAdmin login page. Enter your MySQL credentials to log in.
Congratulations! You have successfully installed and configured phpMyAdmin on CentOS Stream 10 with Apache.