To install WordPress with LAMP on CentOS 7, follow the steps below:
Step 1 : Install LAMP Stack
If you haven't installed LAMP (Linux, Apache, MySQL, PHP) yet, you can follow this guide: CentOS 7 Guides.
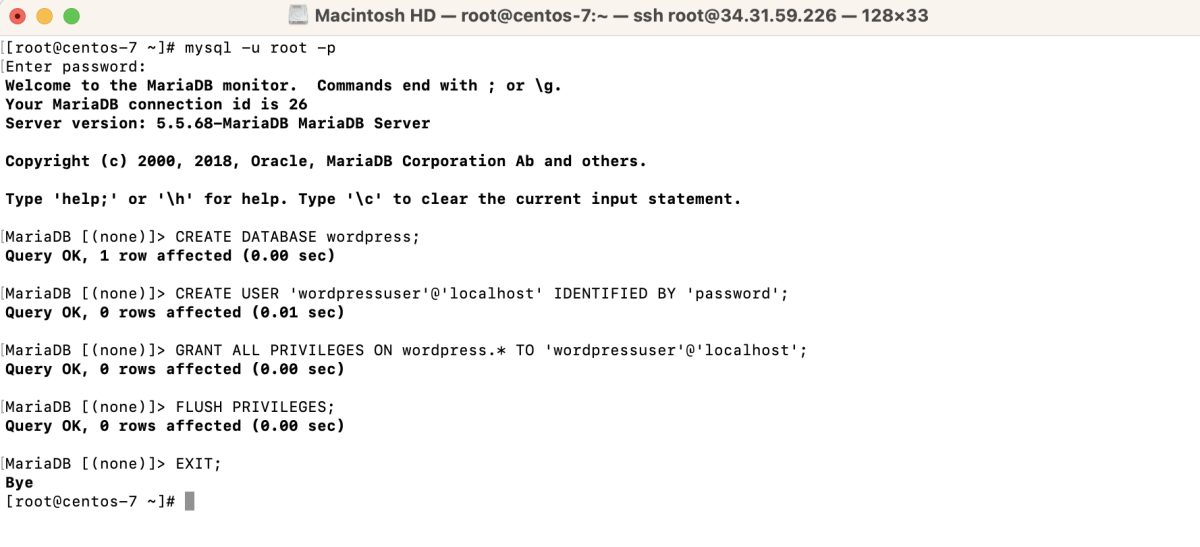
Step 2 : Login to MySQL and create a new user and database for WordPress:
Step 3 : Download and Install WordPress
- Create a directory for your WordPress installation:

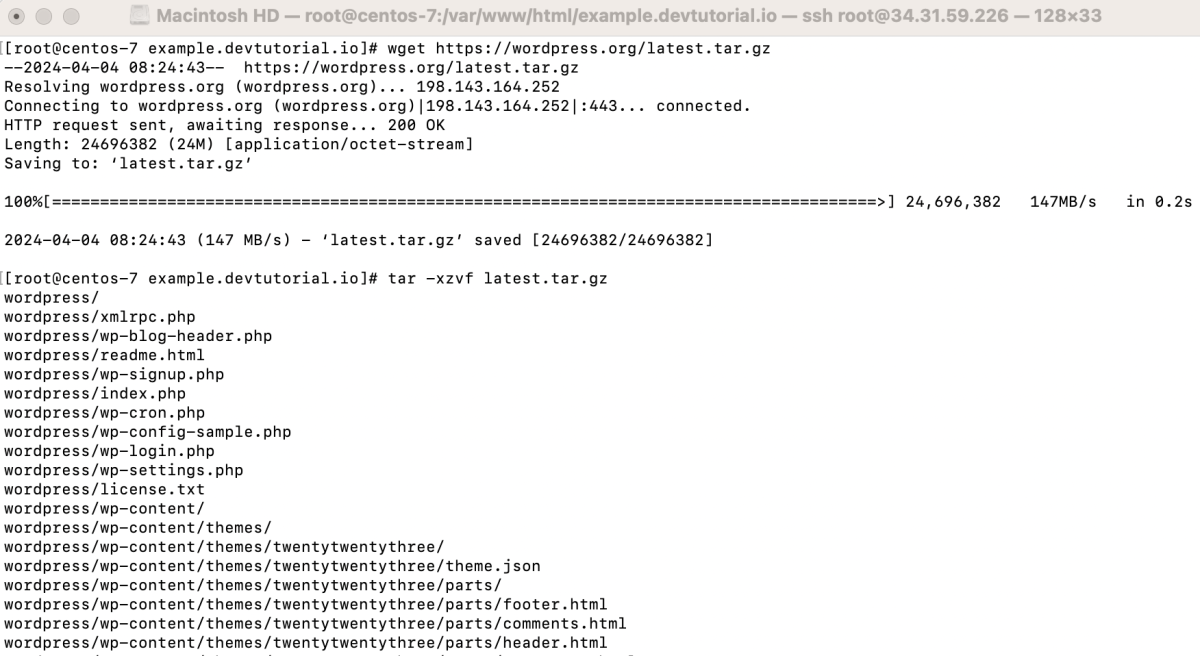
- Download the latest version of WordPress and extract it:
- Move WordPress files to the desired location and set permissions:

- Clean up:

Step 4 : Create a virtual host configuration file for your WordPress site:
Add the following configuration:

Save and close the file.
Step 5 : Test the Apache configuration for syntax errors:

If no errors are reported, restart Apache:

Step 6 : If SELinux is enabled, run the following command to allow Apache to write to the WordPress directories:

Step 7 : Open your browser and navigate to the link to install WordPress. Follow the on-screen instructions to set up WordPress:
- Visit http://example.devtutorial.io in your web browser.

- Select your preferred language.

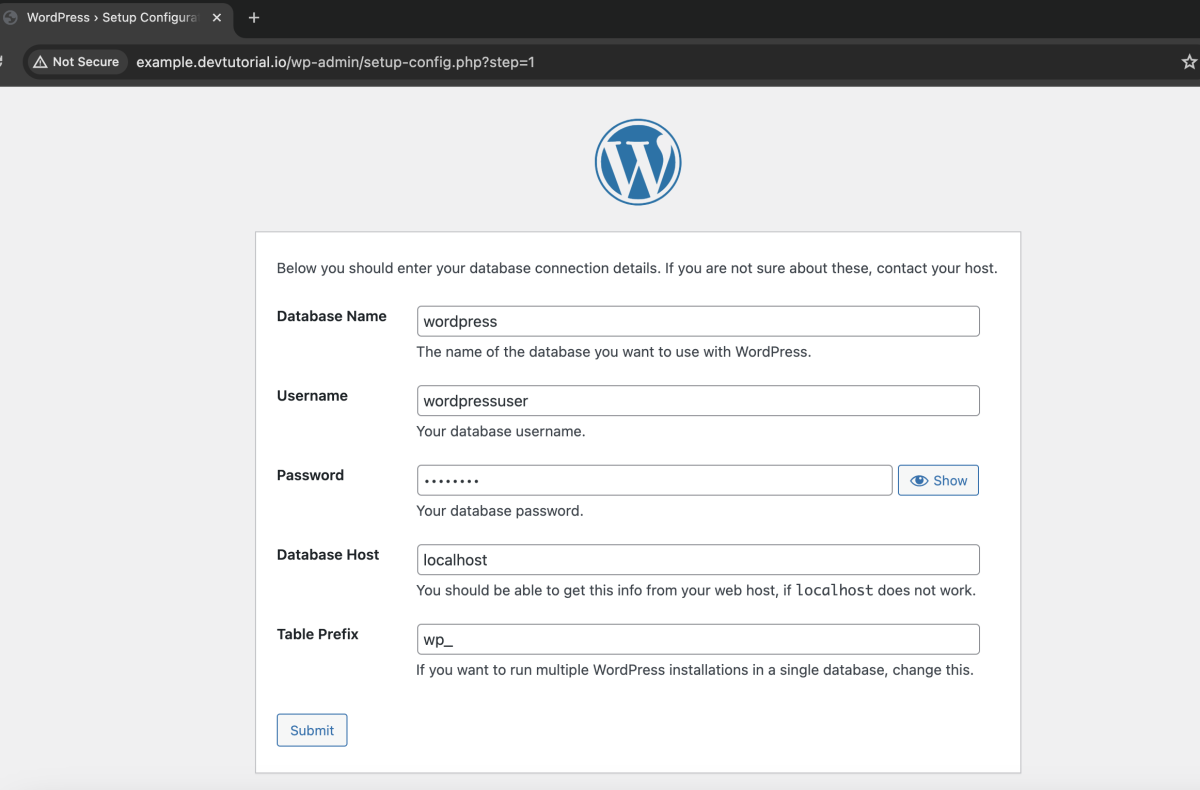
- Click "Let's go!" and enter the database information you created earlier.
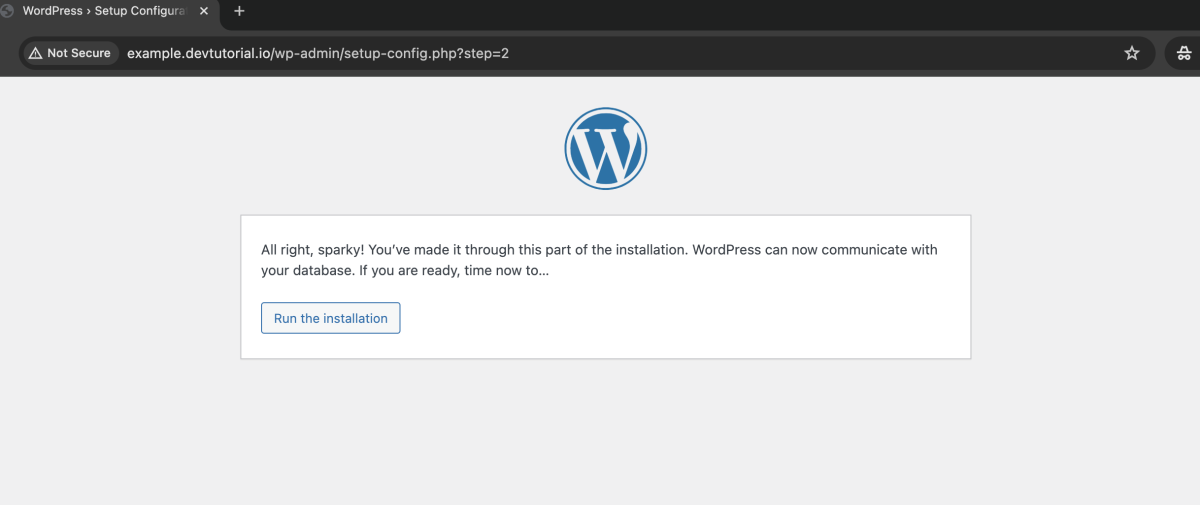
- If the information is correct, click "Run the installation."
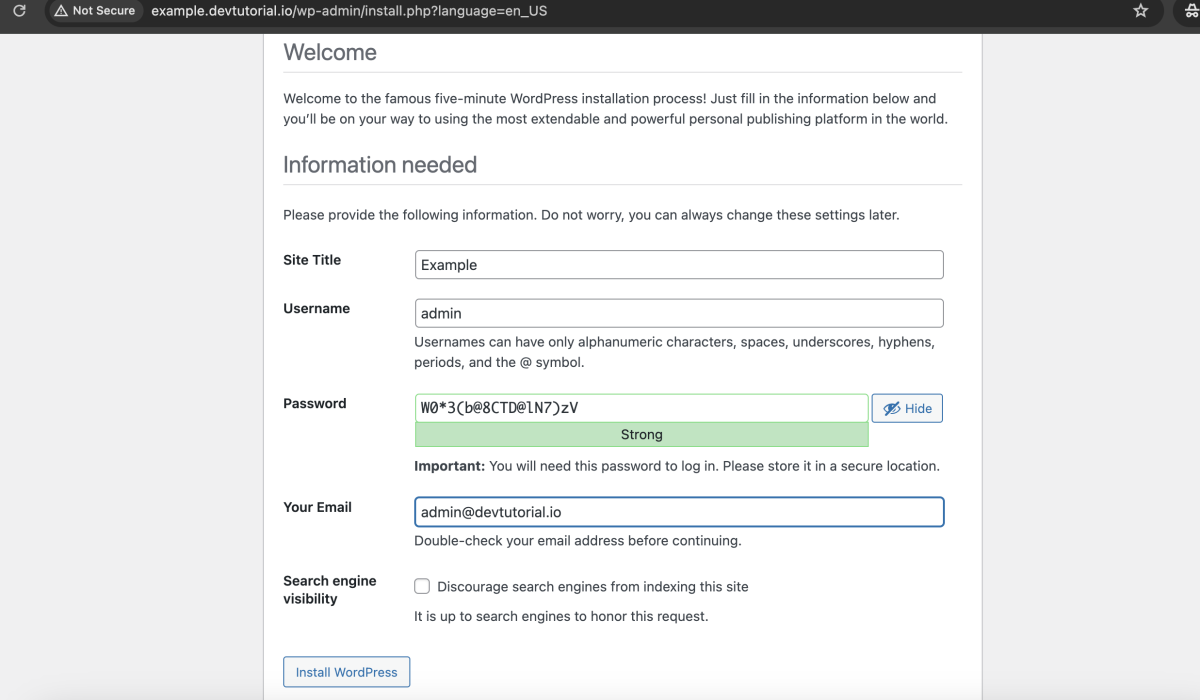
- Enter your WordPress information and click "Install WordPress."
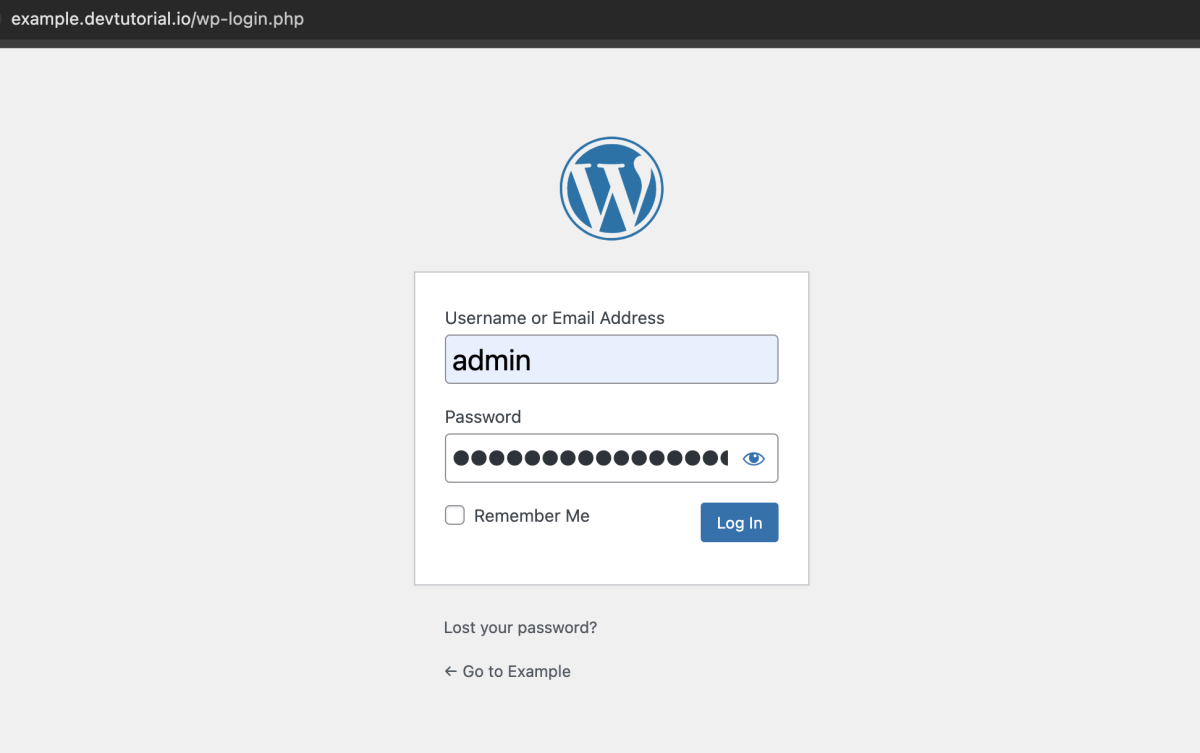
Step 8 : After installation, log in to your WordPress dashboard using the credentials you set up.
Step 9 : Explore the Dashboard
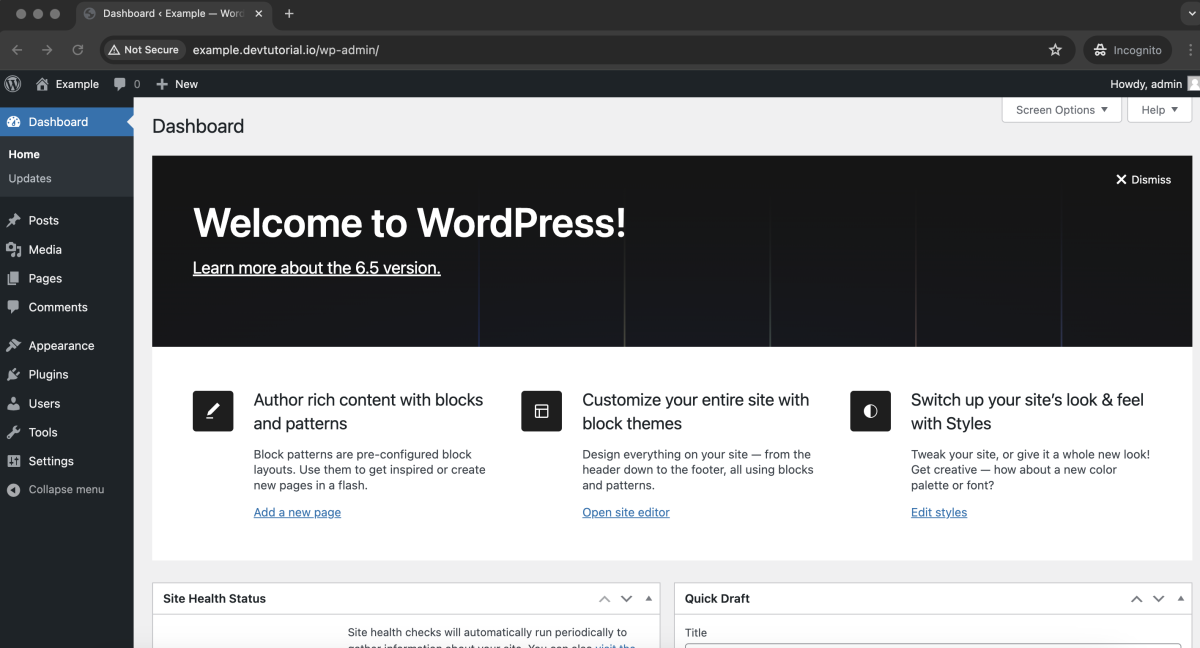
Congratulations! You have successfully installed WordPress on CentOS 7.