To install NVM (Node Version Manager) on CentOS 7, follow these steps:
This guide covers Node.js version 16 and below. For newer versions, you may need to upgrade glibc, which will be covered in a separate guide
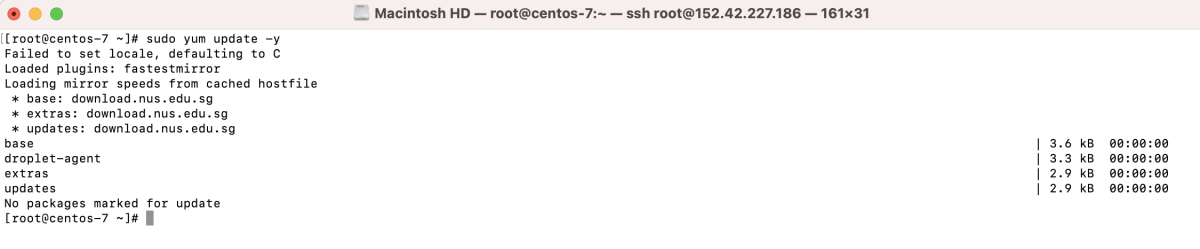
Step 1 : First, ensure your system is up-to-date. Open a terminal and run the following command:
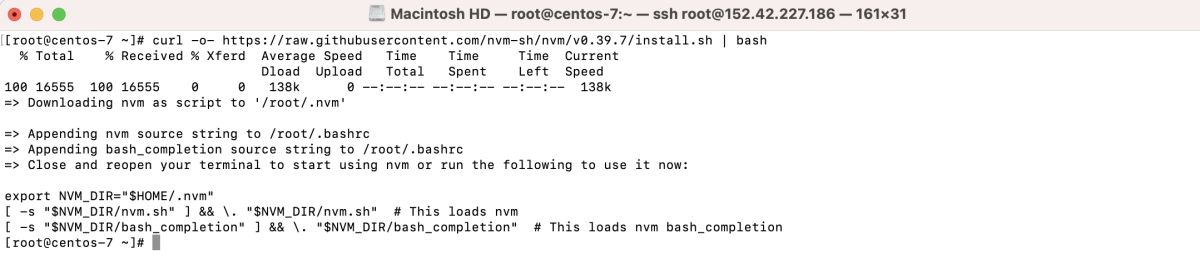
Step 2 : Next, download and run the NVM installation script. You can find the latest version on https://github.com/nvm-sh/nvm. For example:
Step 3 : To use NVM, you need to load the environment variables. Run the following command:

Step 4 : Verify that NVM is installed correctly by checking its version:

Step 5 : Now, you can start using NVM to manage Node.js versions.
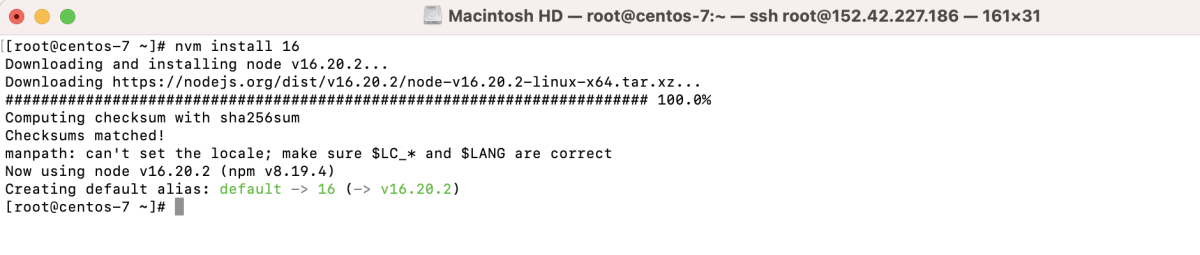
- To install a specific version, specify the version number:
- To switch to a different Node.js version:

- To set a default Node.js version, use:

- To check the currently active Node.js version:

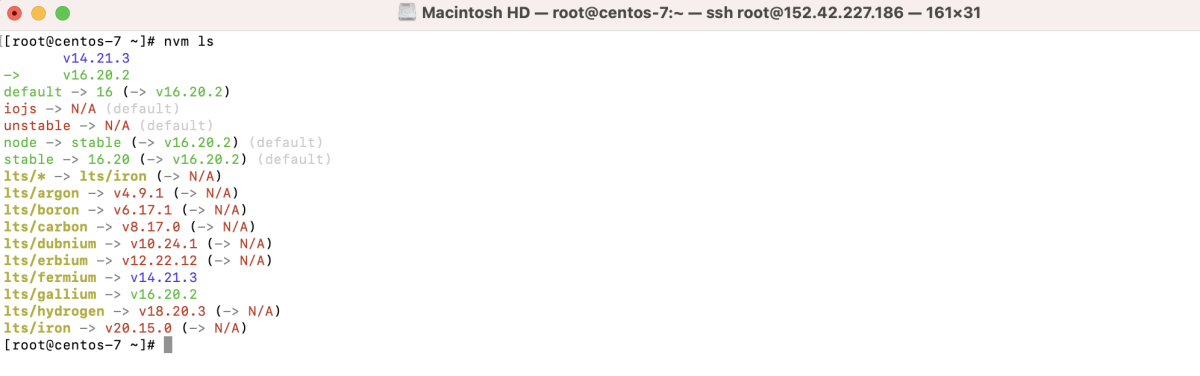
- To see all installed Node.js versions:
Congratulations! You have successfully installed NVM on CentOS 7.