To install phpMyAdmin with Apache on CentOS 7, follow the steps below:
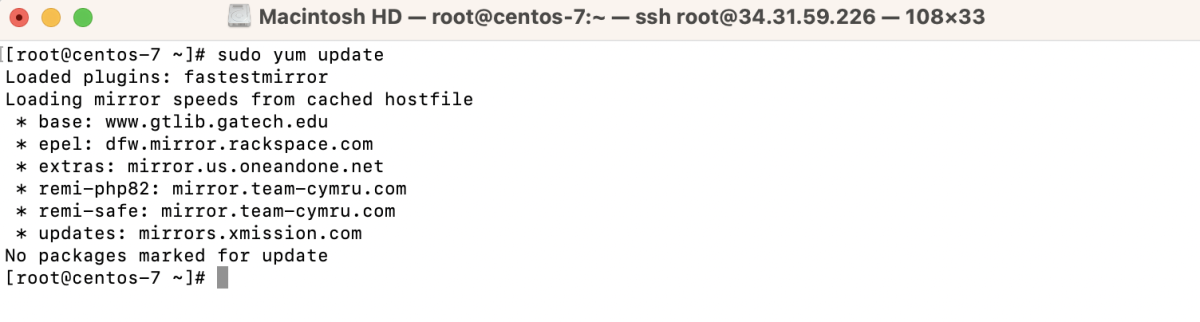
Step 1 : Begin by updating the system's package index:
Step 2 : Install phpMyAdmin using the following command:

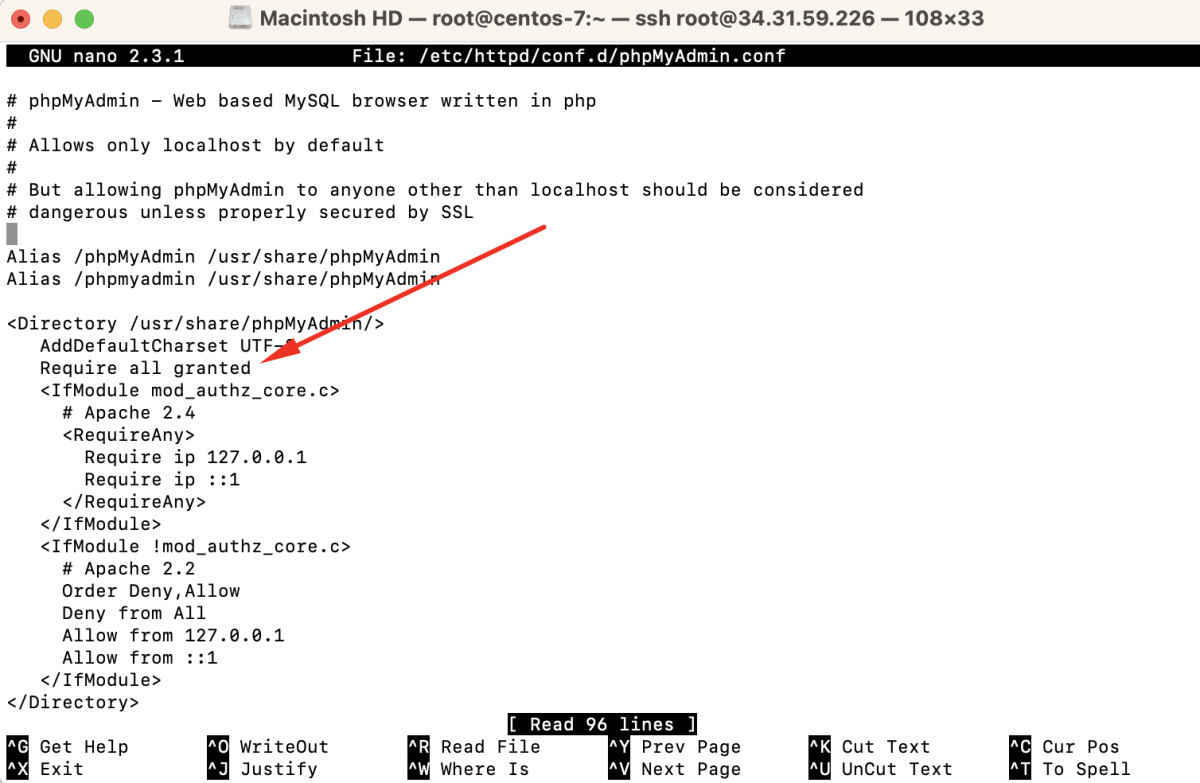
Step 3 : Open the phpMyAdmin configuration file using a text editor:
Add the line Require all granted within the <Directory> block. It should look like this:
Step 4 : Restart the Apache service for the changes to take effect:

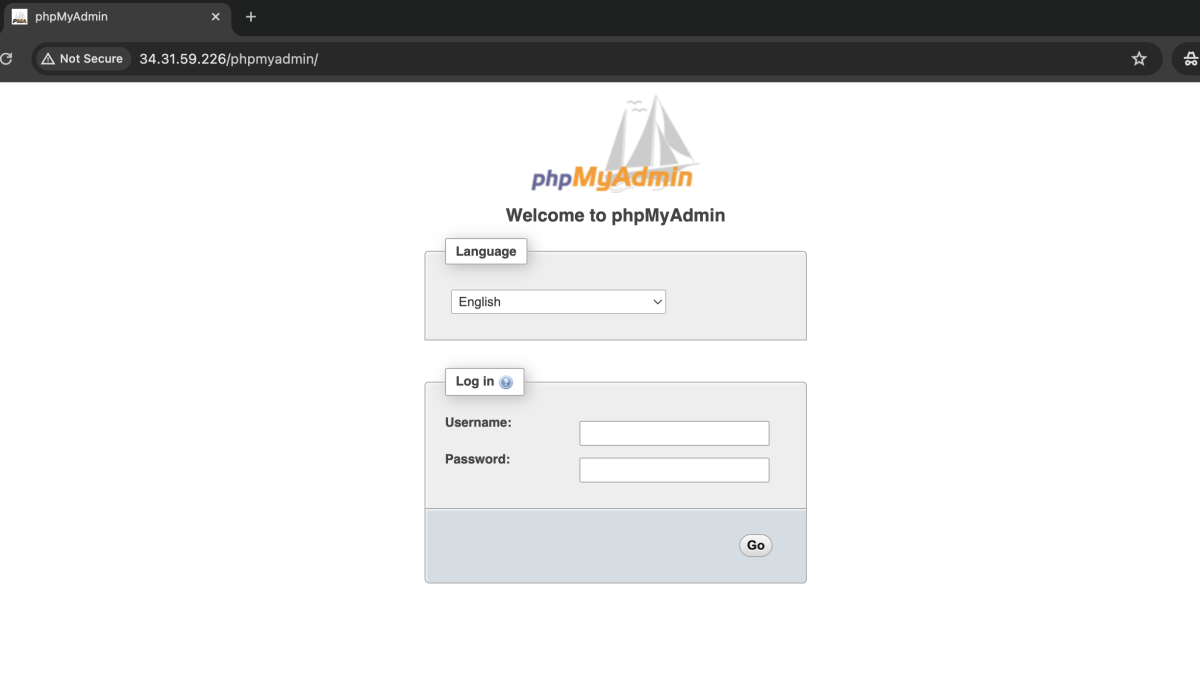
Step 5 : You can now access phpMyAdmin by navigating to http://your_server_ip/phpmyadmin in your web browser.
- Enter your MySQL username and password, then click "Go" to access your MySQL databases through phpMyAdmin.
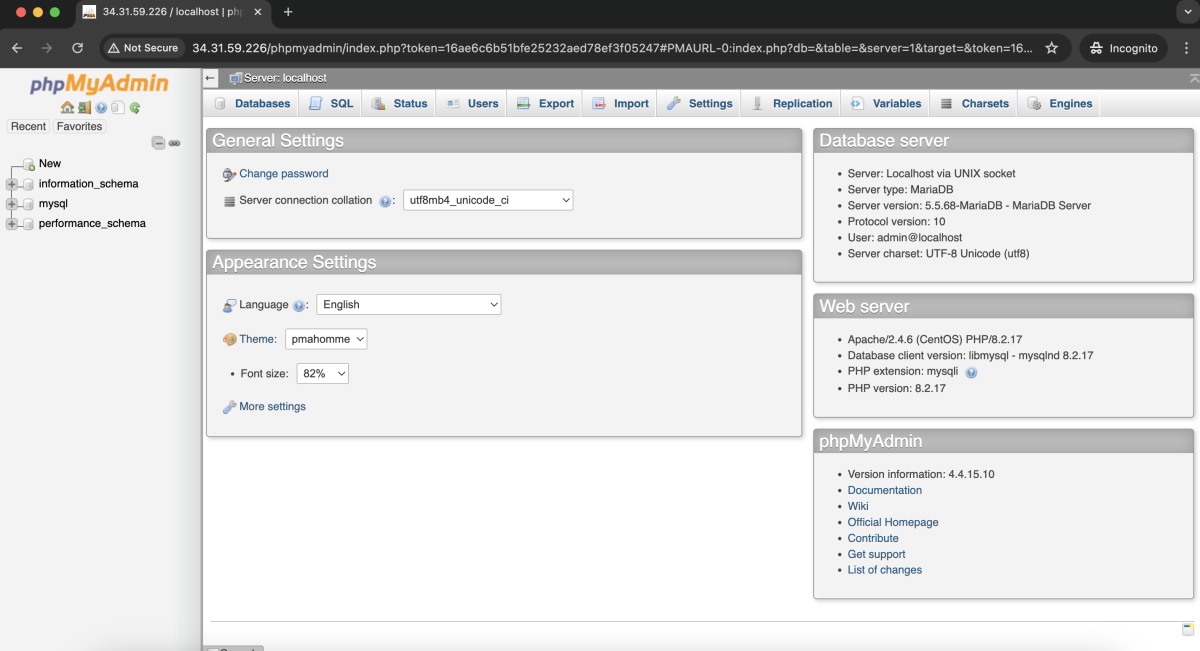
Congratulations! You have successfully installed and configured phpMyAdmin with Apache on CentOS 7.