To install RabbitMQ on Rocky Linux 9, follow the steps below.
Step 1 : Update:
sudo dnf update

Step 2 : Import RabbitMQ and Erlang keys:
## primary RabbitMQ signing key
rpm --import 'https://github.com/rabbitmq/signing-keys/releases/download/3.0/rabbitmq-release-signing-key.asc'
## modern Erlang repository
rpm --import 'https://github.com/rabbitmq/signing-keys/releases/download/3.0/cloudsmith.rabbitmq-erlang.E495BB49CC4BBE5B.key'
## RabbitMQ server repository
rpm --import 'https://github.com/rabbitmq/signing-keys/releases/download/3.0/cloudsmith.rabbitmq-server.9F4587F226208342.key'

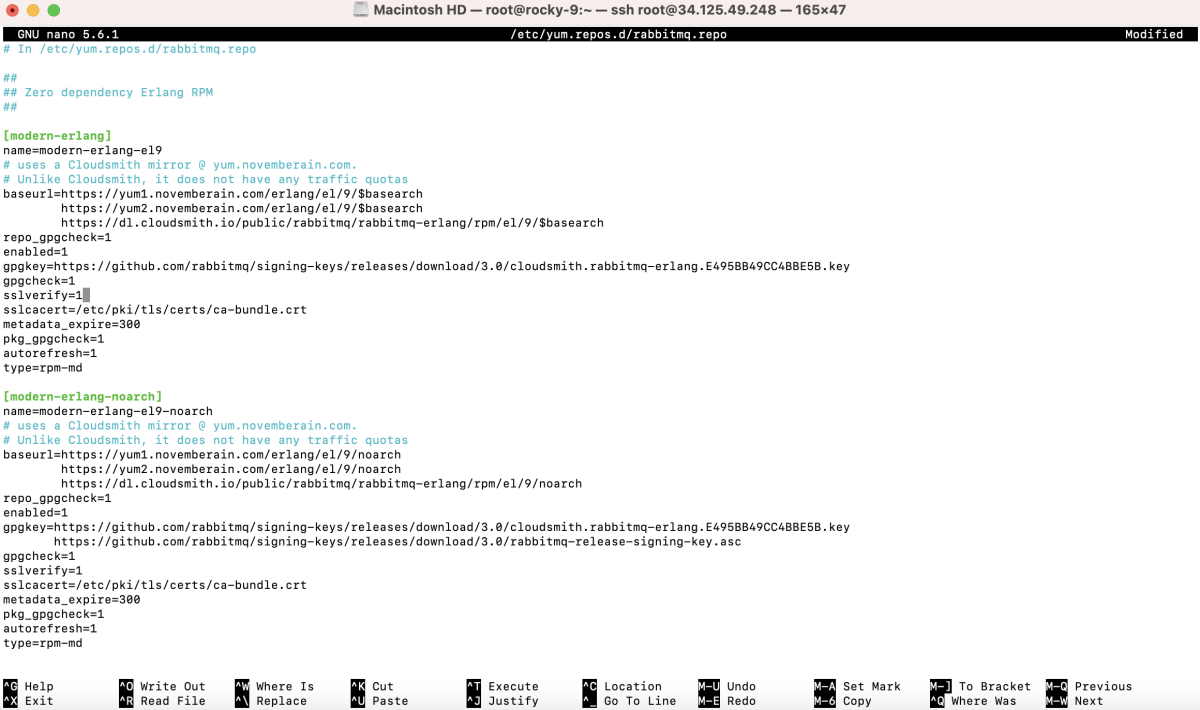
Step 3 : Create a new file /etc/yum.repos.d/rabbitmq.repo and add the following content:
# In /etc/yum.repos.d/rabbitmq.repo

##
## Zero dependency Erlang RPM
##

[modern-erlang]
name=modern-erlang-el9
# uses a Cloudsmith mirror @ yum.novemberain.com.
# Unlike Cloudsmith, it does not have any traffic quotas
baseurl=https://yum1.novemberain.com/erlang/el/9/$basearch
        https://yum2.novemberain.com/erlang/el/9/$basearch
        https://dl.cloudsmith.io/public/rabbitmq/rabbitmq-erlang/rpm/el/9/$basearch
repo_gpgcheck=1
enabled=1
gpgkey=https://github.com/rabbitmq/signing-keys/releases/download/3.0/cloudsmith.rabbitmq-erlang.E495BB49CC4BBE5B.key
gpgcheck=1
sslverify=1
sslcacert=/etc/pki/tls/certs/ca-bundle.crt
metadata_expire=300
pkg_gpgcheck=1
autorefresh=1
type=rpm-md

[modern-erlang-noarch]
name=modern-erlang-el9-noarch
# uses a Cloudsmith mirror @ yum.novemberain.com.
# Unlike Cloudsmith, it does not have any traffic quotas
baseurl=https://yum1.novemberain.com/erlang/el/9/noarch
        https://yum2.novemberain.com/erlang/el/9/noarch
        https://dl.cloudsmith.io/public/rabbitmq/rabbitmq-erlang/rpm/el/9/noarch
repo_gpgcheck=1
enabled=1
gpgkey=https://github.com/rabbitmq/signing-keys/releases/download/3.0/cloudsmith.rabbitmq-erlang.E495BB49CC4BBE5B.key
       https://github.com/rabbitmq/signing-keys/releases/download/3.0/rabbitmq-release-signing-key.asc
gpgcheck=1
sslverify=1
sslcacert=/etc/pki/tls/certs/ca-bundle.crt
metadata_expire=300
pkg_gpgcheck=1
autorefresh=1
type=rpm-md

[modern-erlang-source]
name=modern-erlang-el9-source
# uses a Cloudsmith mirror @ yum.novemberain.com.
# Unlike Cloudsmith, it does not have any traffic quotas
baseurl=https://yum1.novemberain.com/erlang/el/9/SRPMS
        https://yum2.novemberain.com/erlang/el/9/SRPMS
        https://dl.cloudsmith.io/public/rabbitmq/rabbitmq-erlang/rpm/el/9/SRPMS
repo_gpgcheck=1
enabled=1
gpgkey=https://github.com/rabbitmq/signing-keys/releases/download/3.0/cloudsmith.rabbitmq-erlang.E495BB49CC4BBE5B.key
       https://github.com/rabbitmq/signing-keys/releases/download/3.0/rabbitmq-release-signing-key.asc
gpgcheck=1
sslverify=1
sslcacert=/etc/pki/tls/certs/ca-bundle.crt
metadata_expire=300
pkg_gpgcheck=1
autorefresh=1


##
## RabbitMQ Server
##

[rabbitmq-el9]
name=rabbitmq-el9
baseurl=https://yum2.novemberain.com/rabbitmq/el/9/$basearch
        https://yum1.novemberain.com/rabbitmq/el/9/$basearch
        https://dl.cloudsmith.io/public/rabbitmq/rabbitmq-server/rpm/el/9/$basearch
repo_gpgcheck=1
enabled=1
# Cloudsmith's repository key and RabbitMQ package signing key
gpgkey=https://github.com/rabbitmq/signing-keys/releases/download/3.0/cloudsmith.rabbitmq-server.9F4587F226208342.key
       https://github.com/rabbitmq/signing-keys/releases/download/3.0/rabbitmq-release-signing-key.asc
gpgcheck=1
sslverify=1
sslcacert=/etc/pki/tls/certs/ca-bundle.crt
metadata_expire=300
pkg_gpgcheck=1
autorefresh=1
type=rpm-md

[rabbitmq-el9-noarch]
name=rabbitmq-el9-noarch
baseurl=https://yum2.novemberain.com/rabbitmq/el/9/noarch
        https://yum1.novemberain.com/rabbitmq/el/9/noarch
        https://dl.cloudsmith.io/public/rabbitmq/rabbitmq-server/rpm/el/9/noarch
repo_gpgcheck=1
enabled=1
# Cloudsmith's repository key and RabbitMQ package signing key
gpgkey=https://github.com/rabbitmq/signing-keys/releases/download/3.0/cloudsmith.rabbitmq-server.9F4587F226208342.key
       https://github.com/rabbitmq/signing-keys/releases/download/3.0/rabbitmq-release-signing-key.asc
gpgcheck=1
sslverify=1
sslcacert=/etc/pki/tls/certs/ca-bundle.crt
metadata_expire=300
pkg_gpgcheck=1
autorefresh=1
type=rpm-md

[rabbitmq-el9-source]
name=rabbitmq-el9-source
baseurl=https://yum2.novemberain.com/rabbitmq/el/9/SRPMS
        https://yum1.novemberain.com/rabbitmq/el/9/SRPMS
        https://dl.cloudsmith.io/public/rabbitmq/rabbitmq-server/rpm/el/9/SRPMS
repo_gpgcheck=1
enabled=1
gpgkey=https://github.com/rabbitmq/signing-keys/releases/download/3.0/cloudsmith.rabbitmq-server.9F4587F226208342.key
gpgcheck=0
sslverify=1
sslcacert=/etc/pki/tls/certs/ca-bundle.crt
metadata_expire=300
pkg_gpgcheck=1
autorefresh=1
type=rpm-md
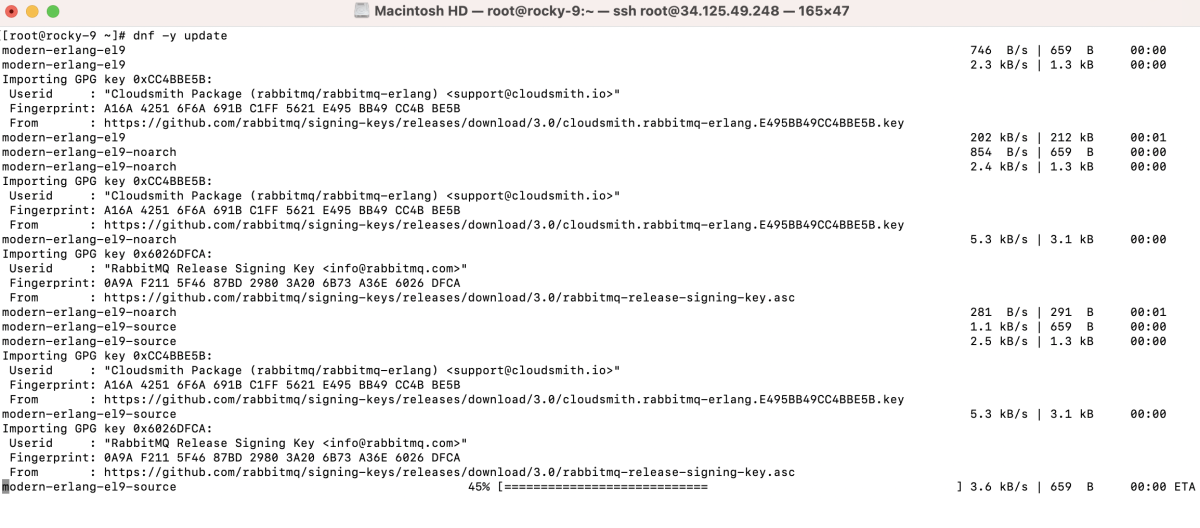
Step 4 : Update again:
dnf -y update
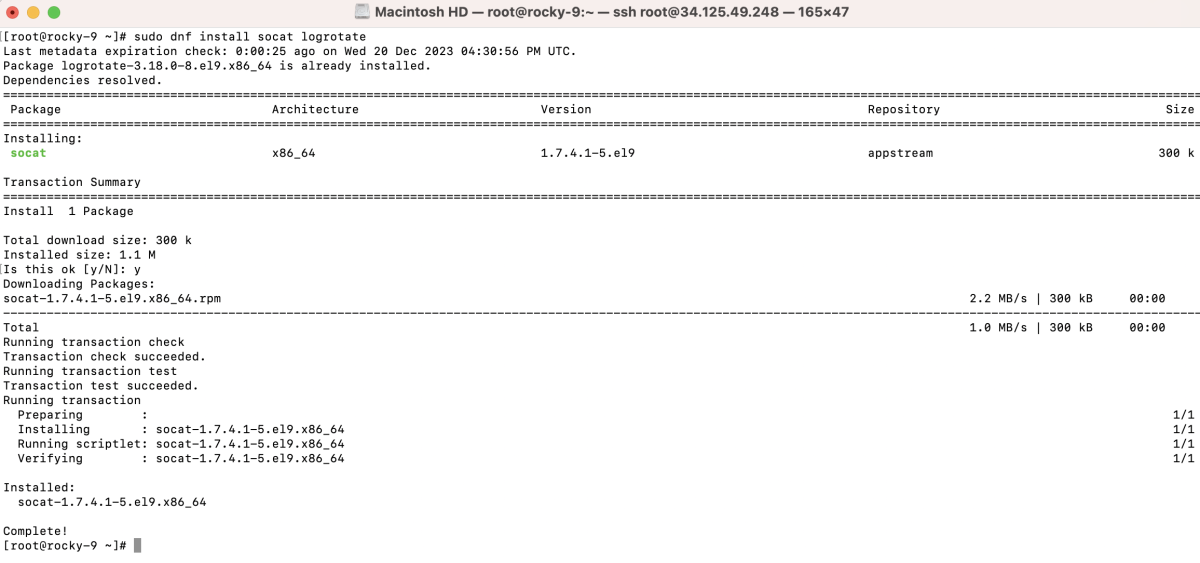
Step 5 : Install dependencies:
sudo dnf install socat logrotate
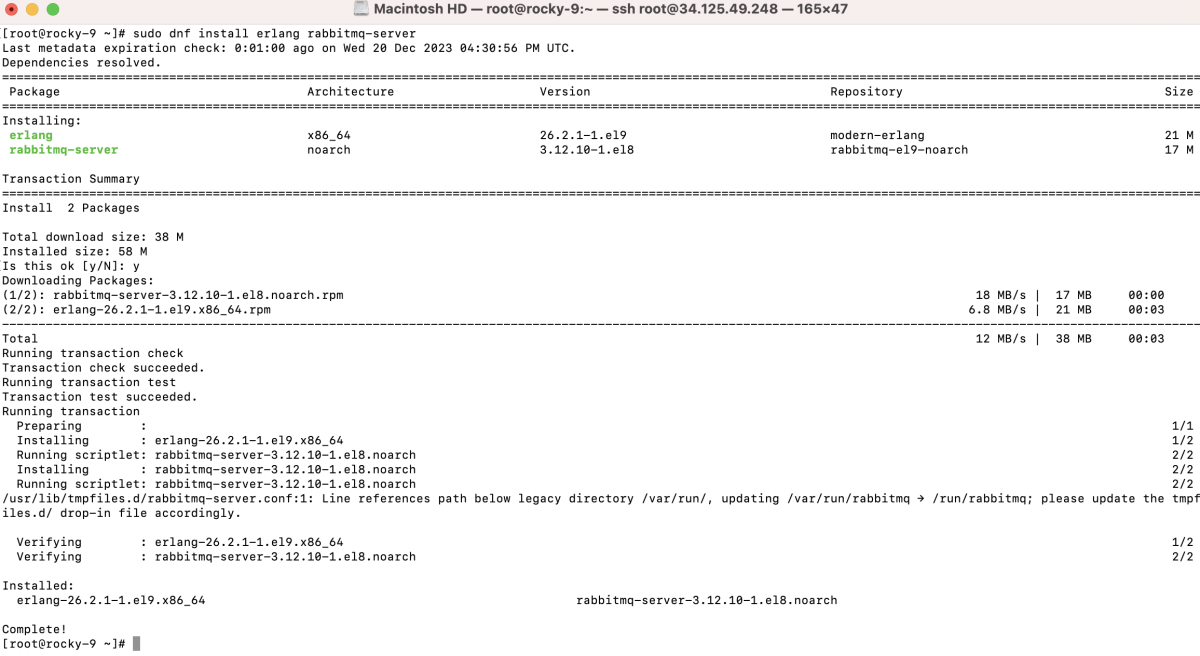
Step 6 : Install RabbitMQ:
sudo dnf install erlang rabbitmq-server
Step 7 : Start RabbitMQ:
sudo systemctl start rabbitmq-server

Step 8 : Enable RabbitMQ:
sudo systemctl enable rabbitmq-server

Step 9 : Check status:
sudo systemctl status rabbitmq-server

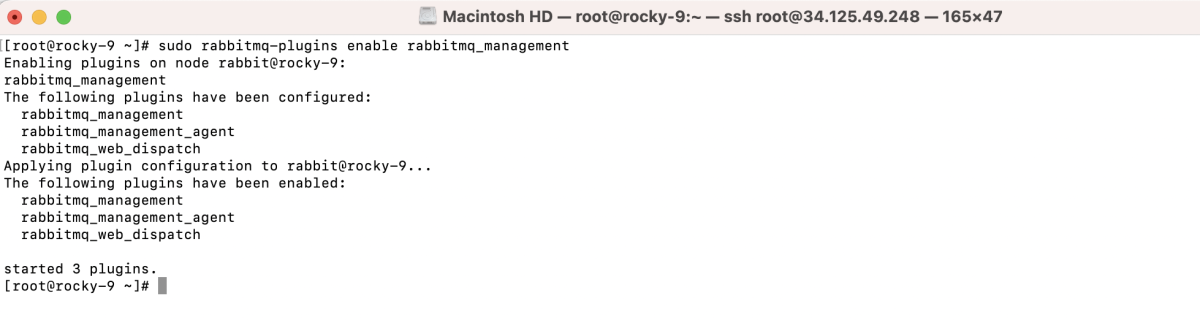
Step 10 : Enable RabbitMQ management plugin:
sudo rabbitmq-plugins enable rabbitmq_management
Step 11 : Create Admin User:
sudo rabbitmqctl add_user admin your_password
sudo rabbitmqctl set_user_tags admin administrator
sudo rabbitmqctl set_permissions -p / admin ".*" ".*" ".*"

Step 12 : Configure the firewall if needed:
sudo firewall-cmd --add-port={5672,15672}/tcp --permanent
sudo firewall-cmd --reload

Step 13 : Access RabbitMQ management console by navigating to http://your_server_ip:15672 in a web browser.
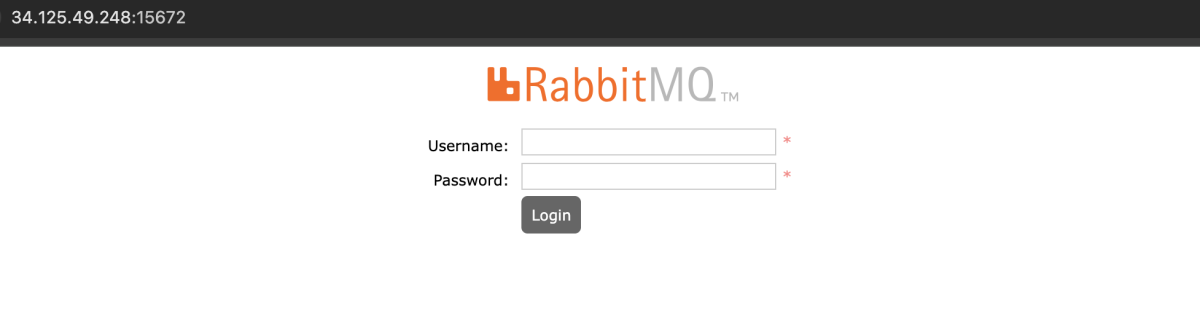
- Log in with the admin credentials you created.
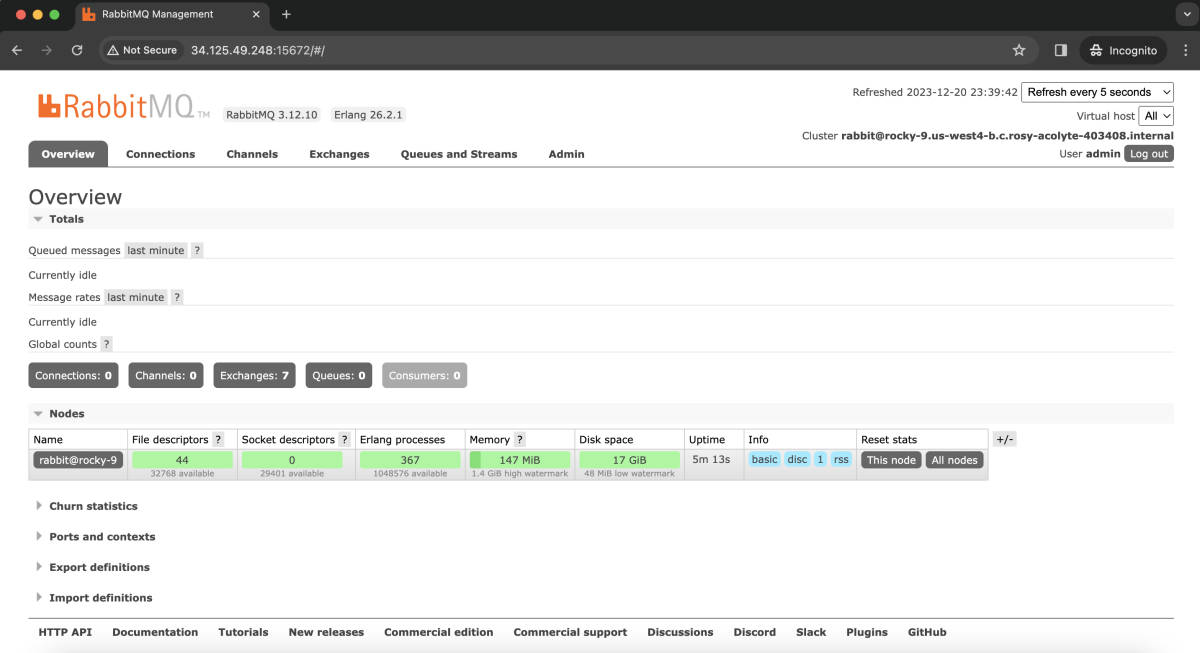
Congratulations! You have successfully installed RabbitMQ on Rocky Linux 9.