To install and configure Apache on Rocky Linux 9, follow the steps below.
Step 1 : Begin by updating the system to ensure you have the latest package information.

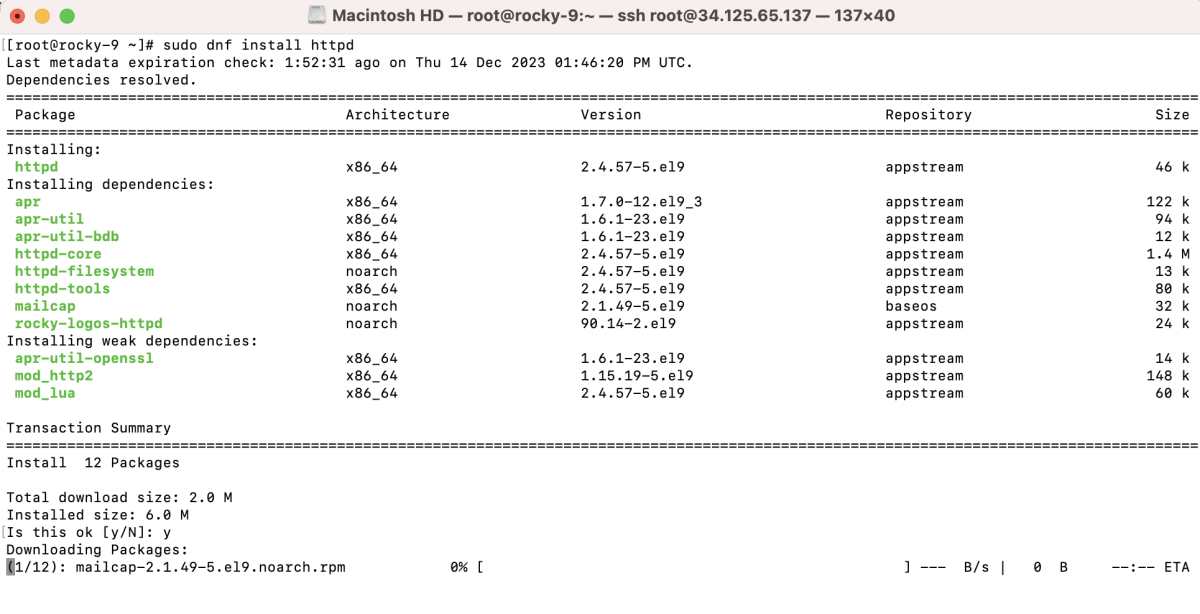
Step 2 : Install the Apache web server using the package manager.
Step 3 : If you are using a firewall, adjust it to allow HTTP traffic.
Step 4 : Reload the firewall to apply the changes.

Step 5 : Start the Apache service and enable it to start on boot.

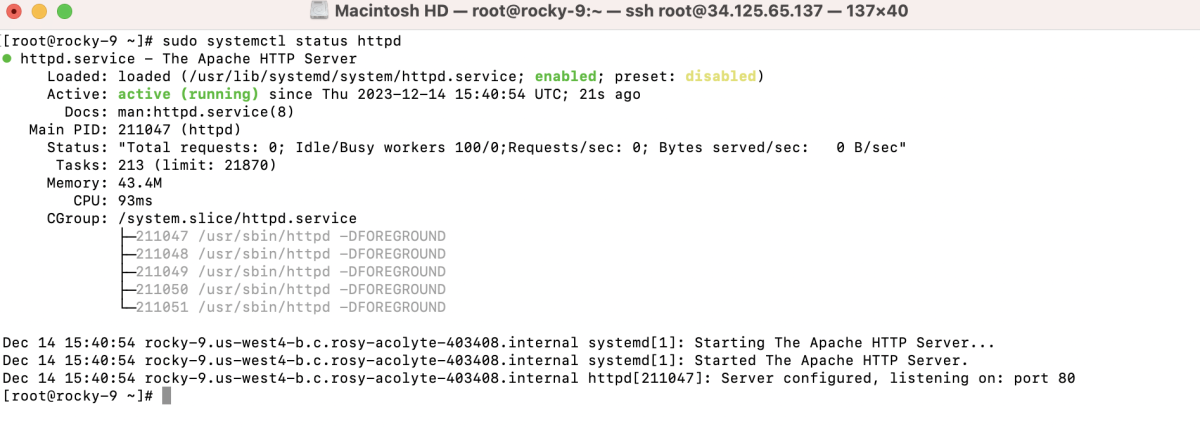
Step 6 : Verify the status of the Apache service to ensure it is running.
Step 7 : Create a directory for your website and an index file.

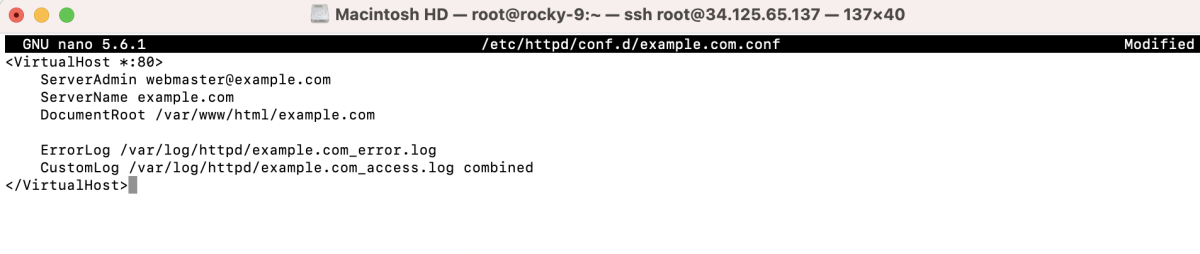
Step 8 : Create a virtual host configuration for example.com.
Add the following content:
Step 9 : Check the Apache configuration for syntax errors.

Step 10 : If the configuration test is successful, restart Apache.

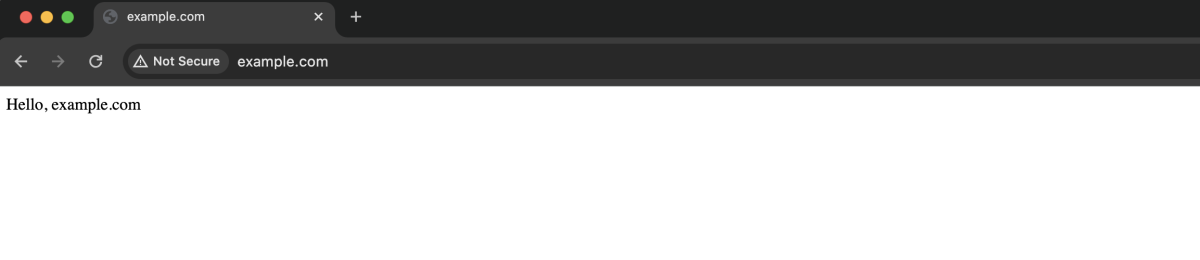
Step 11 : Open a web browser and visit your domain (e.g., http://example.com) to verify that the web server is functioning correctly.
Congratulations! You have successfully installed and configured Apache on Rocky Linux 9.