To install Nginx on Rocky Linux 9, follow the steps below.
Step 1 : Update

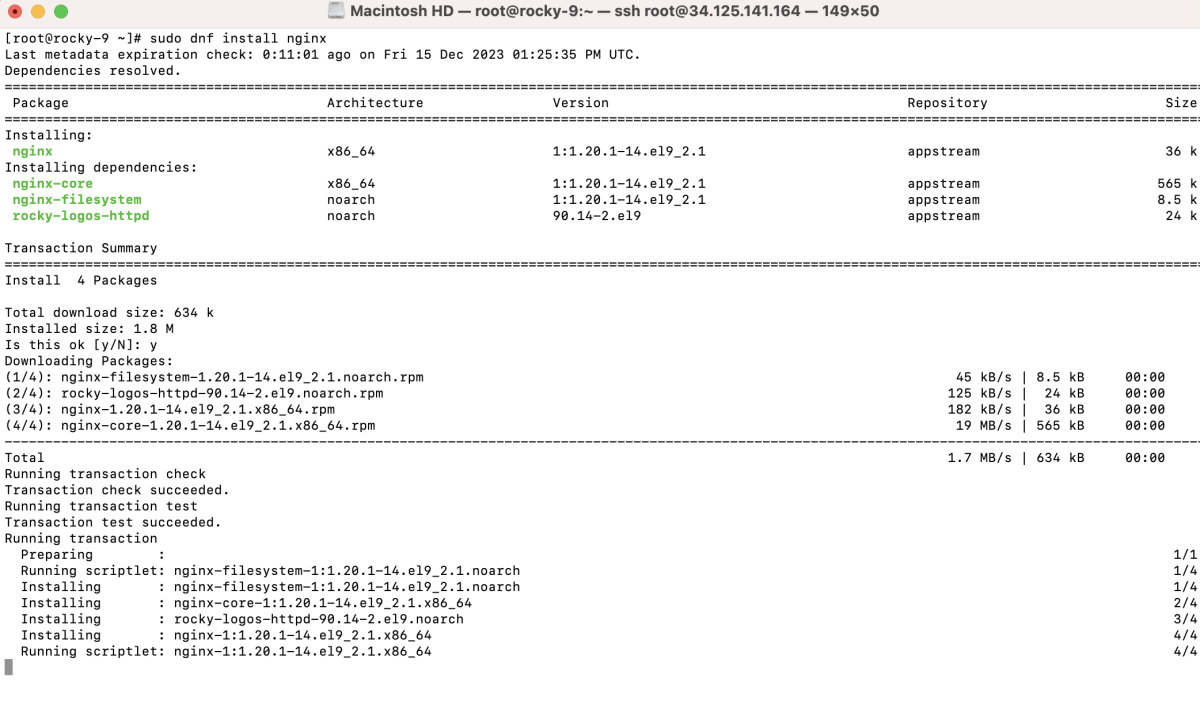
Step 2 : Install Nginx

Step 3 : Verify that Nginx has been successfully installed by checking its version.

Step 4 : Enable Nginx to start on boot and start the service immediately.

Step 5 : Verify that Nginx is running without any issues.

Step 6 : Allow HTTP traffic through the firewall permanently.

Step 7 : Reload the firewall to apply the changes.

Step 8 : Create Nginx configuration
Enter the following basic configuration for a static site:

Step 9 : Create Sample index.html
Enter some basic HTML content:

Step 10 : If SELinux is enabled, set the appropriate context for your web content:

Step 11 : Test Nginx configuration

Step 12 : Restart Nginx to apply the new configuration.

Step 13 : Access
Open a web browser and navigate to your domain to ensure that Nginx is serving the configured site.

Congratulations! You have successfully installed Nginx on Rocky Linux 9.