To install Jenkins on Rocky Linux 9, follow the steps below:
Step 1 : Ensure your system is up-to-date by running the following command:

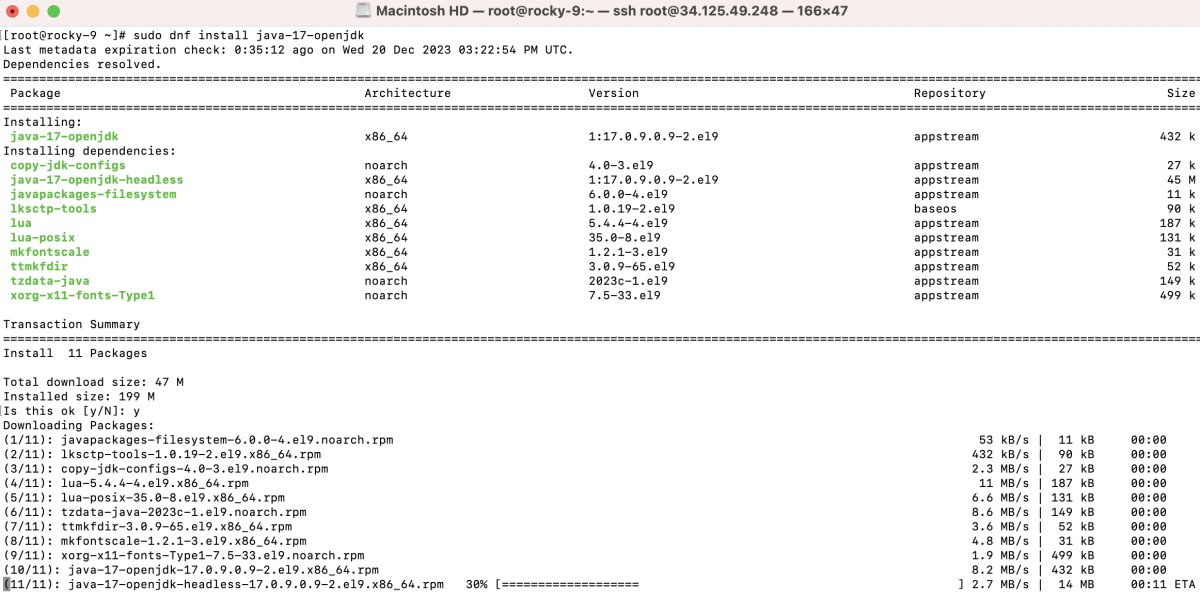
Step 2 : Install OpenJDK, which is required to run Jenkins:
Step 3 : Add the Jenkins repository key to verify package integrity:

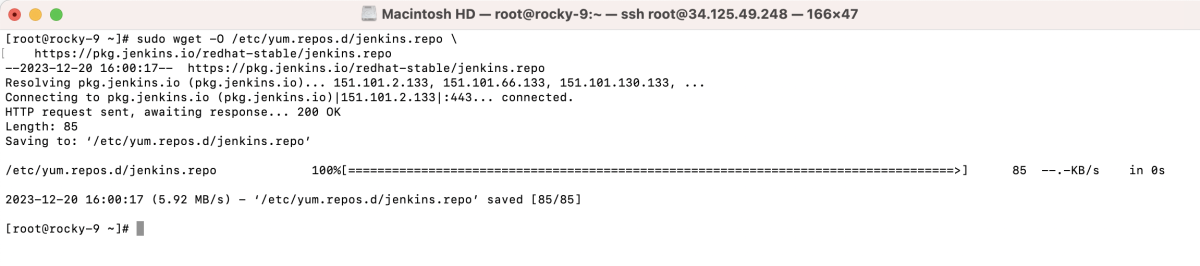
Step 4 : Add the Jenkins repository to your system:
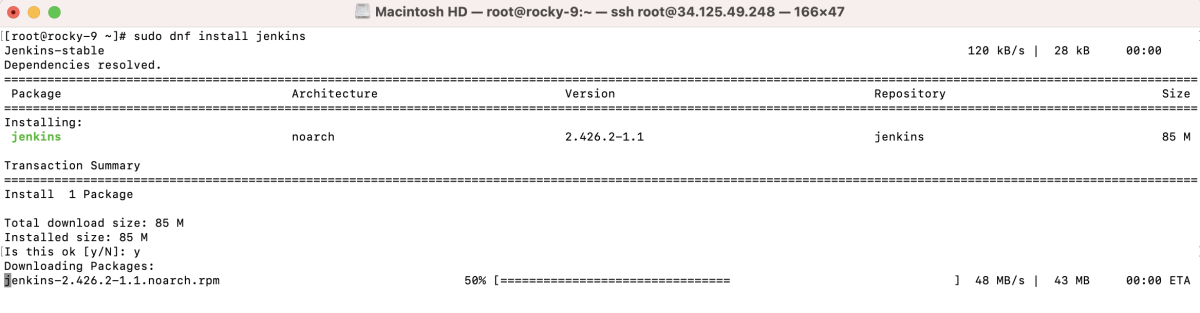
Step 5 : Install Jenkins using the following command:
Step 6 : Start the Jenkins service:

Step 7 : Enable Jenkins to start on boot:

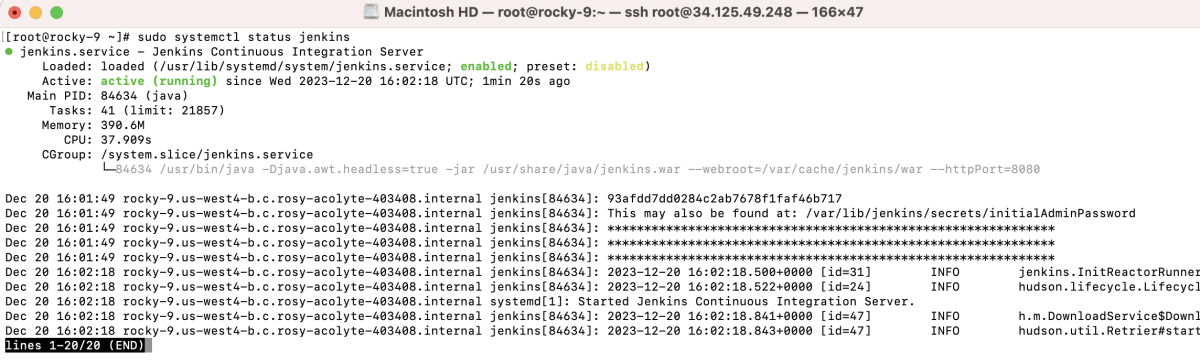
Step 8 : Check the status of the Jenkins service:
Step 9 : If you are using firewall-cmd, open the Jenkins port:

Step 10 : Retrieve the initial admin password for Jenkins:

Step 11 : Access Jenkins
Access Jenkins using your web browser at http://your_ip:8080 or replace your_ip with your server's IP address.
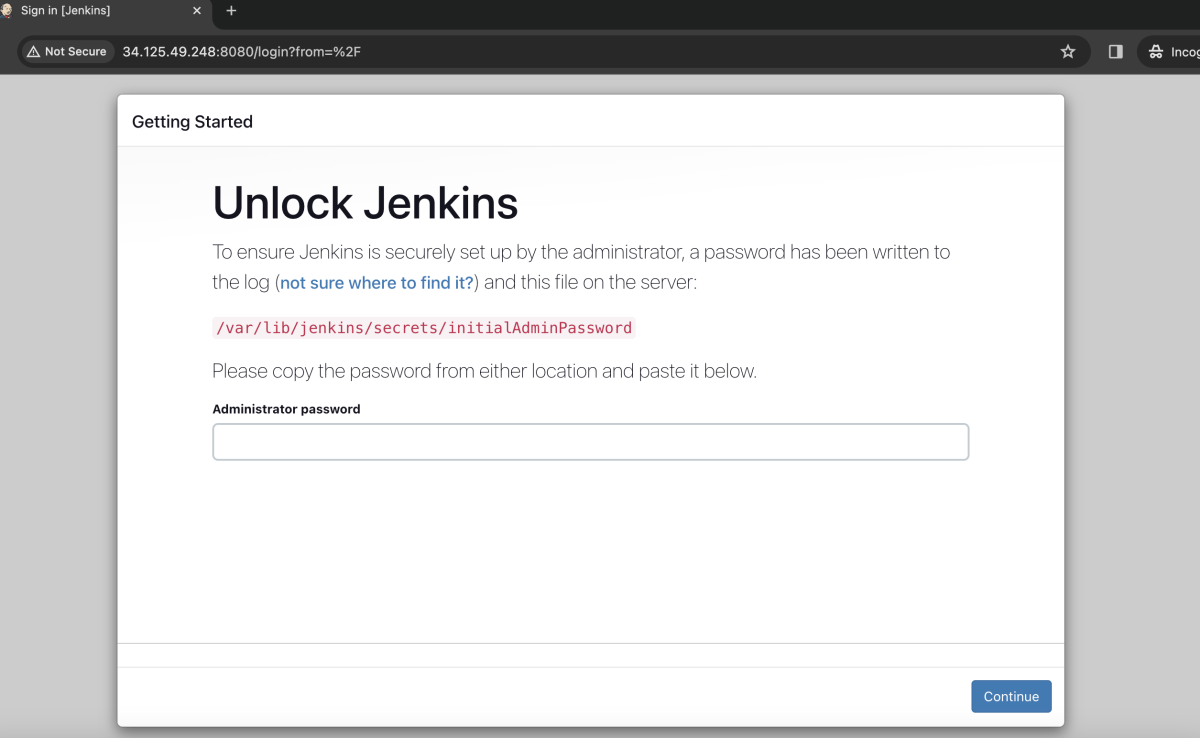
Login using the initial admin password obtained in Step 10.

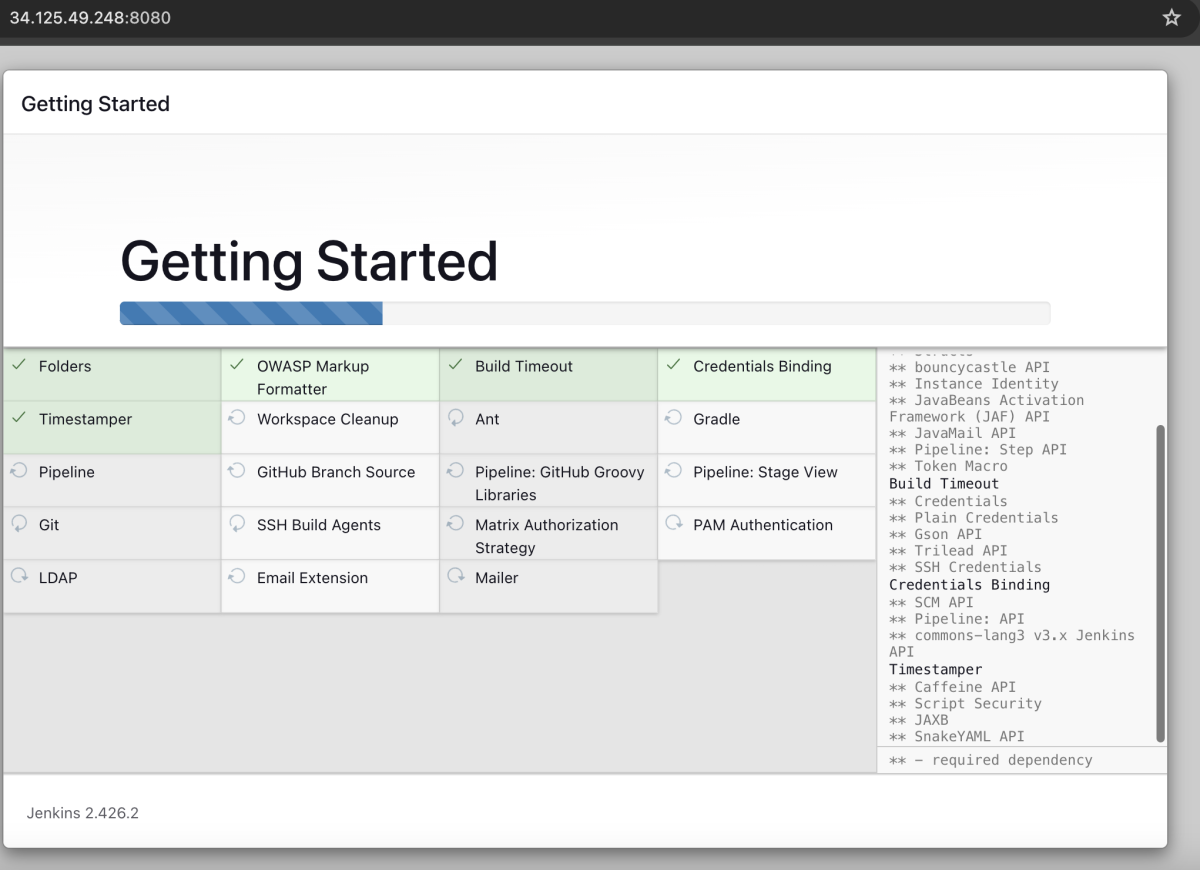
Install the suggested plugins to enhance Jenkins functionality.
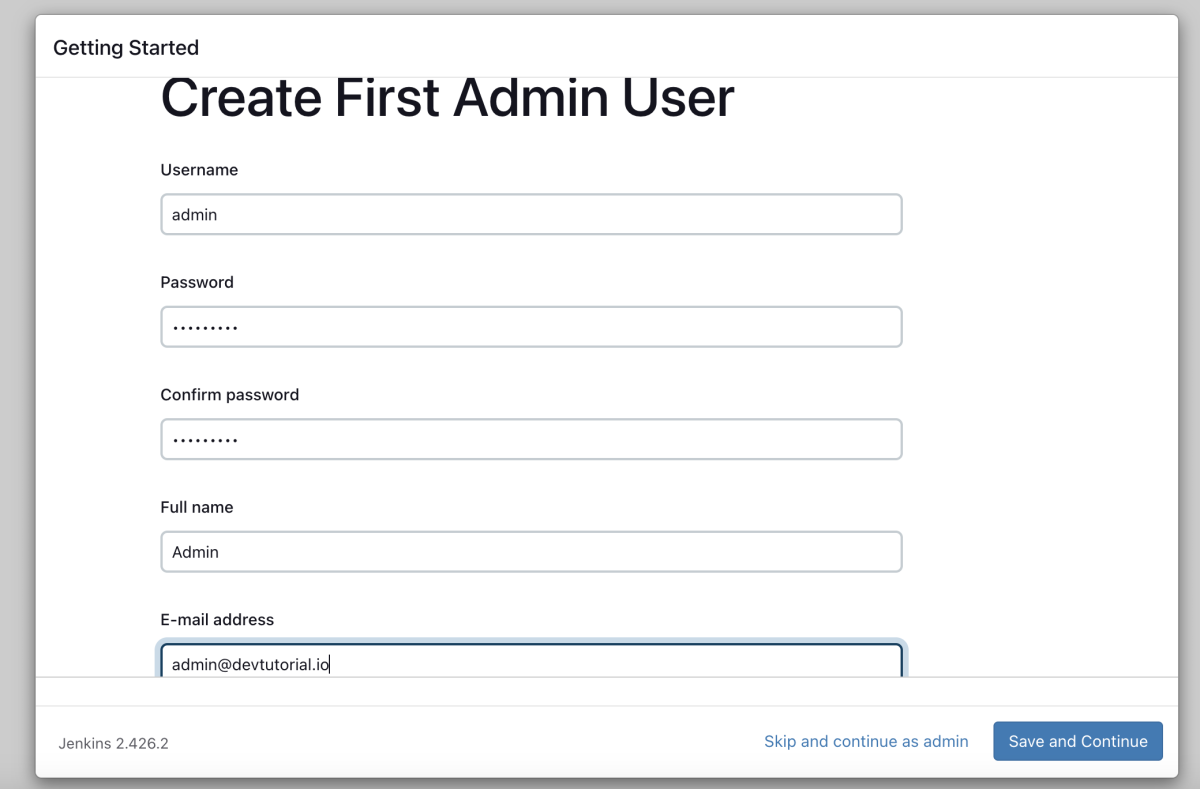
Create a user account for Jenkins.
Configure the Jenkins URL in the Jenkins settings.
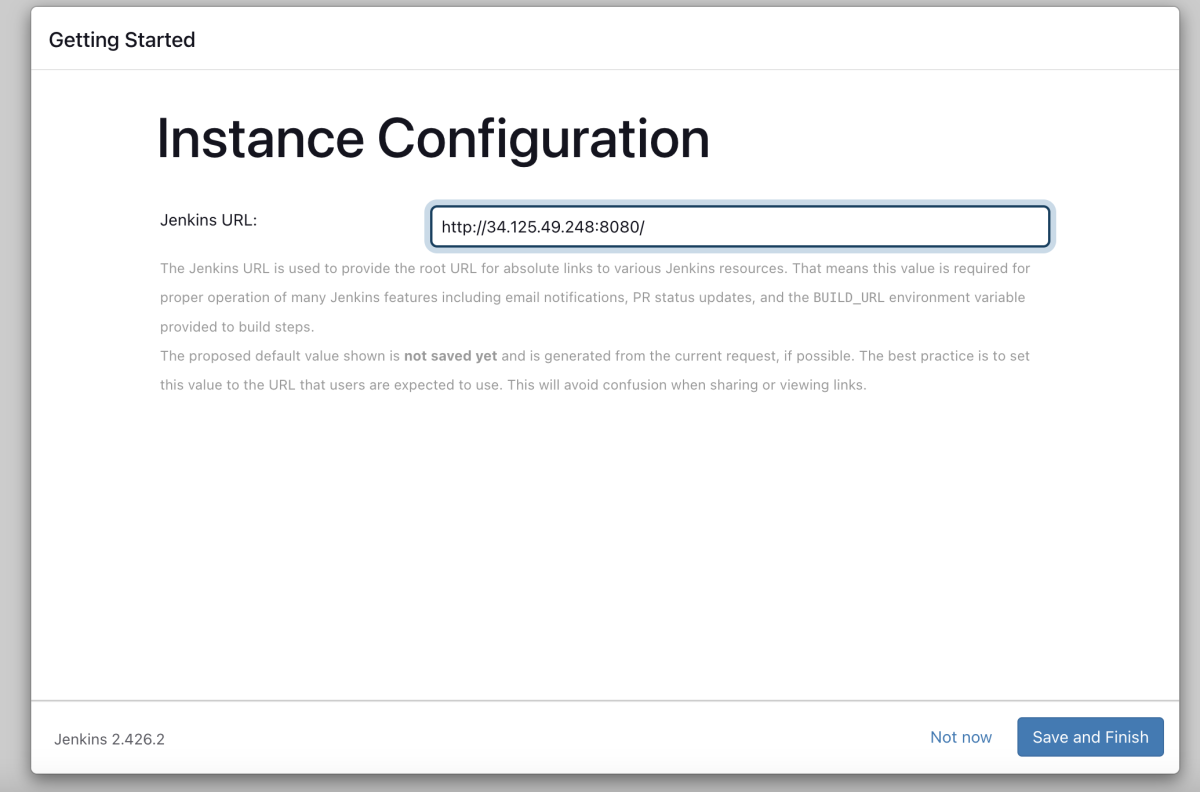
Click "Start using Jenkins" to complete the setup.
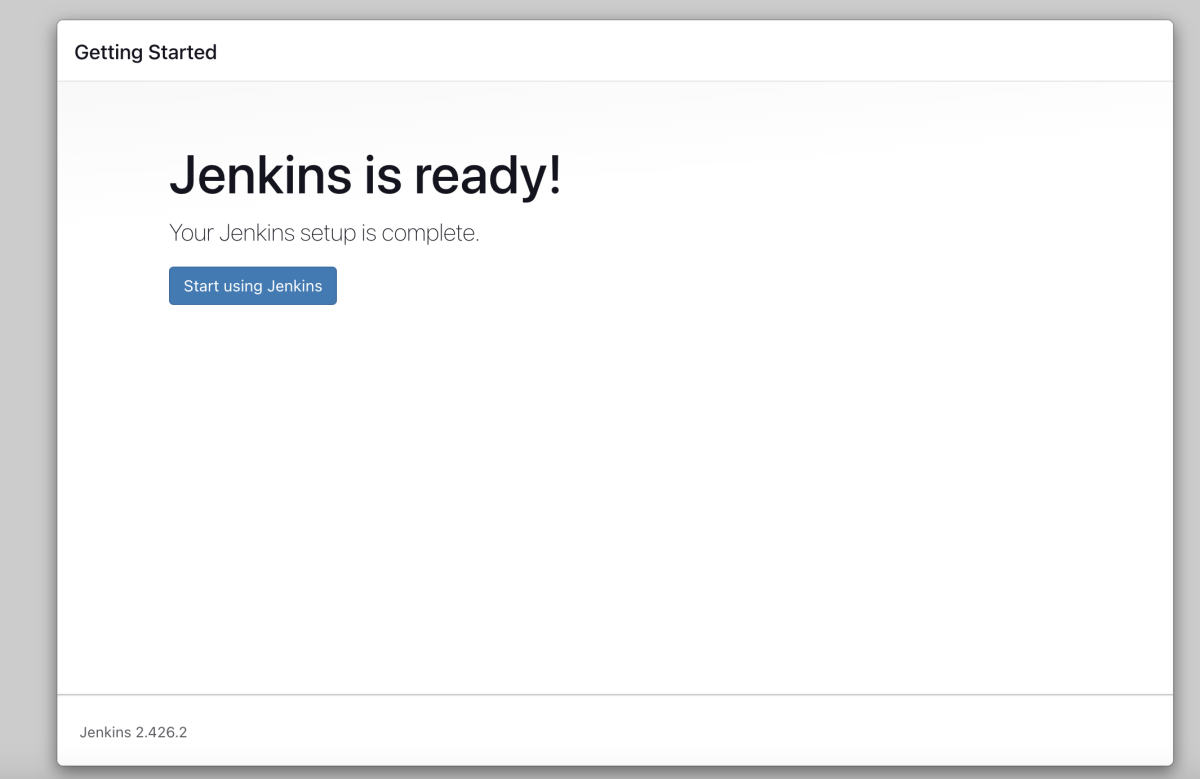

Congratulations! You have successfully installed and configured Jenkins on Rocky Linux 9.