To install Let's Encrypt SSL in Nginx on Rocky Linux 9, follow the steps below:
Step 1 : Ensure Domain DNS Verification
Make sure your domain has proper DNS settings for verification.
Step 2 : Run the following command to update your system:

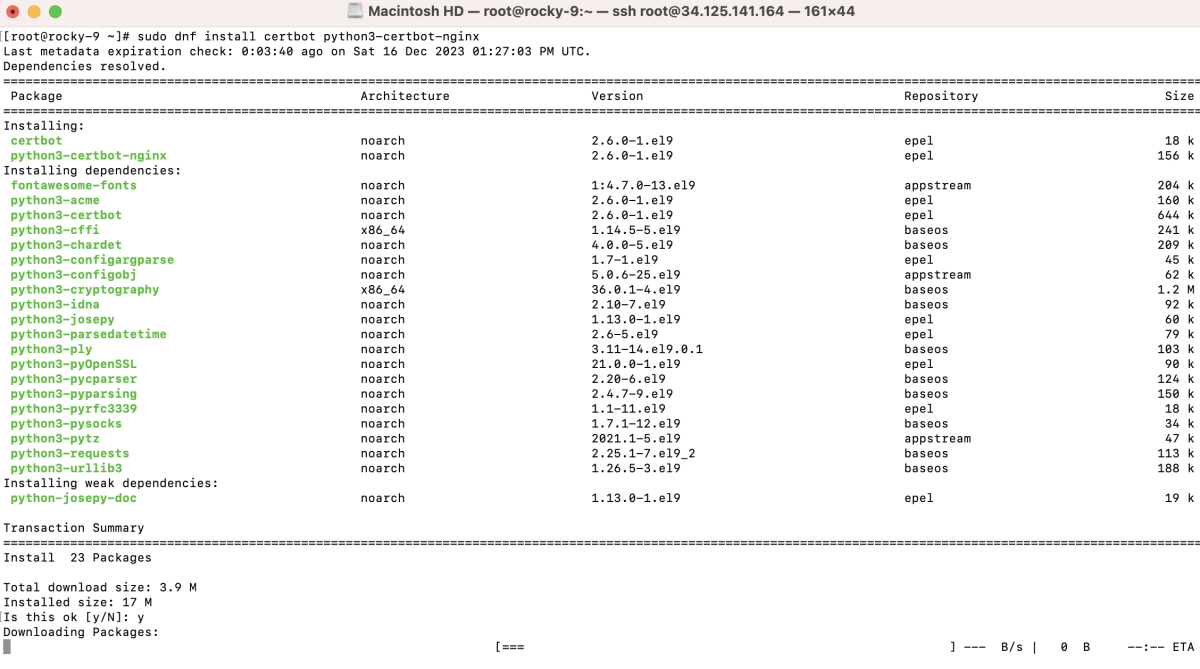
Step 3 : Install Certbot and Python3-certbot-nginx
Step 4 : Create a Nginx server block configuration for your domain and add the necessary configuration.
Inside the file, add the Nginx server block configuration:

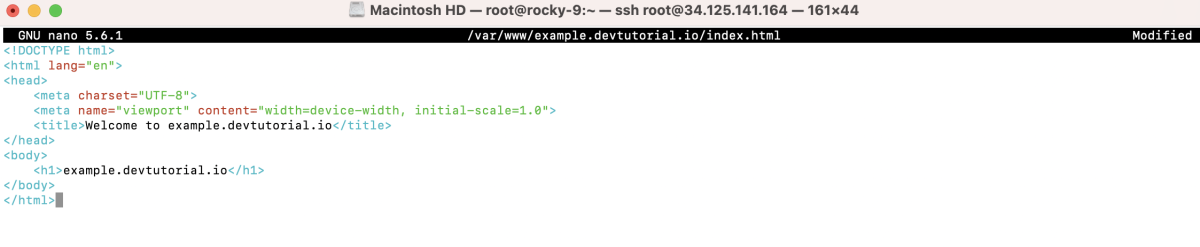
Step 5 : Create the directory for the domain and an index.html file:
- Inside the index.html file, add basic HTML content and save:
- Set the appropriate ownership and permissions for Nginx to access the files:

Step 6 : If SELinux is enabled, set the appropriate context for the web content:

Step 7 : Ensure there are no syntax errors in your Nginx configuration:

Step 8 : Restart Nginx to apply the changes:

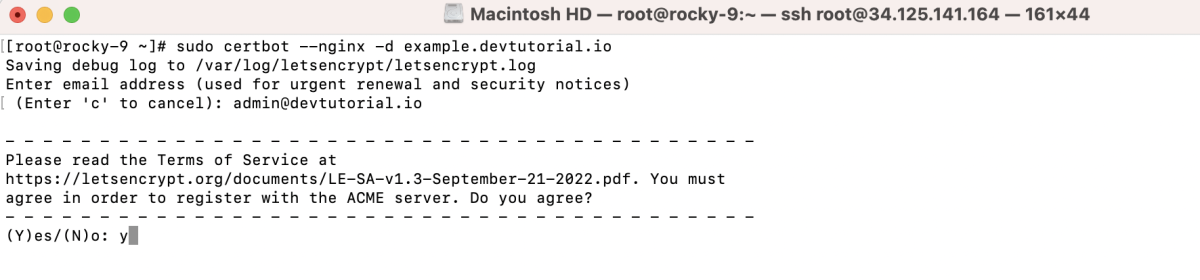
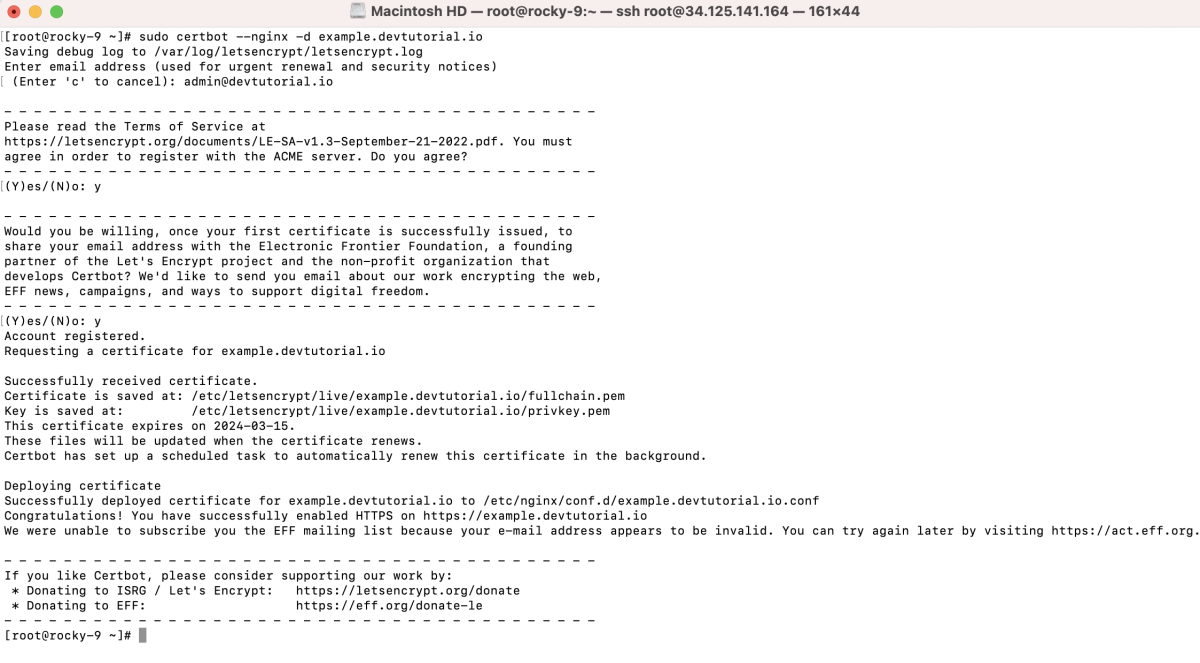
Step 9 : Run the following command to obtain the SSL certificate:
- Enter your email address when prompted.

- Agree to the terms of service by typing 'y'
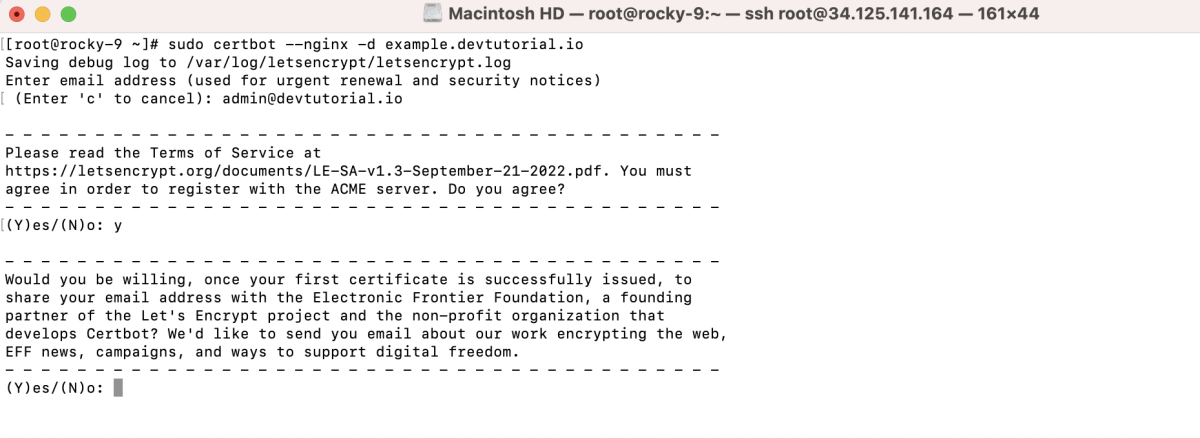
- Share your email address with the Electronic Frontier Foundation (EFF) if you wish by typing 'y'
- Once the process is successful, you will receive a confirmation message.
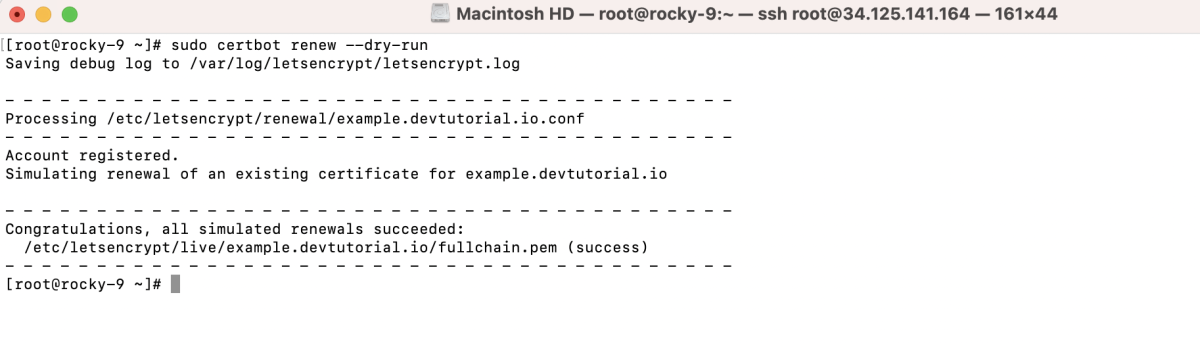
Step 10 : Test the certificate renewal process:
Step 11 : Visit your domain (https://example.devtutorial.io) in a web browser to verify that the SSL certificate is working correctly.
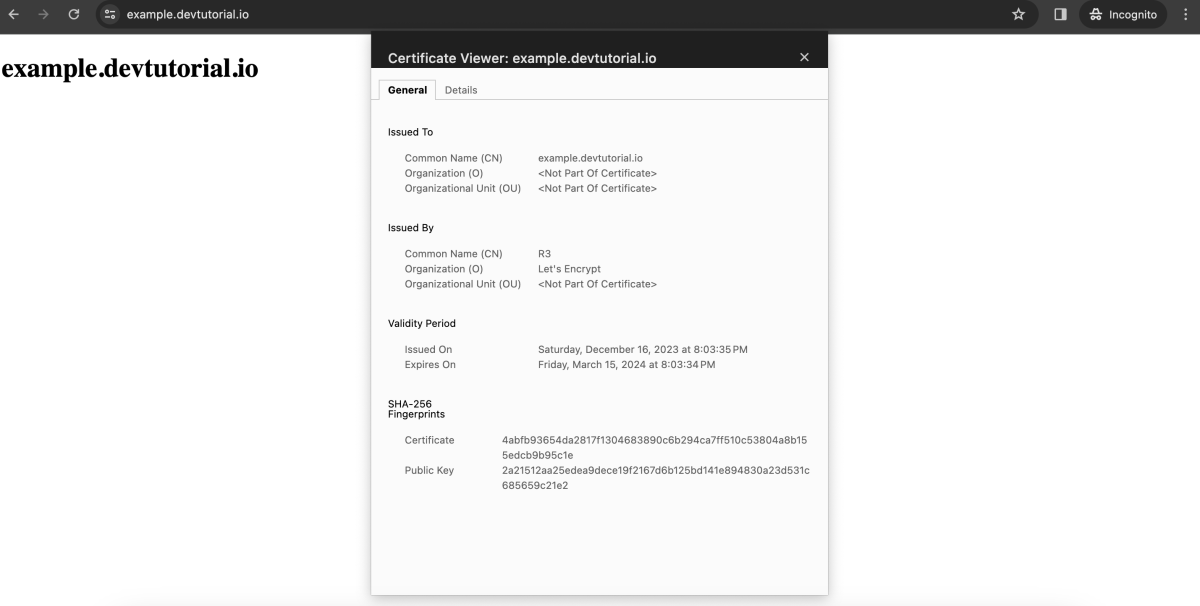
Congratulations! You have successfully installed Let's Encrypt SSL in Nginx on Rocky Linux 9.