To install VNC Server on Rocky Linux 9, follow the steps below.
Step 1 : Run the following command to update system packages:

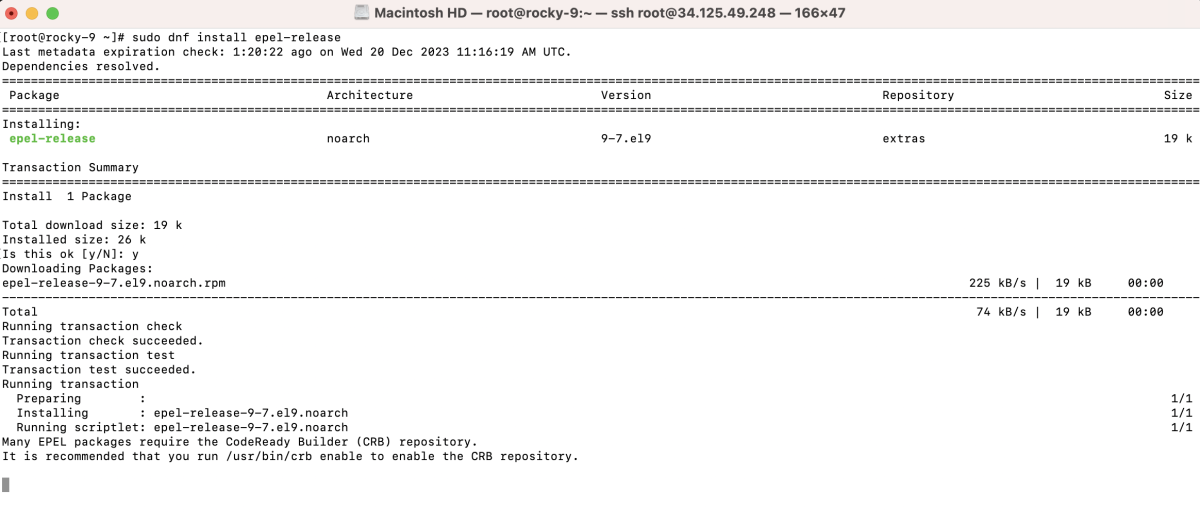
Step 2 : Install the EPEL repository to access additional packages:
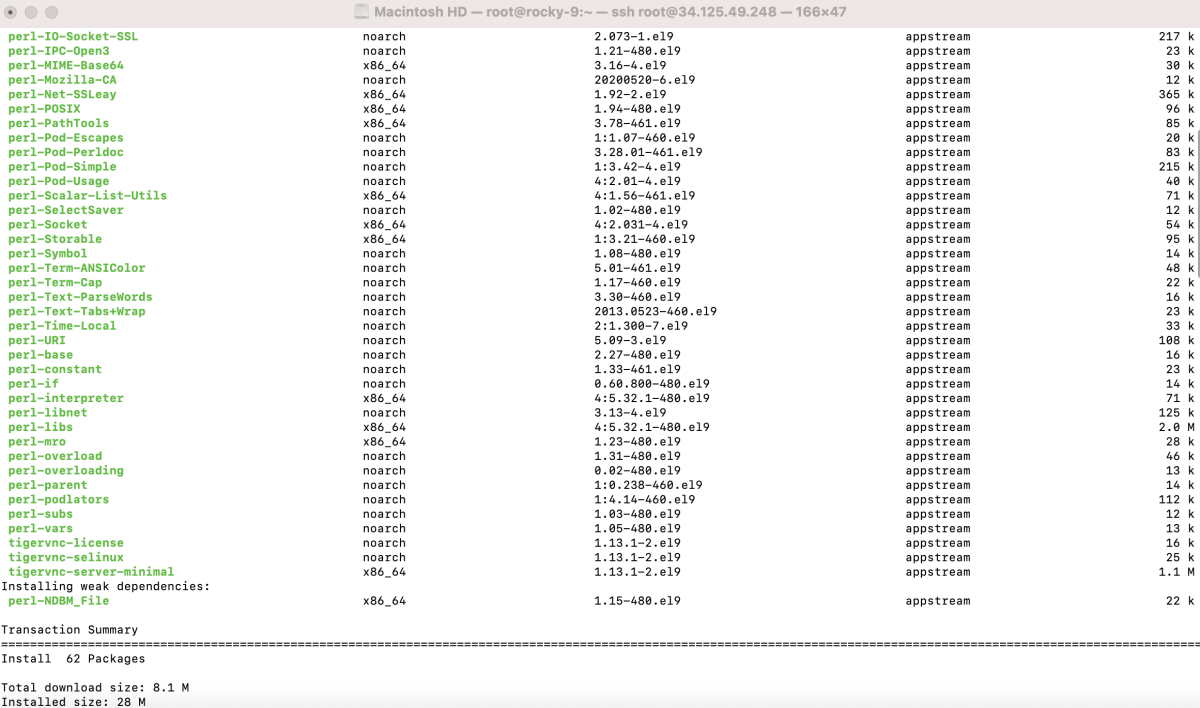
Step 3 : Install the Xfce desktop environment using the following command:

Step 4 : Set the default graphical target to enable graphical mode on startup:

Step 5 : Install the TigerVNC server using the following command:
Step 6 : Set up a VNC password using the following command:

Step 7 : Configure VNC Startup File
- Create or edit the VNC startup file using the following command:
- Add the following lines to the xstartup file:

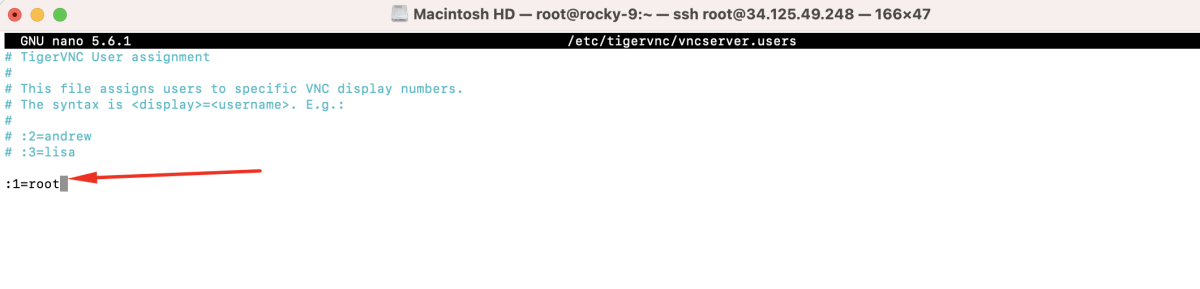
Step 8 : Configure VNC Users
- Edit the VNC users file to specify the root user for VNC (replace :1 with the appropriate display number):
Add the following line:
Step 9 : Reload the systemd daemon to apply the changes:

Step 10 : Start the VNC server:

Step 11 : Enable the VNC server to start on boot:

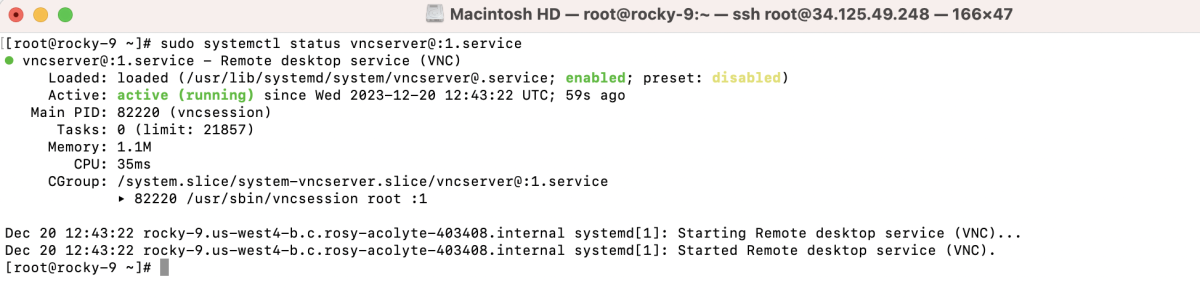
Step 12 : Check the status of the VNC server:
Step 13 : If you are using a firewall, configure it to allow VNC traffic:

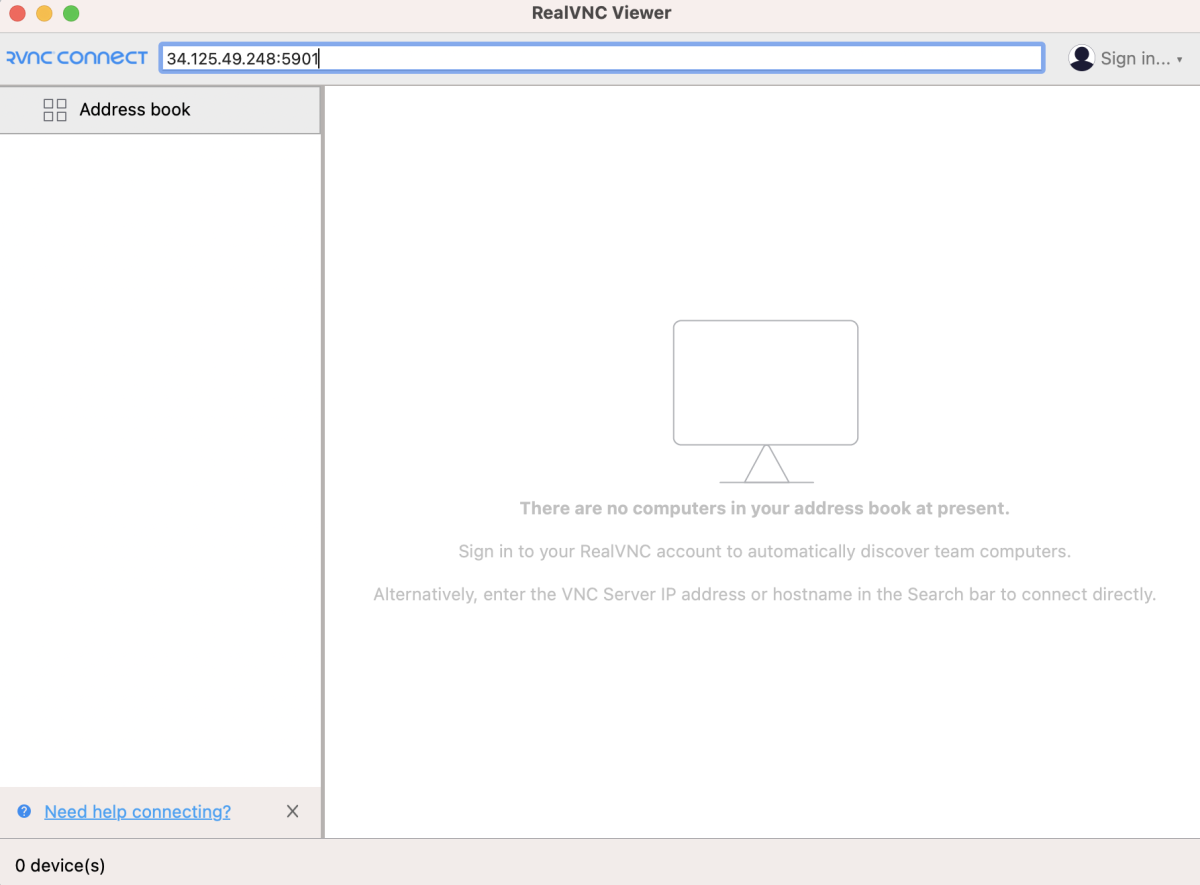
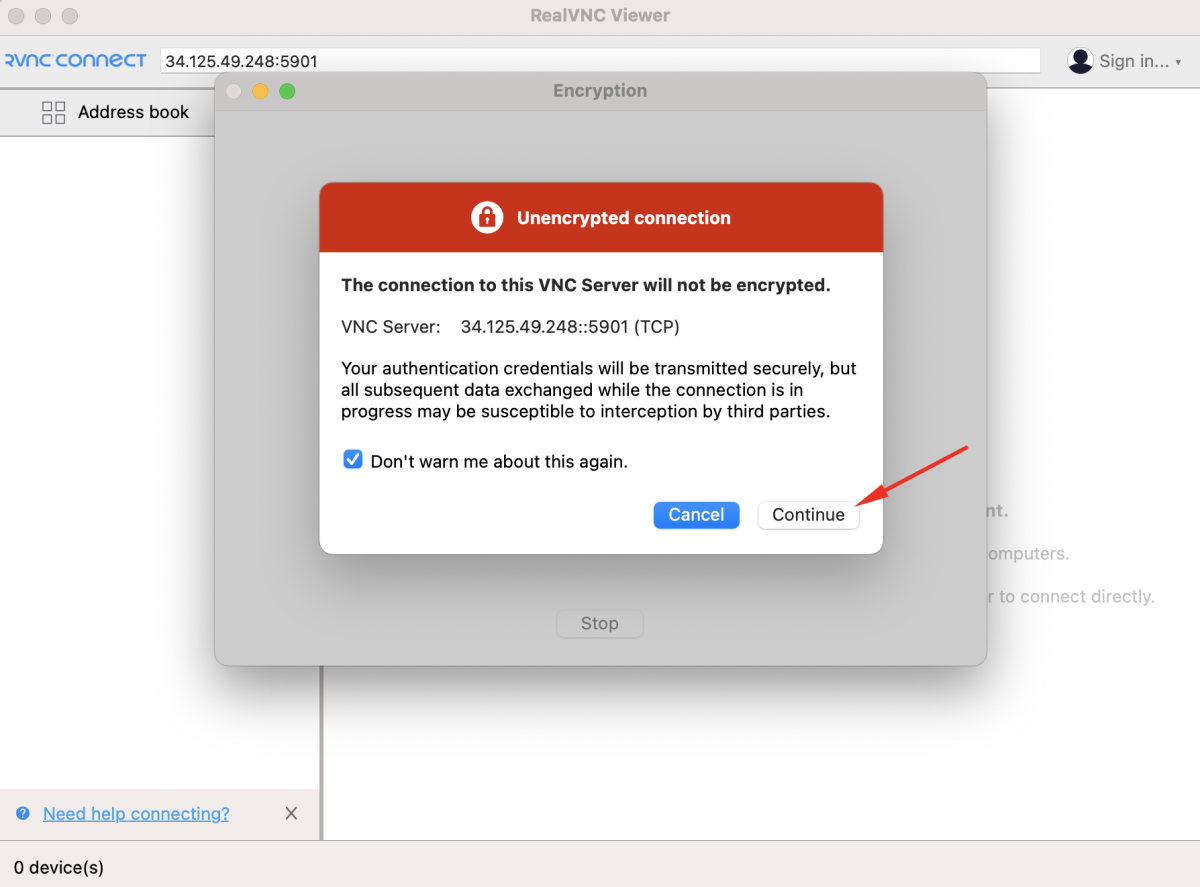
Step 14 : Connect to your VNC server.
- If prompted about an unencrypted connection, choose to continue.
Step 15 : Enter your VNC password to log in.

Step 16 : Access Your Desktop Environment

Congratulations! You have successfully installed and configured VNC Server on Rocky Linux 9.